gitlab 指定版本安装、配置、修改密码
gitlab 指定版本 安装
要求
官方给出的要求:https://docs.gitlab.com/ee/install/requirements.html
内存:4G 或 4G 以上
磁盘:3G 或 3G 以上,尽量ssd 或者 7500 转以上sas盘
官方安装文档
链接:https://docs.gitlab.com/ee/install/
https://docs.gitlab.com/ee/install/aws/manual_install_aws.html
https://about.gitlab.com/install/#amazonlinux-2
版本选择
ee 是企业版
ce 是免费版本
ee 是基于 ce 的基础上增加了一些订阅功能;功能更多是针对大用户量以及更细粒度的权限管理;
可以在公司内部安装ee,然后不订阅,这样可以使用的功能和 ce 一样,又不需要额外增加费用。方便以后转ee;
安装
yum 方式
这里安装 ce 版本;
# 在 Amazon Linux 2 上,以下命令还将在系统防火墙中打开 HTTP、HTTPS 和 SSH 访问。这是一个可选步骤,如果您打算仅从本地网络访问 GitLab,则可以跳过它。
sudo yum install -y curl policycoreutils-python openssh-server openssh-clients perl
# Enable OpenSSH server daemon if not enabled: sudo systemctl status sshd
sudo systemctl enable sshd
sudo systemctl start sshd
# Check if opening the firewall is needed with: sudo systemctl status firewalld
sudo firewall-cmd --permanent --add-service=http
sudo firewall-cmd --permanent --add-service=https
sudo systemctl reload firewalld

# 接下来,安装 Postfix 以发送通知电子邮件。如果您想使用其他解决方案发送电子邮件,请跳过此步骤并 在安装 GitLab 后配置外部 SMTP 服务器。
sudo yum install postfix
sudo systemctl enable postfix
sudo systemctl start postfix

# 添加GitLab包仓库并安装包
# ee 版本
# curl https://packages.gitlab.com/install/repositories/gitlab/gitlab-ee/script.rpm.sh | sudo bash
# ce 版本
curl https://packages.gitlab.com/install/repositories/gitlab/gitlab-ce/script.rpm.sh | bash
# 查看yum 仓库支持的版本
yum list gitlab-ce --showduplicates

# 安装指定版本
yum install -y gitlab-ce-14.10.0

# 安装完之后,为了防止 gitlab-ce 在下次更新系统软件时升级,这里禁用gitlab源
yum-config-manager --disable gitlab_gitlab-ce			# 禁用
yum-config-manager --enable gitlab_gitlab-ce			# 启用
# yum -y install yum-utils 可以安装 yum-config-manager 工具
rpm 方式安装
官方RPM包地址:
https://packages.gitlab.com/gitlab/gitlab-ce
https://packages.gitlab.com/gitlab/gitlab-ee
国内RPM包地址:
https://mirrors.tuna.tsinghua.edu.cn/gitlab-ce/yum/el7/
https://mirrors.tuna.tsinghua.edu.cn/gitlab-ee/yum/el7/
#
wget https://mirrors.tuna.tsinghua.edu.cn/gitlab-ce/yum/el7/gitlab-ce-14.0.3-ce.0.el7.x86_64.rpm
rpm -ivh gitlab-ce-14.0.3-ce.0.el7.x86_64.rpm
配置 gitlab
# 配置域名
sed -i  "s#^external_url.*#external_url 'http://gitlab.xxx.com'#g" /etc/gitlab/gitlab.rb

#
gitlab-ctl reconfigure

#
gitlab-ctl restart

# 查看密码,默认用户:root
grep -i password: /etc/gitlab/initial_root_password
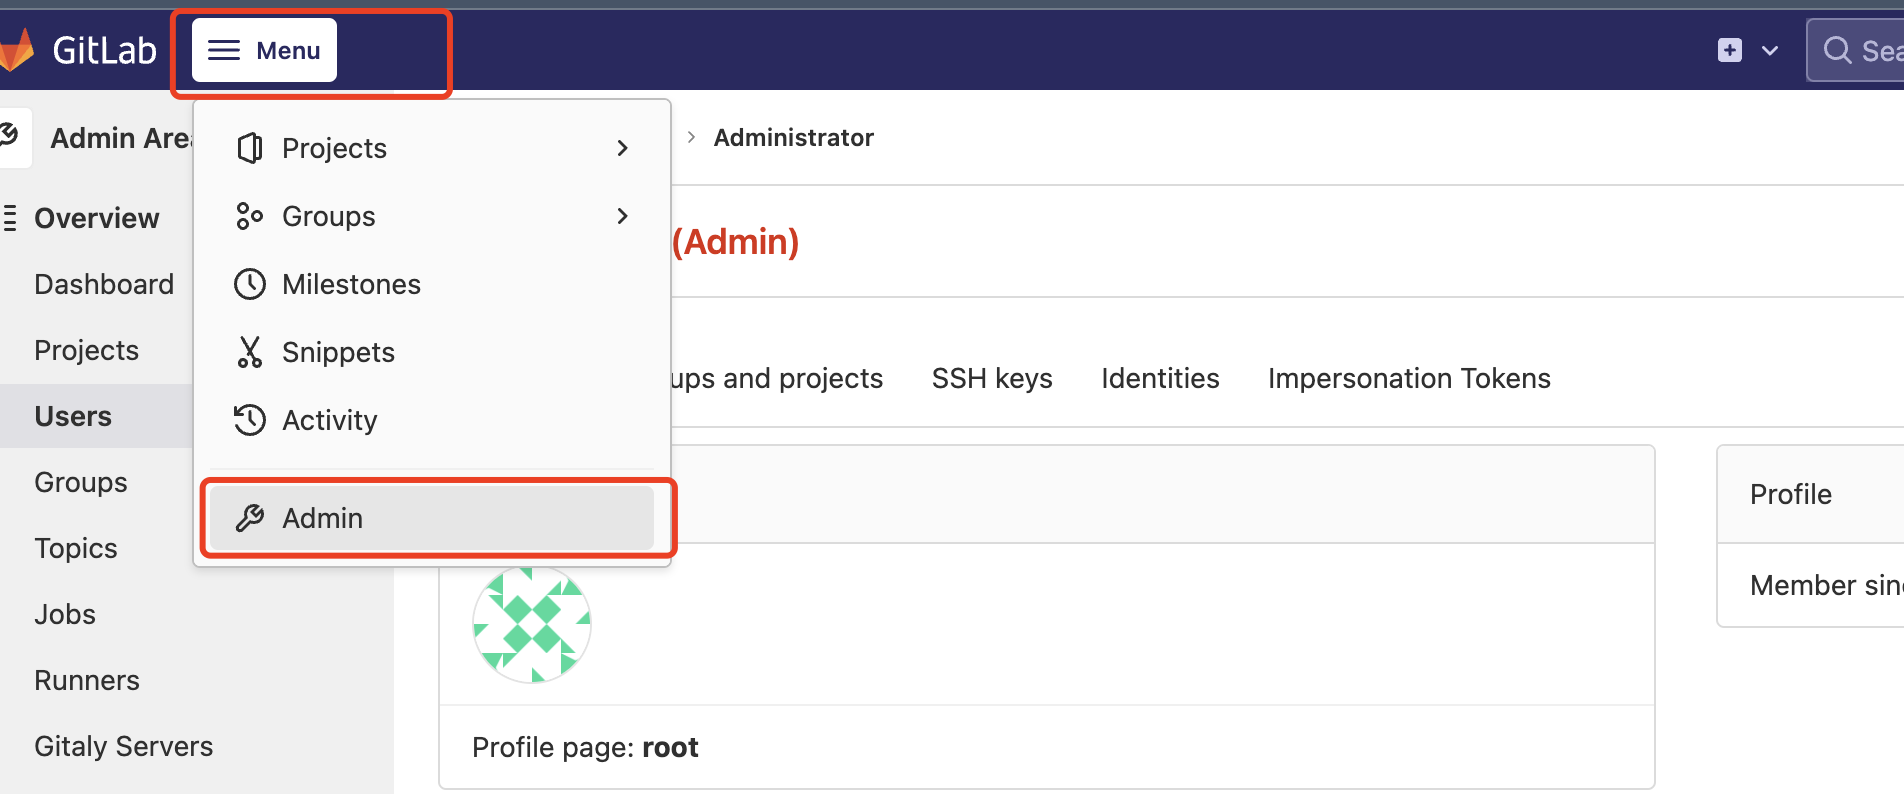
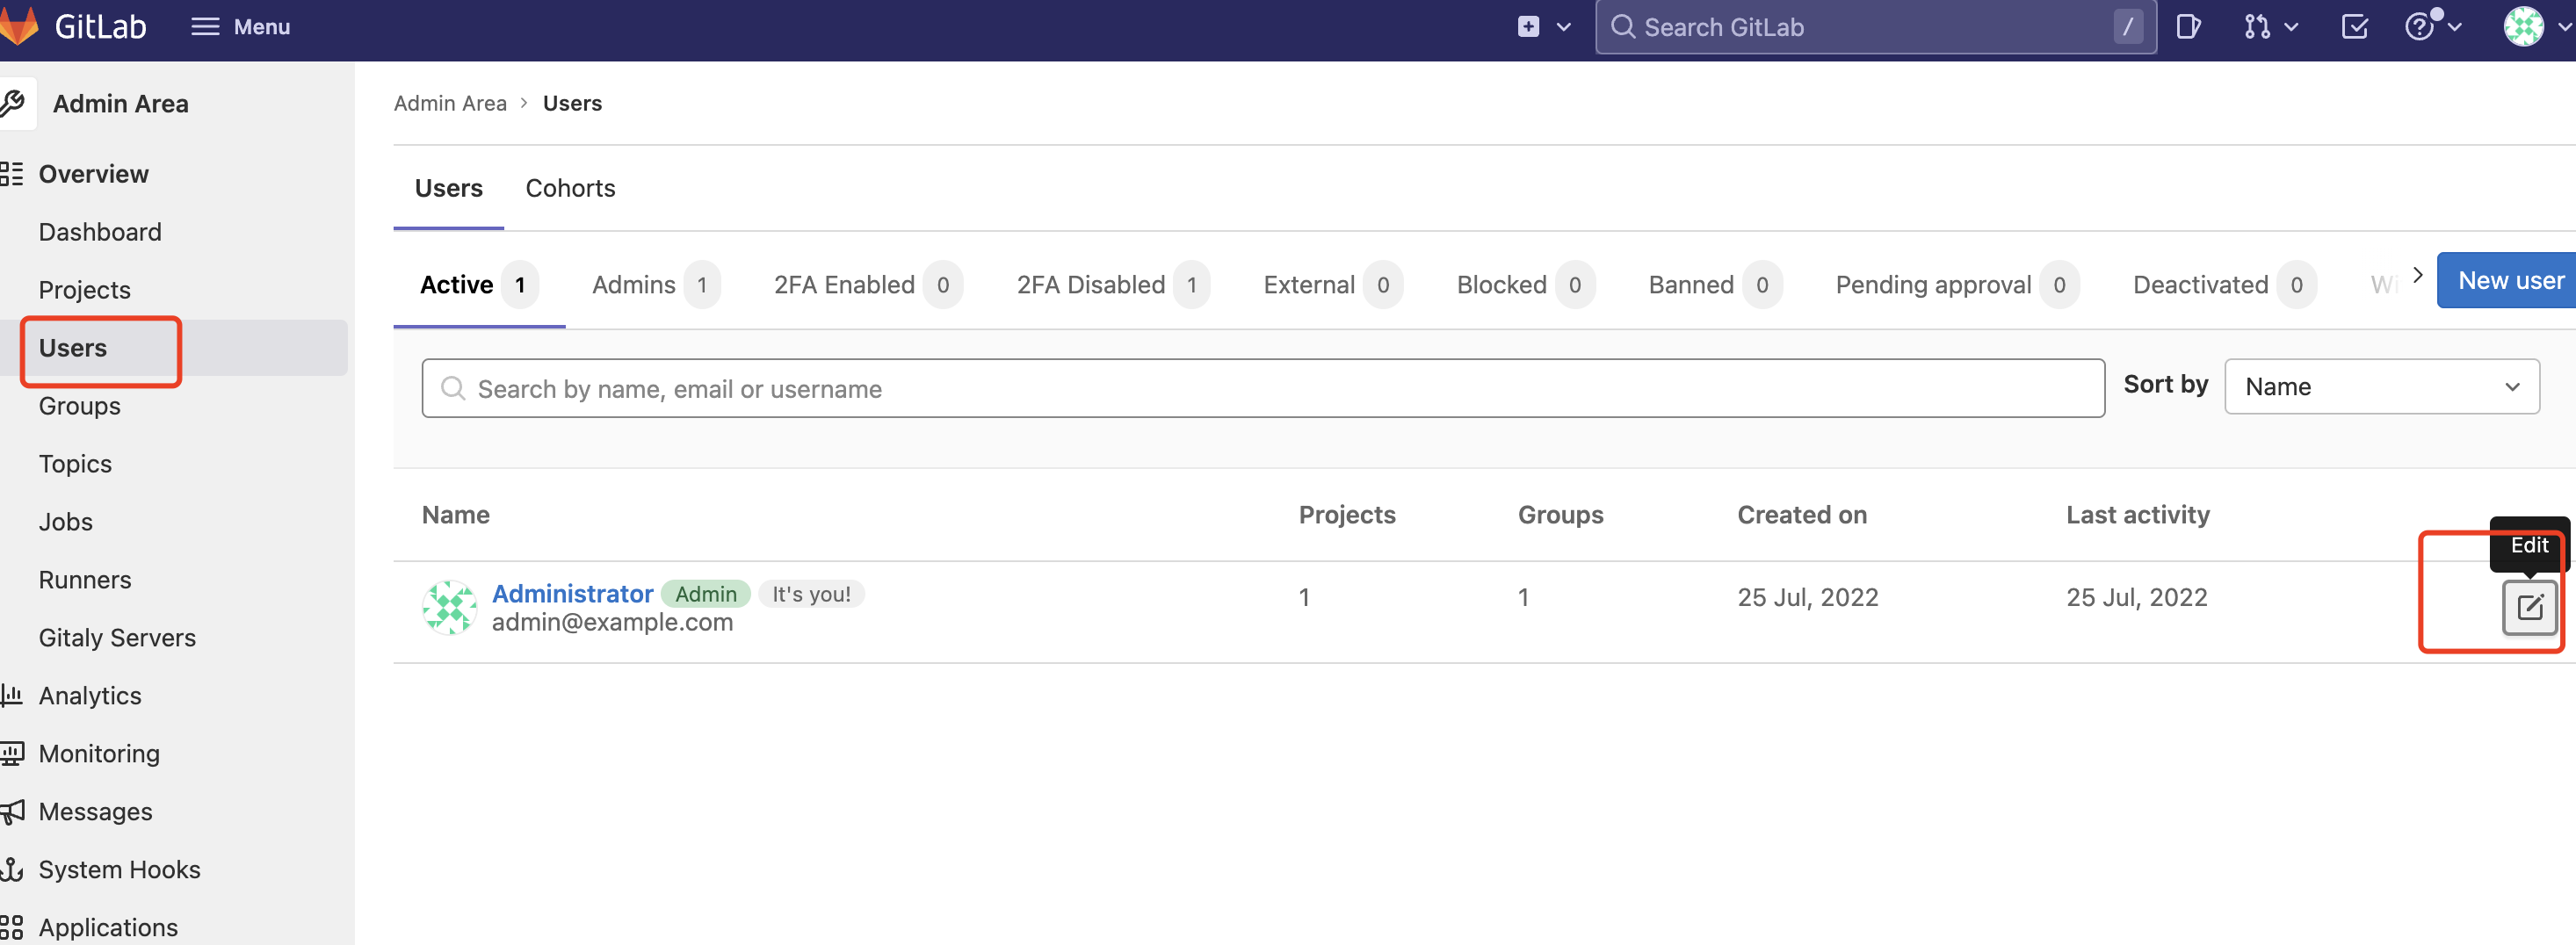
更改默认admin密码:


gitlab 忘记密码、数据库方式修改密码
[root@ip-10-23-9-82 gitlab]# cd /opt/gitlab/bin/
[root@ip-10-23-9-82 bin]# gitlab-rails console
--------------------------------------------------------------------------------
 Ruby:         ruby 2.7.5p203 (2021-11-24 revision f69aeb8314) [x86_64-linux]
 GitLab:       14.10.0 (88da5554d96) FOSS
 GitLab Shell: 13.25.1
 PostgreSQL:   12.7
------------------------------------------------------------[ booted in 31.21s ]
Loading production environment (Rails 6.1.4.7)
irb(main):001:0> u=User.where(id:1).first   # 查找与切换账号(User.all 可以查看所有用户)
=> #<User id:1 @root>
irb(main):002:0> u.password='12345678'		# 设置密码为12345678
=> "12345678"
irb(main):003:0> u.password_confirmation='12345678'		# 再次确认密码
=> "12345678"
irb(main):004:0> u.save!		# 进行保存(切记切记 后面的 !)
=> true
irb(main):005:0> exit		# 退出
本文来自博客园, 作者:Star-Hitian, 转载请注明原文链接:https://www.cnblogs.com/Star-Haitian/p/16519101.html


