springboot之搭建第一个helloworld程序
1.下载基本框架
全部默认,基本没有改动
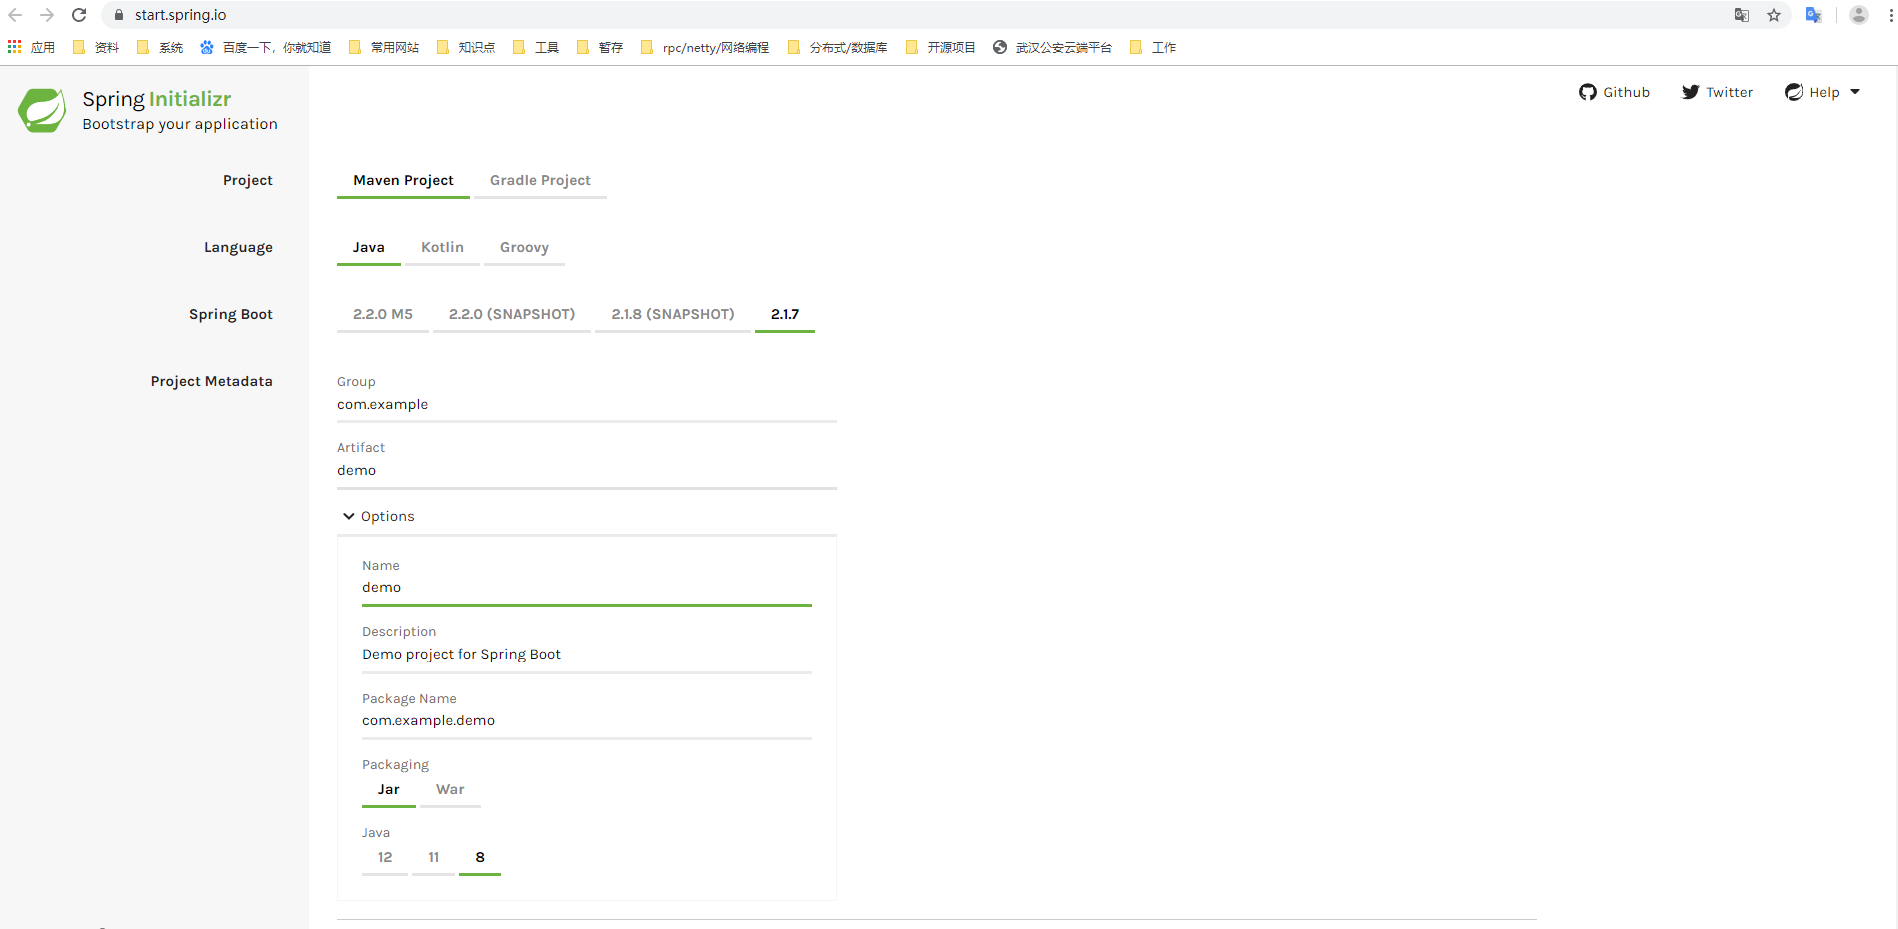
选择依赖,当然也可以自己在pom.xml加,我们直接在这里选择。
只选择Spring Web Starter(可以了解下,Lombok,在写实体时很方便)
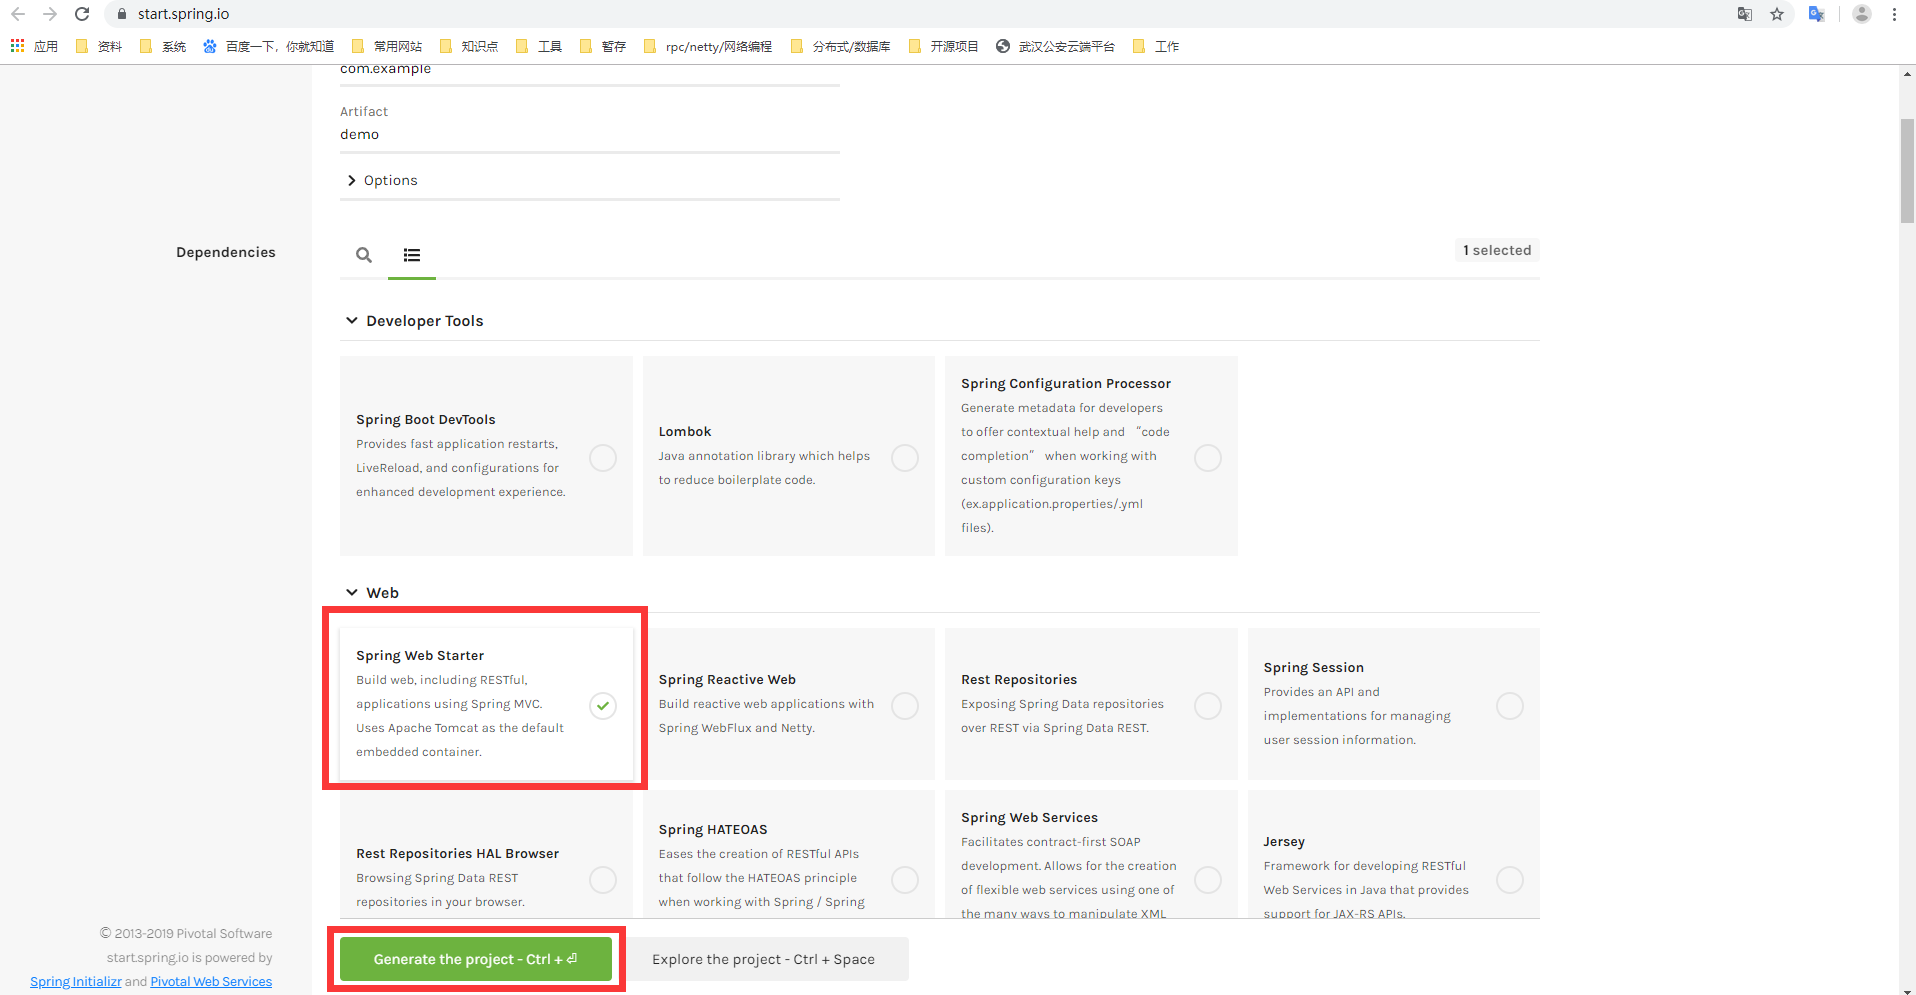
点击Generate the project -Ctrl +
将会下载生成demo.zip
2.Maven安装依赖
解压demo.zip
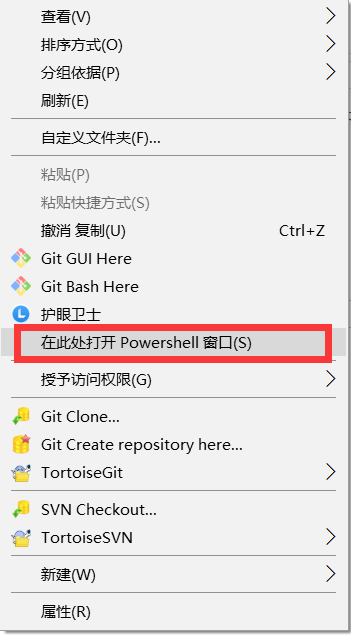
在demo目录打开命令行工具(在demo目录下,按住shift键,同时点击鼠标右键,点击“在此处打开Powershell窗口”)
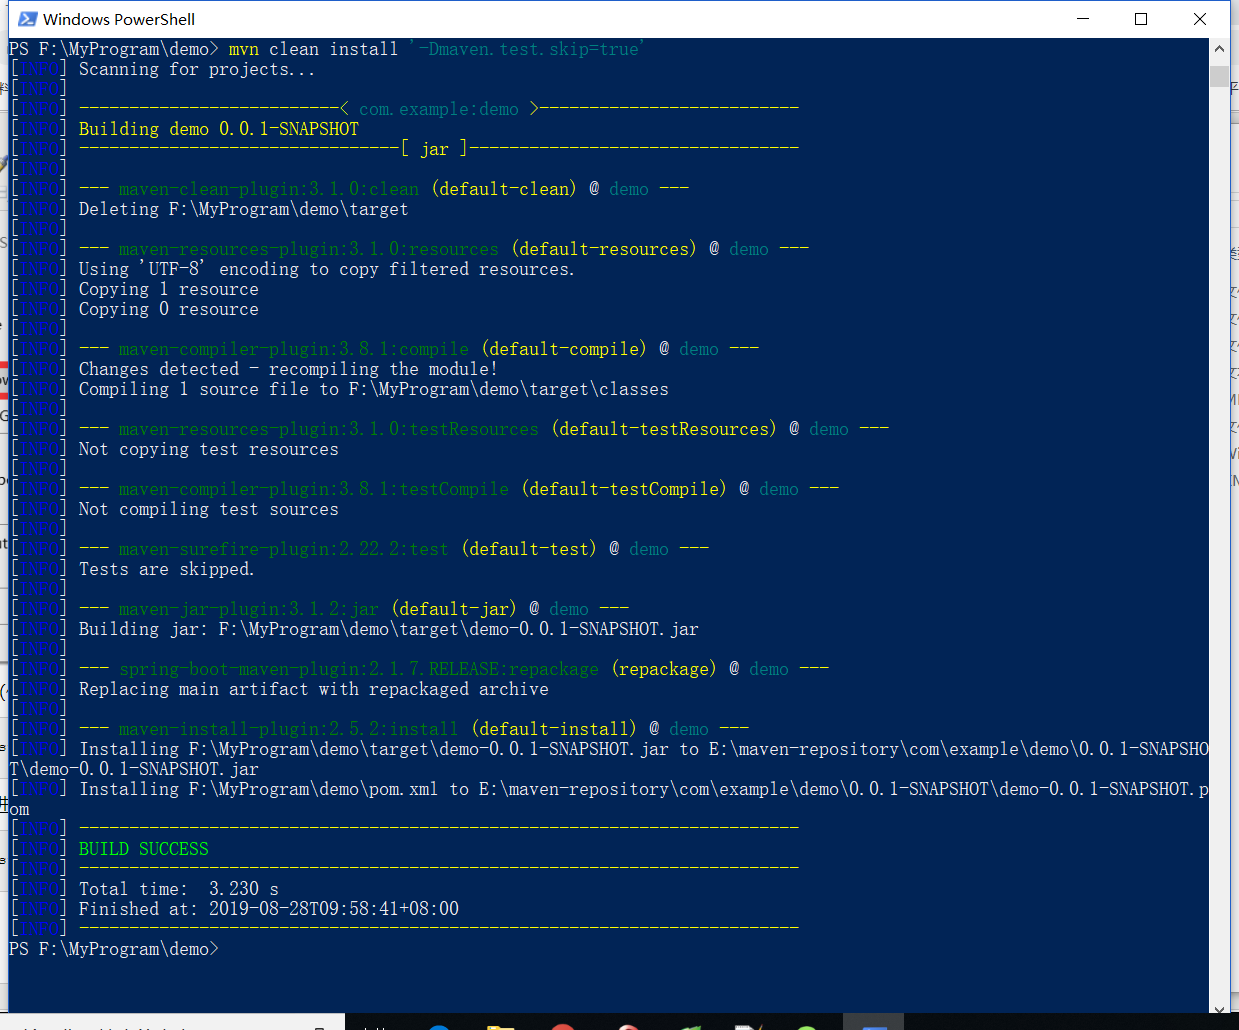
在命令行里输入(使用PowerShell命令行模式)
mvn clean install '-Dmaven.test.skip=true'
如果是通过cmd进入
mvn clean install -Dmaven.test.skip=true
3.导入eclipse
file->Import->Maven->Existing Maven Projects
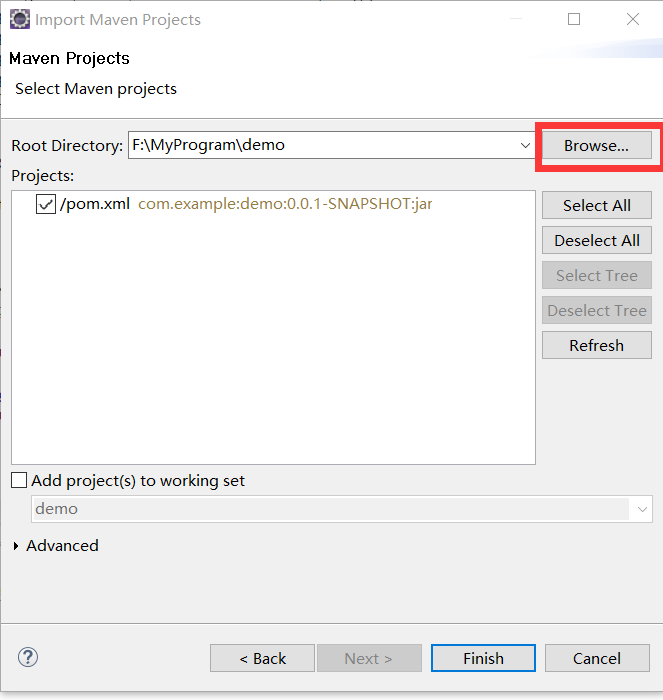
点击Finish
4.编码helloworld
将DemoApplication.java文件内容改为
@SpringBootApplication
@RestController
public class DemoApplication {

    public static void main(String[] args) {
        SpringApplication.run(DemoApplication.class, args);
    }

    @RequestMapping("/")
    String home() {
        return "Hello World!";
    }
}
5.测试
在浏览器中访问地址:http://localhost:8080/

在此完成了springboot第一个helloworld程序。
github地址:https://github.com/Peng-star-star/spring-boot-demo-hello
posted on 2019-08-28 10:26 SmilingEye 阅读(565) 评论(0) 收藏 举报


 浙公网安备 33010602011771号