
DIY了一下自己blog的UI
当年才学前端时就想改自己blog的UI,然鹅当时没看见那个“申请JS权限”,一直以为blog不能随意DIY样式,只改了少许CSS。
现在重新看看设置管理选项,简单修改了一下样式(注意:修改样式之前发邮件给"contact@cnblogs.com")。自己设置样式还是感受到了很大的局限性,收到了皮肤框架的限制,并且编辑调试CSS什么的很困难,希望cnblog今后增加完全DIY的选择,提供blog API直接完全从头制作。
- 修改了半透明效果
- 修改了flex布局
- 修改点击特效
- 修改visitor统计
- 特别注意:修改样式应注意自己的内容可视性,添加的东西不要干扰阅读者的注意力,动画样式太多会严重影响阅读体验
附上我的CSS(未禁用默认样式,仅仅覆盖):
  1 * {
  2     box-sizing: border-box;
  3 }
  4 body{
  5     background: url(YOUR IMAGE'S URL) 50% 0% / cover no-repeat fixed;
  6     position: static;
  7 }
  8 #home {
  9     margin: 0 auto;
 10     width: 100%;
 11     display: flex;
 12     flex-direction: column;
 13 }
 14 #header{
 15     width: 100%;
 16     height: 60px;
 17     position: fixed;
 18     z-index: 999;
 19     opacity: 0.9;
 20     margin-left: 0;
 21     background-color: #97765a4a;
 22 }
 23 #blogTitle {
 24     top: 14px;
 25     font-family: fantasy;
 26     left: 10px;
 27     font-size: 27px;
 28 }
 29 #Header2_HeaderTitle{
 30     font-size: 27px;
 31 }
 32 #blogTitle .headermaintitle:link, #blogTitle .headermaintitle:visited, #blogTitle .headermaintitle:hover, #blogTitle .headermaintitle:active {
 33     font-size: 27px;
 34 }
 35 #navigator {
 36     position: absolute;
 37     width: auto;
 38     right: 0;
 39     top: 20px;
 40 }
 41 #navList {
 42     margin-top: 15px;
 43 }
 44 #main {
 45     width: 100%;
 46     display: flex;
 47     flex-direction: row-reverse;
 48     flex-wrap: wrap;
 49 }
 50 #mainContent {
 51     margin-top: 60px;
 52     top: 0;
 53     flex: 1;
 54     left: 0;
 55     opacity: 0.9;
 56     background: #ffffffe3;
 57 }
 58 #sideBar {
 59     margin-top: 60px;
 60     float: left;
 61     width: auto;
 62     background: none;
 63     word-break: break-all;
 64 }
 65 #sideBarMain {
 66     background-color: #f7f7f738;
 67     opacity: 0.7;
 68     margin-top: 0;
 69 }
 70 .catListTag ul a,.catListLink ul a,.catListPostArchive ul a,.catListComment ul a,.catListView ul a,.catListFeedback ul a,.catListView ul a{
 71     margin-right: 5px;
 72     color: #f5f5f5;
 73     font-family: 幼圆;
 74 }
 75 #my_footer {
 76     width: 100%;
 77     height: auto;
 78     margin-top: 5px;
 79     position: relative;
 80     background-color: #a27b5c;
 81     color: #FFFFFF;
 82     font-size: 12px;
 83     text-align: center;
 84     font-family: Arial, sans-serif;
 85 }
 86
 87 #leftcontentcontainer {
 88     background: #00000000;
 89 }
 90 .div_my_zzk input{
 91     border-radius: 5px;
 92     border: none;
 93 }
 94 #my_footer a{
 95     color: #dddddd;
 96 }
 97 #footer {
 98     display: none;
 99 }
我的JS(JS扔哪都行,jQuery库cnblog自带了):
<script type="text/javascript">
/* 鼠标点击特效 */
var a_idx = 0;
jQuery(document).ready(function($) {
    $("body").click(function(e) {
        var a = new Array("富强","民主","文明","和谐","自由","平等","公正","法治","爱国","敬业","诚信","友善");
        var $i = $("<span/>").text(a[a_idx]);
        a_idx = (a_idx + 1) % a.length;
        var x = e.pageX,
        y = e.pageY;
        $i.css({
        "z-index": 999999999999999999999999999999999999999999999999999999999999999999999,
        "top": y - 20,
        "left": x,
        "position": "absolute",
        "font-weight": "bold",
        "color": "rgb("+(255*Math.random())+","+(255*Math.random())+","+(255*Math.random())+")"
    });
        $("body").append($i);
        $i.animate({
            "top": y - 180,
            "opacity": 0
        },
        1500,
        function() {
            $i.remove();
        });
    });
});
</script>
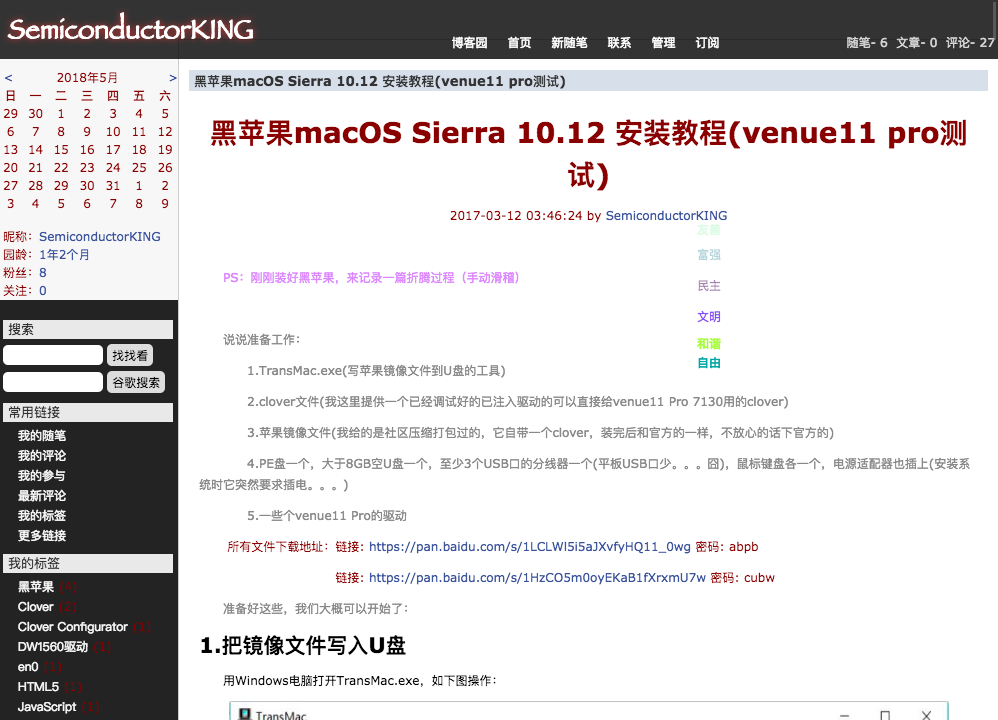
效果预览:
PC端: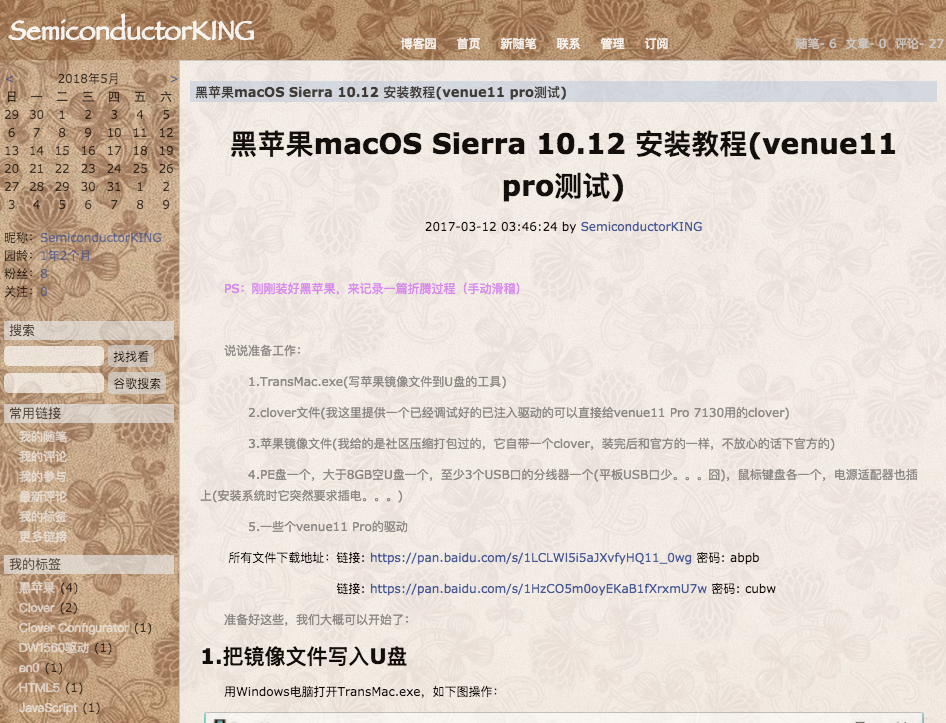
手机等小屏幕设备(响应式似乎只能用cnblog皮肤模板自带的,自己写的响应式CSS不会实现效果,有点迷):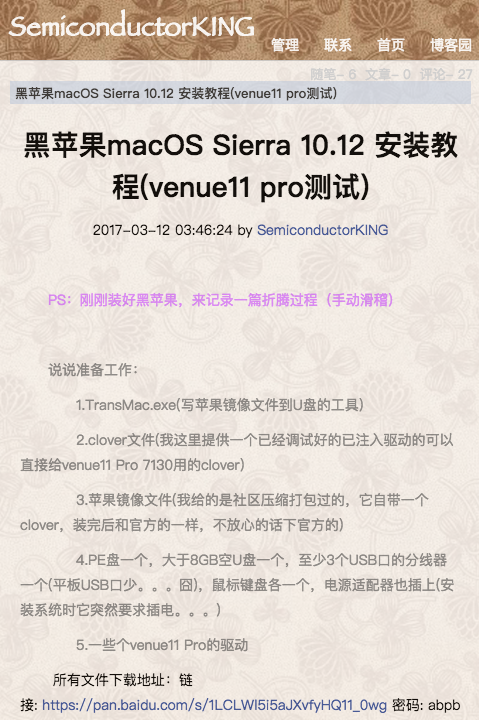
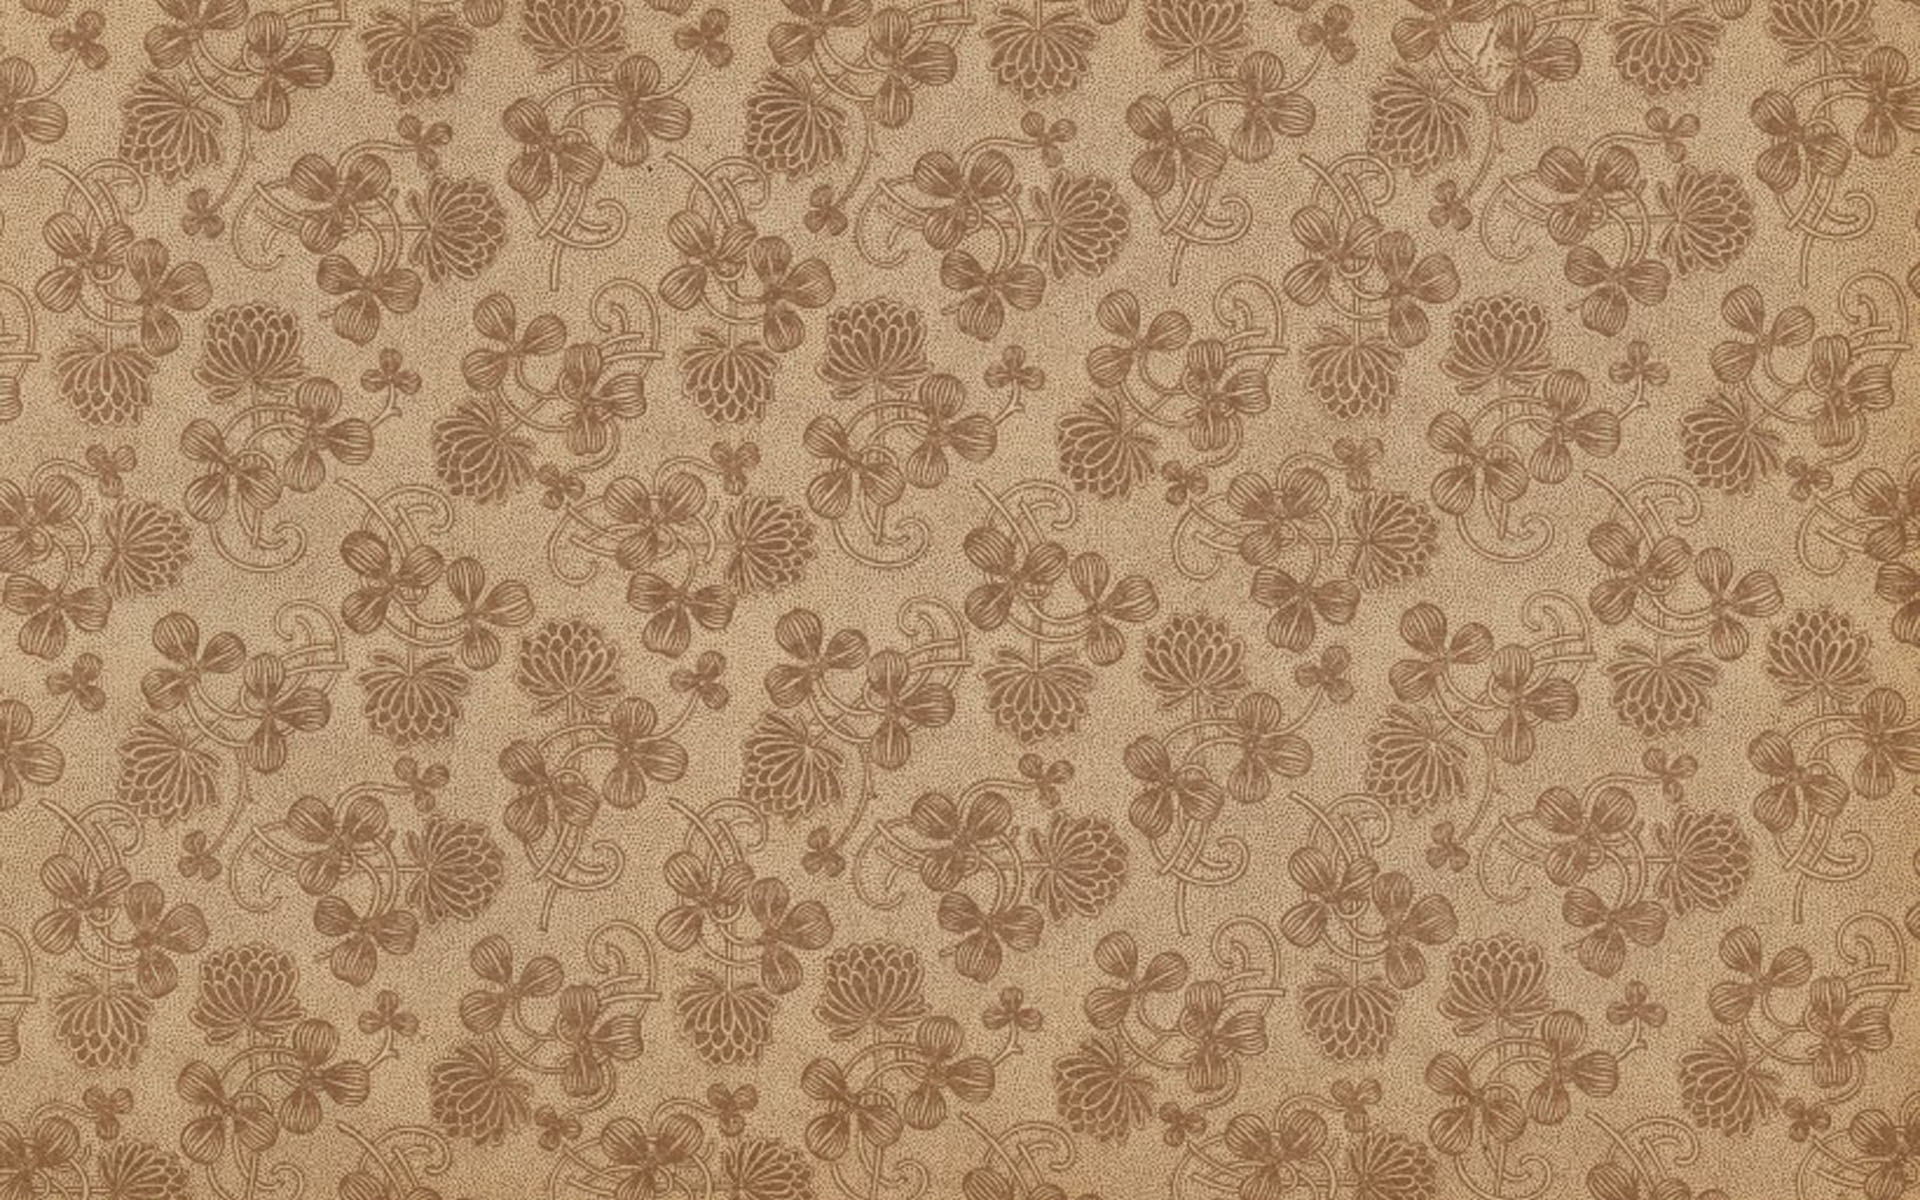
使用的背景图:
还设计过好几个类似的,大概就是很容易改,大家放手去设计就好了,本篇只是你的参考,别和我一样哎哎哎

 浙公网安备 33010602011771号