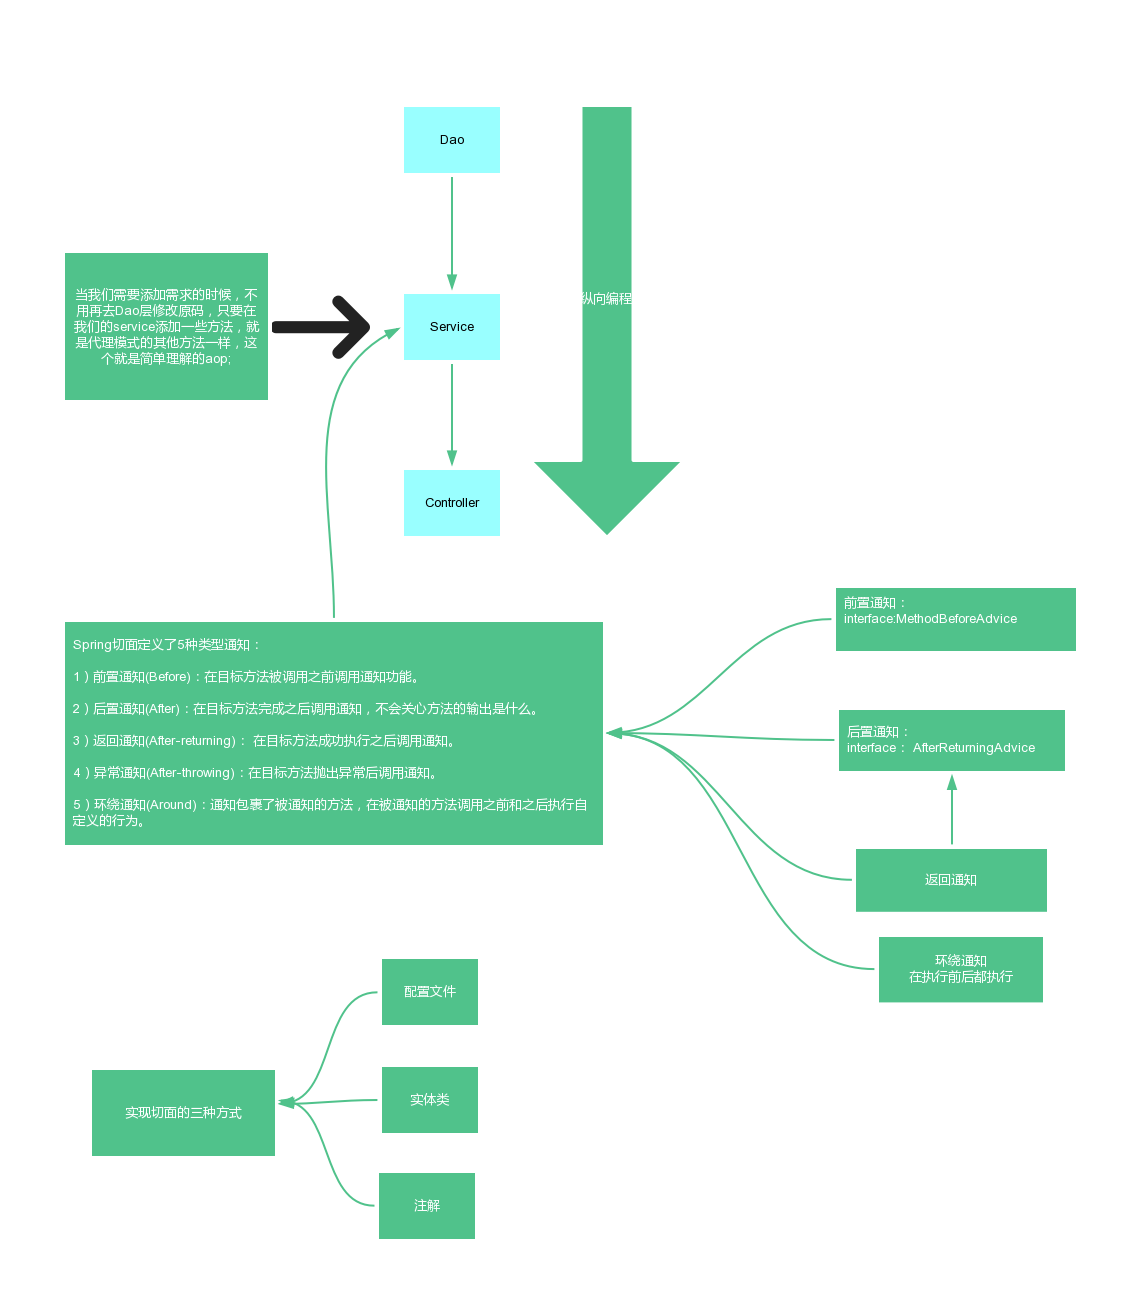
Spring AOP
十二、AOP

一、AOP实现方式一
在配置文件中添加支持:
<?xml version="1.0" encoding="UTF-8"?>
<beans xmlns="http://www.springframework.org/schema/beans"
       xmlns:xsi="http://www.w3.org/2001/XMLSchema-instance"
       xmlns:aop="http://www.springframework.org/schema/aop"
       xsi:schemaLocation="
       http://www.springframework.org/schema/beans
       https://www.springframework.org/schema/beans/spring-beans.xsd
       http://www.springframework.org/schema/aop
       https://www.springframework.org/schema/aop/spring-aop.xsd">
    <!-- more bean definitions go here -->
    <bean id="userService" class="com.saxon.UserService.UserServiceImpl"/>
    <bean id="before" class="com.saxon.UserService.beforLog"/>
    <bean class="com.saxon.UserService.AfterLog" id="afterLog"/>
<aop:config>
    <aop:pointcut id="user" expression="execution(* com.saxon.UserService.*.*(..))"/>
    <aop:advisor advice-ref="before" pointcut-ref="user"/>
    <aop:advisor advice-ref="afterLog" pointcut-ref="user"/>
</aop:config>

</beans>
添加依赖jar包:
    <!-- https://mvnrepository.com/artifact/org.aspectj/aspectjweaver -->
    <dependency>
        <groupId>org.aspectj</groupId>
        <artifactId>aspectjweaver</artifactId>
        <version>1.9.6</version>
    </dependency>
<aop配置>切入点配置:
例:
expression="execution(* com.spring.qq.service.UserServiceImpl.*(..))"

execution()分为五个部分:

1.execution():表达式主体
2.第一个 * 号,表示返回类型,* 号表示所有的类型
3.包路径
4.第二个 * 号, 表示类名,* 号表示所有的类
5.*(..): * 号表示方法名, 括号内为方法的参数, 两个点表示任何参数
需要注意的是我们代理的是一个真实业务的接口而不是一个实现类 Context.getBean ("userService",interface),转换的时候是一个接口
二、实现方法二:自定义类
package com.saxon.Log;

public class Log {
    public void before(){
        System.out.println ("方法执行前");
    }
    public void after(){
        System.out.println ("方法执行完毕");
    }
}
配置文件:
    <aop:config>
    <aop:aspect ref="Log">
        <aop:pointcut id="user" expression="execution(* com.saxon.UserService.*.*(..))"/>
        <aop:before method="before" pointcut-ref="user"/>
        <aop:after method="after"  pointcut-ref="user"/>
    </aop:aspect>
    </aop:config>
使用切面;
三、Aop实现方式三:使用注解
重要:开启注解支持和在xml里面注册
<aop:aspectj-autoproxy/>
注解注册类:
package com.saxon.Log;

import org.aopalliance.intercept.Joinpoint;
import org.aspectj.lang.ProceedingJoinPoint;
import org.aspectj.lang.annotation.After;
import org.aspectj.lang.annotation.Around;
import org.aspectj.lang.annotation.Aspect;
import org.aspectj.lang.annotation.Before;

@Aspect
public class Log {
    @Before ("execution(* com.saxon.UserService.*.*(..))")
    public void before () {
        System.out.println ("方法执行前");
    }

    @After ("execution(* com.saxon.UserService.*.*(..))")
    public void after () {
        System.out.println ("方法执行完毕");
    }
    @Around ("execution(* com.saxon.UserService.*.*(..))")
    public void around (ProceedingJoinPoint jp) {
        System.out.println ("环绕前");
        try {
            Object proceed = jp.proceed ();
            System.out.println (jp.getSignature ());
        } catch (Throwable throwable) {
            throwable.printStackTrace ();
        }
        System.out.println ("环绕后");
    }

}
自学总结
学习地址:狂神说Java
我不是想感动自己,就是想看看自己可以坚持多久,距离你还有多远

 Spring Aop
