node08_01使用express创建最基本的服务器
文档:https://www.expressjs.com.cn/
下载:$ npm install express --save
//1.导入express
const express = require('express')
//2.创建web服务器
const app = express()
//4.监听客户端的GET和POST请求,并向客户端响应具体的内容
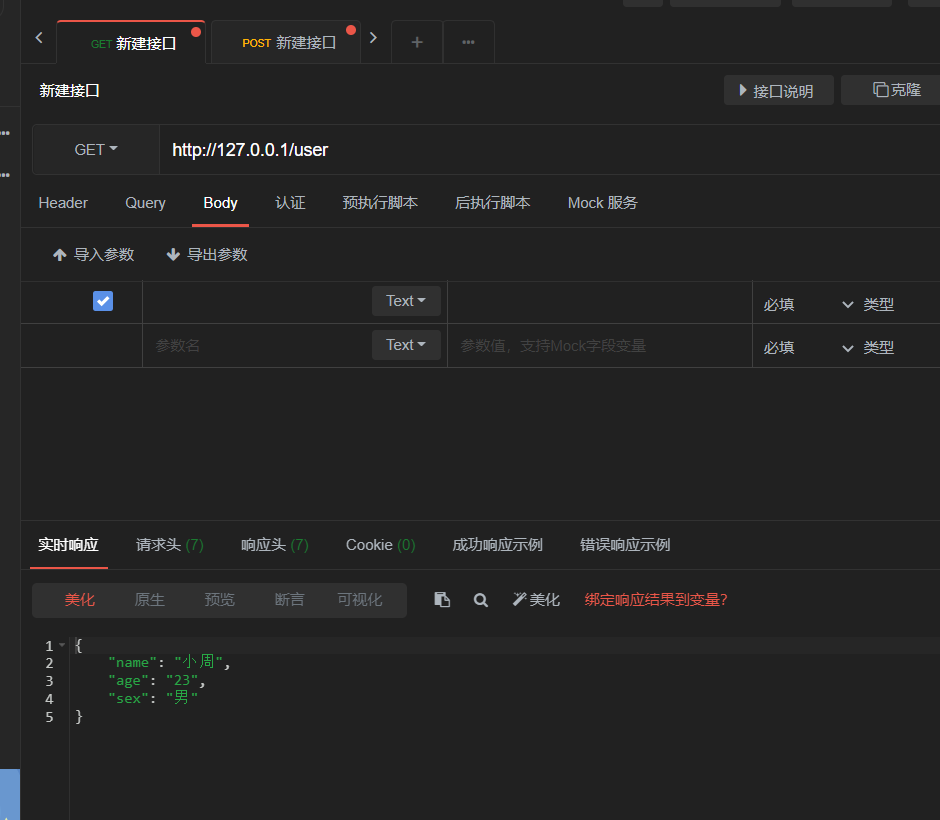
app.get('/user', (req, res) => {
//调用express提供的res.send()方法,向客户端响应一个JSON对象
res.send({ name: '小周', age: '23', sex: '男' })
})
app.post('/user', (req, res) => {
//调用express提供的res.send()方法,向客户端响应一个其他类型数据
res.send([{ name: '小明', age: '25', sex: '女' }, '请求成功'])
})
//3.启动web服务器
app.listen(80, () => {
console.log('express server running at http://127.0.0.1'+'使用了nodemon')
})
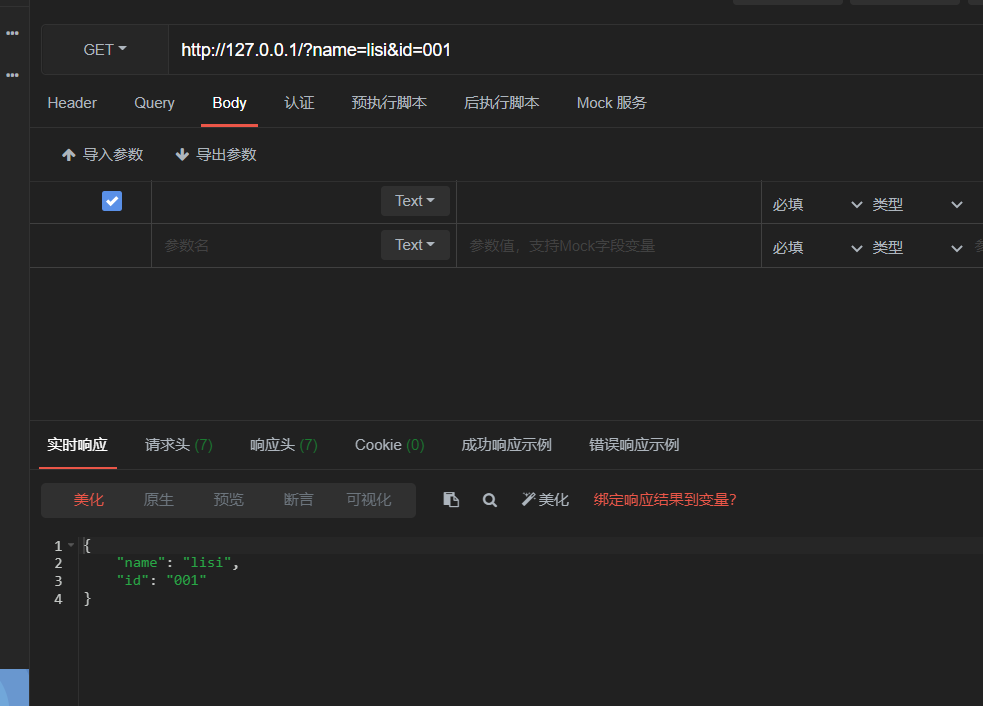
app.get('/', (req, res) => {
//通过req.query可以获取到客户端发送过来的查询参数
//注意:默认情况下,req.query是一个空对象
console.log(req.query)
res.send(req.query)
})
//注意:这里的:id是一个动态的参数
app.get('/user/:id/:name', (req, res) => {
//req.params是动态匹配到的URL参数,默认是空对象
console.log(req.params)
res.send(req.params)
})
对上面的接口进行调用,验证结果是否正确:
1.get请求/user
2.post请求user

3.get请求/,入参:name:lisi,id:001
4.携带url参数请求

可以看到验证结果和代码都是一致的。这就是通过express搭建一个基本的服务器的流程。

 浙公网安备 33010602011771号