Linux之nginx负载均衡
Nginx
负载均衡分类
- LVS四层负载
- Nginx haproxy七层负载
Nginx基于应用进行负载
- 静态文件:apache nginx
- 动态文件:aoache tomcat
- 图片:squid
Nginx负载均衡的方式
- 轮询:数据依次分配给后端服务节点 如果服务器宕机自动剔除
- 权重:根据不同的优先级分配不同的请求次数的
- ip_hash:基于IP进行hash结过分配 保证每个客户端访问一个固定的服务器 可以解决session问题
- fair:根据后端服务器响应时间 响应短的优先分配
- url_hash:根据访问url进行hash 访问相同的url定向到后端特定的服务器
Nginx搭建
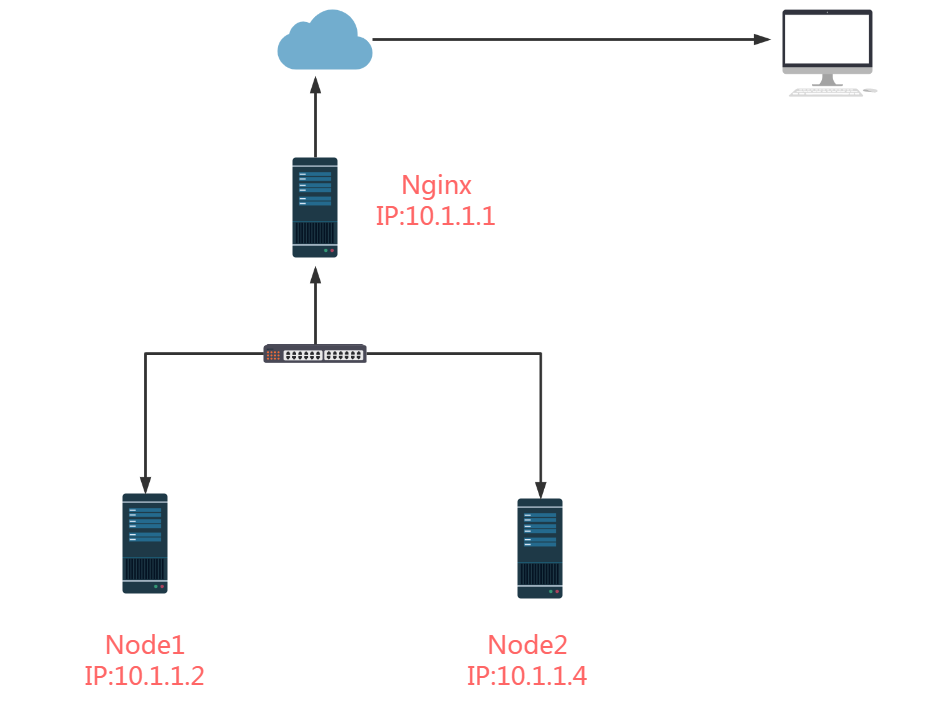
网络拓扑
安装
依赖包
[root@Nginx ~]#  yum -y install zlib zlib-devel openssl openssl-devel pcre pcre-devel
[root@Nginx ~]#  yum -y install gcc gcc-c++ autoconf automake
配置编译
[root@Nginx ~]# tar -xvf nginx-1.14.1.tar.gz -C /usr/local/src/

[root@Nginx ~]# ./configure --prefix=/usr/local/nginx --with-http_dav_module --with-http_stub_status_module --with-http_addition_module --with-http_sub_module --with-http_flv_module --with-http_mp4_module

[root@Nginx ~]# make -j 4 && make install
参数讲解
--with-http_dav_module 启用 ngx_http_dav_module 支持(增加 PUT,DELETE,MKCOL:创建集合,COPY 和MOVE方法)默认情况下为关闭,需编译开启--with-http_stub_status_module 启用 ngx_http_stub_status_module 支持(获取 nginx 自上次启动以来的工作状态)
--with-http_addition_module 启用 ngx_http_addition_module 支持(作为一个输出过滤器,支持不完全缓冲,分部分响应请求)
--with-http_sub_module 启用 ngx_http_sub_module 支持(允许用一些其他文本替换 nginx 响应中的一些文本)
--with-http_flv_module 启用 ngx_http_flv_module 支持(提供寻求内存使用基于时间的偏移量文件)
--with-http_mp4_module 启用对 mp4 文件支持(提供寻求内存使用基于时间的偏移量文件)
配置nginx用户
[root@Nginx nginx-1.14.1]# useradd -M -s /sbin/nologin nginx
配置Nginx环境变量
[root@Nginx nginx]# vim /etc/profile
	export NGINX_HOME=/usr/local/nginx
	export PATH=$PATH:$NGINX_HOME/sbin
[root@Nginx nginx]# nginx -v

启动nginx
[root@Nginx nginx]# nginx

[root@Nginx nginx]# netstat -aunpt | grep 80

修改配置文件
[root@Nginx conf]# cd /usr/local/nginx/conf/

[root@Nginx conf]# cp nginx.conf nginx.conf.bak	# 备份配置文件

[root@Nginx conf]# vim nginx.conf

	user nobody --> user  nginx nginx;

	location / {
            root   html;
            index  index.html index.htm;

         # 43行添加如下内容
        if ($request_uri ~* \.html$){
                proxy_pass http://htmlservers;
                }
        if ($request_uri ~* \.php$){
                proxy_pass http://phpservers;
                }
                proxy_pass http://picservers;
                }


        error_page   500 502 503 504  /50x.html;
        location = /50x.html {
            root   html;
        }

		#定义负载均衡服务器组名称
       upstream htmlservers {
			# 后端服务器真实节点
            server 10.1.1.2:80;
            server 10.1.1.4:80;
        }
        upstream phpservers{
            server 10.1.1.2:80;
            server 10.1.1.4:80;
        }
        upstream picservers {
            server 10.1.1.2:80;
            server 10.1.1.4:80;
        }

# 检测nginx
[root@Nginx conf]# nginx -t
    nginx: the configuration file /usr/local/nginx/conf/nginx.conf syntax is ok
    nginx: configuration file /usr/local/nginx/conf/nginx.conf test is successful
# 重载nginx
[root@Nginx conf]# nginx -s reload
后端节点配置
Node1节点配置
# 关闭安全策略
[root@Node1]# systemctl stop firewalld.service && setenforce 0 && iptables -F
# 安装httpd
root@Node1 ~]# yum install httpd php -y
# 生成静态测试文件:
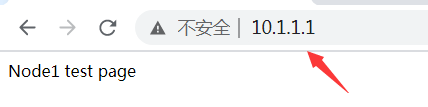
[root@Node1 ~]# echo Node1 test page > /var/www/html/index.html
# 测试PHP
[root@Node1 ~]# vim /var/www/html/test.php
	Node1 test pag
    <?php
        phpinfo();
    ?>

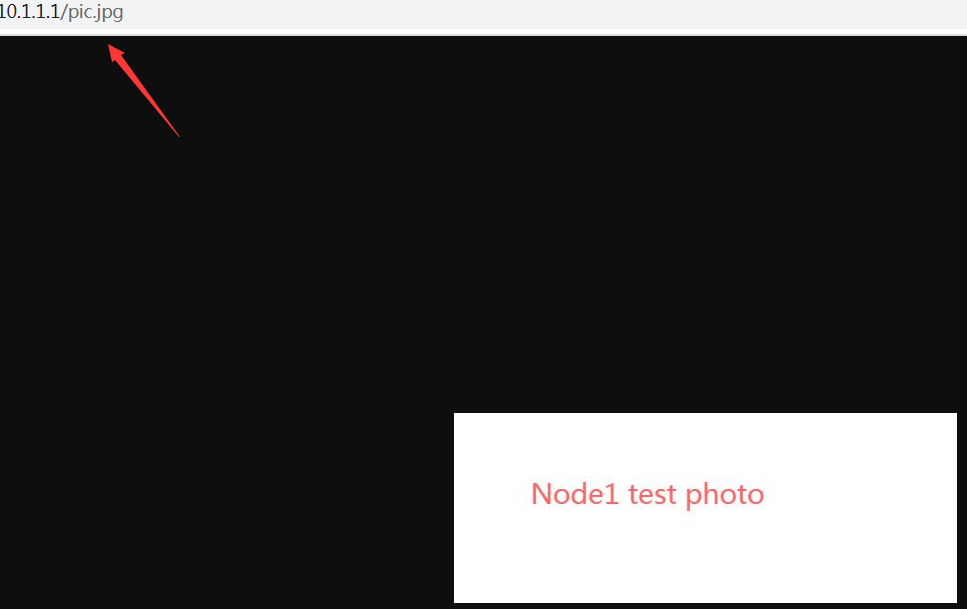
# 测图片
[root@Node1 ~]# mv /var/www/html/pic.jpg
Node2节点配置
# 关闭安全策略
[root@Node2]# systemctl stop firewalld.service && setenforce 0 && iptables -F
# 安装httpd
root@Node2 ~]# yum install httpd php -y
# 生成静态测试文件:
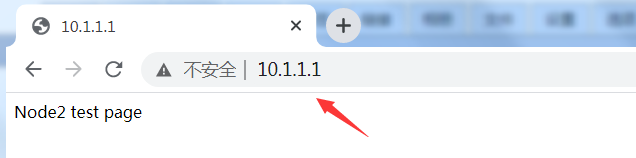
[root@Node2 ~]# echo Node2 test page > /var/www/html/index.html
[root@Node2 ~]# vim /var/www/html/test.php
	Node2 test page
    <?php
        phpinfo();
    ?>

# 测图片
[root@Node2 ~]# mv /var/www/html/pic.jpg

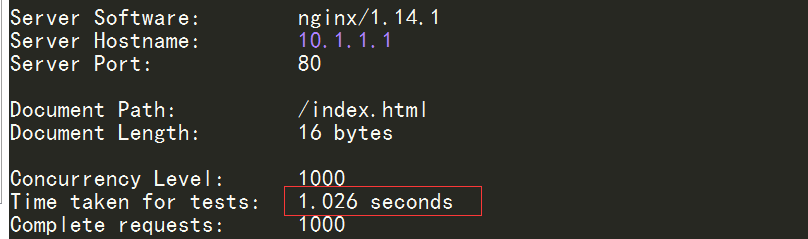
ab压测
[root@client ~]# ab -n 1000 -c 1000 http://10.1.1.1/index.html
nginx负载方法
权重
用于服务器性能不均匀的情况 性能强的服务器分配的数据多
upstream backserver {
    server 10.1.1.2 weight=1;
    server 10.1.1.4 weight=2;
}
ip_hash
按照请求的IP地址经过hash之后分配到一个固定的服务器 保证每个IP访问一个固定的服务器 用来解决session问题
upstream backserver {
    ip_hash;
    server 10.1.1.2:80;
    server 10.1.1.4:80;
}
fair
按照服务器响应时间 响应时间短被优先分配
upstream backserver {
	  fair;
      server 10.1.1.2:80;
      server 10.1.1.4:80;

}
url_hash
按访问 url 的 hash 结果来分配请求,使每个 url 定向到同一个后端服务器,后端服务器为缓存时比较有效
upstream backserver {
	hash $request_uri;
    hash_method crc32;
    server 10.1.1.2:80;
    server 10.1.1.4:80;
}

 浙公网安备 33010602011771号