centos7 安装zabbix
一、安装mysql
1.[root@iZ28gvqe4biZ ~]# rpm -Uvh http://dev.mysql.com/get/mysql-community-release-el7-5.noarch.rpm
准备中... ################################# [100%]
正在升级/安装...
1:mysql-community-release-el7-5 ################################# [100%]
mysql-connectors-community/x86_64 MySQL Connectors Community 60
mysql-tools-community/x86_64 MySQL Tools Community 69
mysql56-community/x86_64 MySQL 5.6 Community Server 412
 systemctl start mysqld

6.重置密码
[root@iZ28gvqe4biZ ~]# mysql_secure_installation NOTE: RUNNING ALL PARTS OF THIS SCRIPT IS RECOMMENDED FOR ALL MySQL SERVERS IN PRODUCTION USE! PLEASE READ EACH STEP CAREFULLY! In order to log into MySQL to secure it, we'll need the current password for the root user. If you've just installed MySQL, and you haven't set the root password yet, the password will be blank, so you should just press enter here. Enter current password for root (enter for none): OK, successfully used password, moving on... Setting the root password ensures that nobody can log into the MySQL root user without the proper authorisation. Set root password? [Y/n] y [设置root用户密码] New password: Re-enter new password: Password updated successfully! Reloading privilege tables.. ... Success! By default, a MySQL installation has an anonymous user, allowing anyone to log into MySQL without having to have a user account created for them. This is intended only for testing, and to make the installation go a bit smoother. You should remove them before moving into a production environment. Remove anonymous users? [Y/n] y [删除匿名用户] ... Success! Normally, root should only be allowed to connect from 'localhost'. This ensures that someone cannot guess at the root password from the network. Disallow root login remotely? [Y/n] n [禁止root远程登录] ... skipping. By default, MySQL comes with a database named 'test' that anyone can access. This is also intended only for testing, and should be removed before moving into a production environment. Remove test database and access to it? [Y/n] y [删除test数据库] - Dropping test database... ERROR 1008 (HY000) at line 1: Can't drop database 'test'; database doesn't exist ... Failed! Not critical, keep moving... - Removing privileges on test database... ... Success! Reloading the privilege tables will ensure that all changes made so far will take effect immediately. Reload privilege tables now? [Y/n] y [刷新权限] ... Success! All done! If you've completed all of the above steps, your MySQL installation should now be secure. Thanks for using MySQL! Cleaning up...
二、 安装zabbix
1. 下载zabbix yum 源
rpm -i https://repo.zabbix.com/zabbix/3.4/rhel/7/x86_64/zabbix-release-3.4-2.el7.noarch.rpm
2.安装zabbix-agent和zabbix-server
yum install zabbix-server-mysql zabbix-web-mysql zabbix-agent
3.zabbix数据导入mysql数据库
zcat /usr/share/doc/zabbix-server-mysql*/create.sql.gz | mysql -uzabbix -p zabbix
4.Edit file /etc/zabbix/zabbix_server.conf
DBPassword=zabbix
5.Configure PHP for Zabbix frontend
Edit file /etc/httpd/conf.d/zabbix.conf, uncomment and set the right timezone for you.
php_value date.timezone Asia/Shanghai
6.启动zabbix-server和zabbix-agent服务
# systemctl restart zabbix-server zabbix-agent httpd
7.开机启动 zabbix-server和zabbix-agent 、httpd
systemctl enable zabbix-server zabbix-agent httpd
8.查看端口
[root@zabbix conf]# netstat -lntup
Active Internet connections (only servers)
Proto Recv-Q Send-Q Local Address           Foreign Address         State       PID/Program name
tcp        0      0 0.0.0.0:111             0.0.0.0:*               LISTEN      1/systemd
tcp        0      0 192.168.122.1:53        0.0.0.0:*               LISTEN      1819/dnsmasq
tcp        0      0 0.0.0.0:22              0.0.0.0:*               LISTEN      1624/sshd
tcp        0      0 127.0.0.1:631           0.0.0.0:*               LISTEN      1617/cupsd
tcp        0      0 0.0.0.0:10050           0.0.0.0:*               LISTEN      15512/zabbix_agentd
tcp        0      0 0.0.0.0:10051           0.0.0.0:*               LISTEN      15432/zabbix_server
tcp        0      0 127.0.0.1:9000          0.0.0.0:*               LISTEN      127795/php-fpm: mas
tcp6       0      0 :::111                  :::*                    LISTEN      1/systemd
tcp6       0      0 :::80                   :::*                    LISTEN      15535/httpd
tcp6       0      0 :::22                   :::*                    LISTEN      1624/sshd
tcp6       0      0 ::1:631                 :::*                    LISTEN      1617/cupsd
tcp6       0      0 :::443                  :::*                    LISTEN      15535/httpd
tcp6       0      0 :::10050                :::*                    LISTEN      15512/zabbix_agentd
tcp6       0      0 :::10051                :::*                    LISTEN      15432/zabbix_server
tcp6       0      0 :::3306                 :::*                    LISTEN      109944/mysqld
udp        0      0 0.0.0.0:47631           0.0.0.0:*                           1191/avahi-daemon:
udp        0      0 192.168.122.1:53        0.0.0.0:*                           1819/dnsmasq
udp        0      0 0.0.0.0:67              0.0.0.0:*                           1819/dnsmasq
udp        0      0 0.0.0.0:68              0.0.0.0:*                           12200/dhclient
udp        0      0 0.0.0.0:5353            0.0.0.0:*                           1191/avahi-daemon:
udp        0      0 0.0.0.0:39777           0.0.0.0:*                           12200/dhclient
udp6       0      0 :::19528                :::*                                12200/dhclient
9.在浏览器输入
http://server_ip_or_name/zabbix
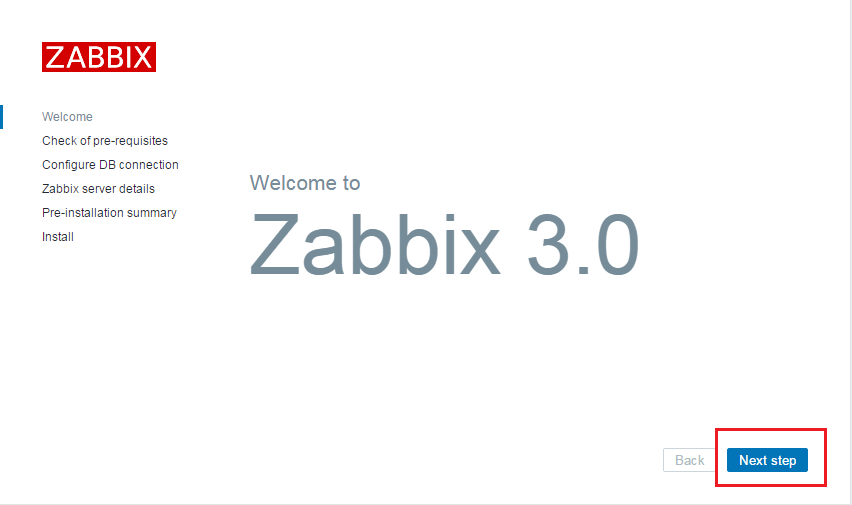
10 快速在配置zabbix
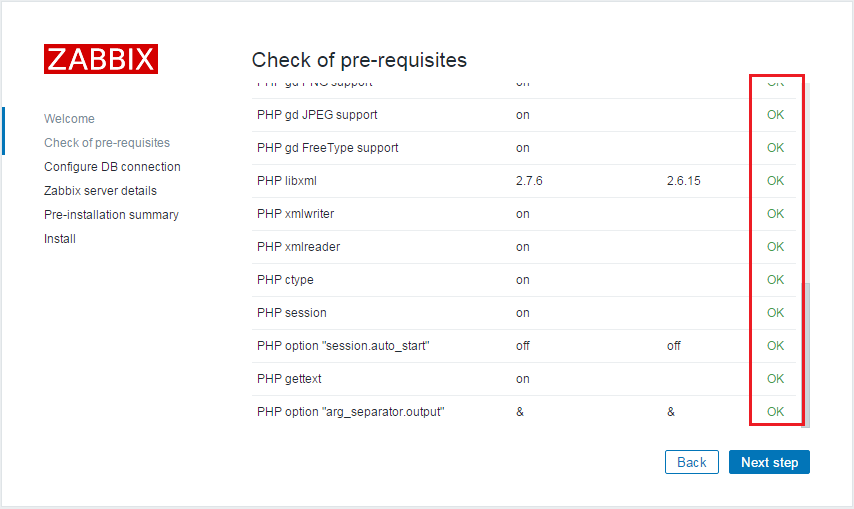
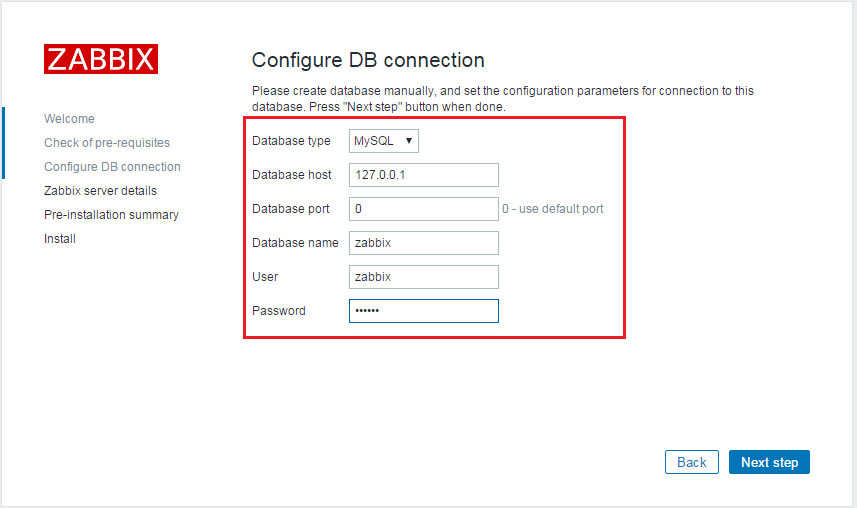
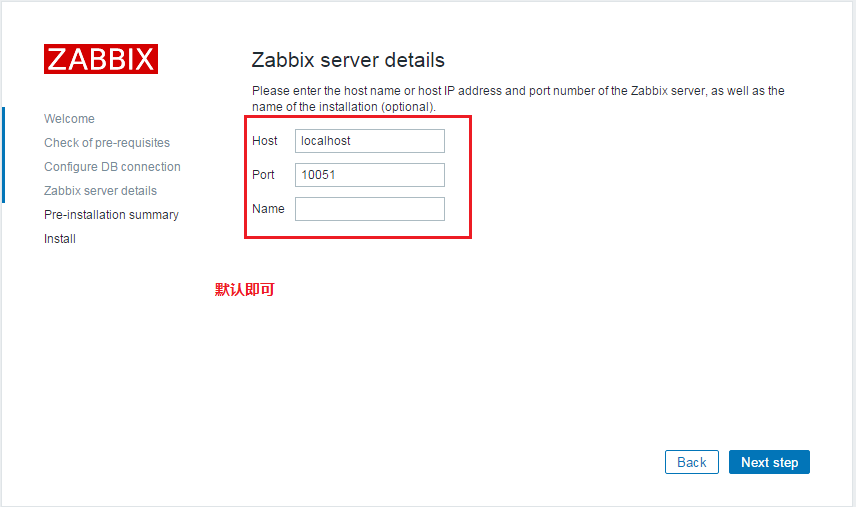
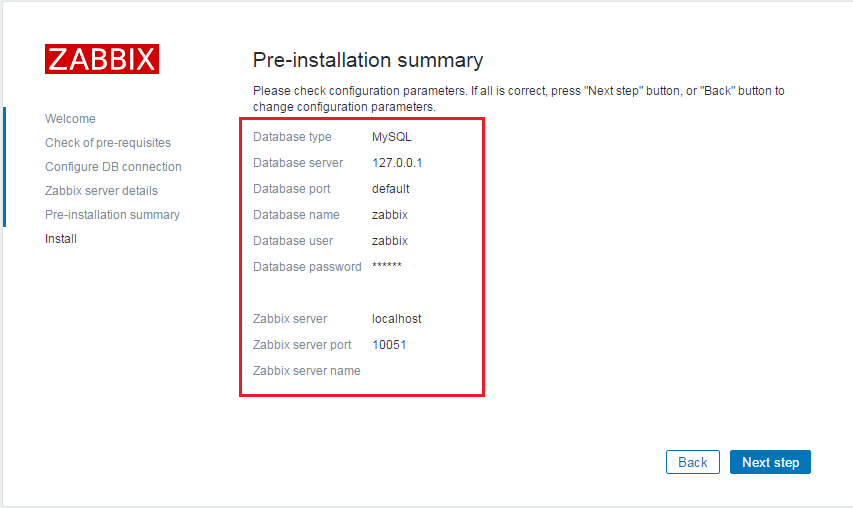

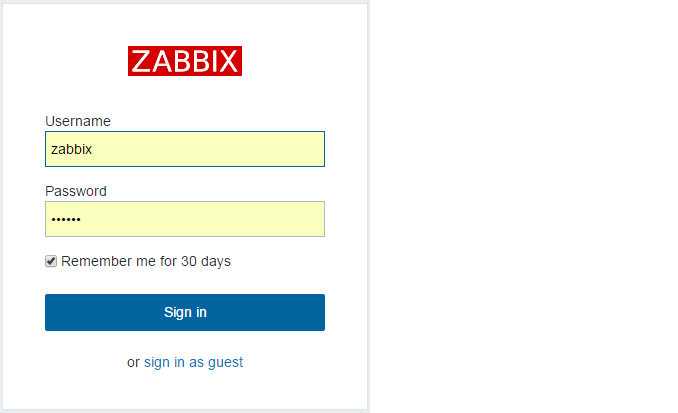
默认用户admin, 密码zabbix
![]()
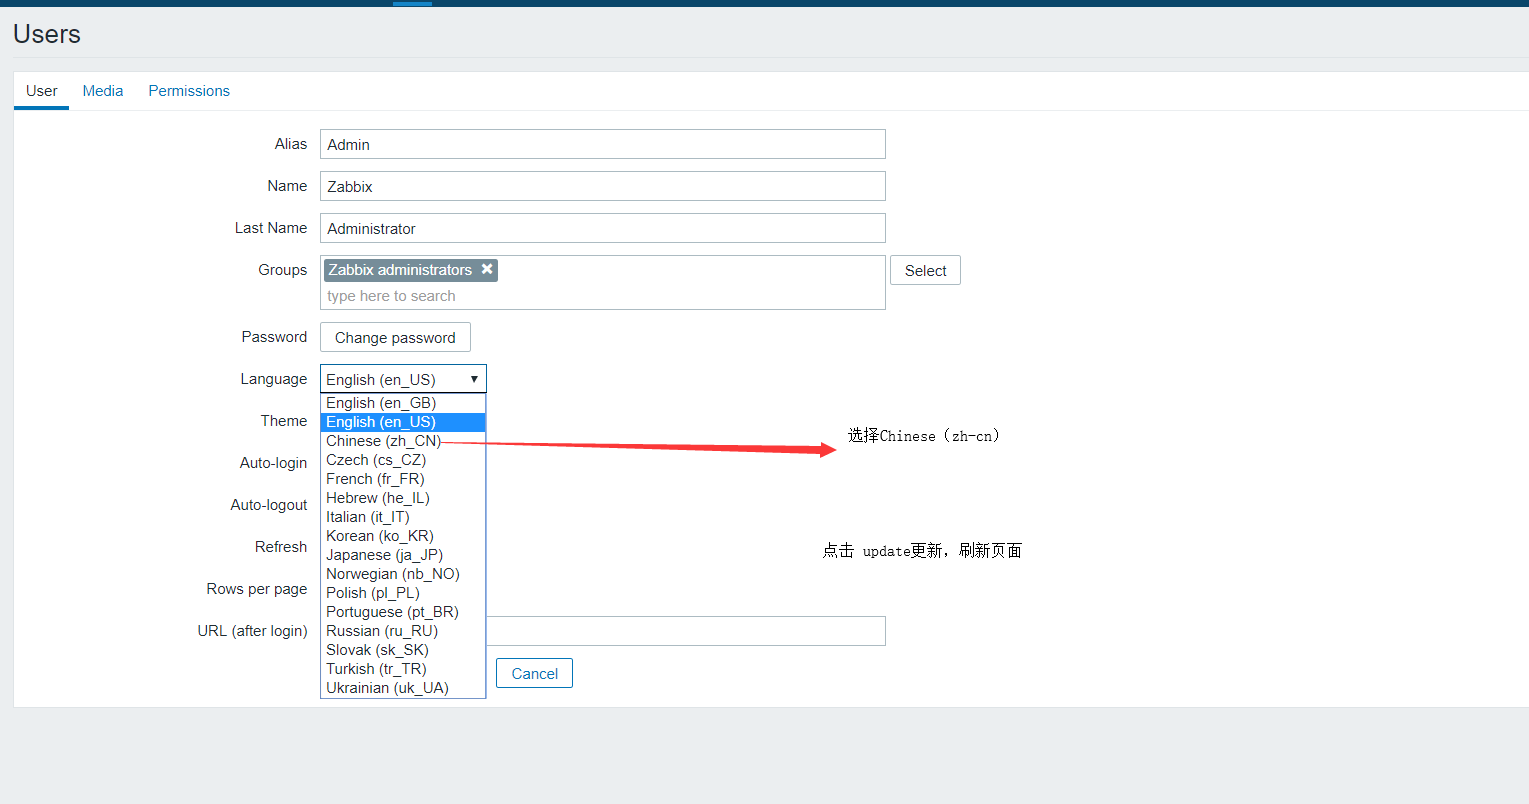
修改中文

常见问题:
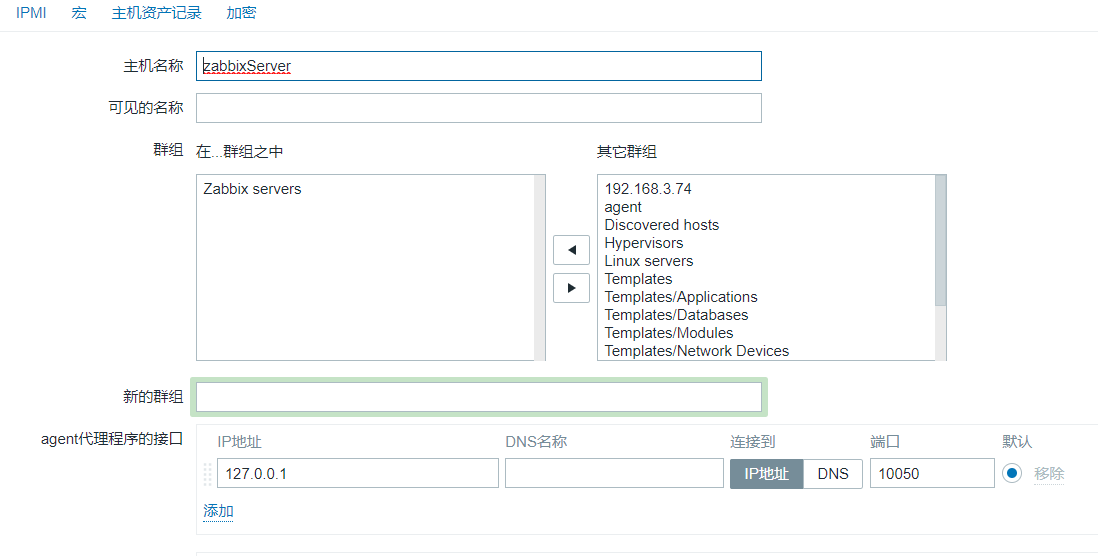
主机名没有发现

配置文件:
设置主机名命令:
hostnamectl set-hostname zabbixServer
vim zabbix_agentd.conf
ServerActive=192.168.1.28,zabbixServer
Hostname=zabbixServer
解决乱码问:
https://www.cnblogs.com/momoshouhu/p/8053631.html
本文来自博客园,作者:鱼丸粗面没鱼丸,转载请注明原文链接:https://www.cnblogs.com/Robi-9662/p/9394854.html



 浙公网安备 33010602011771号