Windows 环境编译安装 Net-SNMP 5.9.4 流程以及踩坑总结
Net-SNMP 5.9.4 build 产物: Download Click Here
一、本机环境
- OS: Win10 企业版19045
- 平台架构:X86_64
- 软件版本
Visual Studio 2019 (nmake 环境, 必须)
OpenSSL: v3.3.0
perl: v5.26.1
net-snmp: 5.9.4
二、下载、安装环境依赖
-
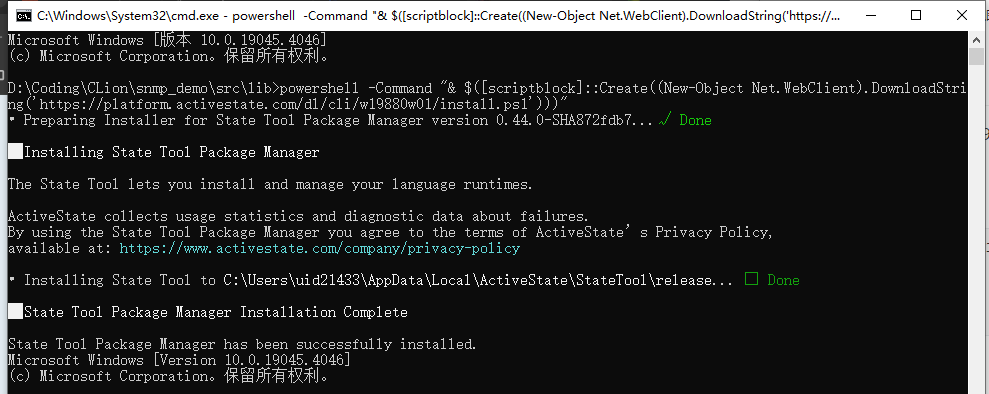
安装 activatestate 工具
官网为:https://www.activestate.com/products/platform/state-tool/
安装命令为:
# 在 CMD 中执行, 等待安装完成,过程可能较久
powershell -Command "& $([scriptblock]::Create((New-Object Net.WebClient).DownloadString('https://platform.activestate.com/dl/cli/w19880w01/install.ps1')))"
-
安装 Perl 工具
官网:https://platform.activestate.com/
在官网注册登录后,选择perl并打开下载页面,复制生成的 PowerShell 命令,同样是在cmd中执行,等待安装完成。
-
安装visual studio 2019 ,这个不用详述了;
-
下载和解压 OpenSSL
下载地址:Here
下载 ZIP压缩包 并解压后,将其中的【ssl】文件夹和平台对应目录(x64)下【所有文件】复制到想要安装OpenSSL的路径(我的路径是
D:/DevFile/openssl-3.3.0/openssl-3/x64) -
下载net-snmp源码包
下载地址:Here
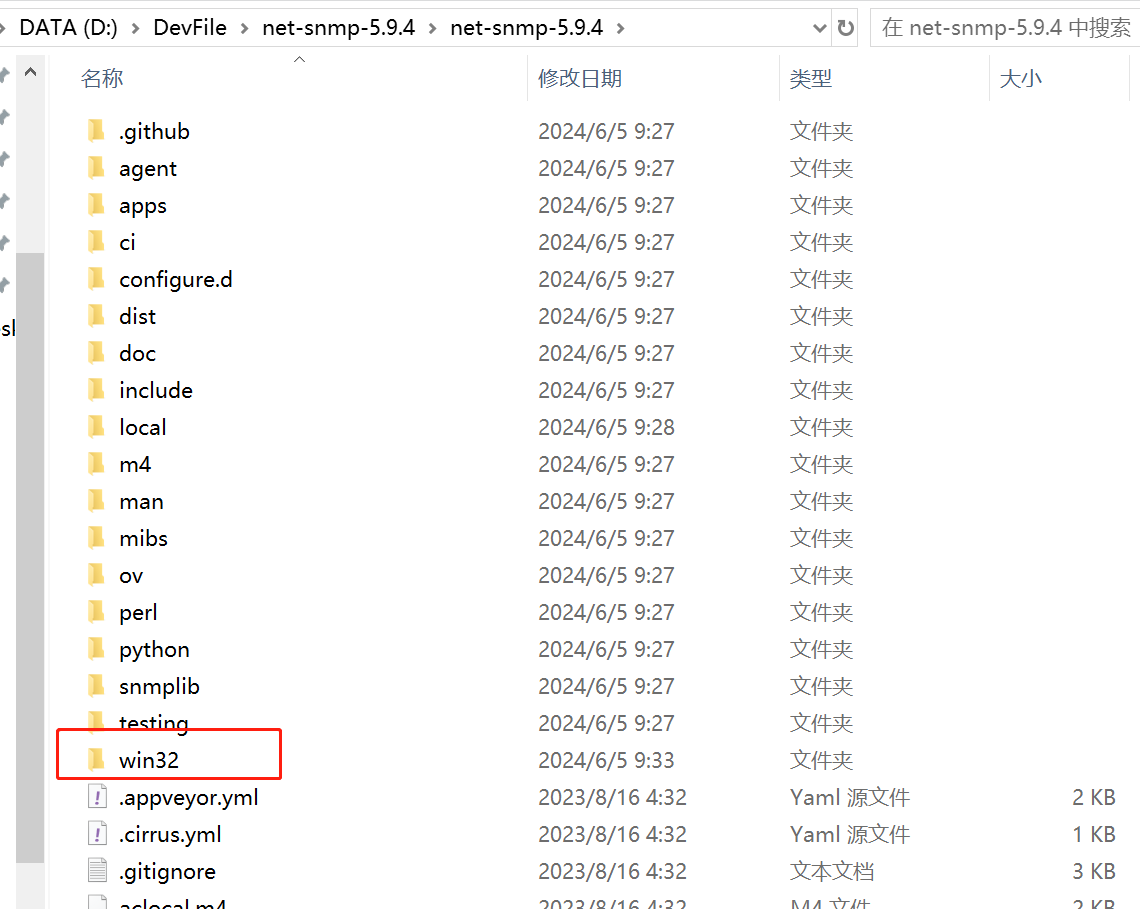
将源码包解压,进入系统对应目录(win32),此处为执行后续编译命令的路径。

三、编译 SNMP
-
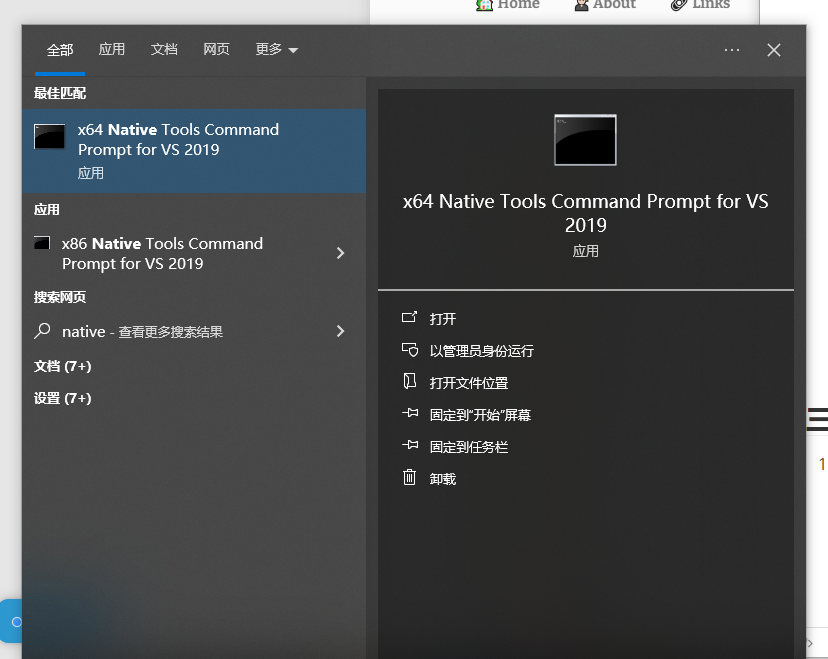
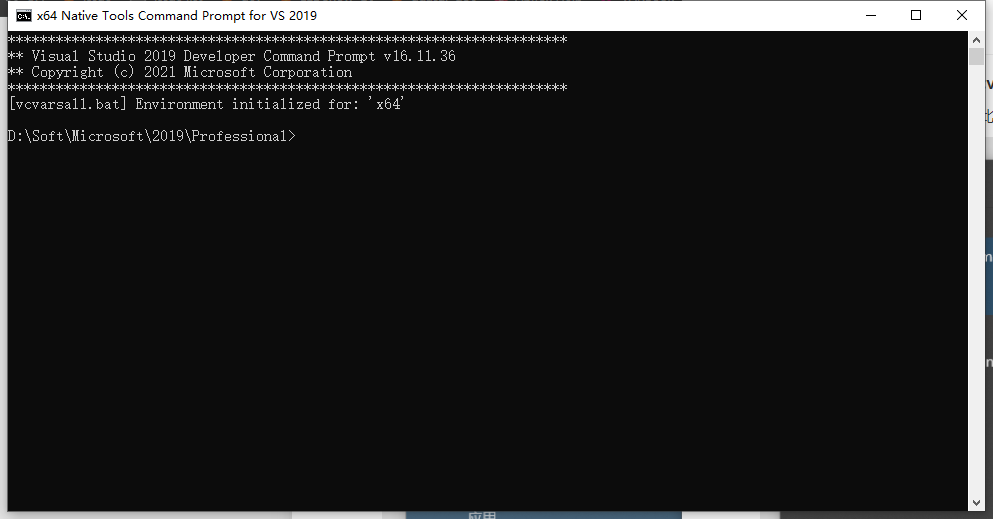
进入 VS2019 编译环境:运行 vcvars64.bat
可以在 Windows 开始菜单找到此快捷方式 (推荐使用管理员模式运行)

运行后进入编译环境:

-
进入net-snmp编译路径:
cd YouPath\net-snmp-5.9.4\win32 -
(可选项,如果不想使用 SSL 功能则无需执行此操作)
修改源码中OpenSSL库命名:将
win32\net-snmp目录下net-snmp-config.h和net-snmp-config.h.in两个文件中的 libcrypto64MD.lib、libssl64MD.lib 修改为 libcrypto.lib、libssl.lib,如下图所示:修改前

修改后

-
编译动态库,执行以下命令:
perl Configure --prefix=c:/usr --config=release --linktype=dynamic --with-ssl --with-sslincdir=D:/DevFile/openssl-3.3.0/openssl-3/x64/include --with-ssllibdir=D:/DevFile/openssl-3.3.0/openssl-3/x64/lib nmake /nologo libs_clean nmake /nologo libs -
编译net-snmp,执行以下命令:
perl Configure --prefix=c:/usr --config=release --linktype=static --with-ssl --with-sslincdir=D:/DevFile/openssl-3.3.0/openssl-3/x64/include --with-ssllibdir=D:/DevFile/openssl-3.3.0/openssl-3/x64/lib
nmake /nologo clean
nmake /nologo
如果执行完以上命令没有出现报错中断,说明编译已经完成,执行以下命令完成安装;
nmake /nologo install此时net-snmp就已安装到
c:\usr目录下,进入c:\usr\bin目录即可执行snmpset、snmpget等方法注意,如果运行 install 时终端没有管理员权限最后可能无法将生成的文件移动至 c 盘,但编译产物会保留在
.\win32\bin\release中
四、踩坑
-
build.bat 编译问题
根据其他教程,执行win32目录下build.bat编译,先是提示Can't spawn "cmd.exe": No such file or directory,增加环境变量C:\System32未解决,最终手动复制了一个cmd.exe到win32目录下,解决此报错问题,但后续执行nmake相关行时又报错,clean.out显示DNS 服务器对区域没有权威。,最终放弃通过build.bat,转而根据build.pl内容,手动进行编译。
-
OpenSSL选项编译问题
在不编译OpenSSL相关选项时,使用以下命令可以简单完成编译
perl Configure --prefix=c:/usr --config=release --linktype=static
nmake /nologo clean
nmake /nologo
但是编译出来的工具不支持加密认证,若使用-a SHA/SHA-256等参数,则会打印Invalid authentication protocol specified after -3a flag: SHA-256 提示,此问题为未链接OpenSSL编译导致,解决方法:使用以下命令链接OpenSSL进行编译;
perl Configure --prefix=c:/usr --config=release --linktype=static --with-ssl --with-sslincdir=D:/DevFile/openssl-3.3.0/openssl-3/x64/include --with-ssllibdir=D:/DevFile/openssl-3.3.0/openssl-3/x64/lib
nmake /nologo clean
nmake /nologo
增加OpenSSL选项编译后,编译一段时间后异常退出,报错提示:LINK : fatal error LNK1104: 无法打开文件“libcrypto64MD.lib”,此问题为win32\net-snmp目录下的net-snmp-config.h文件中规定的OpenSSL 库文件命名不正确,解决办法:
- 将win32\net-snmp目录下
net-snmp-config.h和net-snmp-config.h.in两个文件中的libcrypto64MD.lib、libssl64MD.lib修改为libcrypto.lib、libssl.lib; - 或者将C:\OpenSSL\lib目录下的
libcrypto.lib、libssl.lib修改为libcrypto64MD.lib、libssl64MD.lib
以上方法二选一即可
解决以上问题后,重新开始编译,又出现异常提示:netsnmpagent.lib(snmp_vars.obj) : error LNK2019: 无法解析的外部符号 netsnmp_xxxx,此问题未找到原因,但根据build.pl中给出编译选项,尝试以dynamic方式编译后,再重新编译,问题得到解决。
解决方法:执行以下命令编译动态库文件
perl Configure --prefix=c:/usr --config=release --linktype=dynamic --with-ssl --with-sslincdir=D:/DevFile/openssl-3.3.0/openssl-3/x64/include --with-ssllibdir=D:/DevFile/openssl-3.3.0/openssl-3/x64/lib
nmake /nologo libs_clean
nmake /nologo libs
编译完成后,执行以下命令重新编译
perl Configure --prefix=c:/usr --config=release --with-ssl --with-sslincdir=D:/DevFile/openssl-3.3.0/openssl-3/x64/include --with-ssllibdir=D:/DevFile/openssl-3.3.0/openssl-3/x64/lib
nmake /nologo clean
nmake /nologo
最终编译完成,未出现其他报错,执行
nmake /nologo install命令完成安装; - 将win32\net-snmp目录下
-
MIB库未找到异常提示
由于源码中MIB库路径是固定
/usr/share/snmp/mibs,因此若移动了安装路径或安装到其他路径,则会出现如下异常提示:MIB search path: c:/usr/share/snmp/mibs Cannot find module (IP-MIB): At line 0 in (none) Cannot find module (IF-MIB): At line 0 in (none) Cannot find module (TCP-MIB): At line 0 in (none) Cannot find module (UDP-MIB): At line 0 in (none) Cannot find module (HOST-RESOURCES-MIB): At line 0 in (none) Cannot find module (SNMPv2-MIB): At line 0 in (none) Cannot find module (SNMPv2-SMI): At line 0 in (none) Cannot find module (NOTIFICATION-LOG-MIB): At line 0 in (none) Cannot find module (UCD-SNMP-MIB): At line 0 in (none) Cannot find module (UCD-DEMO-MIB): At line 0 in (none) Cannot find module (SNMP-TARGET-MIB): At line 0 in (none) Cannot find module (NET-SNMP-AGENT-MIB): At line 0 in (none) Cannot find module (DISMAN-EVENT-MIB): At line 0 in (none) Cannot find module (SNMP-VIEW-BASED-ACM-MIB): At line 0 in (none) Cannot find module (SNMP-COMMUNITY-MIB): At line 0 in (none) Cannot find module (SNMP-FRAMEWORK-MIB): At line 0 in (none) Cannot find module (SNMP-MPD-MIB): At line 0 in (none) Cannot find module (SNMP-USER-BASED-SM-MIB): At line 0 in (none) Cannot find module (SNMP-NOTIFICATION-MIB): At line 0 in (none) Cannot find module (SNMPv2-TM): At line 0 in (none)此异常提示不影响使用(未发现影响),但可以通过使用时指定mib库路径解决,即
原命令:
snmpget -v 2c -c rwcommstr xxx.xxx.xxx.xxx 1.3.6.1.4.1修改后:
snmpget -M ..\share\snmp\mibs -v 2c -c rwcommstr xxx.xxx.xxx.xxx 1.3.6.1.4.1指定路径后异常提示消失。


 浙公网安备 33010602011771号