NoneBot2聊天机器人自定义聊天内容
1、按照上一篇文章所介绍的方法新建一个机器人,进入所对应的文件夹,会发现里面有一个和自己所创建的机器人名称一样的文件夹
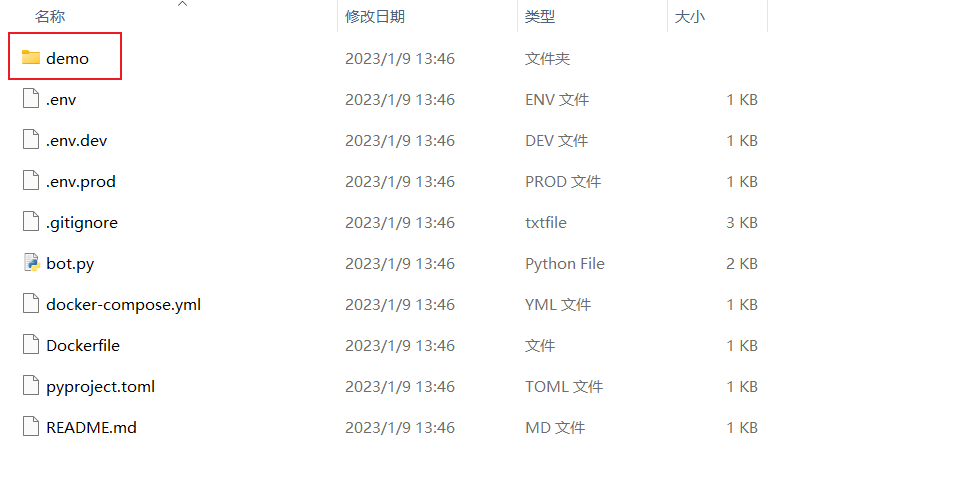
2、进入该文件夹,会发现一个名叫plugins的文件夹

3、自定义插件
注:插件的定义方式有两种,一种是在plugins文件夹下创建一个.py文件;另一种方式是现在plugins文件夹下创建一个新文件夹,再在该文件夹下创建一个__init__.py文件(下划线两条杠)
具体参考文档:https://v2.nonebot.dev/docs/tutorial/plugin/introduction
4、编写相应代码
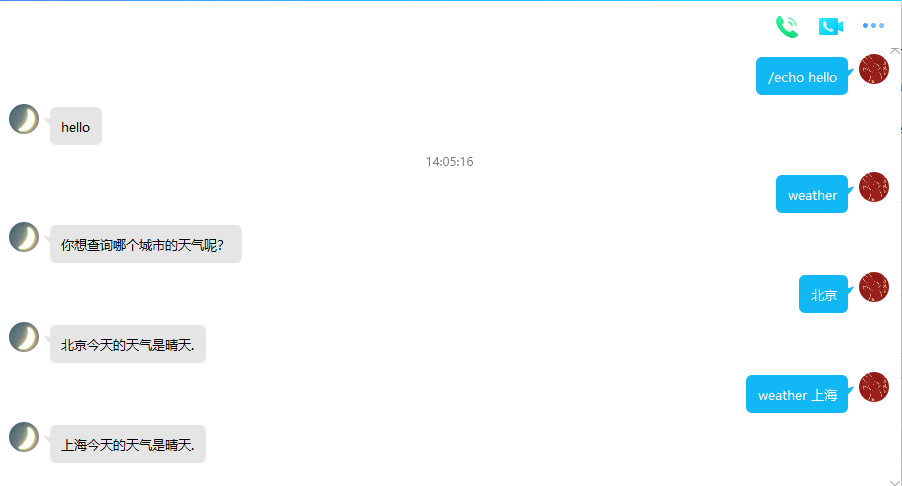
import nonebot
from nonebot.matcher import Matcher
from nonebot.rule import to_me
from nonebot.adapters import Message
from nonebot.params import Arg, CommandArg, ArgPlainText
from nonebot import on_command


Demo = on_command('weather', rule=to_me(), aliases={"天气情况", "天气预报"})

@Demo.handle()
async def test_handle(matcher: Matcher, args: Message=CommandArg()):
    plain_text = args.extract_plain_text()
    if plain_text:
        matcher.set_arg("city", args)

@Demo.got("city", prompt="你想查询哪个城市的天气呢?")
async def handle_city(city:Message=Arg(), city_name: str=ArgPlainText("city")):
    if city_name not in ["北京", "上海"]:
        city_weather = await Demo.reject(city.template("你想查询的城市 {city} 暂不支持,请重新输入!"))
    city_weather = await get_weather(city_name)
    await Demo.finish(city_weather)


async def get_weather(city: str) -> str:
    return f"{city}今天的天气是晴天."
相应函数使用文档如下:
https://v2.nonebot.dev/docs/api/plugin/on#on_command
https://v2.nonebot.dev/docs/tutorial/plugin/matcher-operation
https://v2.nonebot.dev/docs/tutorial/plugin/create-handler
5、启动NoneBot、cqhttp(详情可参考上篇文章)
nb run
.\go-cqhttp.exe
6、 测试

 浙公网安备 33010602011771号