jenkins pipline学习
跳过jenkins的学习,我们来学习pipline,pipline就是流水线任务,从任务开始到结束把,每条步骤的各个执行时间,节点设置卡点,图形化都很合用户体验,很贴合用户的使用
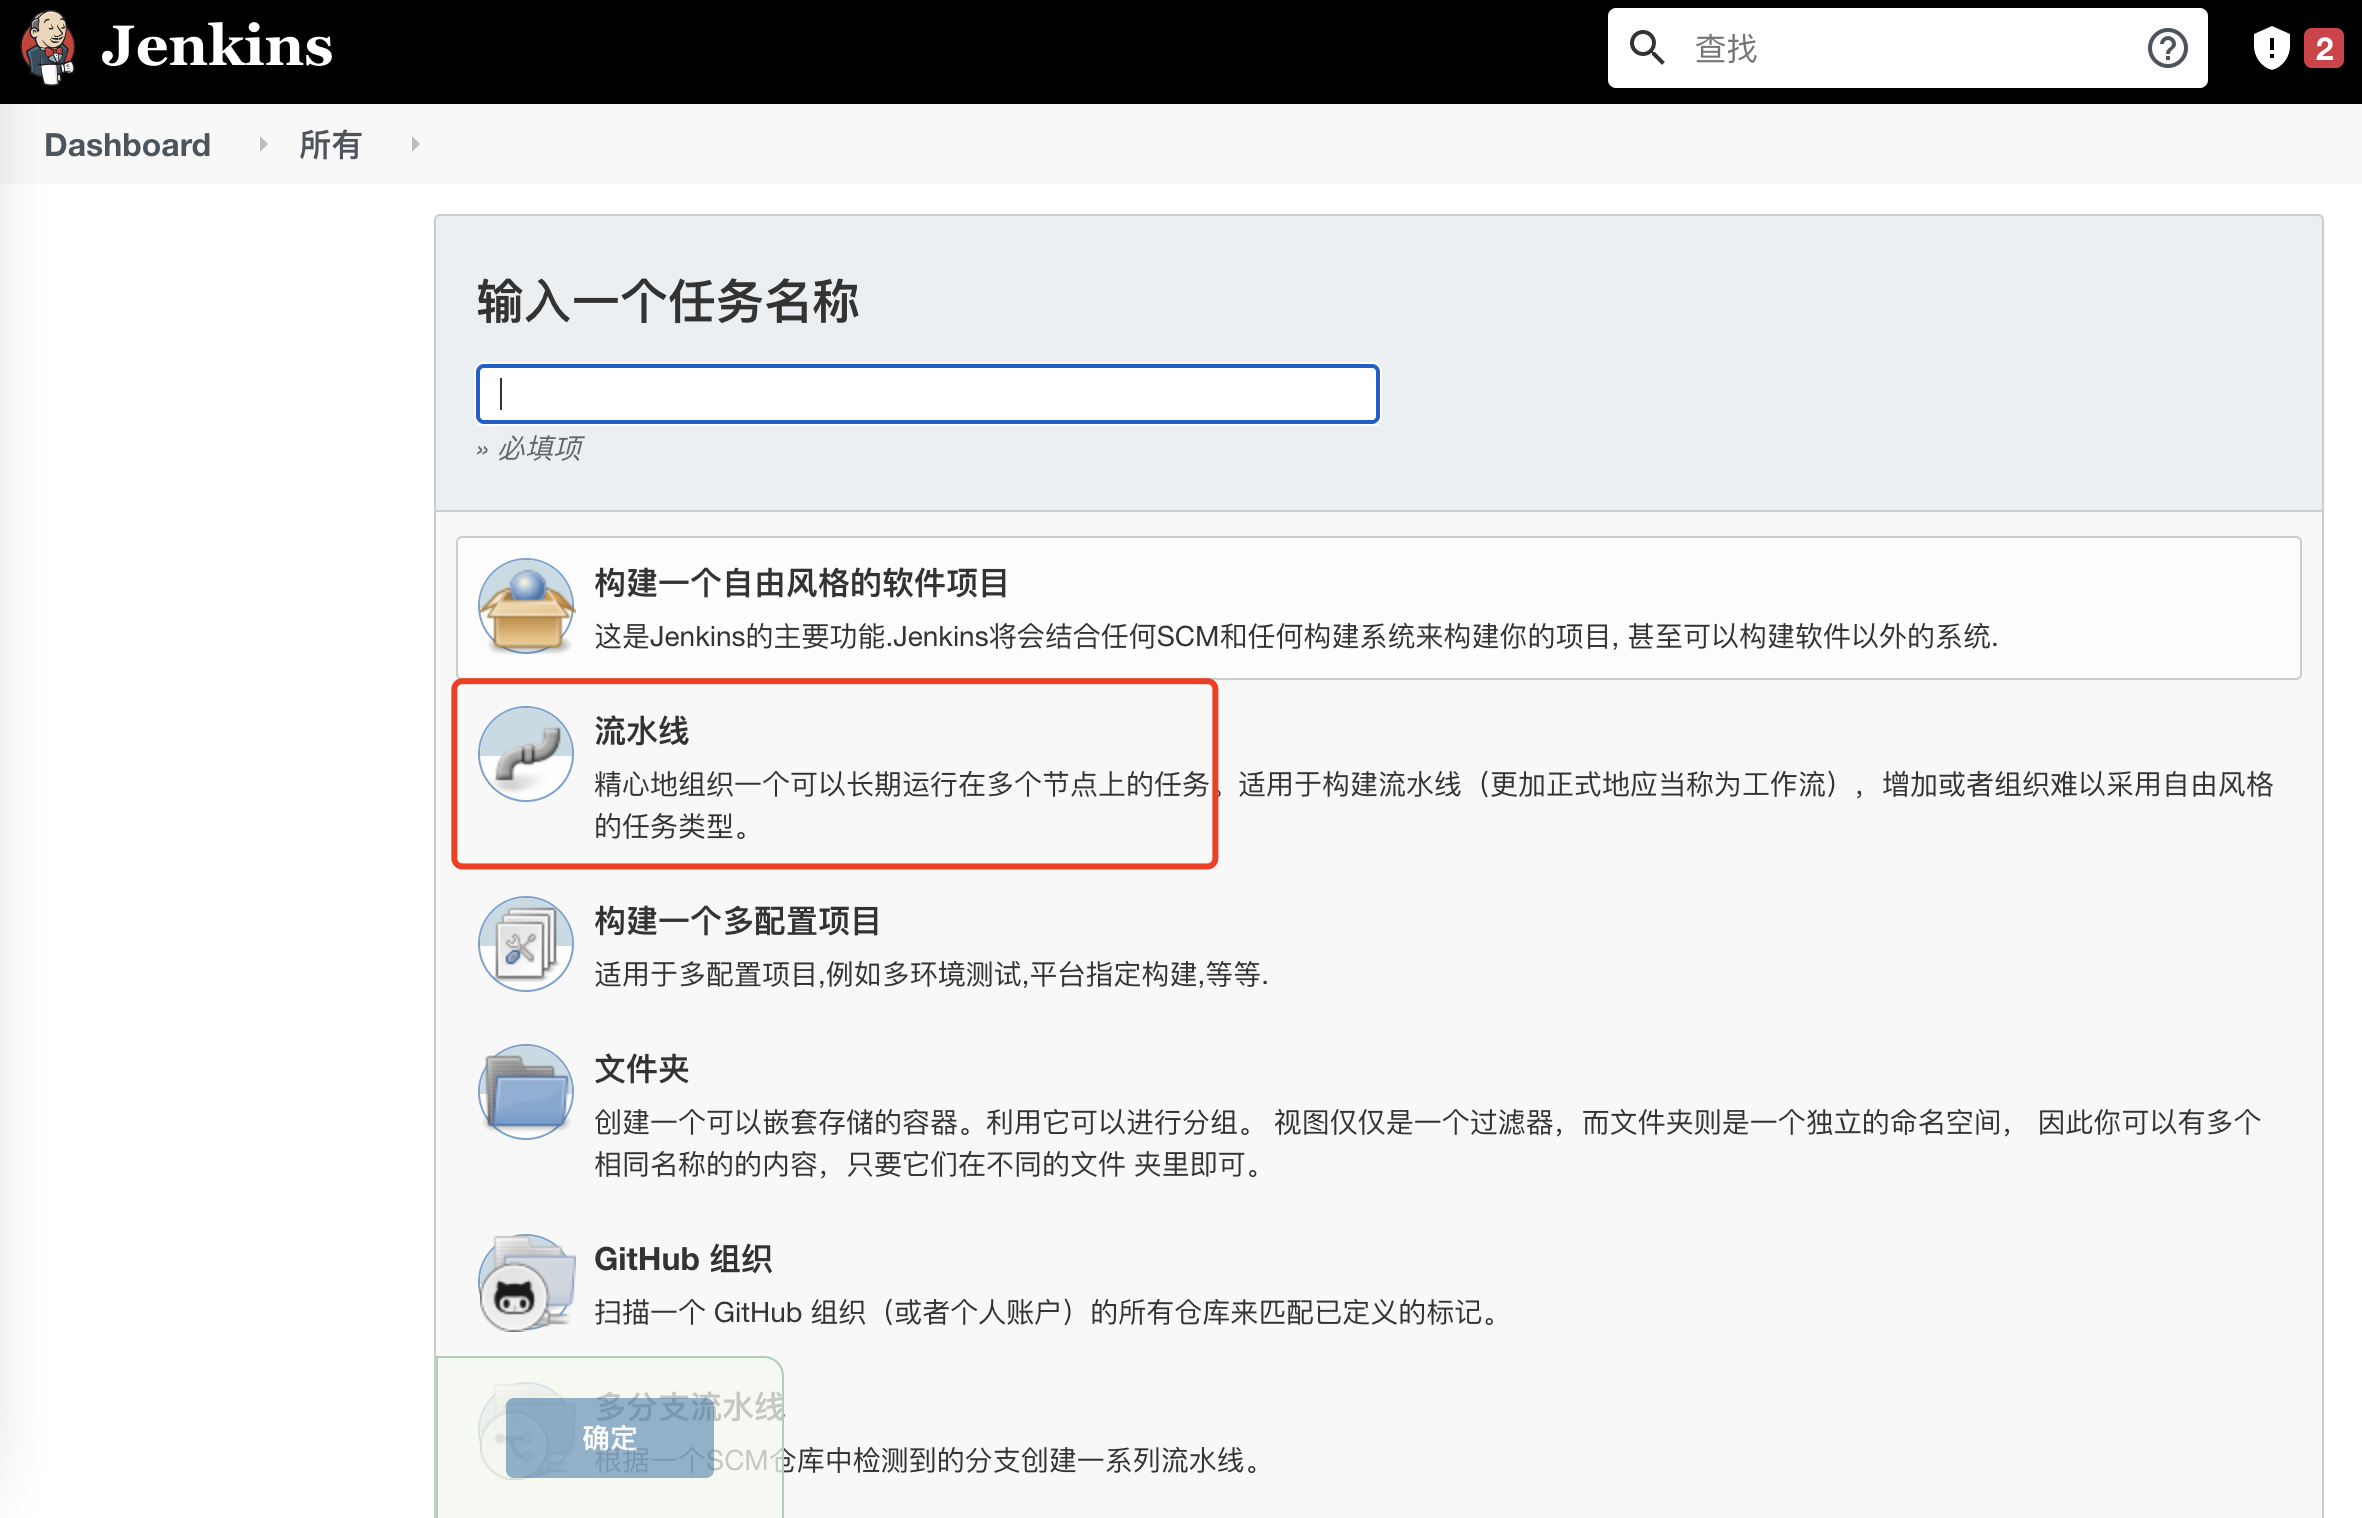
新增一个流水线

Demo事例(使用pipline script直接写,也可以使用pipline script for scm)
pipeline {
    agent {
        label 'master' /* 执行节点 */
    }
    stages {
        stage('冒烟测试') {
            steps {
                echo '冒烟测试测试成功'
                echo "${test1}"
            }
        }
        stage('接口自动化测试') {
            steps {
                echo '接口自动化测试成功'
            }
        }
        stage('ui自动化测试') {
            steps {
                echo 'ui自动化测试成功'
            }
        }
    }
}
`agent`指定在哪台机器上执行任务
`stage`组成最大的工作流,步骤是串联,一步一步向下
`steps`是stage下的小步骤,同一个stage下的多个steps是并行的
`sh`执行shell脚本,在window下使用`bat`
`input`节点卡点,是需要点击才能进入下一步的
`post`所有pipeline执行完成后,会进入post环节,该环节一般做一些清理工作,同时还可以判断pipeline的执行状态
超时与重试
Jenkinsfile (Declarative Pipeline)
pipeline {
    agent any
    stages {
        stage('Deploy') {
            steps {
                retry(3) {
                    sh './flakey-deploy.sh'
                }

                timeout(time: 3, unit: 'MINUTES') {
                    sh './health-check.sh'
                }
            }
        }
    }
}
`retry`重复执行脚本3次
`timeout`超时时间,如上总超时,时间不能超过3分钟
环境变量
Jenkinsfile (Declarative Pipeline)
pipeline {
    agent any

    environment {
        DISABLE_AUTH = 'true'
        DB_ENGINE    = 'sqlite'
    }

    stages {
        stage('Build') {
            steps {
                echo "${DISABLE_AUTH}"
            }
        }
    }
}
版权声明:本文原创发表于 博客园,作者为 RainBol 本文欢迎转载,但未经作者同意必须保留此段声明,且在文章页面明显位置给出原文连接,否则视为侵权。


