NancyFx 2.0的开源框架的使用-ModelBinding(实现绑定)
NancyFx框架中使用绑定模型
新建一个空的Web程序

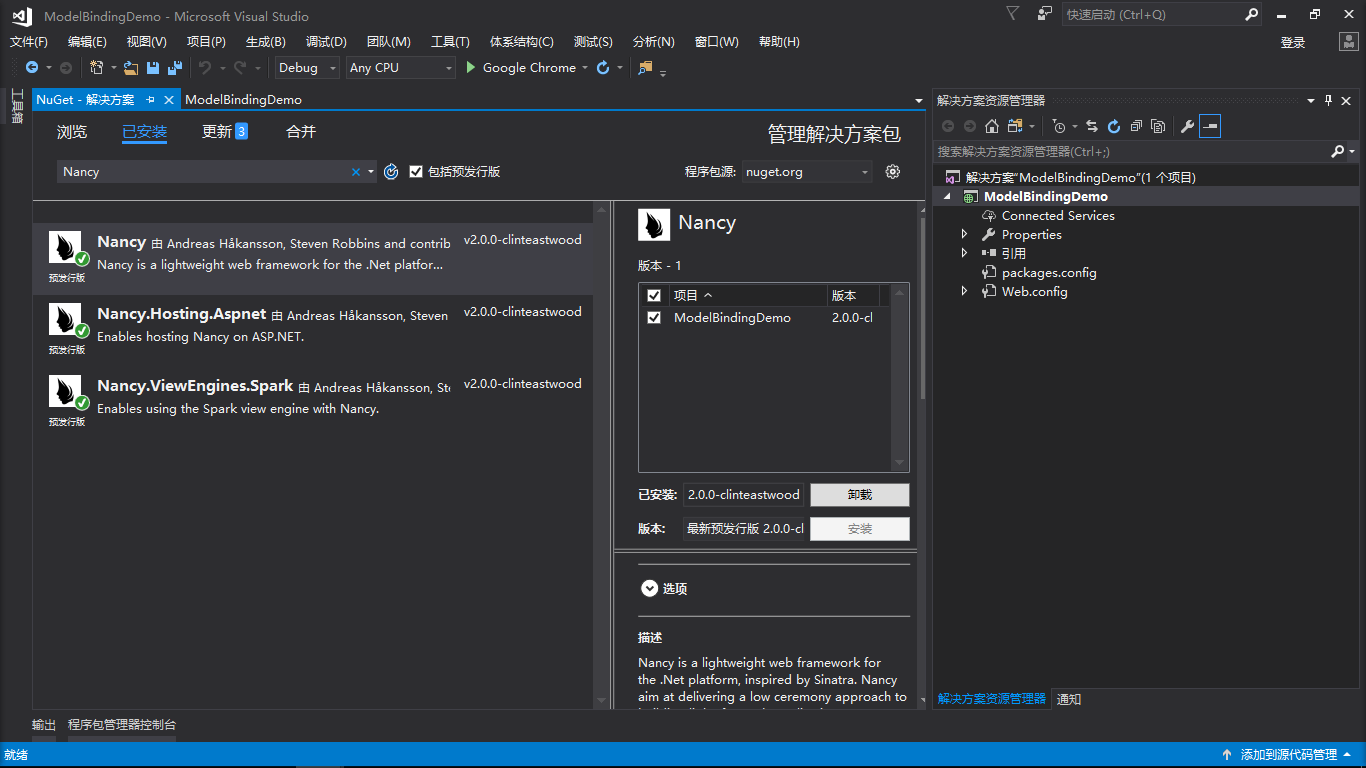
然后安装Nuget库里面的包
- Nancy
- Nancy.Hosting.Aspnet
- Nancy.ViewEnglines.Spark
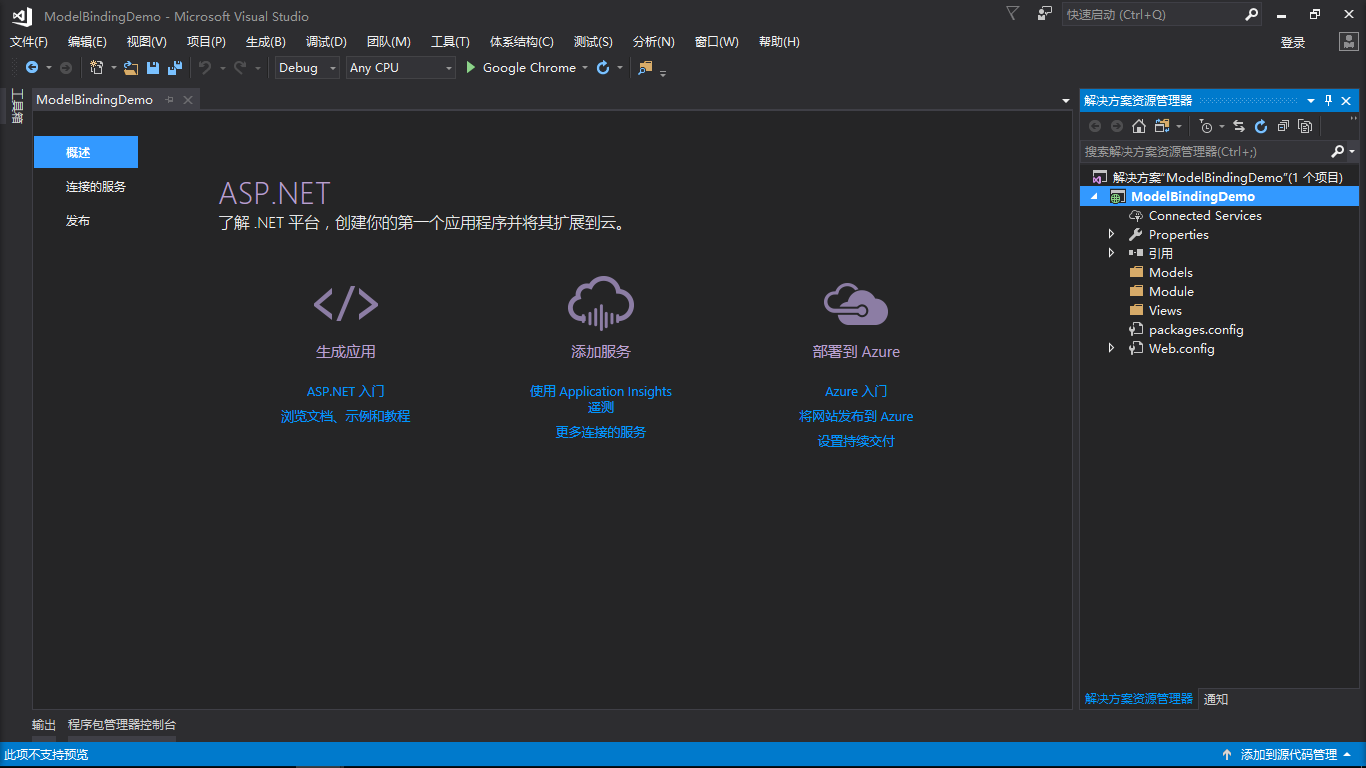
并在Web应用程序里面添加Models,Module,Views三个文件夹
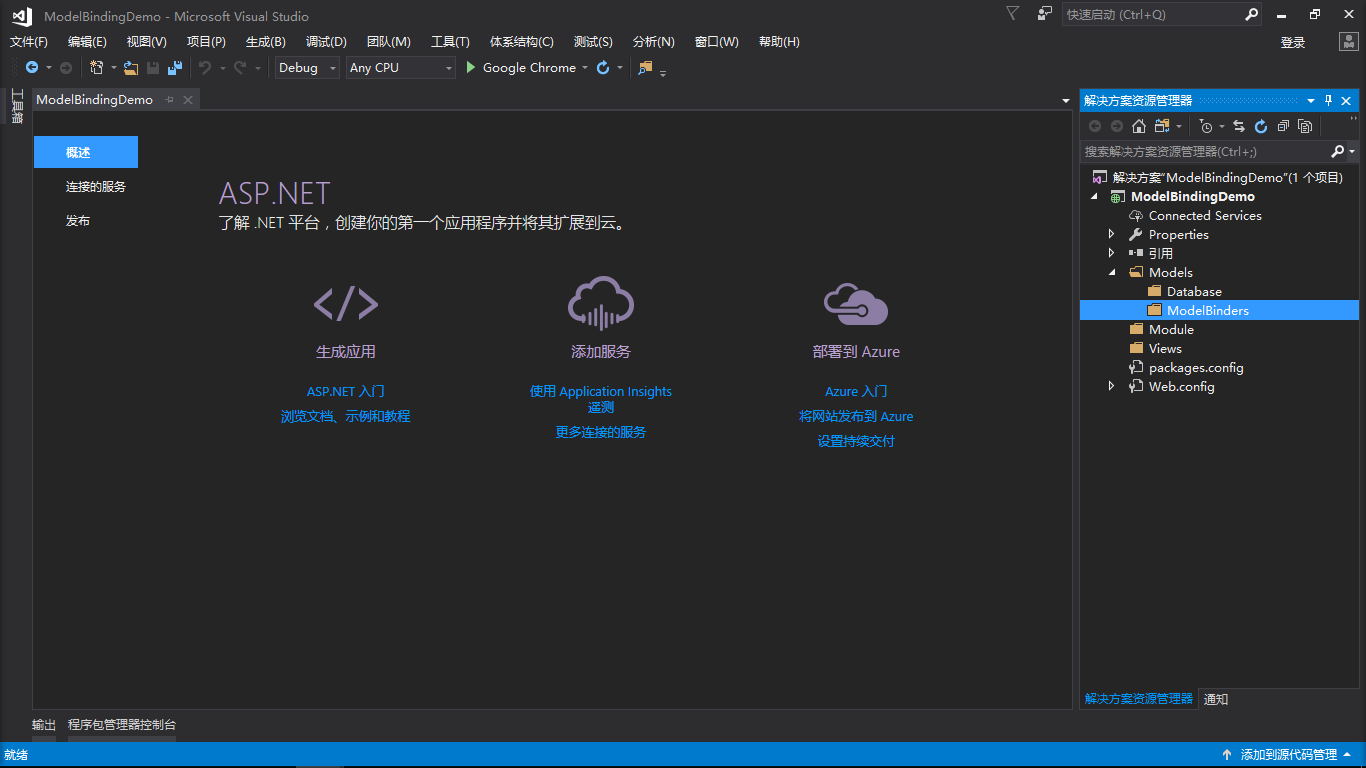
继续往Models文件夹里面添加Database,ModelBinders
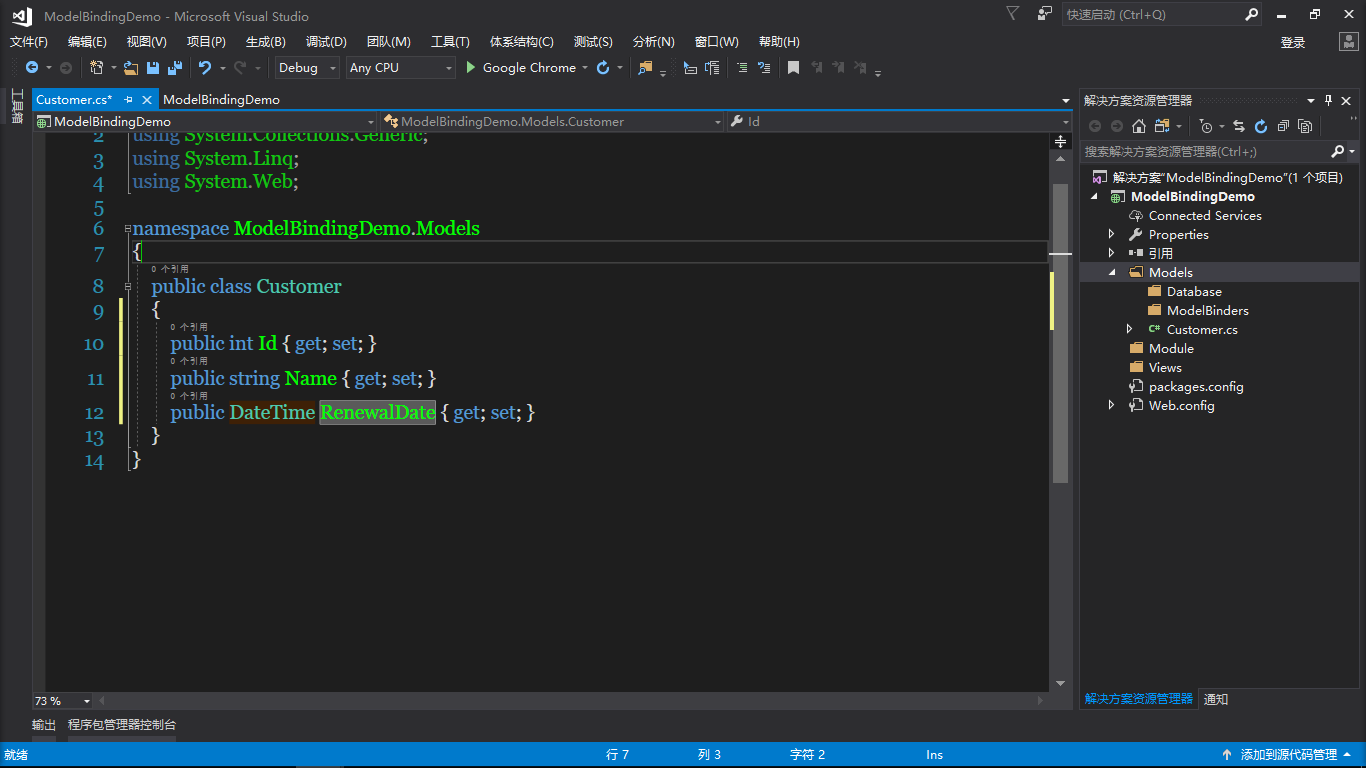
然后往Models文件夹里面添加Customer类
        public int Id { get; set; }
        public string Name { get; set; }
        public DateTime RenewalDate { get; set; }
继续往Models文件夹里面添加Event类
        public int Id { get; set; }
        public string Title { get; set; }
        public string Location { get; set; }
        public IEnumerable<int> Venues { get; set; }
        public DateTime Time { get; set; }
        public Event()
        {
            this.Title = "Lexan";
            this.Location = "Lexan";
            this.Time = DateTime.Now;
        }

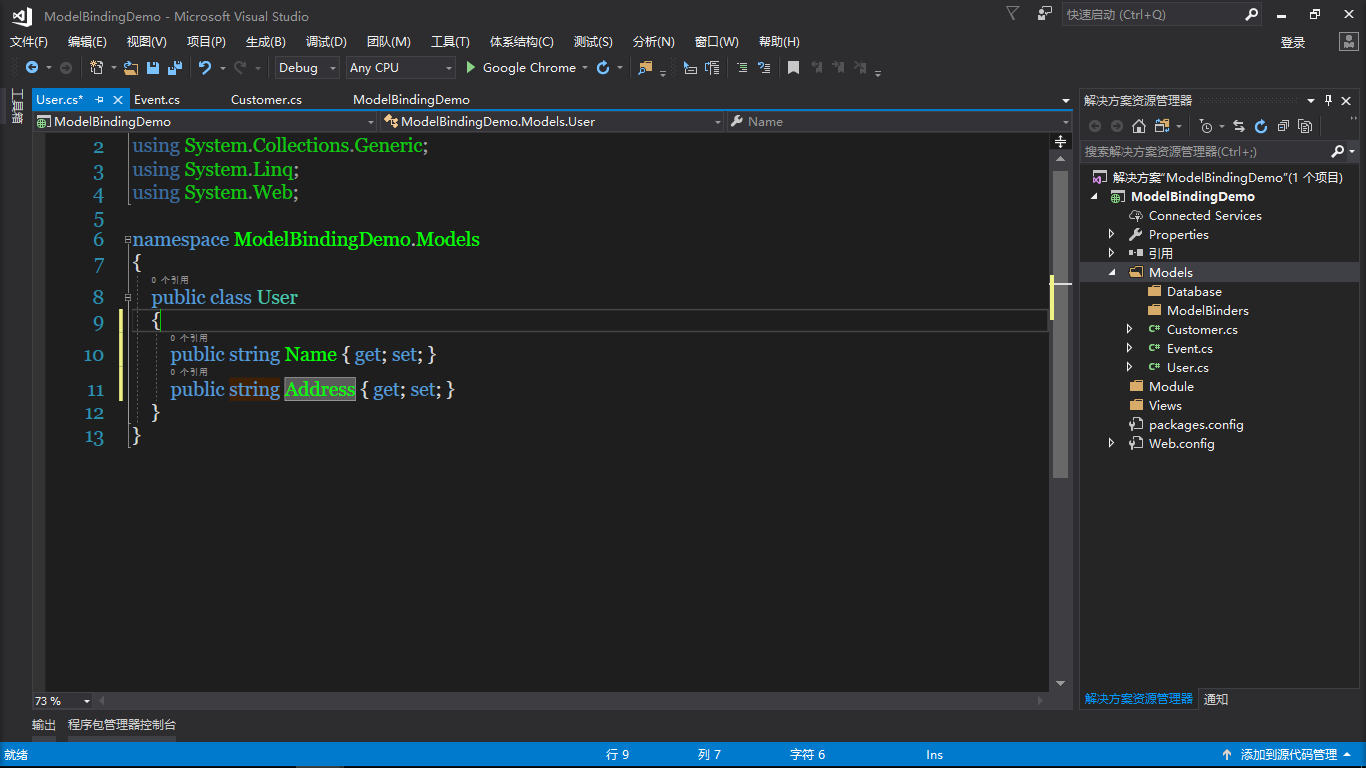
继续往Models文件夹里面添加User类
        public string Name { get; set; }
        public string Address { get; set; }
然后往Database文件夹里面添加DB类
        public static List<Event> Events { get; private set; }
        public static List<Customer> Customer { get; private set; }

        static DB()
        {
            Events = new List<Models.Event>();
            Customer = new List<Models.Customer>();
        }

然后往ModelBinders文件夹里面添加CustomerModelBinder类
//是否可以绑定到给定的模型类型
        public bool CanBind(Type modelType)
        {
            return modelType == typeof(Customer);
        }
        //绑定到给定的模型类型
        public object Bind(NancyContext context,Type modelType, object instance,BindingConfig configuration,params string[] blackList)
        {
            var customer = (instance as Customer) ?? new Customer();
            customer.Name = customer.Name ?? context.Request.Form["Name"];
            customer.RenewalDate = customer.RenewalDate == default(DateTime) ? context.Request.Form["RenewalDate"] : customer.RenewalDate;
            return customer;
        }

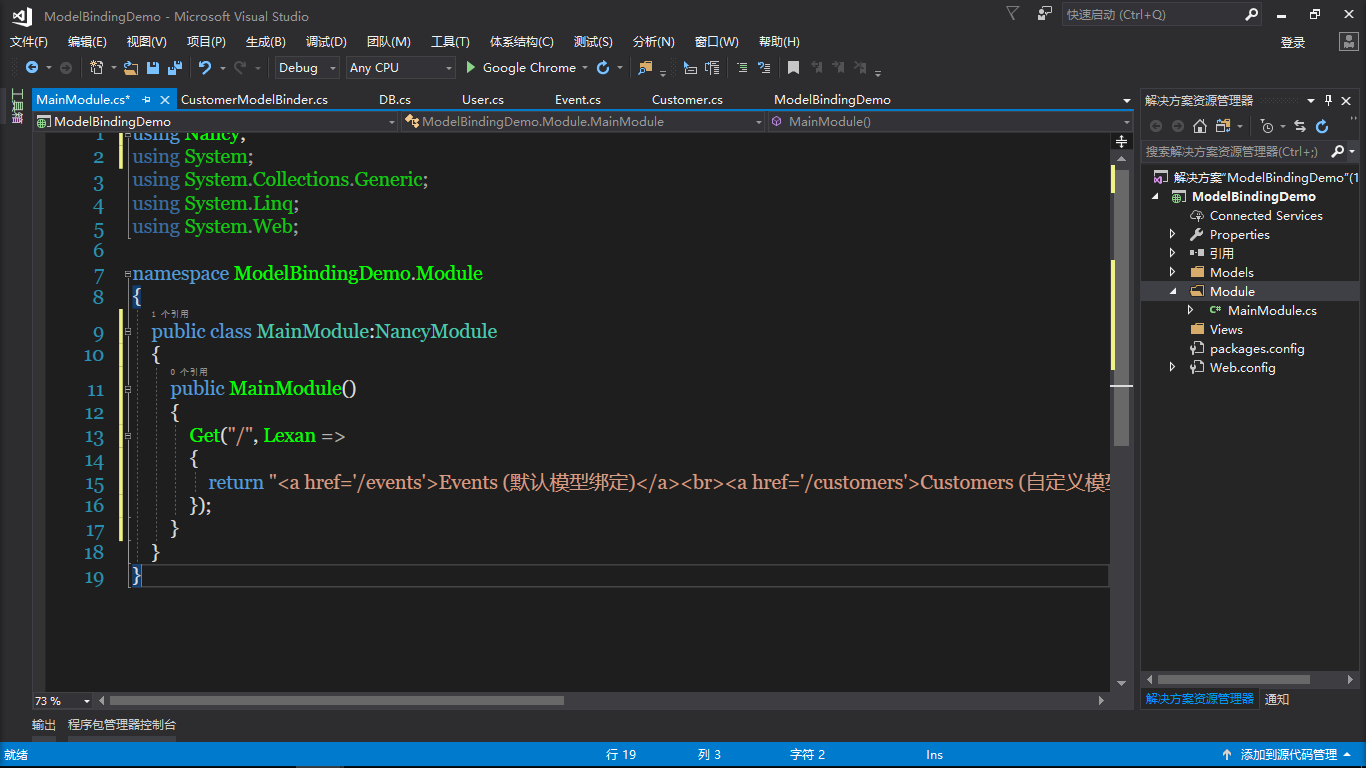
然后往Module里添加MainModule类
 public MainModule()
        {
            Get("/", Lexan =>
            {
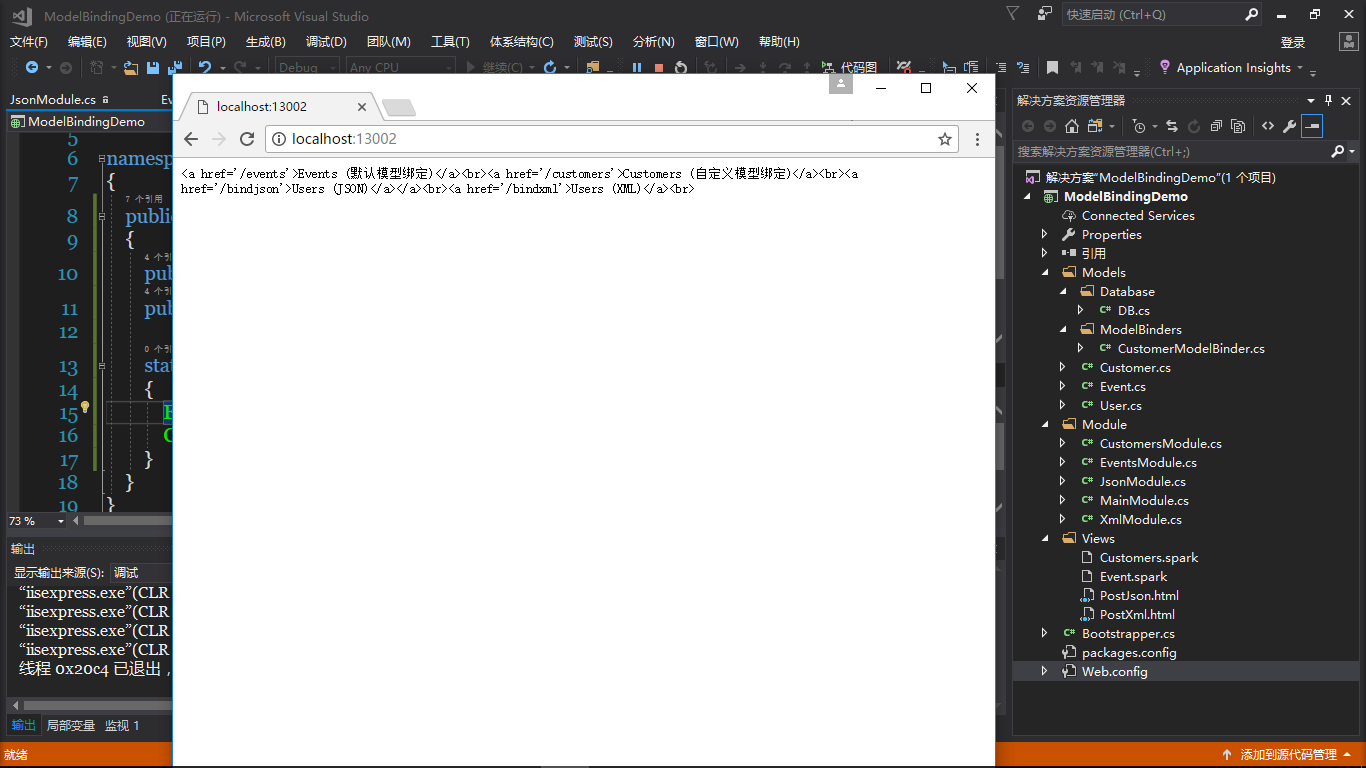
                return "<a href='/events'>Events (默认模型绑定)</a><br><a href='/customers'>Customers (自定义模型绑定)</a><br><a href='/bindjson'>Users (JSON)</a></a><br><a href='/bindxml'>Users (XML)</a><br>";
            });
        }
然后往Module里添加CustomersModule类
 public CustomersModule() : base("/customers")
        {
            Get("/",Lexan=>
            {
                var model = DB.Customer.OrderBy(e=>e.RenewalDate).ToArray();
                return View["Customers",model];
            });
            Post("/",Lexan=>
            {
                Customer model = this.Bind();
                var models = this.Bind<Customer>();
                DB.Customer.Add(model);
                DB.Customer.Add(models);
                return this.Response.AsRedirect("/Customers");
            });
        }

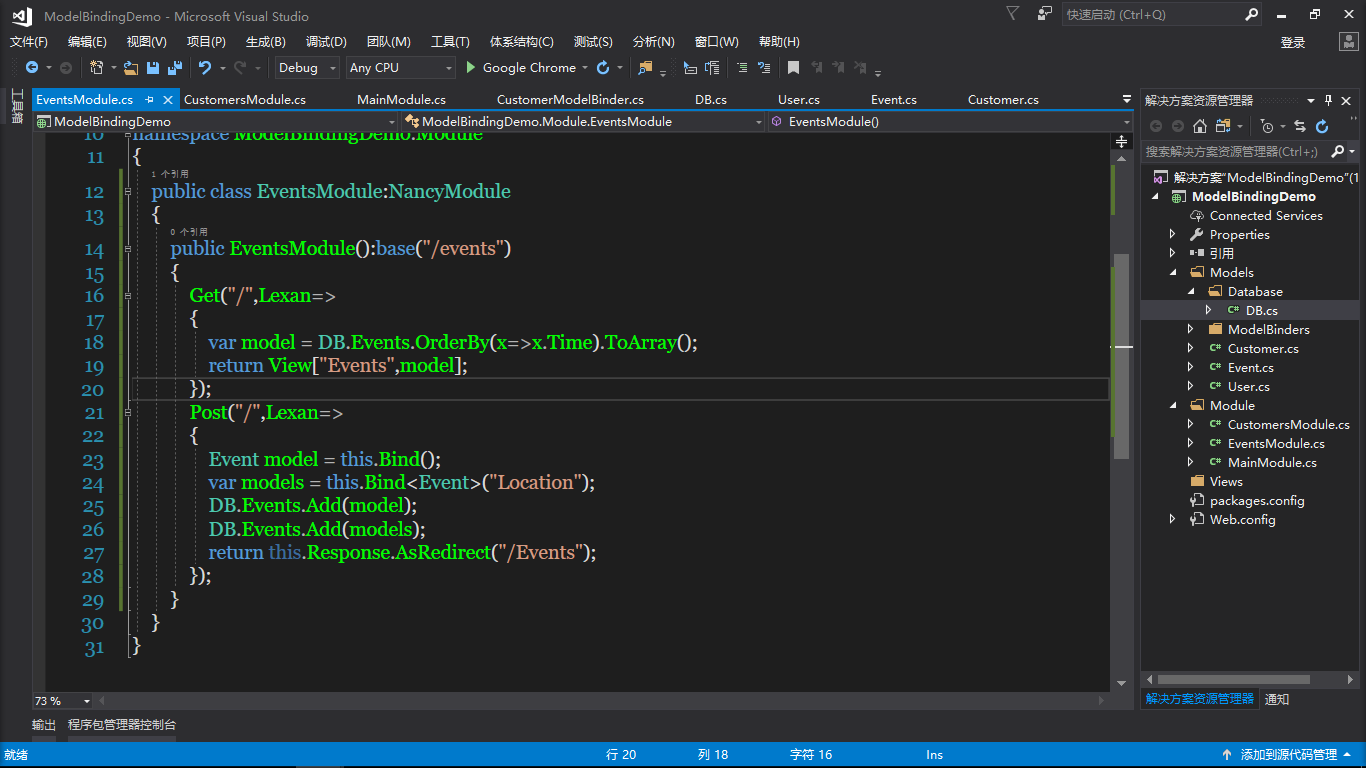
然后往Module里添加EventsModule类
 public EventsModule():base("/events")
        {
            Get("/",Lexan=>
            {
                var model = DB.Events.OrderBy(x=>x.Time).ToArray();
                return View["Events",model];
            });
            Post("/",Lexan=>
            {
                Event model = this.Bind();
                var models = this.Bind<Event>("Location");
                DB.Events.Add(model);
                DB.Events.Add(models);
                return this.Response.AsRedirect("/Events");
            });
        }
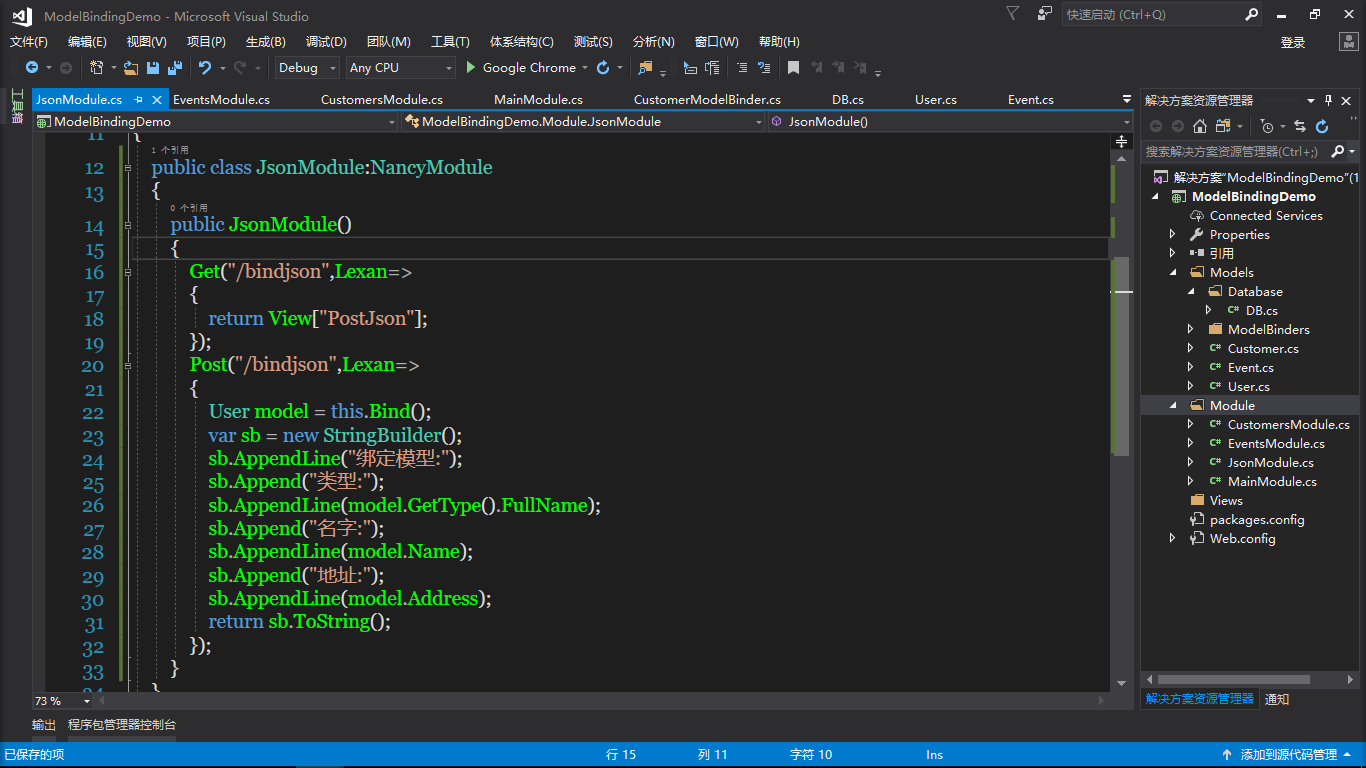
然后往Module里添加JsonModule类
  public JsonModule()
        {
            Get("/bindjson",Lexan=>
            {
                return View["PostJson"];
            });
            Post("/bindjson",Lexan=>
            {
                User model = this.Bind();
                var sb = new StringBuilder();
                sb.AppendLine("绑定模型:");
                sb.Append("类型:");
                sb.AppendLine(model.GetType().FullName);
                sb.Append("名字:");
                sb.AppendLine(model.Name);
                sb.Append("地址:");
                sb.AppendLine(model.Address);
                return sb.ToString();
            });
        }
然后往Module里添加XmlModule类
 public XmlModule()
        {
            Get("/bindxml",Lexan=>
            {
                return View["PostXml"];
            });
            Post("/bindxml",Lexan=>
            {
                var model = this.Bind<User>(x=>x.Name);
                var sb = new StringBuilder();
                sb.AppendLine("绑定模型:");
                sb.Append("类型:");
                sb.AppendLine(model.GetType().FullName);
                sb.Append("名字:(这将是空的, 因为它被忽略)");
                sb.AppendLine(model.Name);
                sb.Append("地址:");
                sb.AppendLine(model.Address);
                return sb.ToString();

            });
        }

然后往根目录里面添加Bootstrapper类

然后往Views文件夹里面添加Customers.txt文件
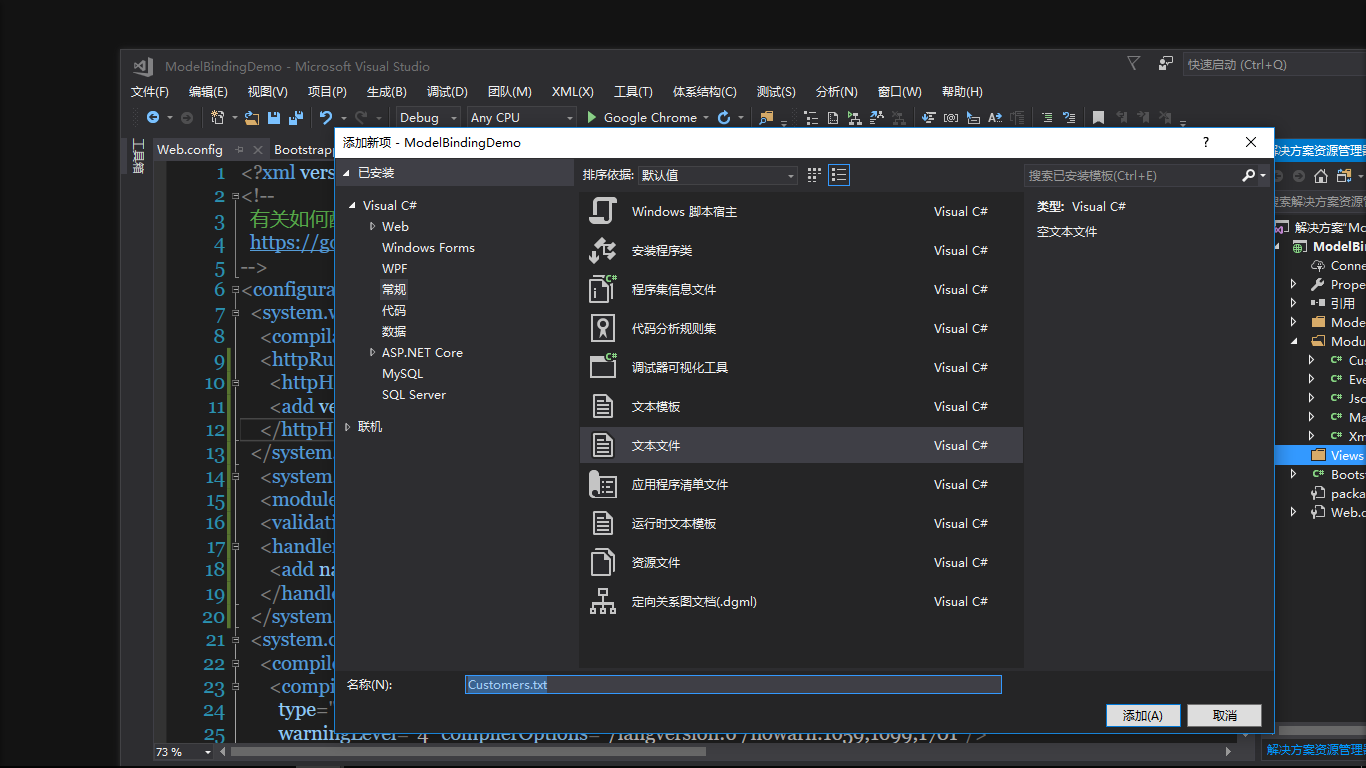
然后把Customers.txt改成Customers.spark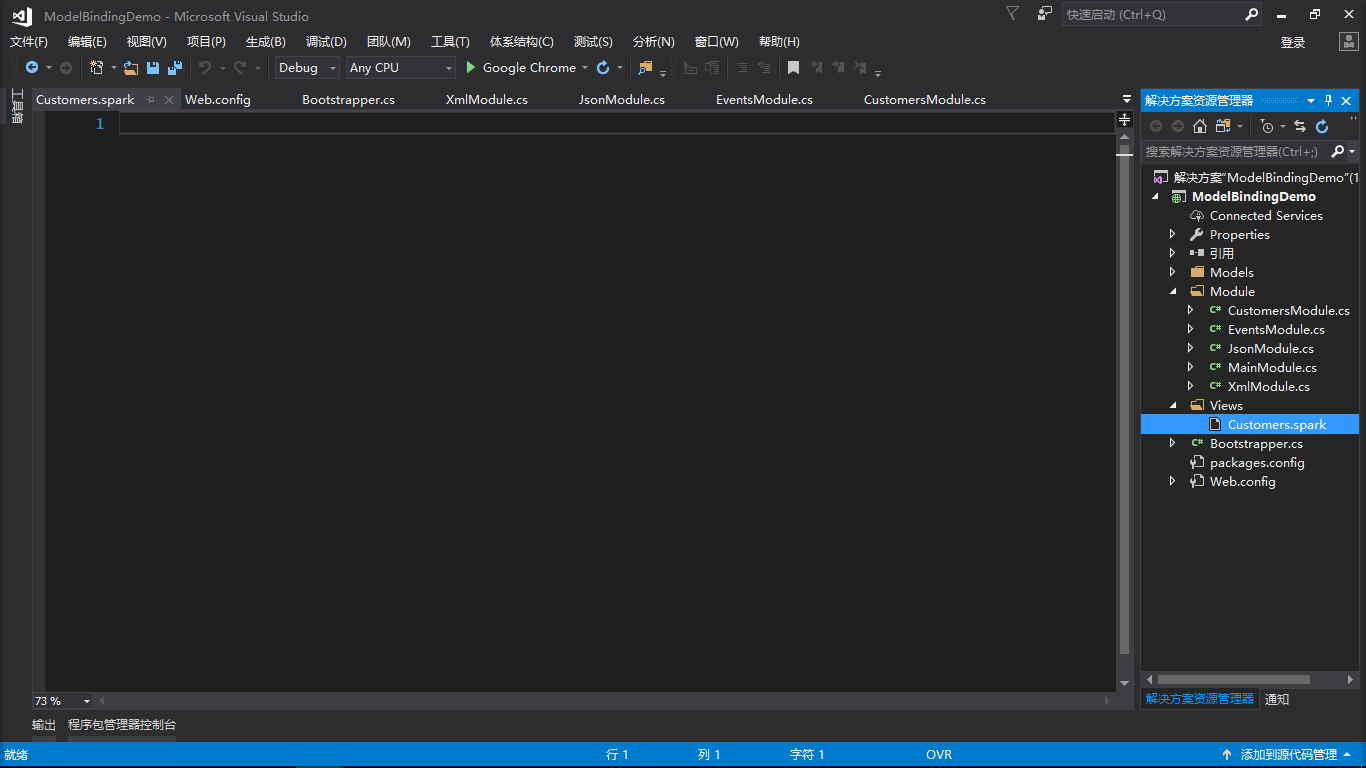
添加如下内容
<viewdata model="ModelBindingDemo.Models.Customer[]"/>
<html>
  <head>
    <title>客户</title>
  </head>
  <body>
    <h1>客户</h1>
    <p>客户被添加了两次, 一个使用动态活页夹适配器, 另一个使用通用的.</p>
    <p>当前客户:</p>
    <ul>
      <li each="var v in Model">
        <a href="customer/${v.Id}"> ${v.Name} - ${v.RenewalDate.ToShortDateString()} </a>
      </li>
    </ul>

    <h2>添加另一个</h2>
    <form method="POST" action="/customers">
      <label for="Name">名字</label>
      <input type="text" name="Name" />
      <label for="Location">更新日期</label>
      <input type="text" name="RenewalDate" />
      <input type="submit"/>
    </form>
  </body>
</html>

同样的做法添加Event.txt添加成功后改成Event.spark

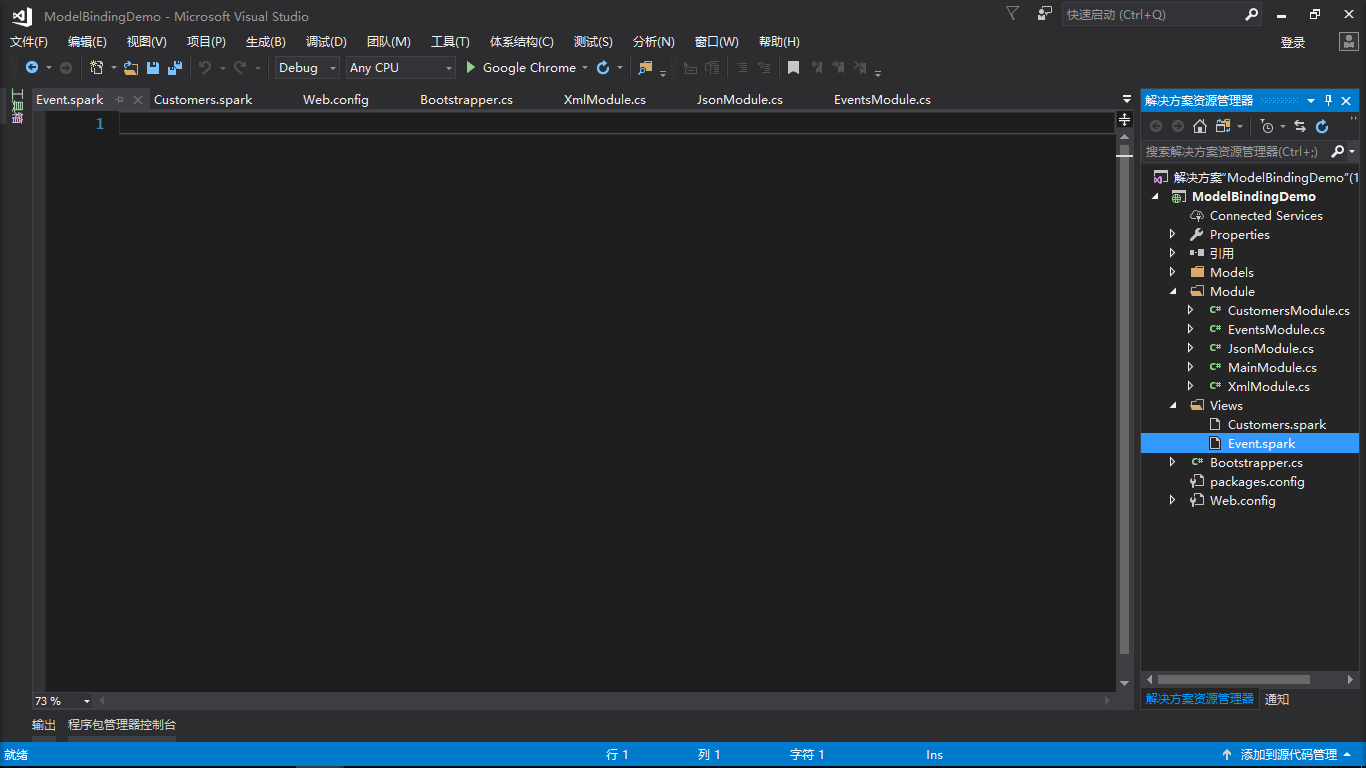
并添加如下内容
<viewdata model="ModelBindingDemo.Models.Event[]"/>
<html>
  <head>
    <title>事件</title>
  </head>
  <body>
    <h1>事件</h1>
    <p>事件被添加两次, 一个使用动态活页夹适配器, 另一个使用通用的.</p>
    <p>第二个有 ' 位置 ' 标记为黑名单, 因此应该显示为 ' 默认 '</p>
    <p>当前事件:</p>
    <ul>
      <li each="var v in Model">
        <a href="event/${v.Id}"> ${v.Title} - ${v.Location} </a> ${v.Time}
      </li>
    </ul>

    <h2>Add another</h2>
    <form method="POST" action="/events">
      <label for="Name">标题</label>
      <input type="text" name="Title" />
      <label for="Location">位置</label>
      <input type="text" name="Location" />

      <input type="checkbox" name="Venues" value="1">地点 1</input>
      <input type="checkbox" name="Venues" value="2">地点 2</input>
      <input type="checkbox" name="Venues" value="3">地点 3</input>
      <input type="checkbox" name="Venues" value="4">地点 4</input>

      <label for="EventDate">时间</label>
      <input type="text" name="Time" value="${System.DateTime.Now}"/>
      <input type="submit"/>
    </form>
  </body>
</html>
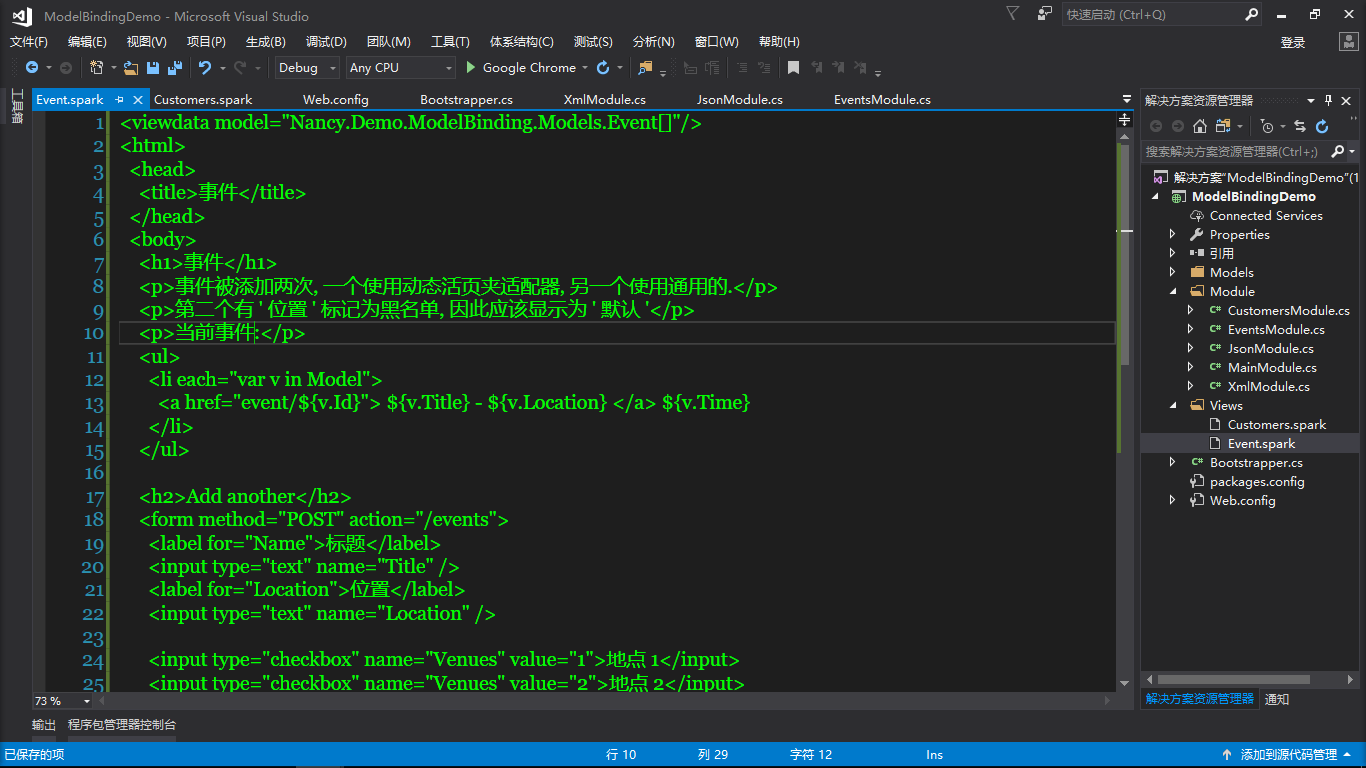
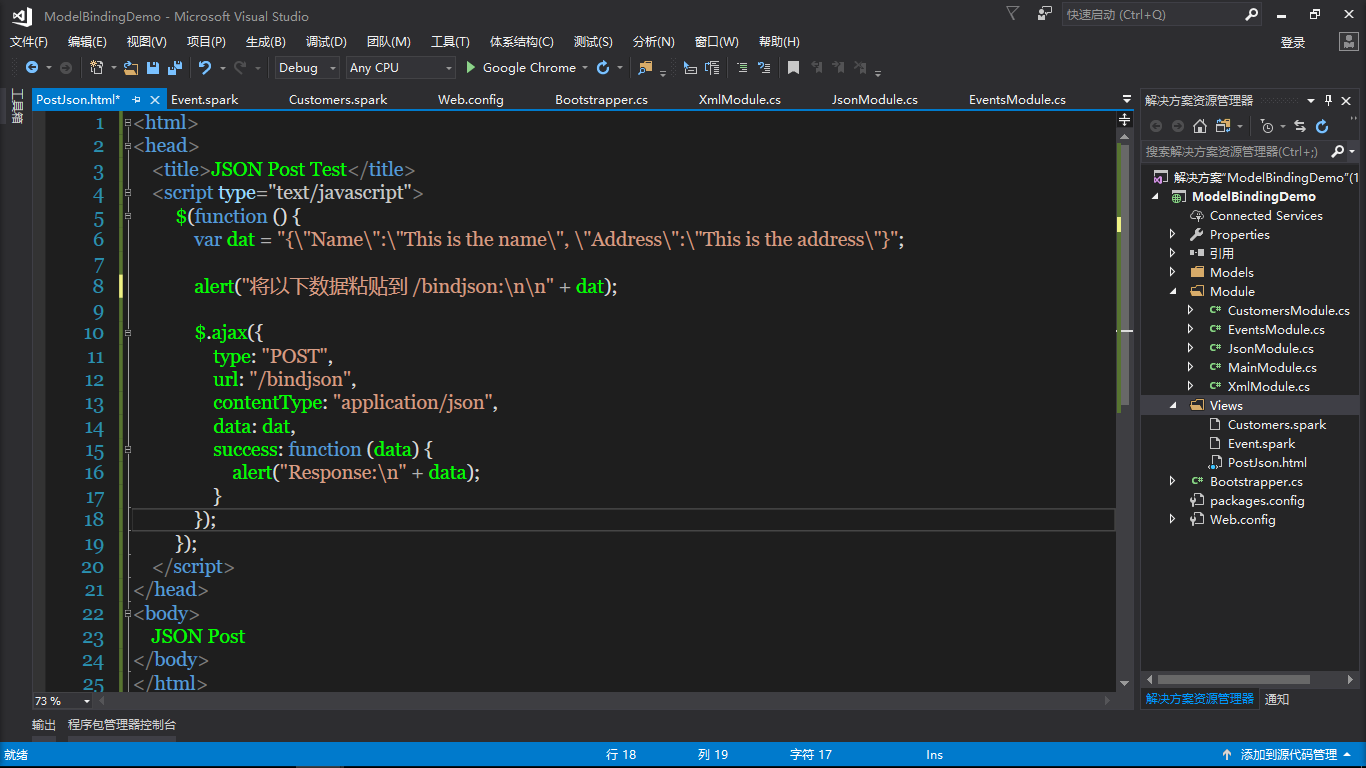
然后继续再Views文件夹里面添加PostJson.html
<html>
<head>
    <title>JSON Post Test</title>
    <script type="text/javascript">
         $(function () {
             var dat = "{\"Name\":\"This is the name\", \"Address\":\"This is the address\"}";

             alert("将以下数据粘贴到 /bindjson:\n\n" + dat);

             $.ajax({
                 type: "POST",
                 url: "/bindjson",
                 contentType: "application/json",
                 data: dat,
                 success: function (data) {
                     alert("Response:\n" + data);
                 }
             });
         });
    </script>
</head>
<body>
    JSON Post
</body>
</html>
继续添加PostXml.html页面
<html>
<head>
    <title>XML Post Test</title>
    <script type="text/javascript">
         $(function () {
             var dat = "<User><Name>这是名字</Name><Address>这是地址</Address></User>";

             alert("将以下数据粘贴到 /bindxml:\n\n" + dat);

             $.ajax({
                 type: "POST",
                 url: "/bindxml",
                 contentType: "application/xml",
                 data: dat,
                 success: function (data) {
                     alert("Response:\n" + data);
                 }
             });
         });
    </script>
</head>
<body>
    XML Post
</body>
</html>

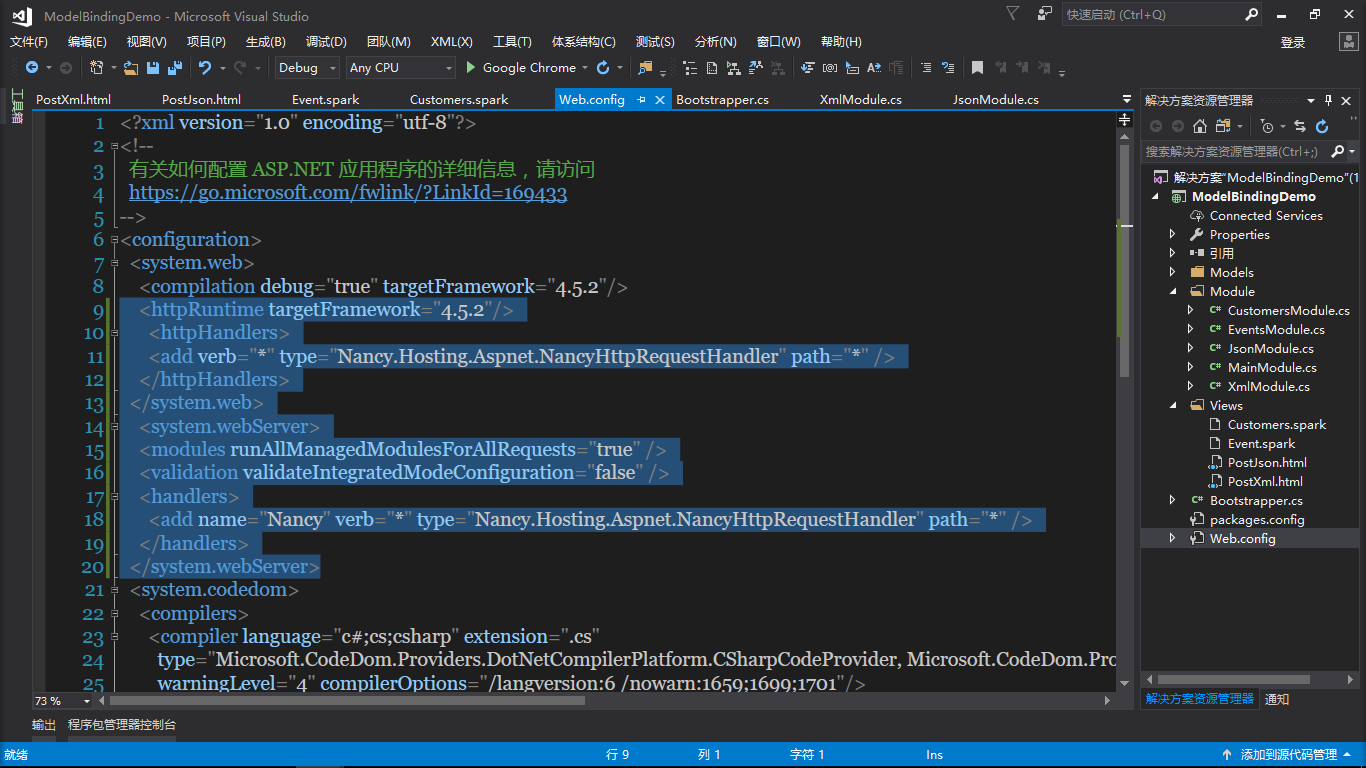
最后修改Web.config配置文件
    <httpRuntime targetFramework="4.5.2"/>
      <httpHandlers>
      <add verb="*" type="Nancy.Hosting.Aspnet.NancyHttpRequestHandler" path="*" />
    </httpHandlers>
  </system.web>
    <system.webServer>
    <modules runAllManagedModulesForAllRequests="true" />
    <validation validateIntegratedModeConfiguration="false" />
    <handlers>
      <add name="Nancy" verb="*" type="Nancy.Hosting.Aspnet.NancyHttpRequestHandler" path="*" />
    </handlers>
  </system.webServer>
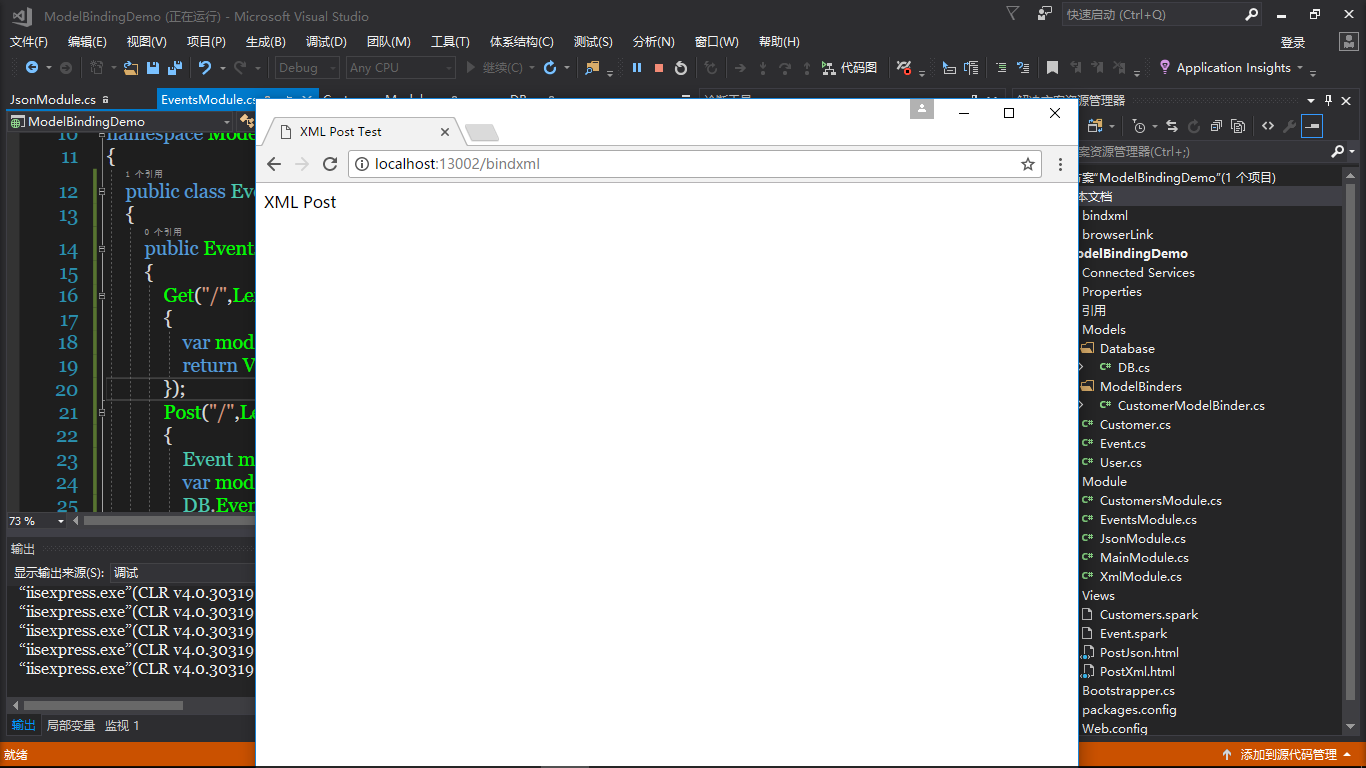
现在我们看看运行的结果
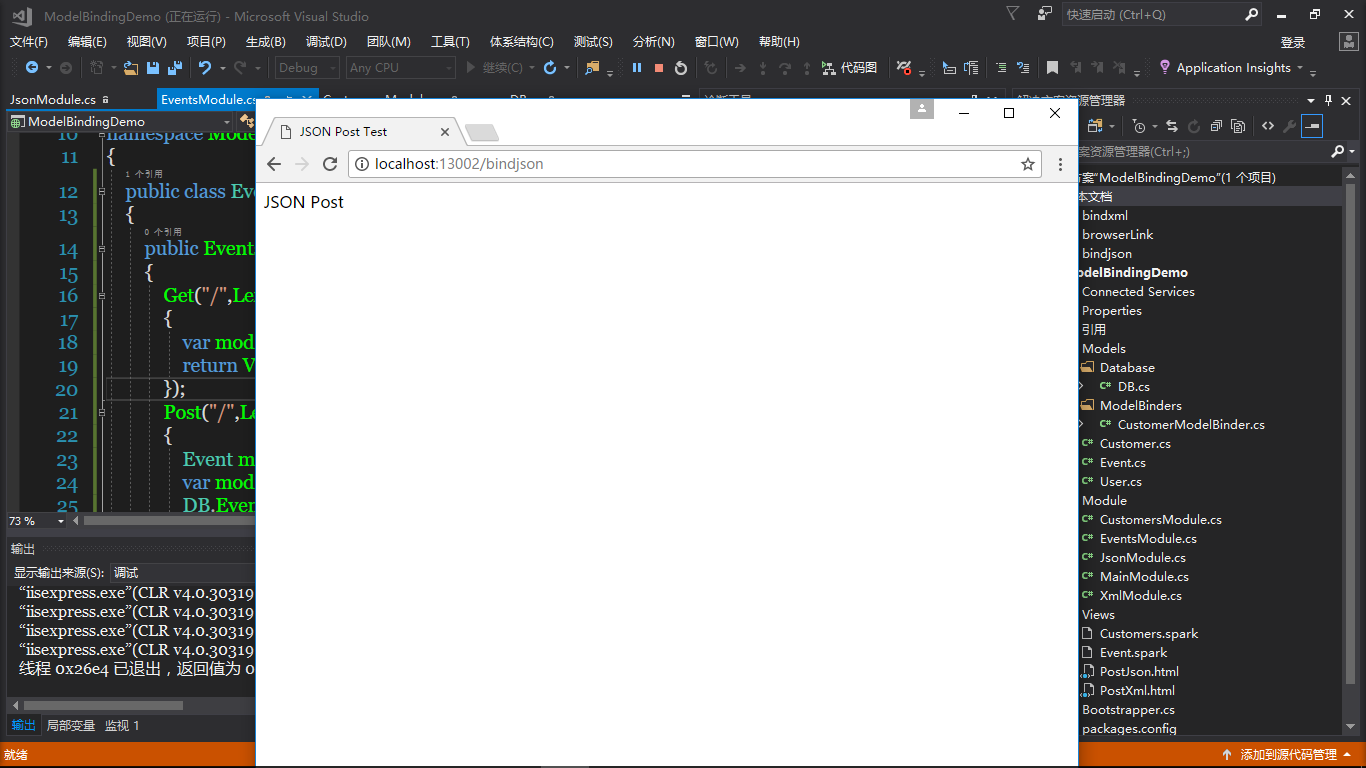
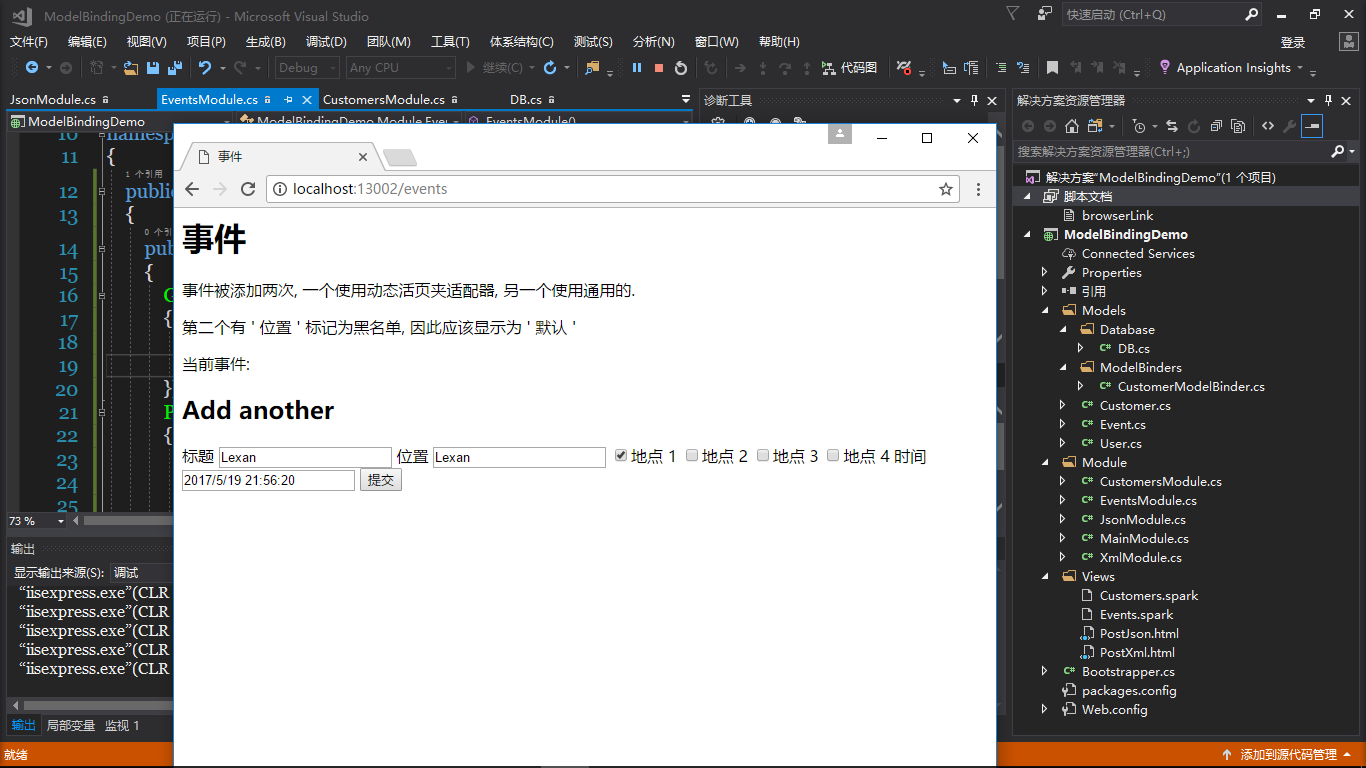
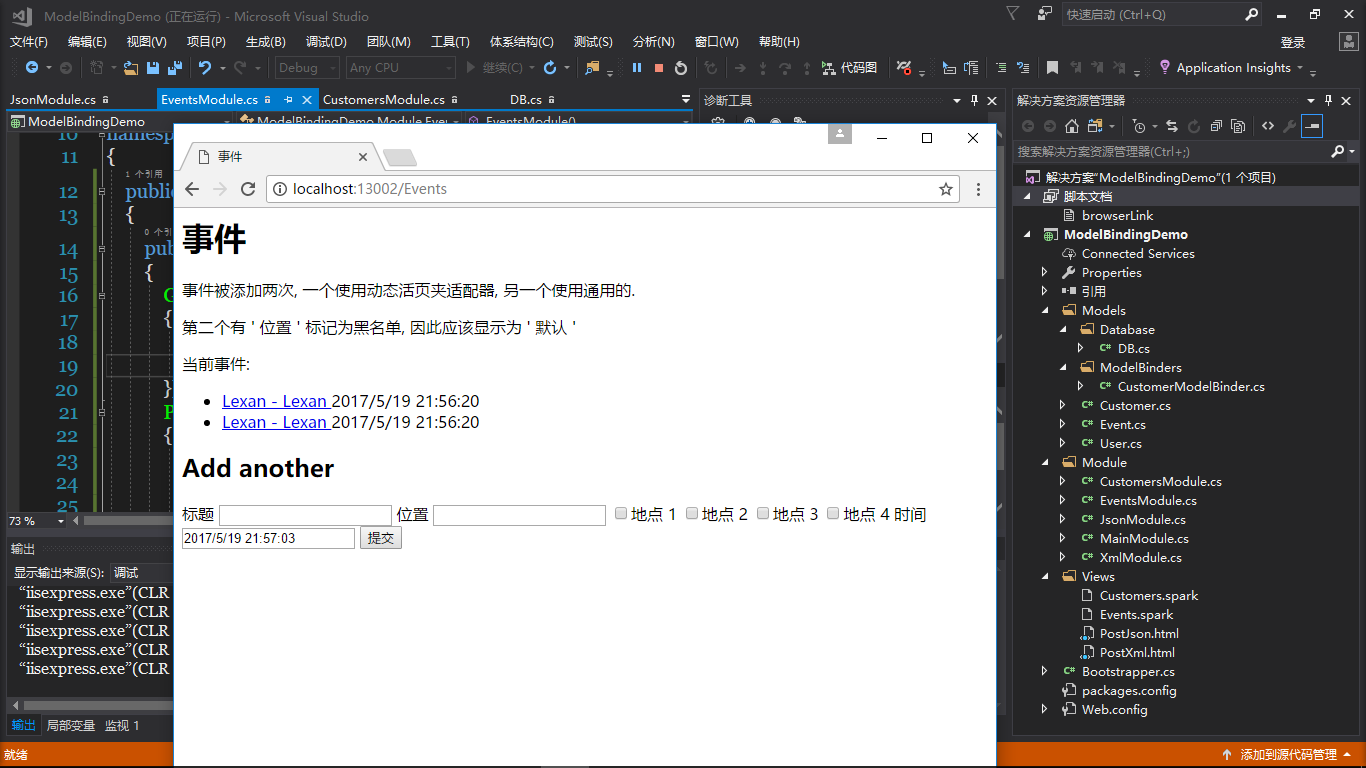
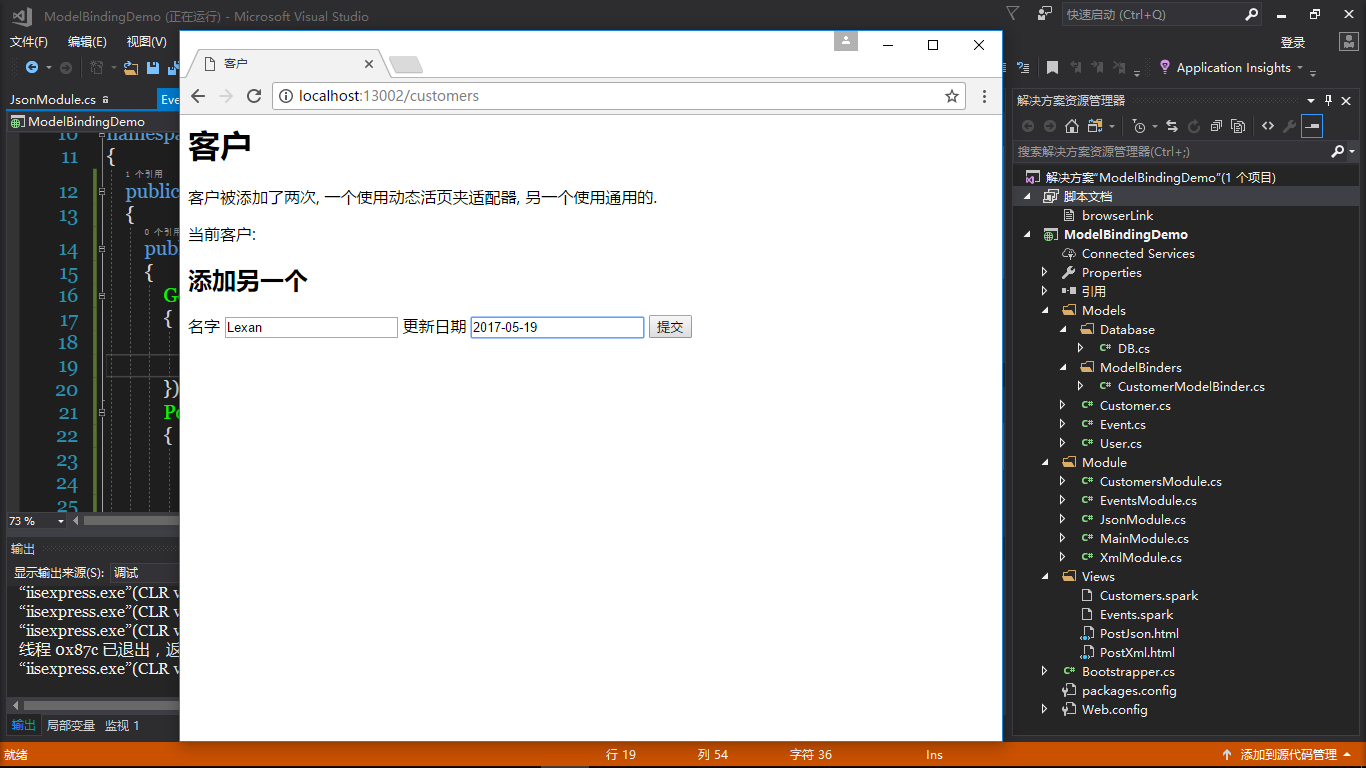

到这里就结束了,感谢你的欣赏,这篇也算介绍完了NancyFx2.0版本的基本使用,后期看看如果有空的话会继续更新,我们不见不散,哈哈哈!
多看书,少装逼!


 浙公网安备 33010602011771号