Crawlab多节点部署流程
Why,为什么需要爬虫管理平台?
以下摘自官方文档:
Crawlab主要解决的是大量爬虫管理困难的问题,例如需要监控上百个网站的参杂scrapy和selenium的项目不容易做到同时管理,而且命令行管理的成本非常高,还容易出错。
Crawlab支持任何语言和任何框架,配合任务调度、任务监控,很容易做到对成规模的爬虫项目进行有效监控管理。
项目自 2019 年 3 月份上线以来受到爬虫爱好者们和开发者们的好评,超过一半的使用者表示已经在用 Crawlab 作为公司的爬虫管理平台。
经过近数月的迭代,陆续上线了 定时任务、数据分析、可配置爬虫、SDK、消息通知、Scrapy 支持、Git 同步等功能,
将Crawlab打造得更加实用,更加全面,能够真正帮助用户解决爬虫管理困难的问题。
需要用到的环境:mongodb、redis、docker。这里就不一一介绍了。由于这里说的是多节点部署,mongodb一定要是3.6版本或者3.6版本以下(这里是大坑)要不然会因为认证机制连接不上mongodb。当然你用docker起mongo和redis映射出来也是一样的。生产环境上我们不希望仅仅是简单部署,我们可以在多台服务器上分别部署Crawlab然后连接公共的MongoDB及Redis。这时候就需要让Mongo及Redis独立出来,避免耦合启动。
部署流程:
一、拉取镜像
docker pull tikazyq/crawlab:latest
二、编写docker-compose.yml文件
自己touch一个或者从git上clone一份这里是我的配置。
master节点
version: '3.3'
services:
  master:
    image: tikazyq/crawlab:latest
    container_name: master
    environment:
      # CRAWLAB_API_ADDRESS: "https://<your_api_ip>:<your_api_port>"  # backend API address 后端 API 地址. 适用于 https 或者源码部署
      CRAWLAB_SERVER_MASTER: "Y"  # whether to be master node 是否为主节点,主节点为 Y,工作节点为 N
      CRAWLAB_MONGO_HOST: ""  # MongoDB host address MongoDB 的地址,在 docker compose 网络中,直接引用服务名称
      CRAWLAB_MONGO_PORT: "27017"  # MongoDB port MongoDB 的端口
      CRAWLAB_MONGO_DB: "dbname"  # MongoDB database MongoDB 的数据库
      CRAWLAB_MONGO_USERNAME: "dbusername"  # MongoDB username MongoDB 的用户名
      CRAWLAB_MONGO_PASSWORD: "dbpwd"  # MongoDB password MongoDB 的密码
      CRAWLAB_MONGO_AUTHSOURCE: "admin"  # MongoDB auth source MongoDB 的验证源
      CRAWLAB_REDIS_ADDRESS: ""  # Redis host address Redis 的地址,在 docker compose 网络中,直接引用服务名称
      CRAWLAB_REDIS_PORT: "6379"  # Redis port Redis 的端口
      CRAWLAB_REDIS_DATABASE: "1"  # Redis database Redis 的数据库
      CRAWLAB_REDIS_PASSWORD: "dbpwd"  # Redis password Redis 的密码
      CRAWLAB_LOG_LEVEL: "info"  # log level 日志级别. 默认为 info
    ports:
      - "8080:8080" # frontend port mapping 前端端口映射
    depends_on:
      - mongo
      - redis
  mongo:
    image: mongo:latest
    restart: always

  redis:
    image: redis:latest
    restart: always
worker节点
version: '3.3'
services:
  worker:
    image: tikazyq/crawlab:latest
    container_name: worker
    environment:
      # CRAWLAB_API_ADDRESS: "https://<your_api_ip>:<your_api_port>"  # backend API address 后端 API 地址. 适用于 https 或者源码部署
      CRAWLAB_SERVER_MASTER: "N"  # whether to be master node 是否为主节点,主节点为 Y,工作节点为 N
      CRAWLAB_MONGO_HOST: ""  # MongoDB host address MongoDB 的地址,在 docker compose 网络中,直接引用服务名称
      CRAWLAB_MONGO_PORT: "27017"  # MongoDB port MongoDB 的端口
      CRAWLAB_MONGO_DB: "dbname"  # MongoDB database MongoDB 的数据库
      CRAWLAB_MONGO_USERNAME: "dbusername"  # MongoDB username MongoDB 的用户名
      CRAWLAB_MONGO_PASSWORD: "dbpwd"  # MongoDB password MongoDB 的密码
      CRAWLAB_MONGO_AUTHSOURCE: "admin"  # MongoDB auth source MongoDB 的验证源
      CRAWLAB_REDIS_ADDRESS: ""  # Redis host address Redis 的地址,在 docker compose 网络中,直接引用服务名称
      CRAWLAB_REDIS_PORT: "6379"  # Redis port Redis 的端口
      CRAWLAB_REDIS_DATABASE: "1"  # Redis database Redis 的数据库
      CRAWLAB_REDIS_PASSWORD: "dbpwd"  # Redis password Redis 的密码
      CRAWLAB_LOG_LEVEL: "info"  # log level 日志级别. 默认为 info
    ports:
      - "8080:8080" # frontend port mapping 前端端口映射
    depends_on:
      - mongo
      - redis
  mongo:
    image: mongo:latest
    restart: always

  redis:
    image: redis:latest
    restart: always
三、docker-compose up启动
master端和worker端启动:
docker-compose up -d #-d就是后台启动
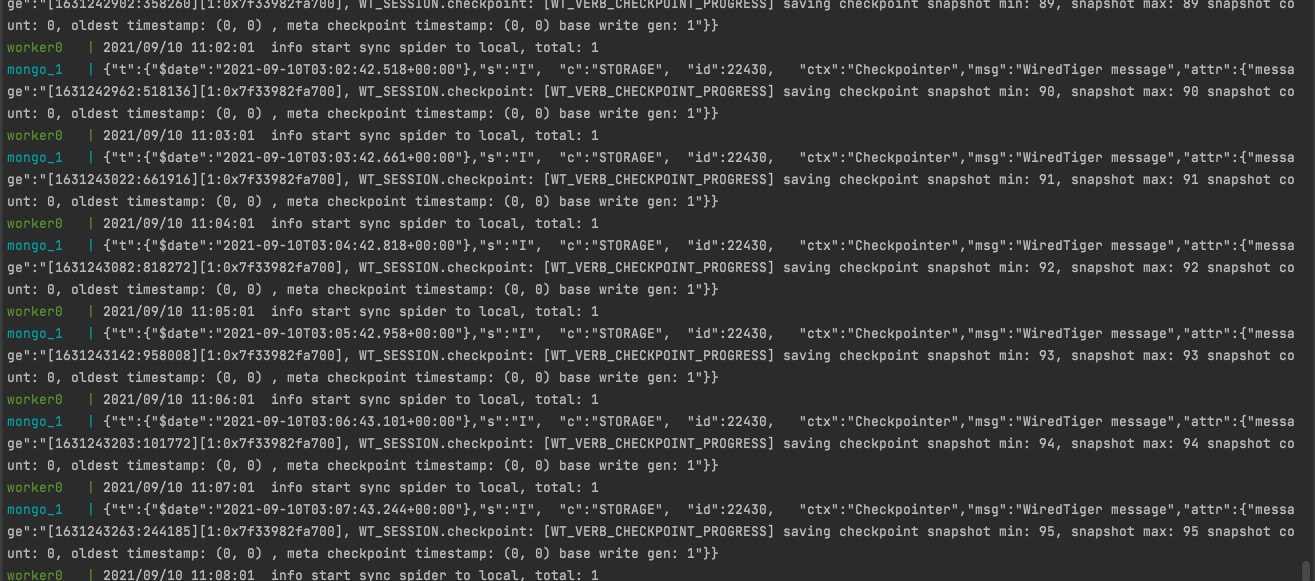
启动成功图:

这时可以打开localhost:8080查看节点信息。默认账号密码都是admin:

然后就可以部署你的爬虫了。看起来很简单当初踩了好多坑。


 浙公网安备 33010602011771号