
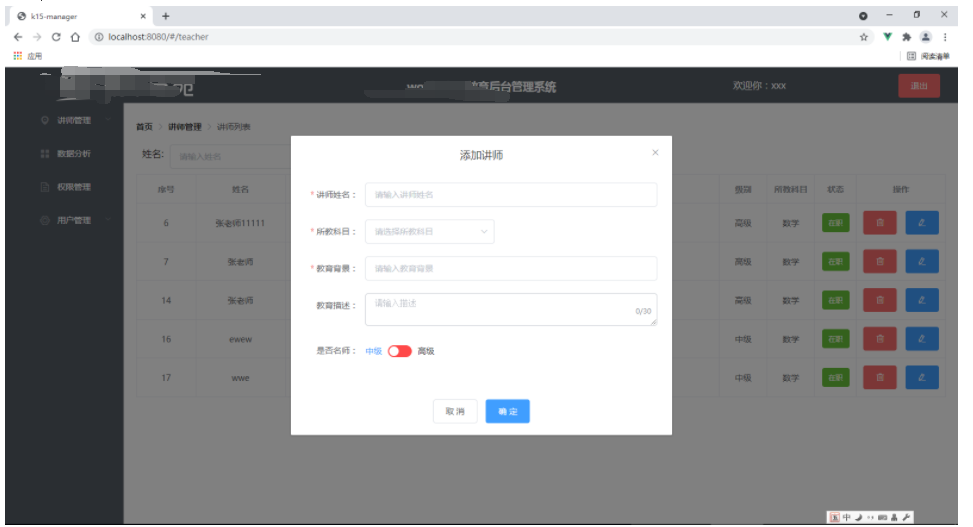
一、添加讲师
二、修改讲师

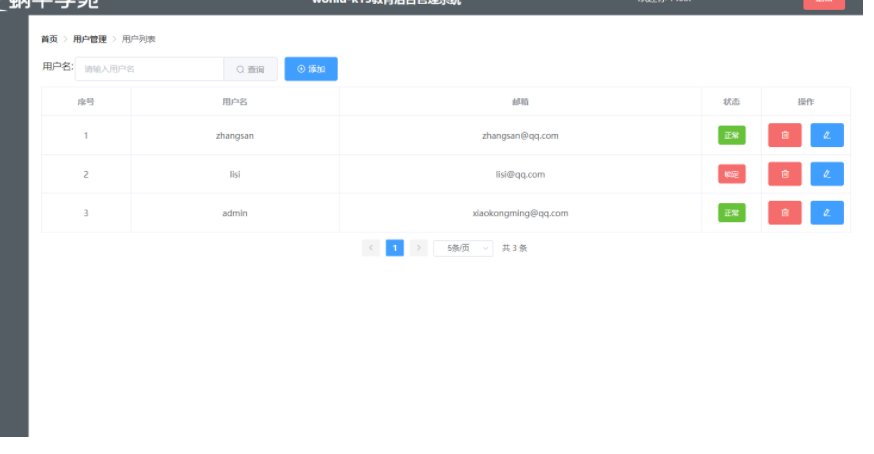
三、用户列表
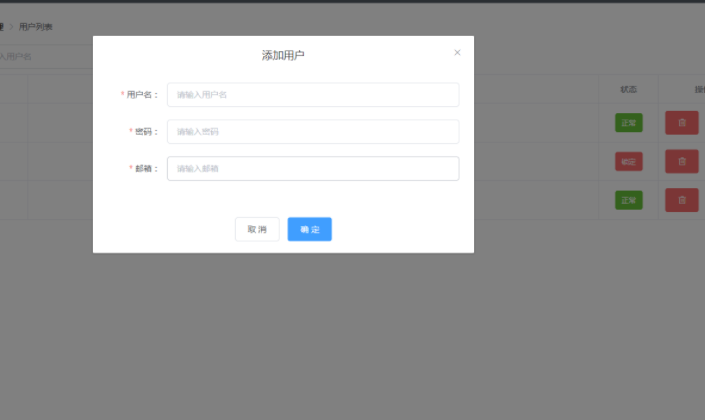
四、添加用户
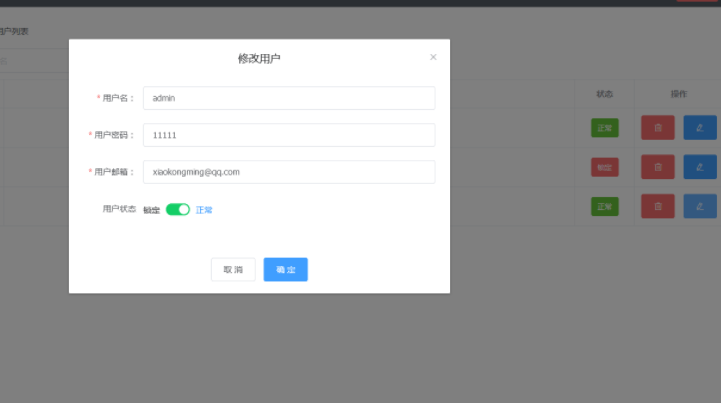
五、修改用户
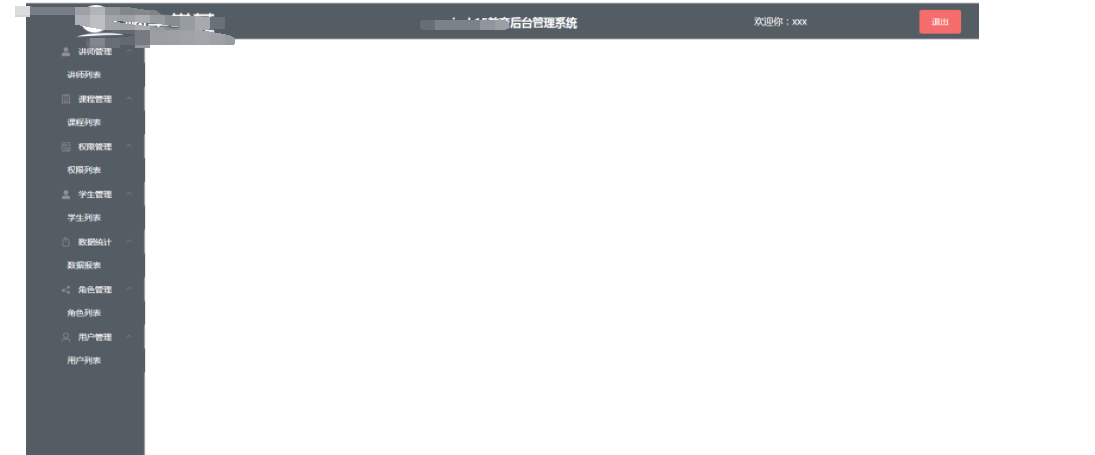
六、首页树形导航
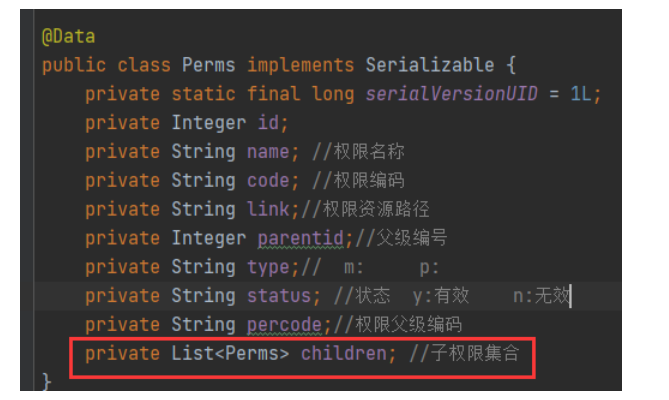
1、修改权限实体类
2、组合所需数据
/**
* 获得指定用户的资源菜单
* @param request
* @return
*/
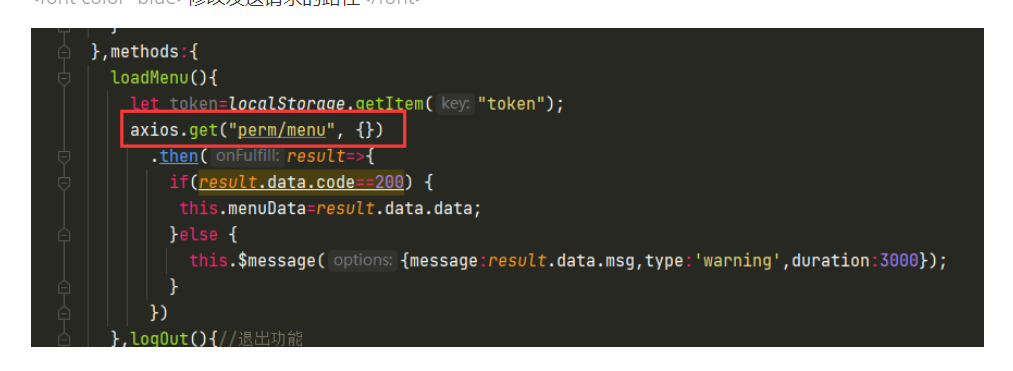
3、修改vue首页
js部分
export default {
  name: "Home",
  data(){
    return{
      menuData:[]
    }
  },methods:{
    loadMenu(){
      let token=localStorage.getItem("token");
      axios.get("http://127.0.0.1:8088/perm/menu",
        {
          headers: {"Authorzation": token}
        })
        .then(result=>{
          if(result.data.code==200) {
           this.menuData=result.data.data;
          }else {
            this.$message({message:result.data.msg,type:'warning',duration:3000});
          }
        })
    }
  },created() {
    this.loadMenu();
  }
}
页面部分
  <el-menu
        default-active="1"
        class="el-menu-vertical-demo"
        background-color="#545c64"
        text-color="#FFFF"
        active-text-color="#ffd04b"
        :router="true"><!-- :router="true"是否启用路由模式,如果启用,根据导航组件中的index属性的值进行跳转-->
        <el-submenu :index="item.id+''" v-for="item in menuData" :key="item.id+''">
          <template slot="title">
            <i class="el-icon-location"></i>
            <span slot="title">{{ item.name }}</span>
          </template>
          <el-menu-item-group>
            <el-menu-item :index="chil.link" v-for="chil in item.children" :key="chil.id">{{chil.name}}</el-menu-item>
          </el-menu-item-group>
        </el-submenu>
      </el-menu>
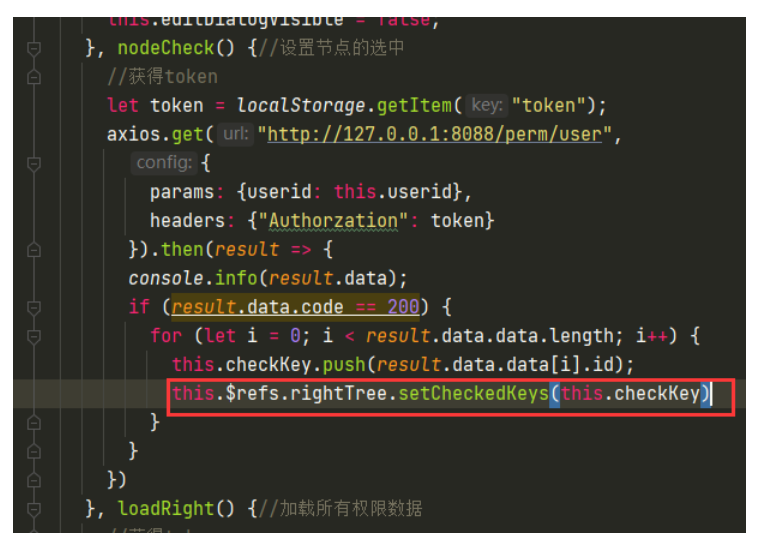
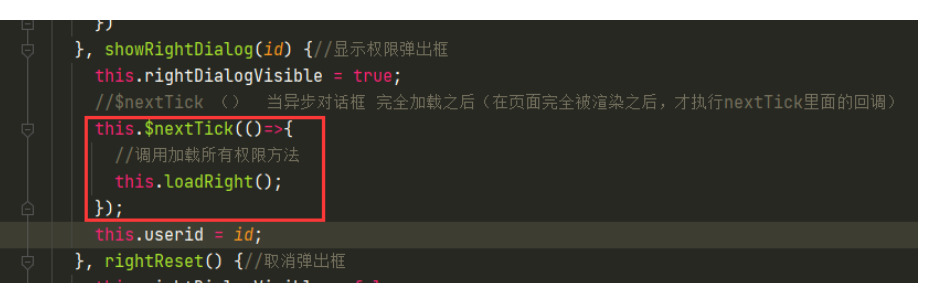
4、树形菜单数据第一次不显示问题
这个问题是因为异步加载 还没有完成,但是界面已经完成了,所以要让界面等待异步加载完成后再执行
 // $nextTick ()  当异步对话框 完全加载之后(在页面完全被渲染之后,才执行nextTick里面的回调)
      this.$nextTick(()=>{
        // this.$axios.get("url",{}).then(res=>{
           this.$refs.tree.setCheckedKeys([16,31]);//将选中数据更新到Tree
        // })
      });
<font color=blue>修改获得用户权限方法</font>
<font color=blue>修改权限列表对话框弹出方法</font>
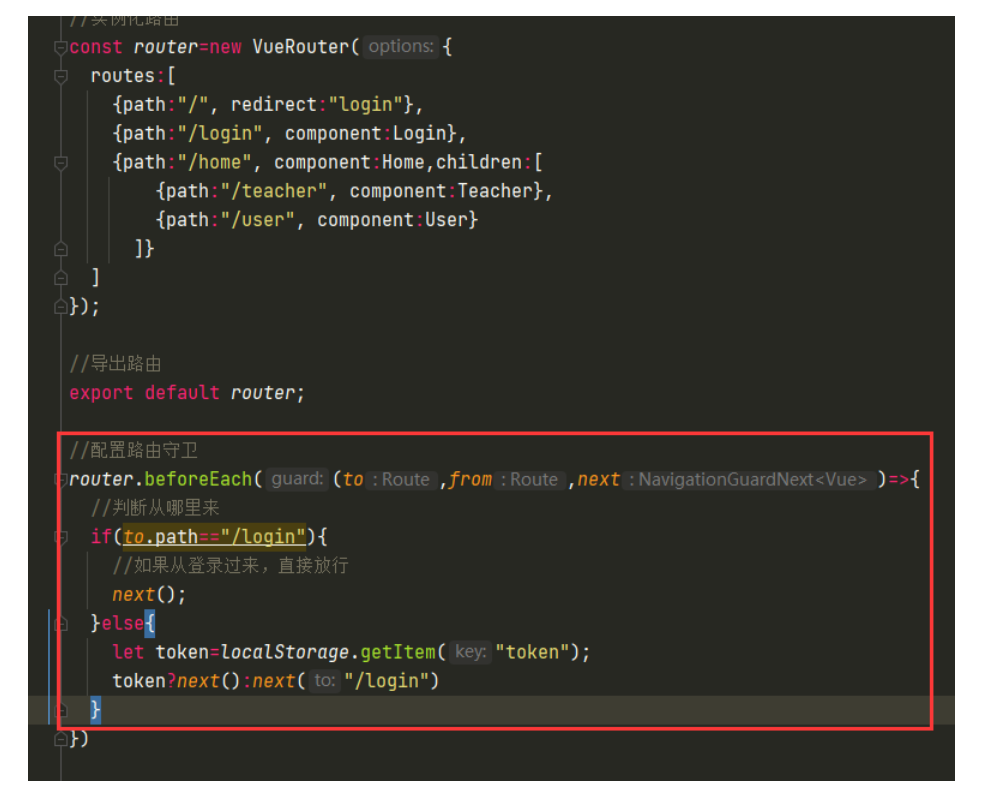
七、路由守卫
vue-router 提供了能让你在导航发生之前运行某些代码的功能,并且遵照你的意愿去取消导航,或将用户导航到其它地方。
路由守卫最常见的使用场景就是『登录』认证和『权限』认证
在路由对象router中,有一个方法beforeEach()
语法:
router.beforeEach((to, from, next) => {
// ...
});
该守卫被传入 3 各参数:to 、from 以及 next :
Route to
要跳转到的目的地
Route from
从哪一个地址来(从哪里来)
Function next
回调函数,通过 next 回调函数你可以让 vue-router 去处理导航、取消导航、重定向到其它地方或执行其它操作。
一定要调用 next 方法。因为直到调用 next 方法之前,路由行为的状态将一致处于等待状态,永远不会被解析(resolved)。
如果next()没有带参数则表示放行url,如果next()中带了参数则控制要跳转到要过去的url
修改router.js
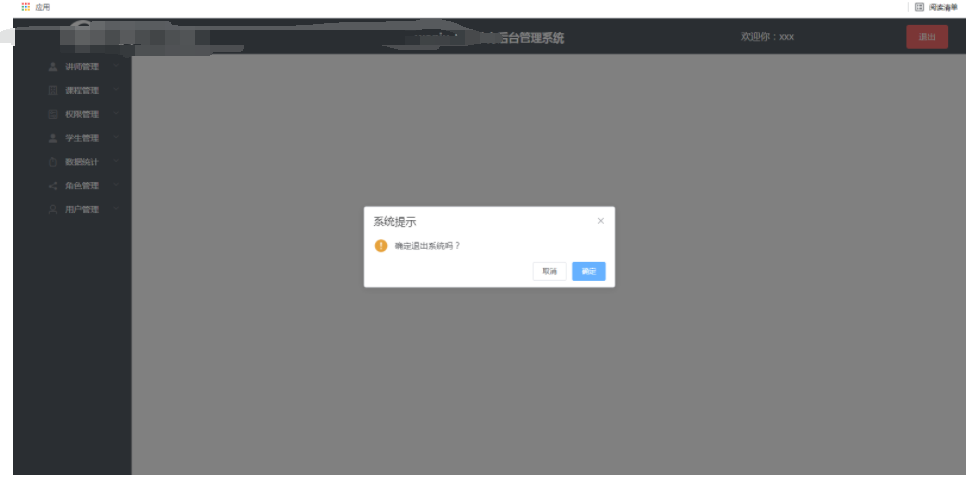
八、登出功能
<font color=red>前后端分离的项目中,只需要在前端将保存在浏览器中的token删除就表示用户退出了项目。</font>不需要在服务器端操作。
九、给用户分配权限
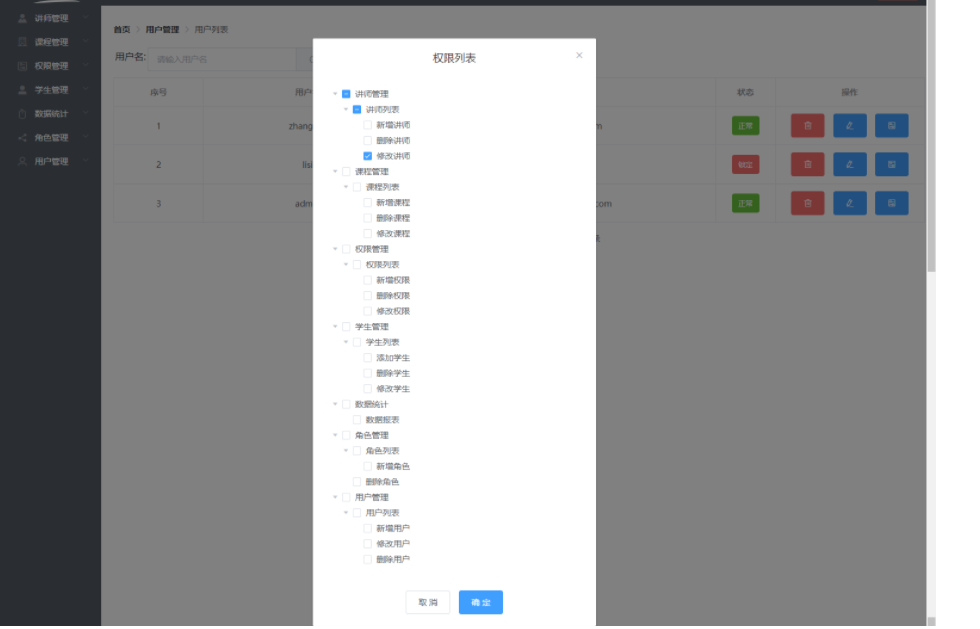
1、递归获得权限数据
/**
* 获得所有权限
* @return
*/
2、修改用户权限
<font color=red>获得用户的新权限后,要先将用户的原权限全部删除,删除后重新添加权限</font>
十、Shiro授权
1、查询登录用户所有的资 源权限
2、修改shiro自定义Realm类
/**
* 自定义realm,用来使用jwt做认证
*/
public class JwtRealm extends AuthorizingRealm {
3、修改controller
在controller方法上添加授权注解

十一、axios拦截器
我们每次对服务器发送请求都要将token手动发送,可以配置axios的拦截器,将请求进行拦截,然后将token添加到请求中,不用每次都将token带过去。
1、配置axios拦截器实现token自动添加
<font color=blue>修改main.js</font>
//每次都要添加 token
axios.interceptors.request.use(
  function(config) {
    config.headers.Authorization = localStorage.getItem('token')
    return config
  },
  function(error) {
    // Do something with request error
    return Promise.reject(error)
  }
)
<font color=blue>将请求中的token代码删除</font>

2、解决每个组件中都要引入axios模块
<font color=blue>修改main.js</font>
//axios的第二个问题:每个组件内部都要引入axios  ,每个组件其实也是一个vue实例
Vue.prototype.$axios=axios
3、axios统一设置服务器请求路径
<font color=blue>修改main.js</font>
// axios的第一个问题: 每次请求都要添加基准路径
axios.defaults.baseURL = "http://localhost:8088/"
<font color=blue>修改发送请求的路径</font>


 浙公网安备 33010602011771号