gxt-2.1.1(EXT-GWT)+GWT 2.0 集成说明
网上比较少能找到GWT2 + gxt-2.11(ext-gwt) 集成开发的例子,大部分还停留在gwt1.x和gxt-2.11结合的阶段。所以自己研究一下,记下来供大家互相参考。
1.先去下载jdk1.6并安装,注意版本必须是1.6,经某些中外使用者和自己亲身试验证明,使用jdk1.5集成gwt2+gxt2.11会产生内存异常并崩溃(不信的话,可以像我一样自己试试![]() )。
)。
2.准备好Eclipse3.5(Galileo),也即伽利略版本。。。这个可以用3.4,有人验证成功(本人未亲身验证,不负法律责任。。。),下载地址:
http://www.eclipse.org/downloads/
3. 安装GWT2.0,安装说明见图文并茂的google官方地址(这是在线安装,当然你也可以下载GWT2.03到本地,然后添加到eclipse插件里):
http://code.google.com/eclipse/docs/install-eclipse-3.5.html
4.去extjs官网下载gxt2.11到本地,并解压,下载地址:
http://www.extjs.com/products/gwt/download.php?dl=extgwt210&ref=extjsgreenbutton
注意,选择针对GWT2.0的版本的 :

5.新建一个gwt工程, 建立方法还是见图文并茂的Google文档:
http://code.google.com/eclipse/docs/creating_new_webapp.html
6.参照EXT-GWT的安装说明,部署EXT-GWT到项目里面。安装说明在解压后的gxt-2.1.1/setup.txt文件中。STEP BY STEP 集成完毕,我顺手翻译下:
STEP 1 -> Create a GWT 1.6.x project within Eclipse.
第一步:这里有官方文档有瑕疵,应该说Create a GWT 1.6.x or GWT2.0x project within Eclipse. 我们这里用GWT 2.0.3,我们在步骤5里面已经建完了。
Copy the contents of the /resources folder in the download to a {foldername} location with your war folder.
Substitute {foldername} with the name of the folder you've created for resources within your war folder.
同样,官方文档有误,这应该是第二步做的事情,君不见它下面直接就STEP3了,写这个文档的人该被敲脑袋。第二步就是,把解压后的/resources文件夹下的内容全部拷贝到gwt项目里面的war目录下,当然,它提醒我们在war下最好自己建一个目录来放这些东东。
STEP 3 -> Add the following stylesheet to your host page.
第三步,把下面的代码加入gwt工程的主页(也就是war下的那个html页面,注意修改{foldername}):
<link rel="stylesheet" type="text/css" href="{foldername}/css/gxt-all.css" />
STEP 3b -> If you are using Charts, add the following script to your host page.
如果用到图表,比如饼状图柱状图之类的,需要加上这段代码,以支持他们的基于flash的图表类
<script language='javascript' src='{foldername}/flash/swfobject.js'></script>
STEP 4 -> Add the following entry to you projects module xml file.
第四步,在{projectName}.gwt.xml文件里,增加如下内容:
<inherits name='com.extjs.gxt.ui.GXT'/>
STEP 5 -> Ext GWT requires the following doctype (quirksmode).
第五步,主页需要以下的DOCTYPE,加入。
<!DOCTYPE HTML PUBLIC "-//W3C//DTD HTML 4.01 Transitional//EN">
STEP 6 -> Eclipse Setup (should be similar for other development environments)
These instructions assume you have a existing project and launch configuration.
第六步,把jar包引入:
1. Add gxt.jar to the project.
a. Right click on project name in 'Package Explorer'.
b. Select 'Properties' from content menu.
c. Select 'Java Build Path'.
d. Select 'Libraries' tab.
e. Add the gxt.jar either with 'Add JARs...' or 'Add External JARs...'.
2. Add GXT jar to launch configuration.
a. Choose Run / Open Run Dialog.
b. Select your appropriate launch configuration under 'Java Application'.
c. Select the 'Classpath' tab.
d. Add the gxt.jar to the classpath.
7.部署完毕,做一下小小的测试:
在gwt的执行类里的public void onModuleLoad() 方法里,加上如下代码
Window w = new Window();
w.setHeading("Product Information");
w.setModal(true);
w.setSize(600, 400);
w.setMaximizable(true);
w.setToolTip("The ExtGWT product page...");
w.setUrl("http://www.extjs.com/products/gxt");
w.show();
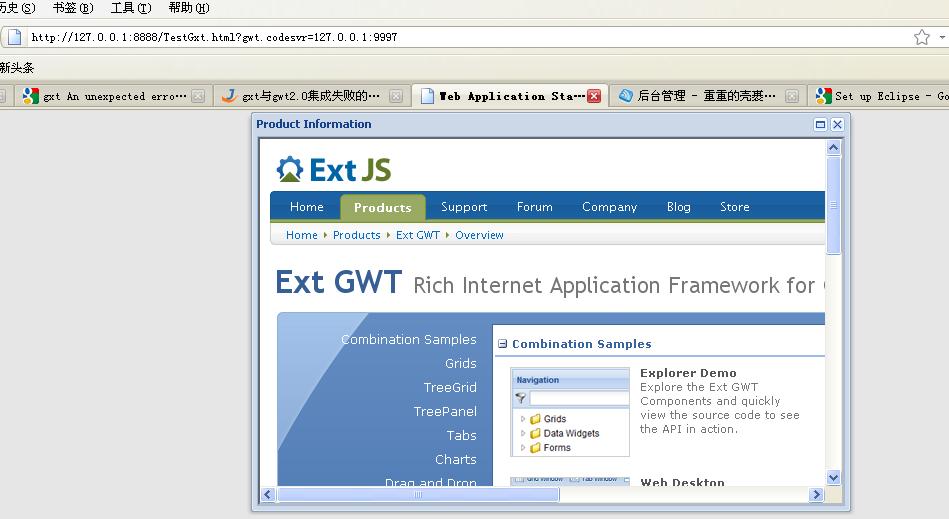
保存,然后,工程,右键,run as->web application....
copy dev mode 下的url : http://127.0.0.1:8888/TestGxt.html?gwt.codesvr=127.0.0.1:9997 到浏览器,查看效果,extjs风格的窗体出来了: