1-Elasticsearch - elasticsearch-head
about
centos7.9 + elasticsearch-6.8.15 + elasticsearch-head + nodejs
es-head官网:https://github.com/mobz/elasticsearch-head
elasticsearch-head是elasticsearch的可视化web管理工具,提供对于集群、索引、数据相关的查看与处理。非常方便,它就相当于是个低配版的kibana。
在elasticsearch5.0版本之前,elasticsearch-head还是以插件的形式被安装到elasticsearch的plugins目录中。
但在elasticsearch5.0版本之后,elasticsearch-head就成为了独立的软件,被托管到了GitHub上,再往elasticsearch的plugins目录中安装就报错。所以我们只好自己去GitHub上下载安装。
自从elasticsearch-head成为独立软件之后,它依赖nodejs环境,所以还需要搭建nodejs环境...
所以,安装起来稍微有那么点麻烦,本篇的下半部分演示了如何手动安装。
但可喜可贺的是,elasticsearch-head还有chrome插件版本,安装起来简直不要太简单...一起来看看吧!
chrome
elasticsearch-head也有chrome的插件版本.......这是我后来才知道的.....
来看怎么安装吧!如果你能访问Google应用商店,直接搜elasticsearch-head然后就能安装了。
如果你访问不了Google应用商店的话,也可以访问:https://www.extfans.com/ 这个地址,搜索elasticsearch-head或者直接访问这个地址:https://www.extfans.com/web-development/ffmkiejjmecolpfloofpjologoblkegm/ 点击下载,或者:链接: https://pan.baidu.com/s/11Flj0CXHaDaAqAjKEmxnkg 提取码:na0x
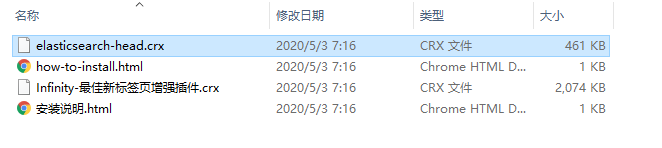
然后解压缩得到elasticsearch-head.crx文件:
再然后,就打开: chrome://extensions/ 这个链接,然后保证开启开发者模式:
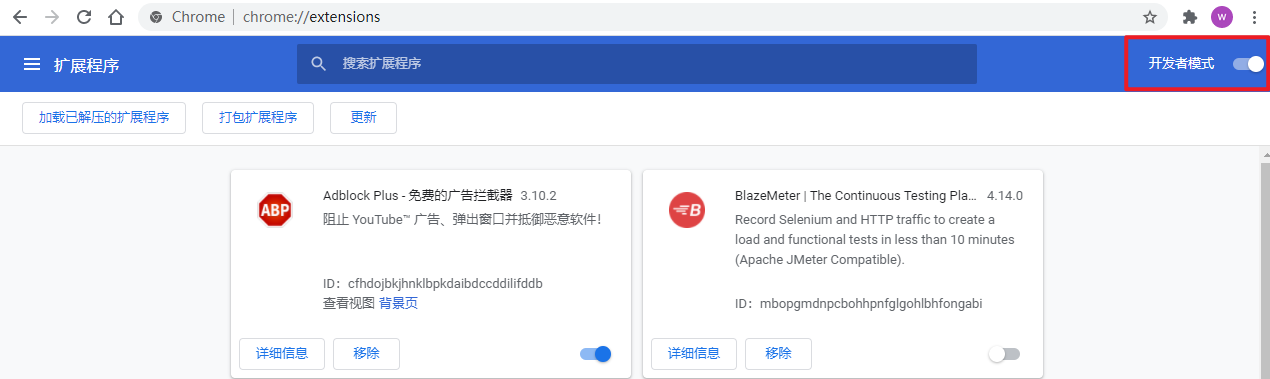
完事之后,将elasticsearch-head.crx文件拖拽到这个页面进行安装:

接下来,我们对es的yml文件进行配置:
[root@cs software]# vim /etc/elasticsearch/elasticsearch.yml

# 添加下面两个参数,解决es跨域问题
http.cors.enabled: true
http.cors.allow-origin: "*"

[root@cs software]# systemctl restart elasticsearch
完事之后,就可以通过插件访问了:
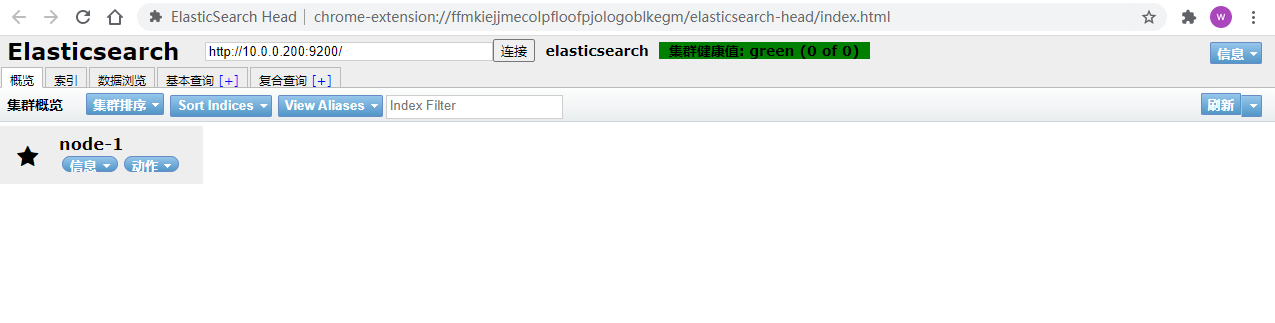
OK了。
如果还有兴趣往下看的话,就是手动安装elasticsearch-head了......
手动安装elasticsearch-head
install
安装nodejs
参考:https://www.cnblogs.com/Neeo/articles/11637320.html
安装(可能的)依赖
[root@cs software]# yum install openssl screen -y
[root@cs software]# cnpm install -g grunt-cli
安装es-head
[root@cs software]# wget https://github.com/mobz/elasticsearch-head/archive/refs/heads/master.zip
[root@cs software]# unzip master.zip
[root@cs software]# mv elasticsearch-head-master/ ./elasticsearch-head
[root@cs software]# rm -rf master.zip
[root@cs software]# cd elasticsearch-head/
[root@cs elasticsearch-head]# cnpm install
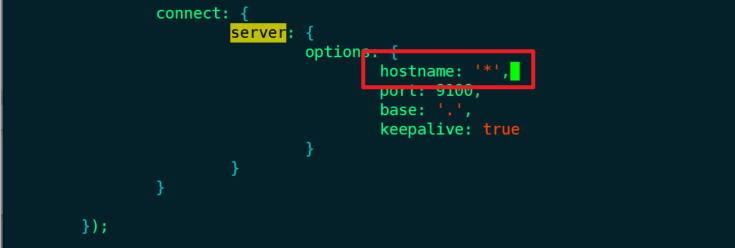
完事之后,需要vim编辑elasticsearch-head/Gruntfile.js文件,下拉找到connect-->server-->options-->hostname: '*':
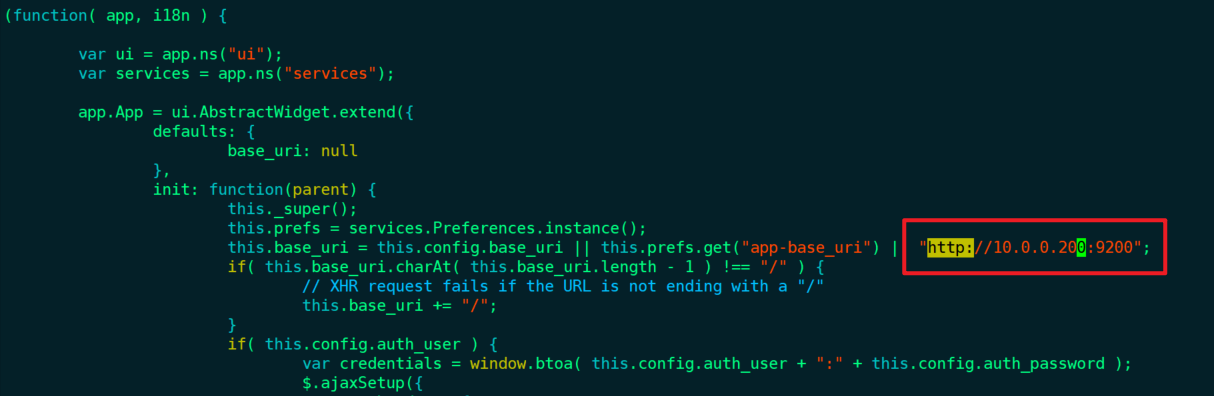
然后,配置,让es-head启动后默认连接es,需要编辑elasticsearch-head/_site/app.js,直接输入/后搜索http://localhost:9200,将localhost改为你的es所在的服务器ip。
es这边也需要配置:
[root@cs software]# vim /etc/elasticsearch/elasticsearch.yml

# 添加下面两个参数,解决es跨域问题
http.cors.enabled: true
http.cors.allow-origin: "*"

[root@cs software]# systemctl restart elasticsearch
完事之后,就可以在elasticsearch-head安装目录中启动它:
[root@cs elasticsearch-head]# npm run start

> elasticsearch-head@0.0.0 start /opt/software/elasticsearch-head
> grunt server

Running "connect:server" (connect) task
Waiting forever...
Started connect web server on http://localhost:9100
然后浏览器访问:

OK了。
使用systemctl设置es-head开机启动
每次es-head启动,都要cd到es-head的安装目录,然后执行启动命令启动它,比较麻烦,我们来配置systemctl管理es-head。
首先vim /etc/init.d/es-head,nodejs和es-head目录你自行修改:
#!/bin/sh

#chkconfig: 2345 80 05
#description elasticsearch-head

# nodejs 安装路径
export NODE_PATH=/opt/software/node14.16.1
export PATH=$PATH:$NODE_PATH/bin

# elasticsearch-head 的路径
cd /opt/software/elasticsearch-head

nohup npm run start >/opt/software/elasticsearch-head/nohup.out 2>&1 &
然后重新加载配置:
[root@cs elasticsearch-head]# systemctl daemon-reload
[root@cs elasticsearch-head]# systemctl start es-head
完事,浏览器就能正常访问了。
see also:
ElasticSearch(十五):Linux下设置 elasticsearch-head 开机自启 | 2018-05-11 Centos7 Failed to start xxx.service: Unit not found. 服务装好之后systemctl 不能用... | ELK系列(十一)、ElasticSearch7.7.0插件es-head安装及使用 | ES插件es-head安装

 浙公网安备 33010602011771号