springcloud(2)-数据微服务注册
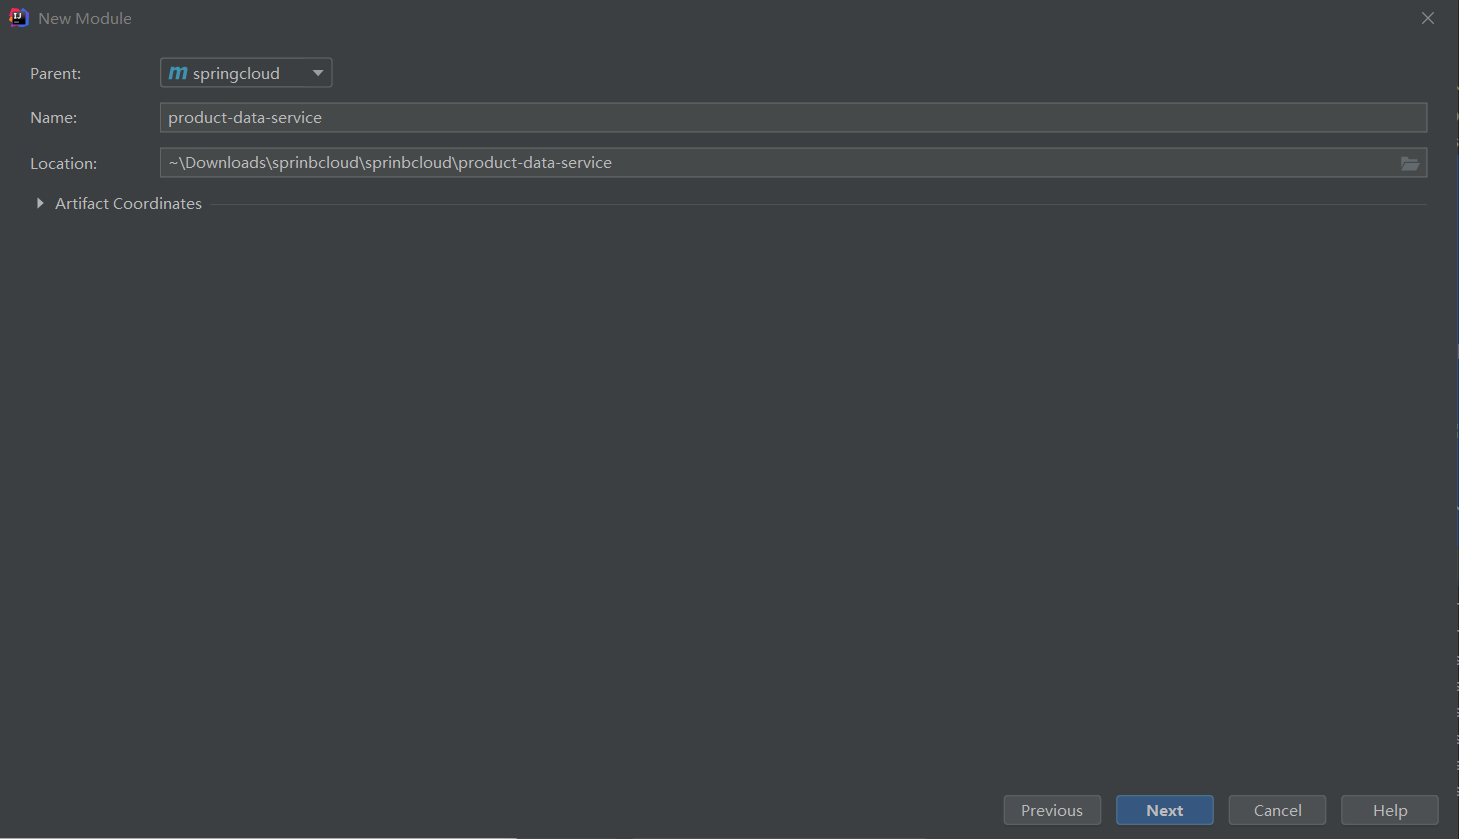
1.在项目springcloud下,新建微服务product-data-service

2.修改pom.xml文件
<project xmlns="http://maven.apache.org/POM/4.0.0" xmlns:xsi="http://www.w3.org/2001/XMLSchema-instance" xsi:schemaLocation="http://maven.apache.org/POM/4.0.0 http://maven.apache.org/xsd/maven-4.0.0.xsd">
  <modelVersion>4.0.0</modelVersion>
  <parent>
    <groupId>com.zhangdemo</groupId>
    <artifactId>springcloud</artifactId>
    <version>0.0.1-SNAPSHOT</version>
  </parent>
  <artifactId>productDataservice</artifactId>

  <dependencies>
    <!--客户端-->
    <dependency>
      <groupId>org.springframework.cloud</groupId>
      <artifactId>spring-cloud-starter-netflix-eureka-client</artifactId>
    </dependency>
    <!--web端,提供控制层-->
    <dependency>
      <groupId>org.springframework.boot</groupId>
      <artifactId>spring-boot-starter-web</artifactId>
    </dependency>
  </dependencies>

</project>
3.新建Product
package com.zhangdemo.pojo;

public class Product {

    private int id;
    private String name;
    private int price;
    public int getId() {
        return id;
    }
    public void setId(int id) {
        this.id = id;
    }
    public String getName() {
        return name;
    }
    public void setName(String name) {
        this.name = name;
    }
    public int getPrice() {
        return price;
    }
    public void setPrice(int price) {
        this.price = price;
    }

    public Product() {

    }
    public Product(int id, String name, int price) {
        super();
        this.id = id;
        this.name = name;
        this.price = price;
    }

}
4.新建ProductService
package com.zhangdemo.service;

import java.util.ArrayList;
import java.util.List;

import com.zhangdemo.pojo.Product;
import org.springframework.beans.factory.annotation.Value;
import org.springframework.stereotype.Service;


@Service
public class ProductService {
    @Value("${server.port}")
    String port;

    public List<Product> listProducts(){
        List<Product> ps = new ArrayList<>();
        ps.add(new Product(1,"product a from port:"+port, 50));
        ps.add(new Product(2,"product b from port:"+port, 150));
        ps.add(new Product(3,"product c from port:"+port, 250));
        return ps;
    }
}
5.新建ProductController
package com.zhangdemo.web;

import java.util.List;

import com.zhangdemo.pojo.Product;
import com.zhangdemo.service.ProductService;
import org.springframework.beans.factory.annotation.Autowired;
import org.springframework.web.bind.annotation.RequestMapping;
import org.springframework.web.bind.annotation.RestController;


@RestController
public class ProductController {

    @Autowired
    ProductService productService;

    @RequestMapping("/products")
    public Object products() {
        List<Product> ps = productService.listProducts();
        return ps;
    }
}
6.修改App为ProductDataServiceApplication,并修改成以下内容
@SpringBootApplication
@EnableEurekaClient
public class ProductDataServiceApplication {
    public static void main(String[] args) {
        int port = 0;
        int defaultPort = 8001;
        Future<Integer> future = ThreadUtil.execAsync(() ->{
            int p = 0;
            System.out.println("请于5秒钟内输入端口号, 推荐  8001 、 8002  或者  8003,超过5秒将默认使用 " + defaultPort);
            Scanner scanner = new Scanner(System.in);
            while(true) {
                String strPort = scanner.nextLine();
                if(!NumberUtil.isInteger(strPort)) {
                    System.err.println("只能是数字");
                    continue;
                }
                else {
                    p = Convert.toInt(strPort);
                    scanner.close();
                    break;
                }
            }
            return p;
        });
        try{
            port=future.get(5, TimeUnit.SECONDS);
        }
        catch (InterruptedException | ExecutionException | TimeoutException e){
            port = defaultPort;
        }

        if(!NetUtil.isUsableLocalPort(port)) {
            System.err.printf("端口%d被占用了,无法启动%n", port );
            System.exit(1);
        }

        new SpringApplicationBuilder(ProductDataServiceApplication.class).properties("server.port=" + port).run(args);
    }
}
7.在main目录下创建resources文件夹,并在resources文件夹下创建application.yml且写入如下内容
#   server:
#   port: 因为会启动多个 product-data-service, 所以端口号由用户自动设置,推荐 8001,8002,8003
#   微服务名称
spring:
  application:
    name: product-data-service

#注册地址
eureka:
  client:
    serviceUrl:
      defaultZone: http://localhost:8761/eureka/
8.输入http://localhost:8001/products,进行校验


