HTTPS加密证书(1)
目录
一:HTTPS
1.HTTPS简介
为什么需要使用HTTPS,因为HTTP不安全,当我们使用http网站时,会遭到劫持和篡改,如果采用https协议,那么数据在传输过程中是加密的,所以黑客无法窃取或者篡改数据报文信息,同时也避免网站传输时信息泄露。
那么我们在实现https时,需要了解ssl协议,但我们现在使用的更多的是TLS加密协议。
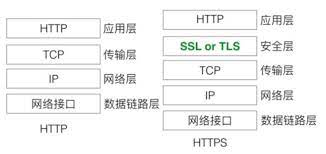
那么TLS是怎么保证明文消息被加密的呢?在OSI七层模型中,应用层是http协议,那么在应用层协议之下,我们的表示层,是ssl协议所发挥作用的一层,他通过(握手、交换秘钥、告警、加密)等方式,是应用层http协议没有感知的情况下做到了数据的安全加密
- https,即http安全连接,可以说是http协议的安全版。众所周知,我们在互联网上浏览网站,一般都是使用的http协议(也就是前面的http),默认情况下数据是明文传送的,这些数据在传输过程中都可能会被捕获和窃听,因此是不安全的。https是互联网服务的标准加密通讯方案,就是为了满足对安全性要求比较高的用户而设计的。
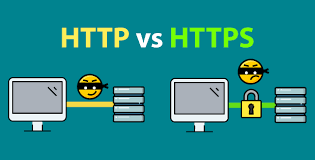
- HTTPS与HTTP区别详解:https://www.cnblogs.com/goOJBK/p/15778411.html
二:模拟网站劫持
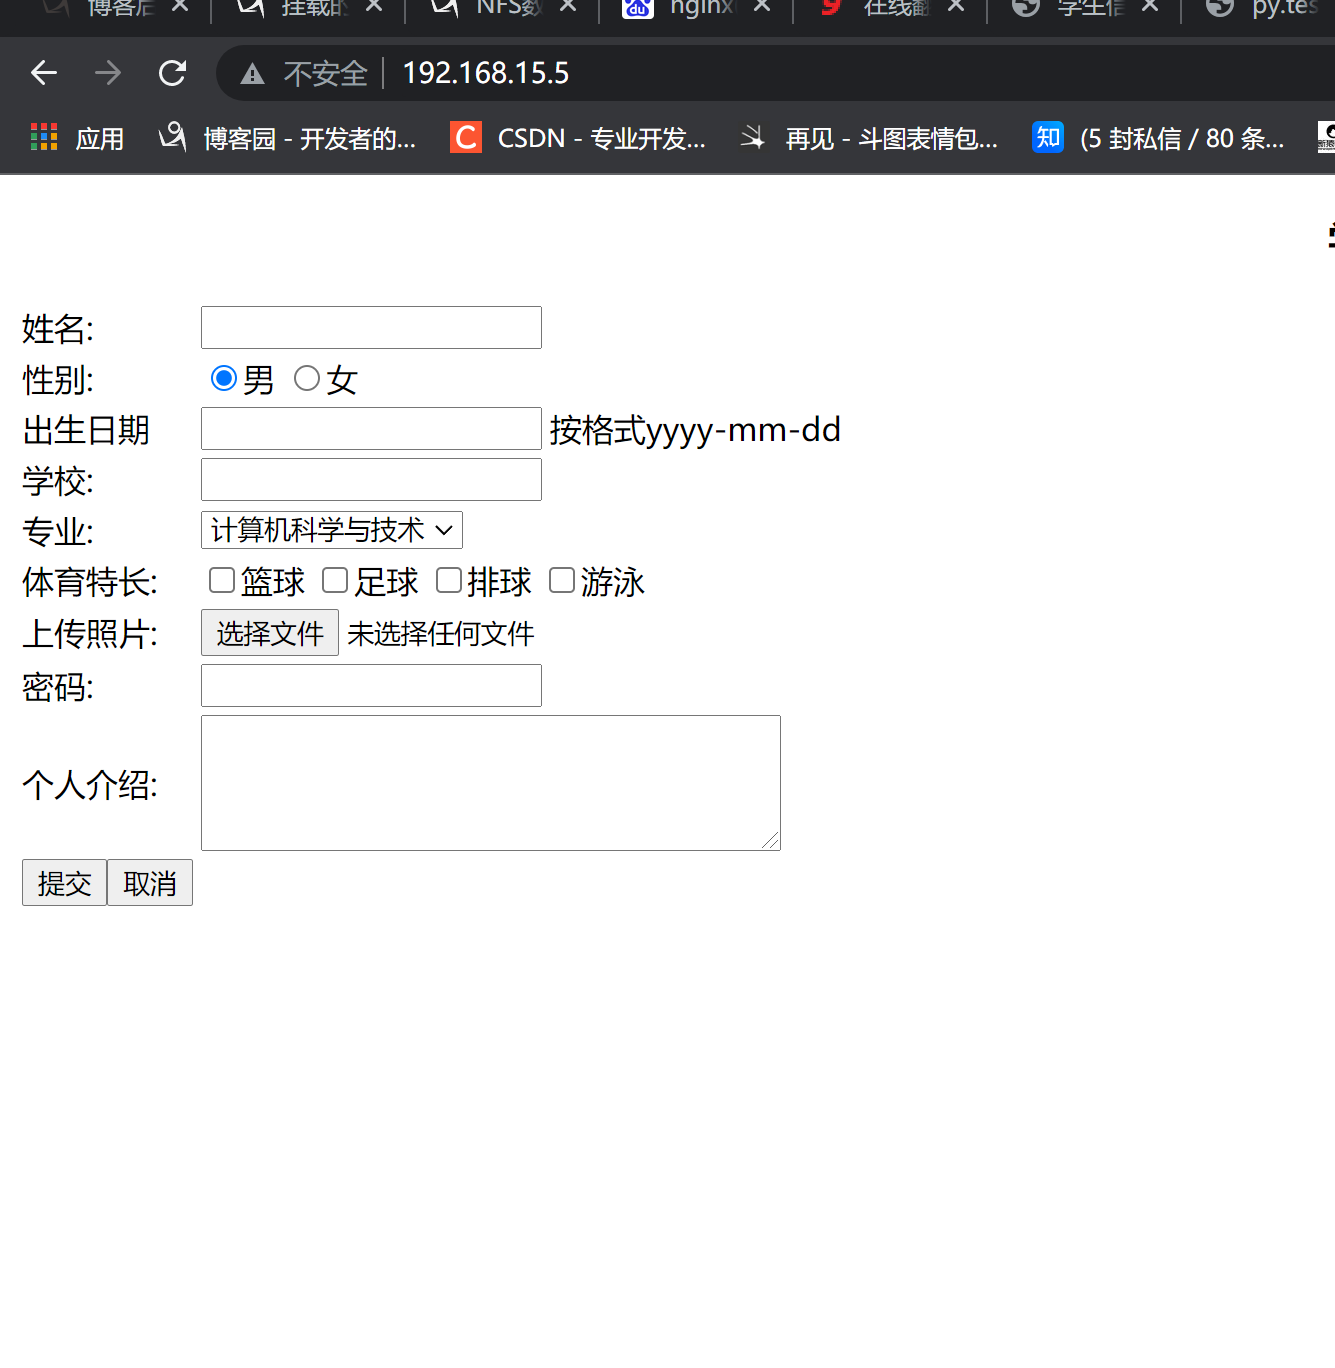
1.正常的页面(web01)
1.切换路径
cd opt
2.创建文件夹
mkdir code
3.编写页面文件配置
[root@web01 ~]# vim /code/index.html
<!DOCTYPE html PUBLIC "-//W3C//DTD XHTML 1.0 Transitional//EN" "http://www.w3.org/TR/xhtml1/DTD/xhtml1-transitional.dtd">
<html xmlns="http://www.w3.org/1999/xhtml">
<head>
<meta http-equiv="Content-Type" content="text/html; charset=utf-8" />
<title>学生信息注册页面</title>
</head>
<body>
<h3 align="center">学生信息注册</h3>
<form  name="stu"action="">
<table>
  <tr><td>姓名:</td><td><input type="text"name="stuName"/></td></tr>
  <tr><td>性别:</td>
      <td><input type="radio"name="stuSex"checked="checked">男
          <input type="radio"name="stuSex">女
          </td>
          </tr>
   <tr><td>出生日期</td>
       <td><input type="text"name="stuBirthday"></td>
       <td>按格式yyyy-mm-dd</td>
       </tr>
       <tr><td>学校:</td><td><input type="text"name="stuSchool"></td></tr>
       <tr><td>专业:</td>
           <td><select name="stuSelect2">
               <option selected>计算机科学与技术</option>
               <option>网络工程</option>
               <option>物联网工程</option>
               <option>应用数学</option>
               </select>
               </td>
               </tr>
               <tr><td>体育特长:</td>
                   <td colspan="2">
                      <input type="checkbox"name="stuCheck" >篮球
                      <input type="checkbox"name="stuCheck" >足球
                      <input type="checkbox"name="stuCheck" >排球
                      <input type="checkbox"name="stuCheck" >游泳
                   </td>
               </tr>
               <tr><td>上传照片:</td><td colspan="2"><input type="file" ></td></tr>
               <tr><td>密码:</td><td><input type="password"name="stuPwd" ></td></tr>
               <tr><td>个人介绍:</td>
                   <td colspan="2"><textarea name="Letter"rows="4"cols="40"></textarea></td>
               </tr>
               <tr>
                 <td><input type="submit"value="提交" ><input type="reset"value="取消" ></td>
                 </tr>
                 </table>
                 </form>
</body>
</html>
2.文件增加权限
[root@web01 ~]# chown -R www.www /opt/code/index.html
- web01
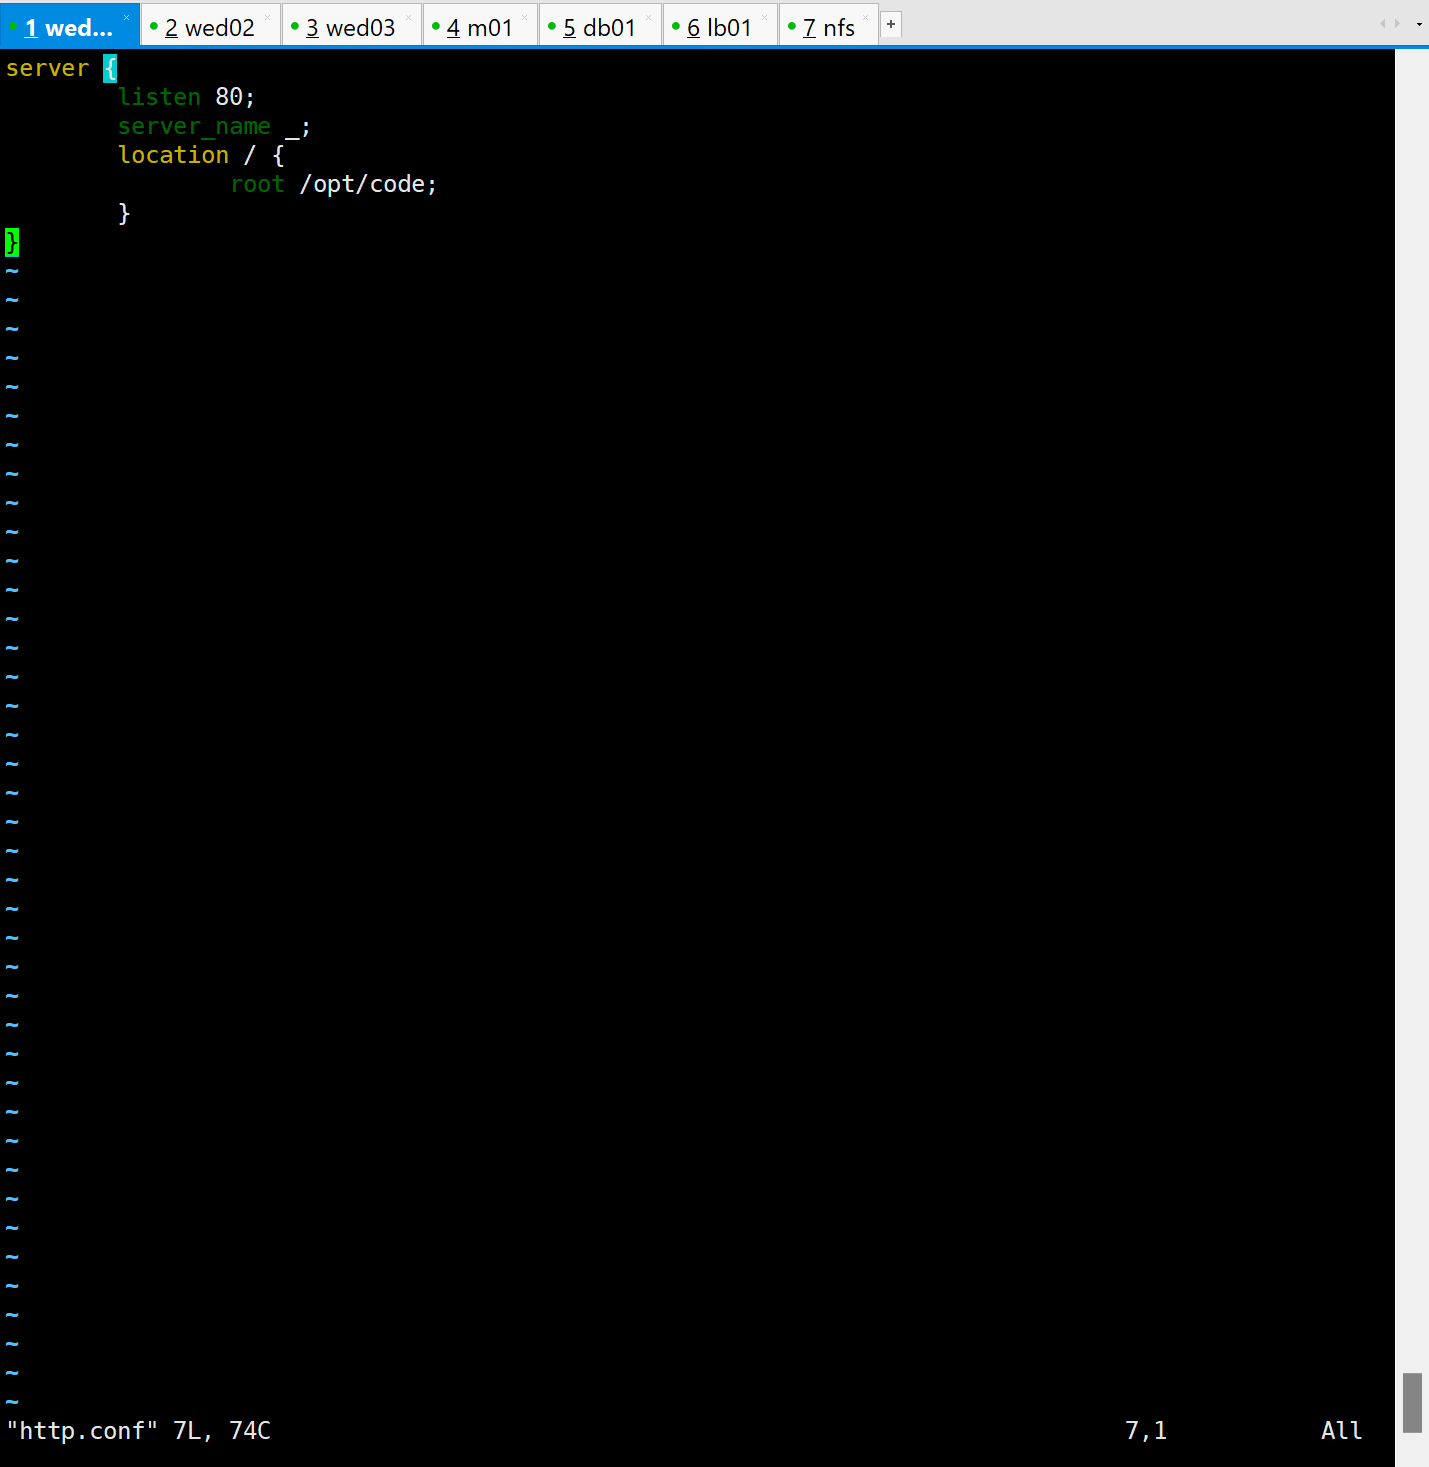
3.编写文件网址配置
vim /etc/nginx/conf.d/http.conf
4.网址测试
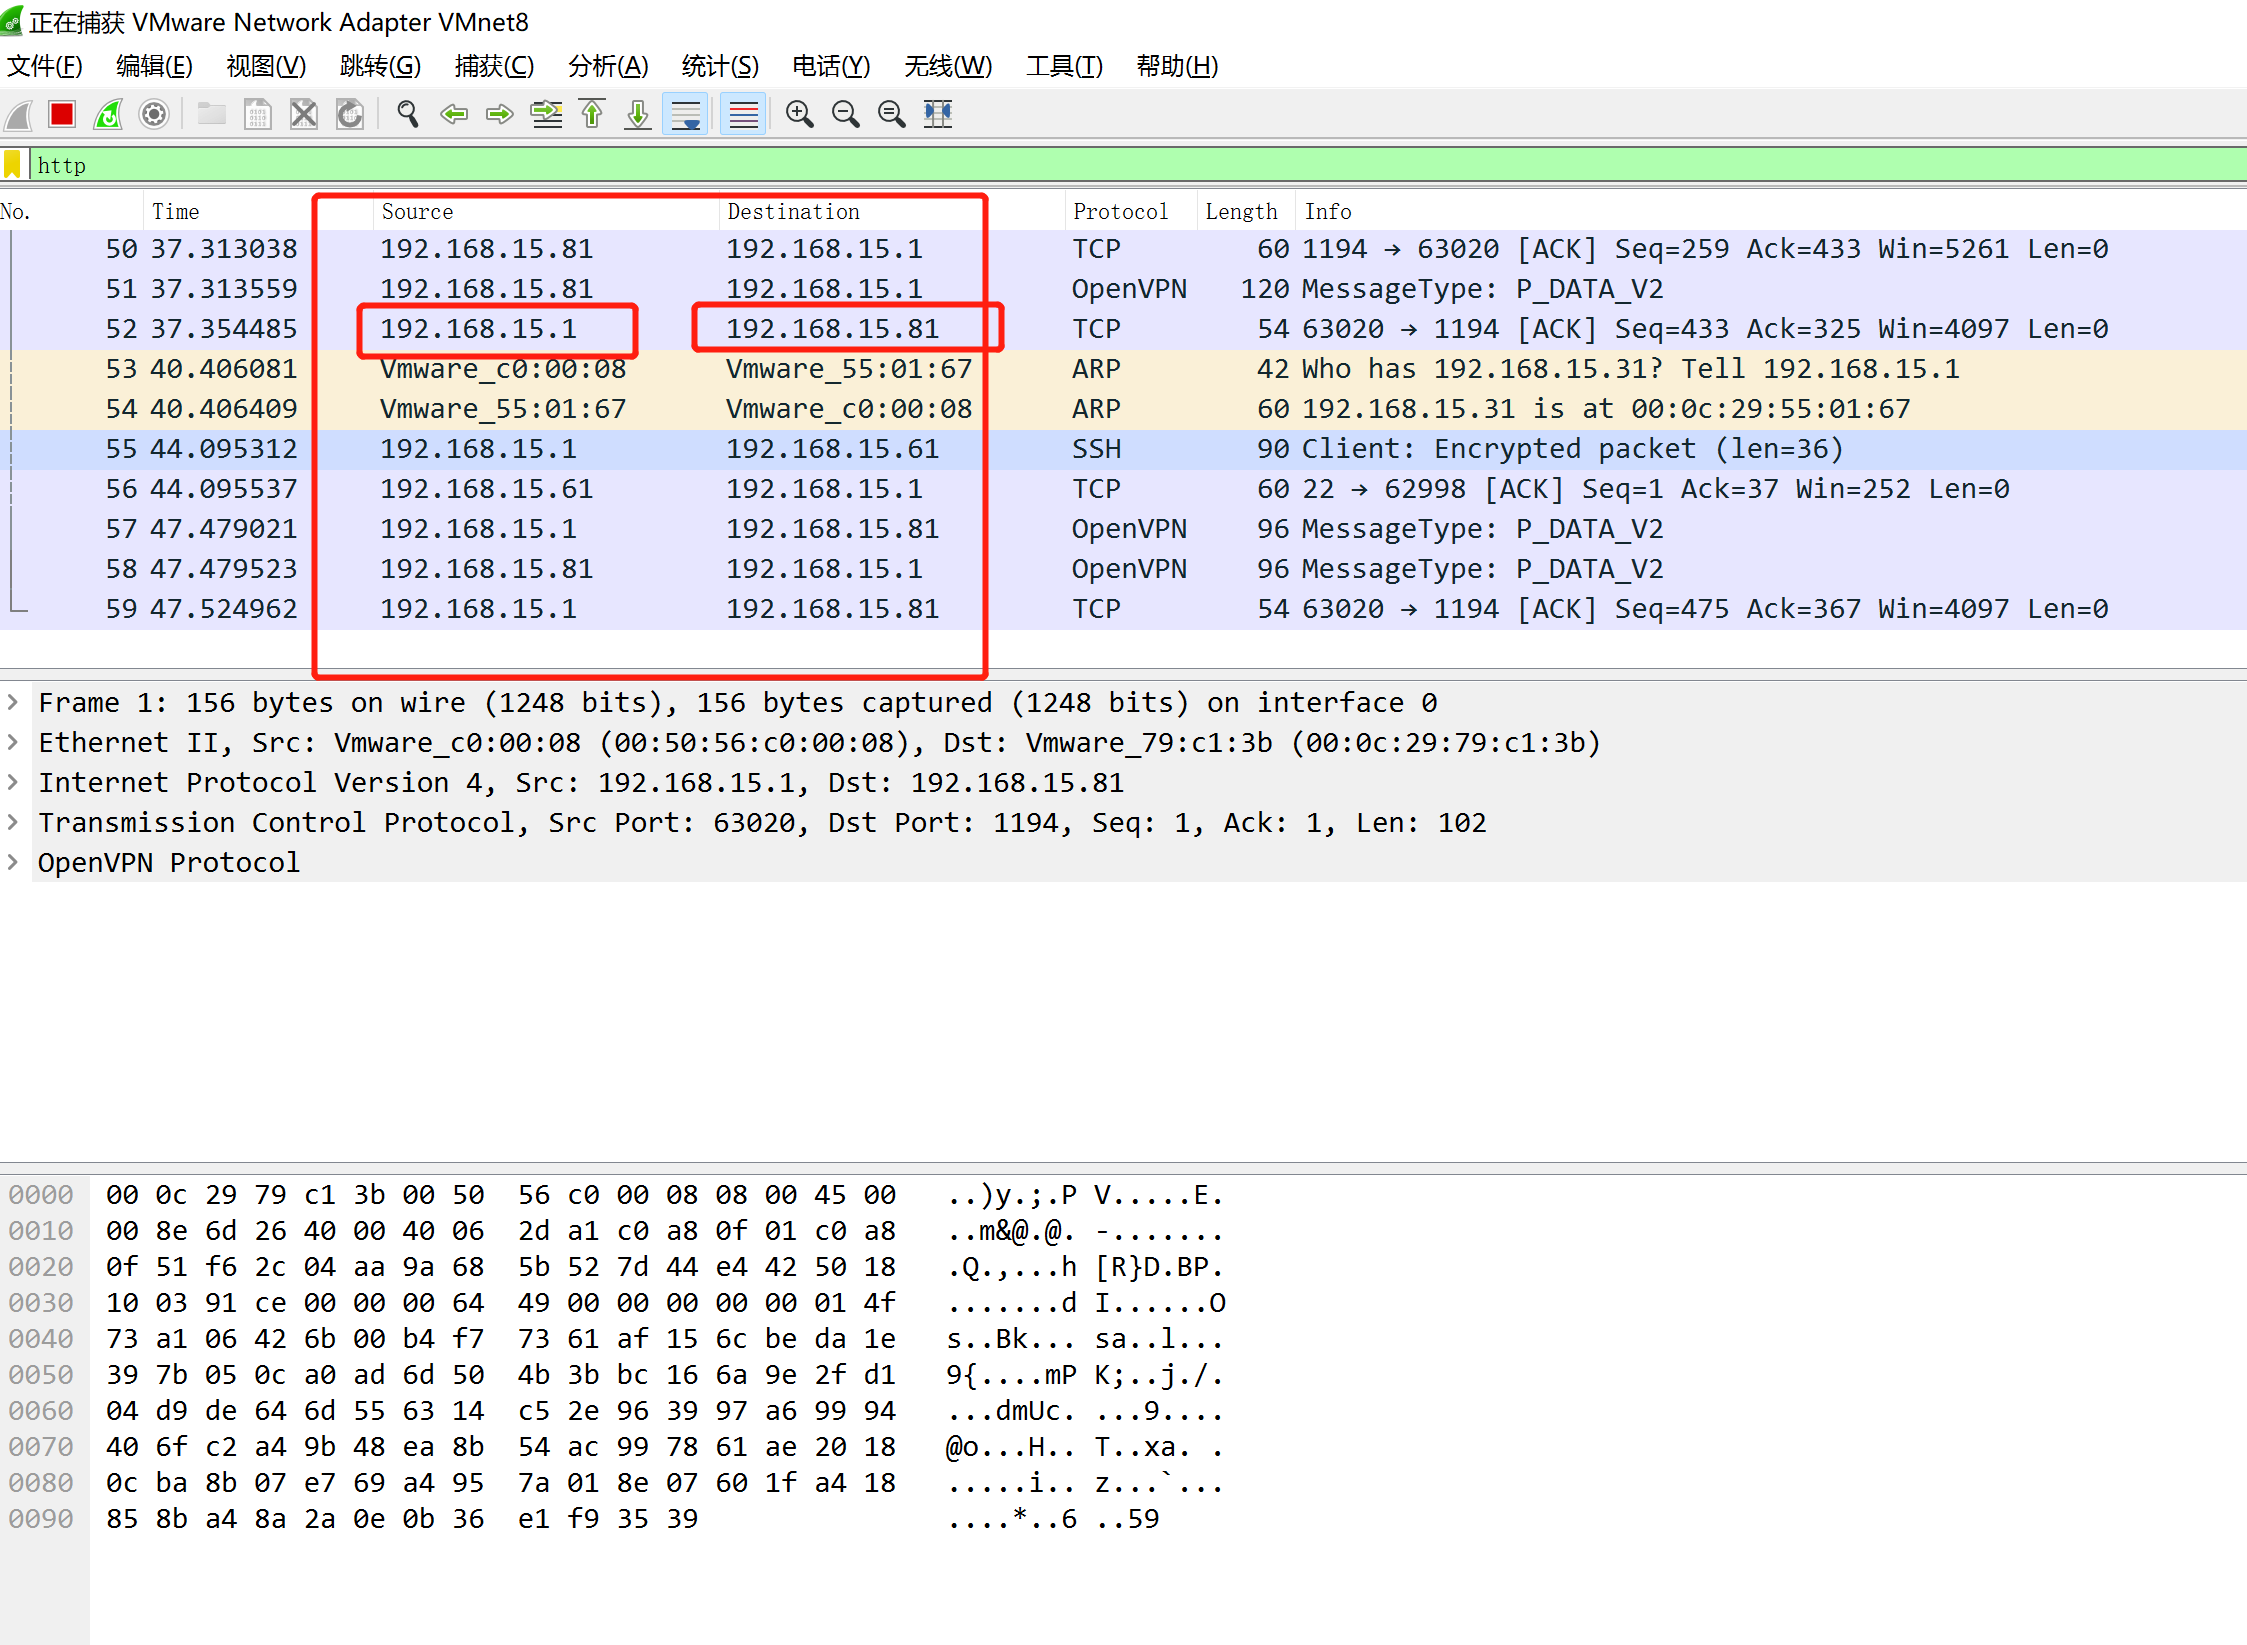
三:安装鲨鱼鳍(抓取数据包)
截获数据包
四:(网站劫持)lb代理
1.lb01服务器
1.切换路径
cd /etc/nginx/conf.d
2.编写模块网址配置
vim http.conf
    listen 80;
    server_name _;

    location / {
        proxy_pass http://192.168.15.7;
        }
 }
server {
listen 80;
server_name _;
location / {
proxy_pass http://192.168.15.7;
}
}
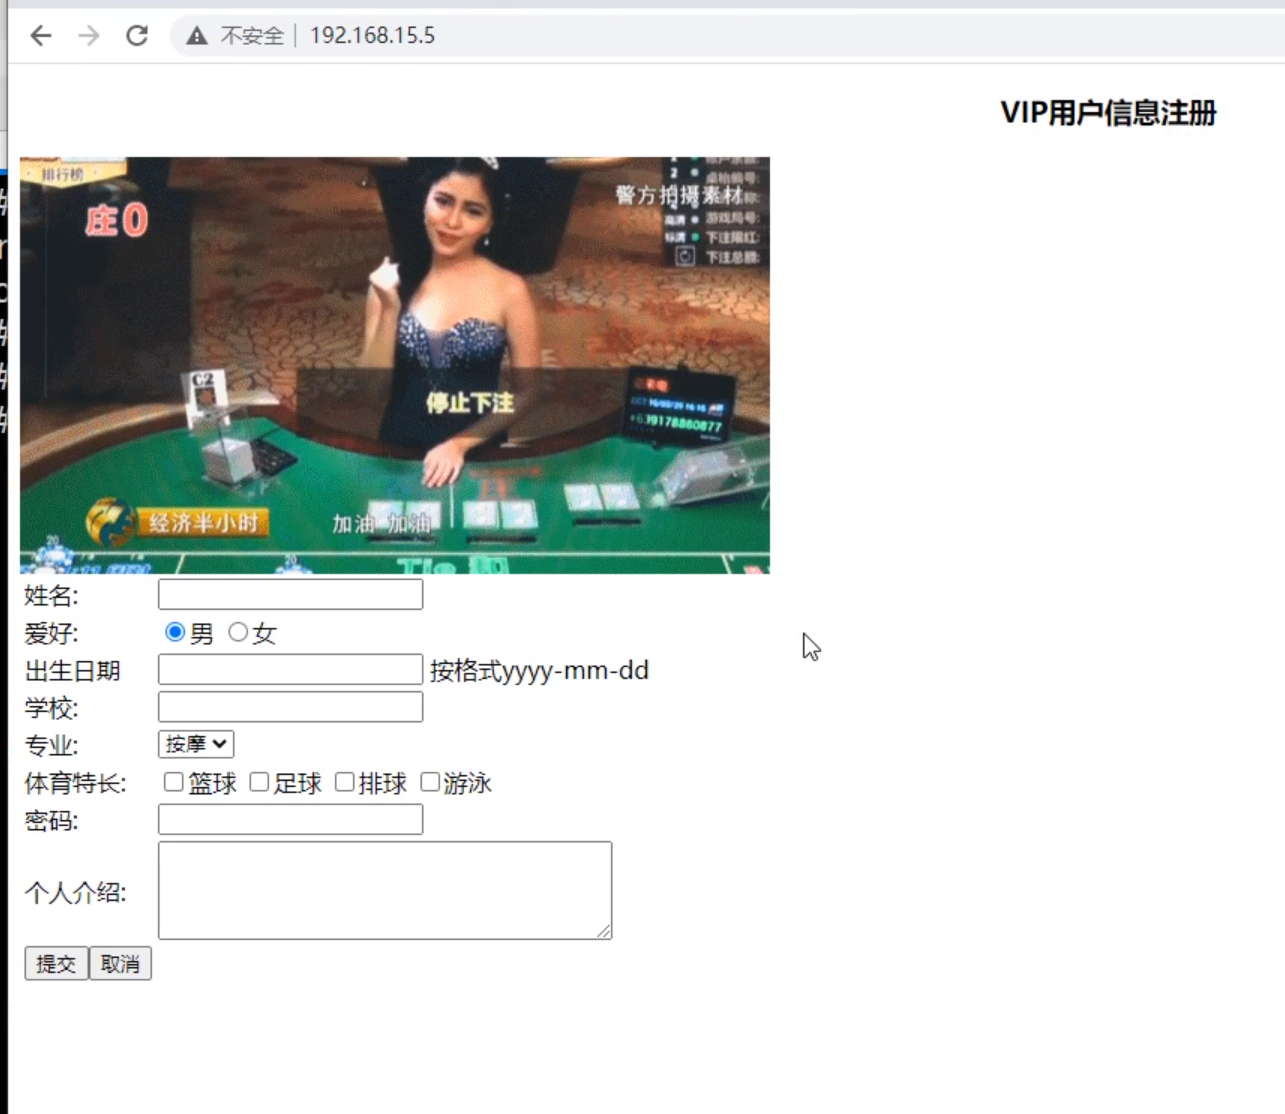
sub_filter '<title>学生信息注册页面</title>' '<title>澳门首家线上赌场</title>';
sub_filter '<h3 align="center">学生信息注册</h3>' '<h3 align="center">VIP用户信息注册</h3>';
sub_filter '<tr><td>性别:</td>' '<tr><td>爱好:</td>';
sub_filter '<option selected>计算机科学与技术</option>' '<option selected>按摩</option>';
sub_filter '<option>网络工程</option>' '<option>抽烟</option>';
sub_filter '<option>物联网工程</option>' '<option>喝酒</option>';
sub_filter '<option>应用数学</option>' '<option>烫头</option>';
sub_filter '<tr><td>上传照片:</td><td colspan="2"><input type="file" ></td></tr>' '<img src="https://blog.driverzeng.com/zenglaoshi/xingganheguan.gif">';
}
}
2.当linux显示没有http_sub_module模块
使用编译安装,装载模块
1. 删除原有的nginx
[root@lb01 ~]# rm -rf nginx-1.20.2
2.解压nginx源代码安装包
[root@lb01 ~]# tar -xf nginx-1.20.2.tar.gz
3.切换路径
[root@lb01 ~]# cd nginx-1.20.2
4.查看该模块
[root@lb01 nginx-1.20.2]# ./configure --help | grep sub
5.增加模块
--with-http_gzip_static_module --with-stream --with-http_ssl_module --with-http_sub_module
6. 编译
make && make install
7.切换到新nginx执行文件路径
 cd /usr/local/nginx/sbin/
ll
nginx
8.原来nginx执行文件查看nginx位置
which nginx
/usr/sbin/nginx
9.删除原nginx文件
[root@lb01 sbin]# rm -rf /usr/sbin/nginx
10.将新nginx文件移动到sbin路径
[root@lb01 sbin]# mv nginx /usr/sbin/
11.测试
nginx -t
12.重启
systemctl restart nginx
13.网址测试篡改
网址被篡改,证明不安全
192.168.15.5