WPF 中如何变相让 ListBox 宽度(Width) 100%,高度(Height) 100%,从而达到 Filled 的效果
2019-08-01 18:34 音乐让我说 阅读(3145) 评论(0) 编辑 收藏 举报直接贴代码了:
XAML:

<Window x:Class="HelloWorld.MainWindow"
        xmlns="http://schemas.microsoft.com/winfx/2006/xaml/presentation"
        xmlns:x="http://schemas.microsoft.com/winfx/2006/xaml"
        xmlns:d="http://schemas.microsoft.com/expression/blend/2008"
        xmlns:mc="http://schemas.openxmlformats.org/markup-compatibility/2006"
        mc:Ignorable="d"
        Title="MainWindow" Height="450" Width="800" Loaded="Window_Loaded">
    <Window.Resources>
        <!-- 下面是设置让所有的 Button 控件的默认样式 -->
        <Style TargetType="{x:Type Button}">
            <Setter Property="Margin" Value="5"></Setter>
            <Setter Property="Padding" Value="5"></Setter>
            <!--<Setter Property="HorizontalAlignment" Value="Center" />
            <Setter Property="VerticalAlignment" Value="Center" />-->
        </Style>
    </Window.Resources>
    <Grid>
        <Grid.RowDefinitions>
            <RowDefinition Height="Auto"/><!-- 实际高度 -->
            <RowDefinition Height="*"/><!-- 剩余高度 -->
            <RowDefinition Height="Auto"/><!-- 实际高度 -->
        </Grid.RowDefinitions>
        <Label Grid.Row="0" x:Name="label1" Content="Hello World " HorizontalAlignment="Center" VerticalAlignment="Center"
               FontSize="20" DockPanel.Dock="Top"/>

        <Grid Grid.Row="2">
            <Grid.RowDefinitions>
                <RowDefinition Height="Auto" /><!-- 实际高度 -->
                <RowDefinition Height="Auto" /><!-- 实际高度 -->
                <RowDefinition Height="*" /><!-- 剩余高度 -->
            </Grid.RowDefinitions>

            <Button Grid.Row="0" Name="Button1" DockPanel.Dock="Top" Height="Auto" Content="Button1" />
            <Button Grid.Row="1" Name="Button2" DockPanel.Dock="Top" Height="Auto" Content="Button2" />
            <ListBox x:Name="ListBoxLog"
                    Grid.Row="2"
                    SelectionMode="Single"/>
        </Grid>
        <Button Grid.Row="3" DockPanel.Dock="Bottom"  Content="Exit" FontSize="20" />

    </Grid>
</Window>
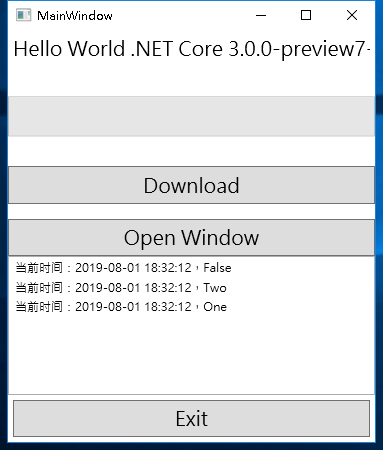
效果图:
谢谢浏览!
作者:音乐让我说(音乐让我说 - 博客园)
出处:http://music.cnblogs.com/
文章版权归本人所有,欢迎转载,但未经作者同意必须保留此段声明,且在文章页面明显位置给出原文连接,否则保留追究法律责任的权利。


【推荐】国内首个AI IDE,深度理解中文开发场景,立即下载体验Trae
【推荐】编程新体验,更懂你的AI,立即体验豆包MarsCode编程助手
【推荐】抖音旗下AI助手豆包,你的智能百科全书,全免费不限次数
【推荐】轻量又高性能的 SSH 工具 IShell:AI 加持,快人一步