1.springboot:入门项目
简介:
Springboot 来简化spring应用开发,约定大于配置,去繁从简,just run 就可以创建一个独立的,产品应用
背景:
J2EE笨重开发,繁多的配置,低下的开发效率,复杂的部署流程,第三方集成难度大
解决:
优点:
SpringBoot入门:
关于maven的配置
将下面代码配置在maven的配置文件中
<profile>
    <id>jdk-1.8</id>
    <activation>
    <activeByDefault>true</activeByDefault>
    <jdk>1.8</jdk>
    </activation>
    <properties>
    <maven.compiler.source>1.8</maven.compiler.source>
    <maven.compiler.target>1.8</maven.compiler.target>
    <maven.compiler.compilerVersion>1.8</maven.compiler.compilerVersion>
    </properties>
</profile>
所谓的HelloWord程序
创建一个新的maven工程
在pom文件中中加入:
<parent>
    <groupId>org.springframework.boot</groupId>
    <artifactId>spring-boot-starter-parent</artifactId>
    <version>1.5.9.RELEASE</version>
</parent>
<dependencies>
    <dependency>
        <groupId>org.springframework.boot</groupId>
        <artifactId>spring-boot-starter-web</artifactId>
    </dependency>
</dependencies>

如图所示:写一个controller
HelloController.java
@Controller
public class HelloController {

    @ResponseBody
    @RequestMapping("/hello")
    public  String hello(){
        return "helloword";
    }
}
HelloWord.java
//来标注一个springboot主程序,说明是springboot应用
@SpringBootApplication
public class HelloWord {
    public static void main(String[] args) {
        //spring应用程序启动
        SpringApplication.run(HelloWord.class,args);
    }
}
直接运行main函数的工程

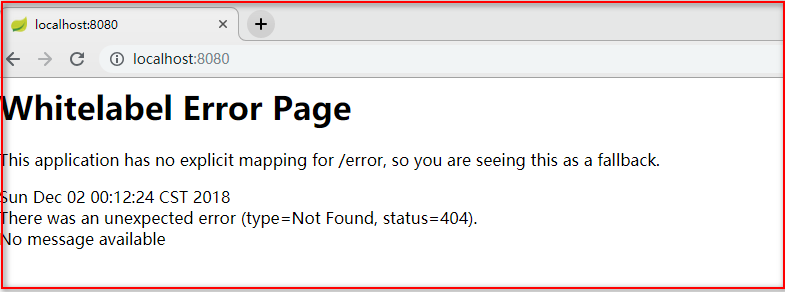
默认访问的网址会得到一个错误的访问页面:

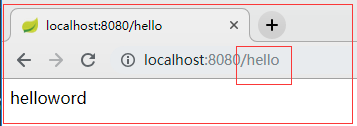
在默认的网址后面加上/hello请求

简化部署:
<!-- 这个插件,可以将应用打包成一个可执行的jar包;-->
<build>
    <plugins>
        <plugin>
            <groupId>org.springframework.boot</groupId>
            <artifactId>spring-boot-maven-plugin</artifactId>
        </plugin>
    </plugins>
</build>
java -jar XXXX.jar
此时也可以进行访问
探究一下POM文件:
<parent>
    <groupId>org.springframework.boot</groupId>
    <artifactId>spring-boot-starter-parent</artifactId>
    <version>1.5.9.RELEASE</version>
</parent>
父项目是:
<parent>
    <groupId>org.springframework.boot</groupId>
     <artifactId>spring-boot-dependencies</artifactId>
     <version>1.5.9.RELEASE</version>
    <relativePath>../../spring-boot-dependencies</relativePath>
</parent>
真正管理springboot应用里面的所有依赖
导入的依赖:
<dependencies>
    <dependency>
        <groupId>org.springframework.boot</groupId>
        <artifactId>spring-boot-starter-web</artifactId>
    </dependency>
</dependencies>


可以根据我们的需要进行相关的依赖导入!
主程序:
//来标注一个springboot主程序,说明是springboot应用
@SpringBootApplication
public class HelloWord {
    public static void main(String[] args) {
        //spring应用程序启动
        SpringApplication.run(HelloWord.class,args);
    }
}
@SpringBootApplication:
@Target({ElementType.TYPE})
@Retention(RetentionPolicy.RUNTIME)
@Documented
@Inherited
@SpringBootConfiguration
@EnableAutoConfiguration
@ComponentScan(
    excludeFilters = {@Filter(
    type = FilterType.CUSTOM,
    classes = {TypeExcludeFilter.class}
), @Filter(
    type = FilterType.CUSTOM,
    classes = {AutoConfigurationExcludeFilter.class}
)}
)
public @interface SpringBootApplication {
1.@SpringBootConfiguration:Spring Boot的配置类,标注在某个类上,表示这是springboot的配置类!

@Configuration:配置在类上来标志这个注解
配置类也是容器中的一个组件:@Componment
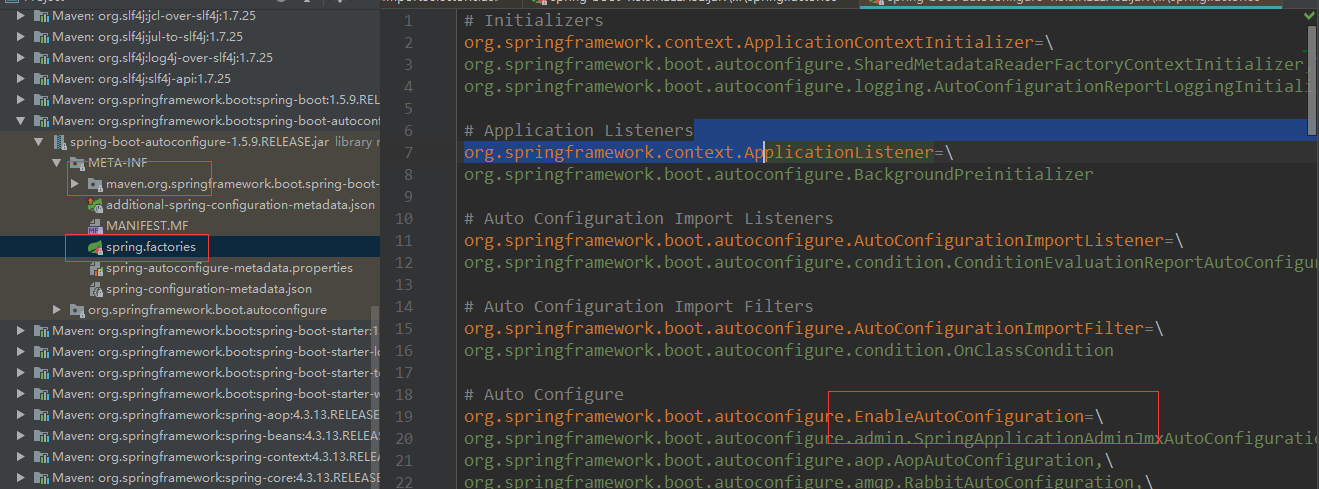
2.@EnableAutoConfiguration: 开启自动配置功能
之前需要手动配置的东西,SpringBoot自动来配置,不需要进行手动配置
该注解是开启自动配置的功能

2.1 @AutoConfigurationPackage: 自动配置Spring底层的注解
@Import
@Import(AutoConfigurationaPackage.Registrar.class):将主配置类(@SpringApplication标注的类)
的包以及子包里面的组件扫描到容器中
2.2 @Import({EnableAutoConfigurationImportSelector.class}):给容器中导入组件
EnableAutoConfigurationImportSelector:将所需要导入的组件以全类名方式、这些逐渐就会添加到容
器中,会给容器增加非常多的自动配置
(xxxAutoConfiguration):就是给容器中导入相应的组件,并且配置好这些组件


 浙公网安备 33010602011771号