jenkins 的pipeline入门 (3)
一.简介
在jenkins 1.x中只能通过手动操作来"描述"部署流水线,而2.x支持了pipe as code了,可以通过“代码”来描述部署流水线。
pipeline使用代码,而不是UI的意义在于:
1)更好的版本化: 将pipeline提交到软件版本库中进行版本控制。
2)更好的协作:pipeline的每次修改对所有人都是可见的,除此之外,还可以对pipeline进行代码审查。
3)更好的重用性:手动操作没法重用,但是代码可以重用。
后续介绍全面拥抱pipeline as code,放弃依赖手动操作的自由风格的项目(freeStyle project).
1.1 jenkinsfile 是什么
jenkinsfile 就是一个文本文件,也就是部署流水线概念在jenkins中的表现形式,像dockerfile之于docker。所在部署的流水线的逻辑都写在jenkinsfile中。
jenkins默认是不支持jenkinsfile的,需要安装pipeline插件,在前面的安装介绍章节中已安装pipeline的插件。
安装完后,就可以创建pipeline项目了,如下所示:
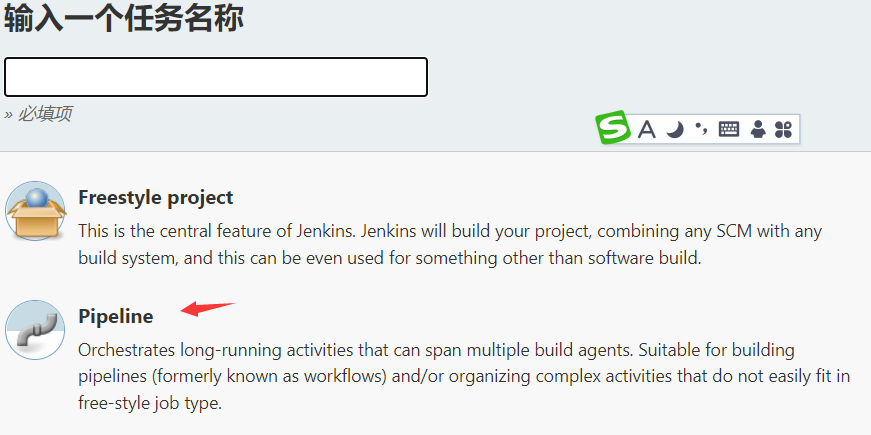
1.2 Pipeline语法的选择
有二种语法来写pipeline, 一种是脚本式语法(scripted) 是用groovy语言。一种是声明式语法(declar-ative)。前者灵活可扩展但也更复杂,后者简单更结构化更适合阅读。
所以声明式语法也是jenkins社区推荐的语法。
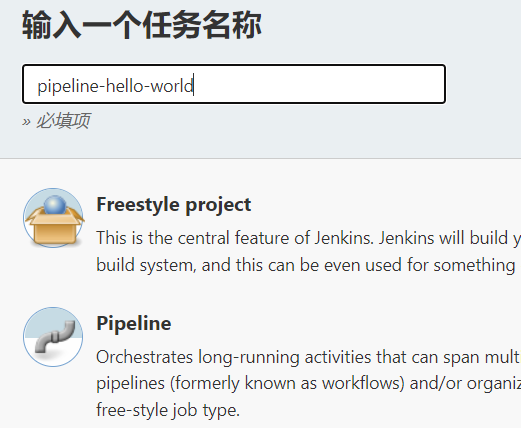
1.3 创建第一个pipeline
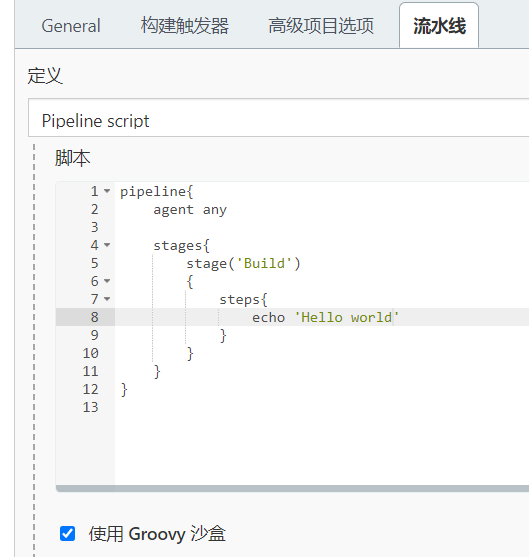
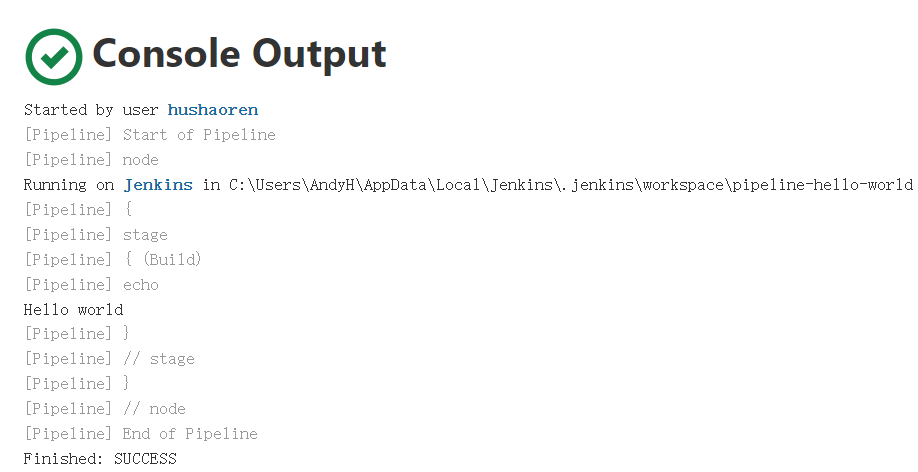
最后点击保存,在点击左侧菜单 Build Now,在Build History中点击最新的-->console output
1.4 从版本控制库拉取pipeline
在上面hello world示例中,是直接在jenkins界面上填入pipeline内容的,试验时可以这么做,但是不推荐,因为这样无法做到pipeline的版本化。
接下来让jenkins从仓库拉取pipeline并执行。
准备条件:
1)jenkins服务器上已装好git
2)选择一个git仓库,我这里用的腾讯工蜂,创建一个项目pipeline-hello-world, 添加Jenkinsfile(注意文件名大小写)文件,如下所示

文件内容如下所示:
pipeline {
    agent any

    stages {
        stage('Hello') {
            steps {
                echo 'Hello World'
            }
        }
    }
}
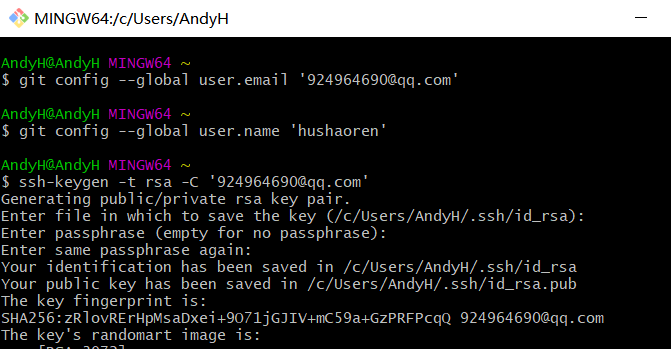
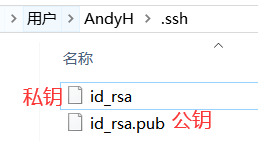
步骤1:在jenkins服务器上通过git命令生成ssh,生成命令和输出文件如下:
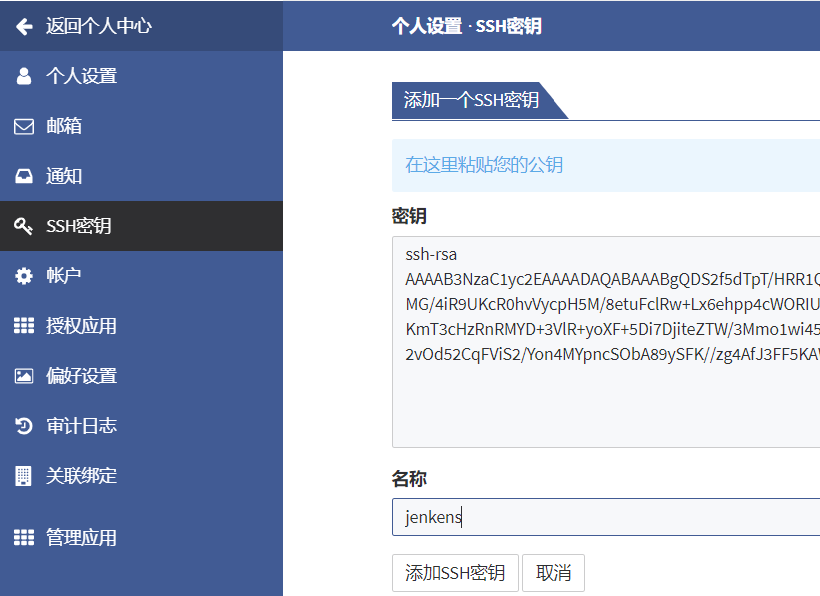
步骤2:腾讯工蜂上添加公钥(打开id_rsa.pub把内容直接复制),如下所示
步骤3:jenkins上添加私钥(打开id_rsa把内容直接复制),添加完成后如下所示:

创建凭据填写需要注意的地方:类型为SSH Username with private key。 用户名为:腾讯工蜂的账号名,我这里是hushaoren, 输入私钥,输入创建ssh的密码(我这里是123456)
步骤4:新建一个pipeline任务,任务名为pipeline-hello-world,下面是配置

步骤5,最后构建成功,如下所示
Started by user hushaoren
Obtained Jenkinsfile from git git@git.code.tencent.com:Studies/pipeline-hello-world.git
[Pipeline] Start of Pipeline
[Pipeline] node
Running on Jenkins in C:\Users\AndyH\AppData\Local\Jenkins\.jenkins\workspace\pipeline-hello-world
[Pipeline] {
[Pipeline] stage
[Pipeline] { (Declarative: Checkout SCM)
[Pipeline] checkout
Selected Git installation does not exist. Using Default
The recommended git tool is: NONE
using credential 10000
Cloning the remote Git repository
Cloning repository git@git.code.tencent.com:Studies/pipeline-hello-world.git
 > git.exe init C:\Users\AndyH\AppData\Local\Jenkins\.jenkins\workspace\pipeline-hello-world # timeout=10
Fetching upstream changes from git@git.code.tencent.com:Studies/pipeline-hello-world.git
 > git.exe --version # timeout=10
 > git --version # 'git version 2.28.0.windows.1'
using GIT_SSH to set credentials 腾讯工蜂连接
 > git.exe fetch --tags --force --progress -- git@git.code.tencent.com:Studies/pipeline-hello-world.git +refs/heads/*:refs/remotes/origin/* # timeout=10
 > git.exe config remote.origin.url git@git.code.tencent.com:Studies/pipeline-hello-world.git # timeout=10
 > git.exe config --add remote.origin.fetch +refs/heads/*:refs/remotes/origin/* # timeout=10
Avoid second fetch
 > git.exe rev-parse "refs/remotes/origin/master^{commit}" # timeout=10
Checking out Revision 58b8c38fe111414358617a8a671843e19dc1cd48 (refs/remotes/origin/master)
 > git.exe config core.sparsecheckout # timeout=10
 > git.exe checkout -f 58b8c38fe111414358617a8a671843e19dc1cd48 # timeout=10
Commit message: "提交"
First time build. Skipping changelog.
[Pipeline] }
[Pipeline] // stage
[Pipeline] withEnv
[Pipeline] {
[Pipeline] stage
[Pipeline] { (Hello)
[Pipeline] echo
Hello World
[Pipeline] }
[Pipeline] // stage
[Pipeline] }
[Pipeline] // withEnv
[Pipeline] }
[Pipeline] // node
[Pipeline] End of Pipeline
Finished: SUCCESS

 浙公网安备 33010602011771号