
centos7搭建lnmp环境
一、系统环境
[root@server01 ~]# cat /etc/redhat-release
CentOS Linux release 7.9.2009 (Core)
二、安装MySQL nginx和PHP
添加MySQL和PHP yum源
rpm -ivh https://dev.mysql.com/get/mysql80-community-release-el7-7.noarch.rpm
rpm -Uvh https://mirror.webtatic.com/yum/el7/epel-release.rpm
rpm -Uvh https://mirror.webtatic.com/yum/el7/webtatic-release.rpm

查看yum源中是否有MySQL安装包
yum repolist all | grep mysql

安装管理工具
yum install -y yum-utils

禁用MySQL8.0
yum-config-manager --disable mysql80-community

启用 mysql 5.7
yum-config-manager --enable mysql57-community

查看可安装的PHP(yum list php72w*可以把能够安装的php扩展列出来,根据自己需要安装即可。)
yum list php72w*

安装PHP、MySQL和nginx
yum install -y  nginx mysql-community-server php72w php72w-cli php72w-common php72w-fpm php72w-mysqlnd

查看安装的PHP 版本
[root@server01 ~]# php -v
PHP 7.2.34 (cli) (built: Jun  7 2023 11:23:34) ( NTS )
Copyright (c) 1997-2018 The PHP Group
Zend Engine v3.2.0, Copyright (c) 1998-2018 Zend Technologies

查看安装的nginx版本
[root@server01 ~]# nginx -v
nginx version: nginx/1.20.1

查看安装的MySQL版本
[root@server01 ~]# mysql --version
mysql  Ver 14.14 Distrib 5.7.42, for Linux (x86_64) using  EditLine wrapper
三、启动服务并设为开机自启
[root@server01 ~]# systemctl start nginx
[root@server01 ~]# systemctl enable nginx
Created symlink from /etc/systemd/system/multi-user.target.wants/nginx.service to /usr/lib/systemd/system/nginx.service.

[root@server01 ~]# systemctl start php-fpm
[root@server01 ~]# systemctl enable php-fpm
Created symlink from /etc/systemd/system/multi-user.target.wants/php-fpm.service to /usr/lib/systemd/system/php-fpm.service.

[root@server01 ~]# systemctl start mysqld
[root@server01 ~]# systemctl enable mysqld
四、防火墙开放相关端口
开放相关端口
[root@server01 ~]# firewall-cmd --zone=public --add-port=80/tcp --permanent
success
[root@server01 ~]# firewall-cmd --zone=public --add-port=3306/tcp --permanent
success
[root@server01 ~]# systemctl restart firewalld

查看开放的端口
[root@server01 ~]# firewall-cmd --list-all
public (active)
  target: default
  icmp-block-inversion: no
  interfaces: ens33 ens34
  sources:
  services: dhcpv6-client ssh
  ports: 80/tcp 3306/tcp
  protocols:
  masquerade: no
  forward-ports:
  source-ports:
  icmp-blocks:
  rich rules:
五、初始化MySQL
由于MySQL从5.7开始不允许首次安装后使用空密码进行登录!为了加强安全性,系统会随机生成一个密码以供管理员首次登录使用,
这个密码记录在/var/log/mysqld.log文件中,使用下面的命令可以查看此密码:
[root@server01 ~]# cat /var/log/mysqld.log|grep 'A temporary password'
2023-06-13T15:44:10.189775Z 1 [Note] A temporary password is generated for root@localhost: 0kgroQrl:u6a

初始化服务
# 直接用该密码登陆会要求改密码,最好先进行向导操作

# 安全向导
mysql_secure_installation

# 输入 root 初始密码,初始密码中有特殊字符时需转义
Enter password for user root:
# 设置新密码,密码太简单会提示错误:Your password does not satisfy the current policy requirements
New password
# 是否确认修改root密码
Change the password for root
# 是否删除匿名用户
Remove anonymous users
# 是否禁止root远程登录
Disallow root login remotely
# 是否删除test数据库
Remove test database and access to it
# 是否现在刷新权限
Reload privilege tables now
设置简单密码
# 查看密码策略
SHOW VARIABLES LIKE 'validate_password%';

# 修改密码策略,修改密码检查强度和密码长度就可以
set global validate_password_policy=0;
set global validate_password_length=4;

# 修改当前用户密码
ALTER USER USER() IDENTIFIED BY '123456';
# 修改指定用户密码
ALTER user 'root'@'localhost' IDENTIFIED BY '123456';

重新加载特权表
flush privileges;

使用新密码登录

在忘记密码的情况下重置密码
# 编辑配置文件
vim /etc/my.cnf
# 文件最后添加免密登陆
skip-grant-tables

# 重启 mysql 服务
systemctl restart mysqld.service
# 登陆 mysql,不用密码
mysql -uroot
六、配置nginx
配置nginx,把php脚本请求转发到php-fpm。
nginx的配置文件位于/etc/nginx/文件夹下面,nginx会读取conf.d下面的
nginx的配置文件位于/etc/nginx/文件夹下面,nginx会读取conf.d下面的
*.conf文件作为用户配置覆盖默认配置文件。这里简单配置了将php脚本请求转发到了php-fpm默认监听的127.0.0.1:9000,更多配置可参考nginx官方文档。 server {
listen 80;
listen [::]:80;
server_name _;
root /usr/share/nginx/html;
index index.php index.html;
location ~ \.php(.*)$ {
fastcgi_pass 127.0.0.1:9000;
fastcgi_index index.php;
fastcgi_split_path_info ^((?U).+\.php)(/?.+)$;
fastcgi_param SCRIPT_FILENAME $document_root$fastcgi_script_name;
fastcgi_param PATH_INFO $fastcgi_path_info;
fastcgi_param PATH_TRANSLATED $document_root$fastcgi_path_info;
include fastcgi_params;
}
# Load configuration files for the default server block.
include /etc/nginx/default.d/*.conf;
error_page 404 /404.html;
location = /404.html {
}
error_page 500 502 503 504 /50x.html;
location = /50x.html {
}
}
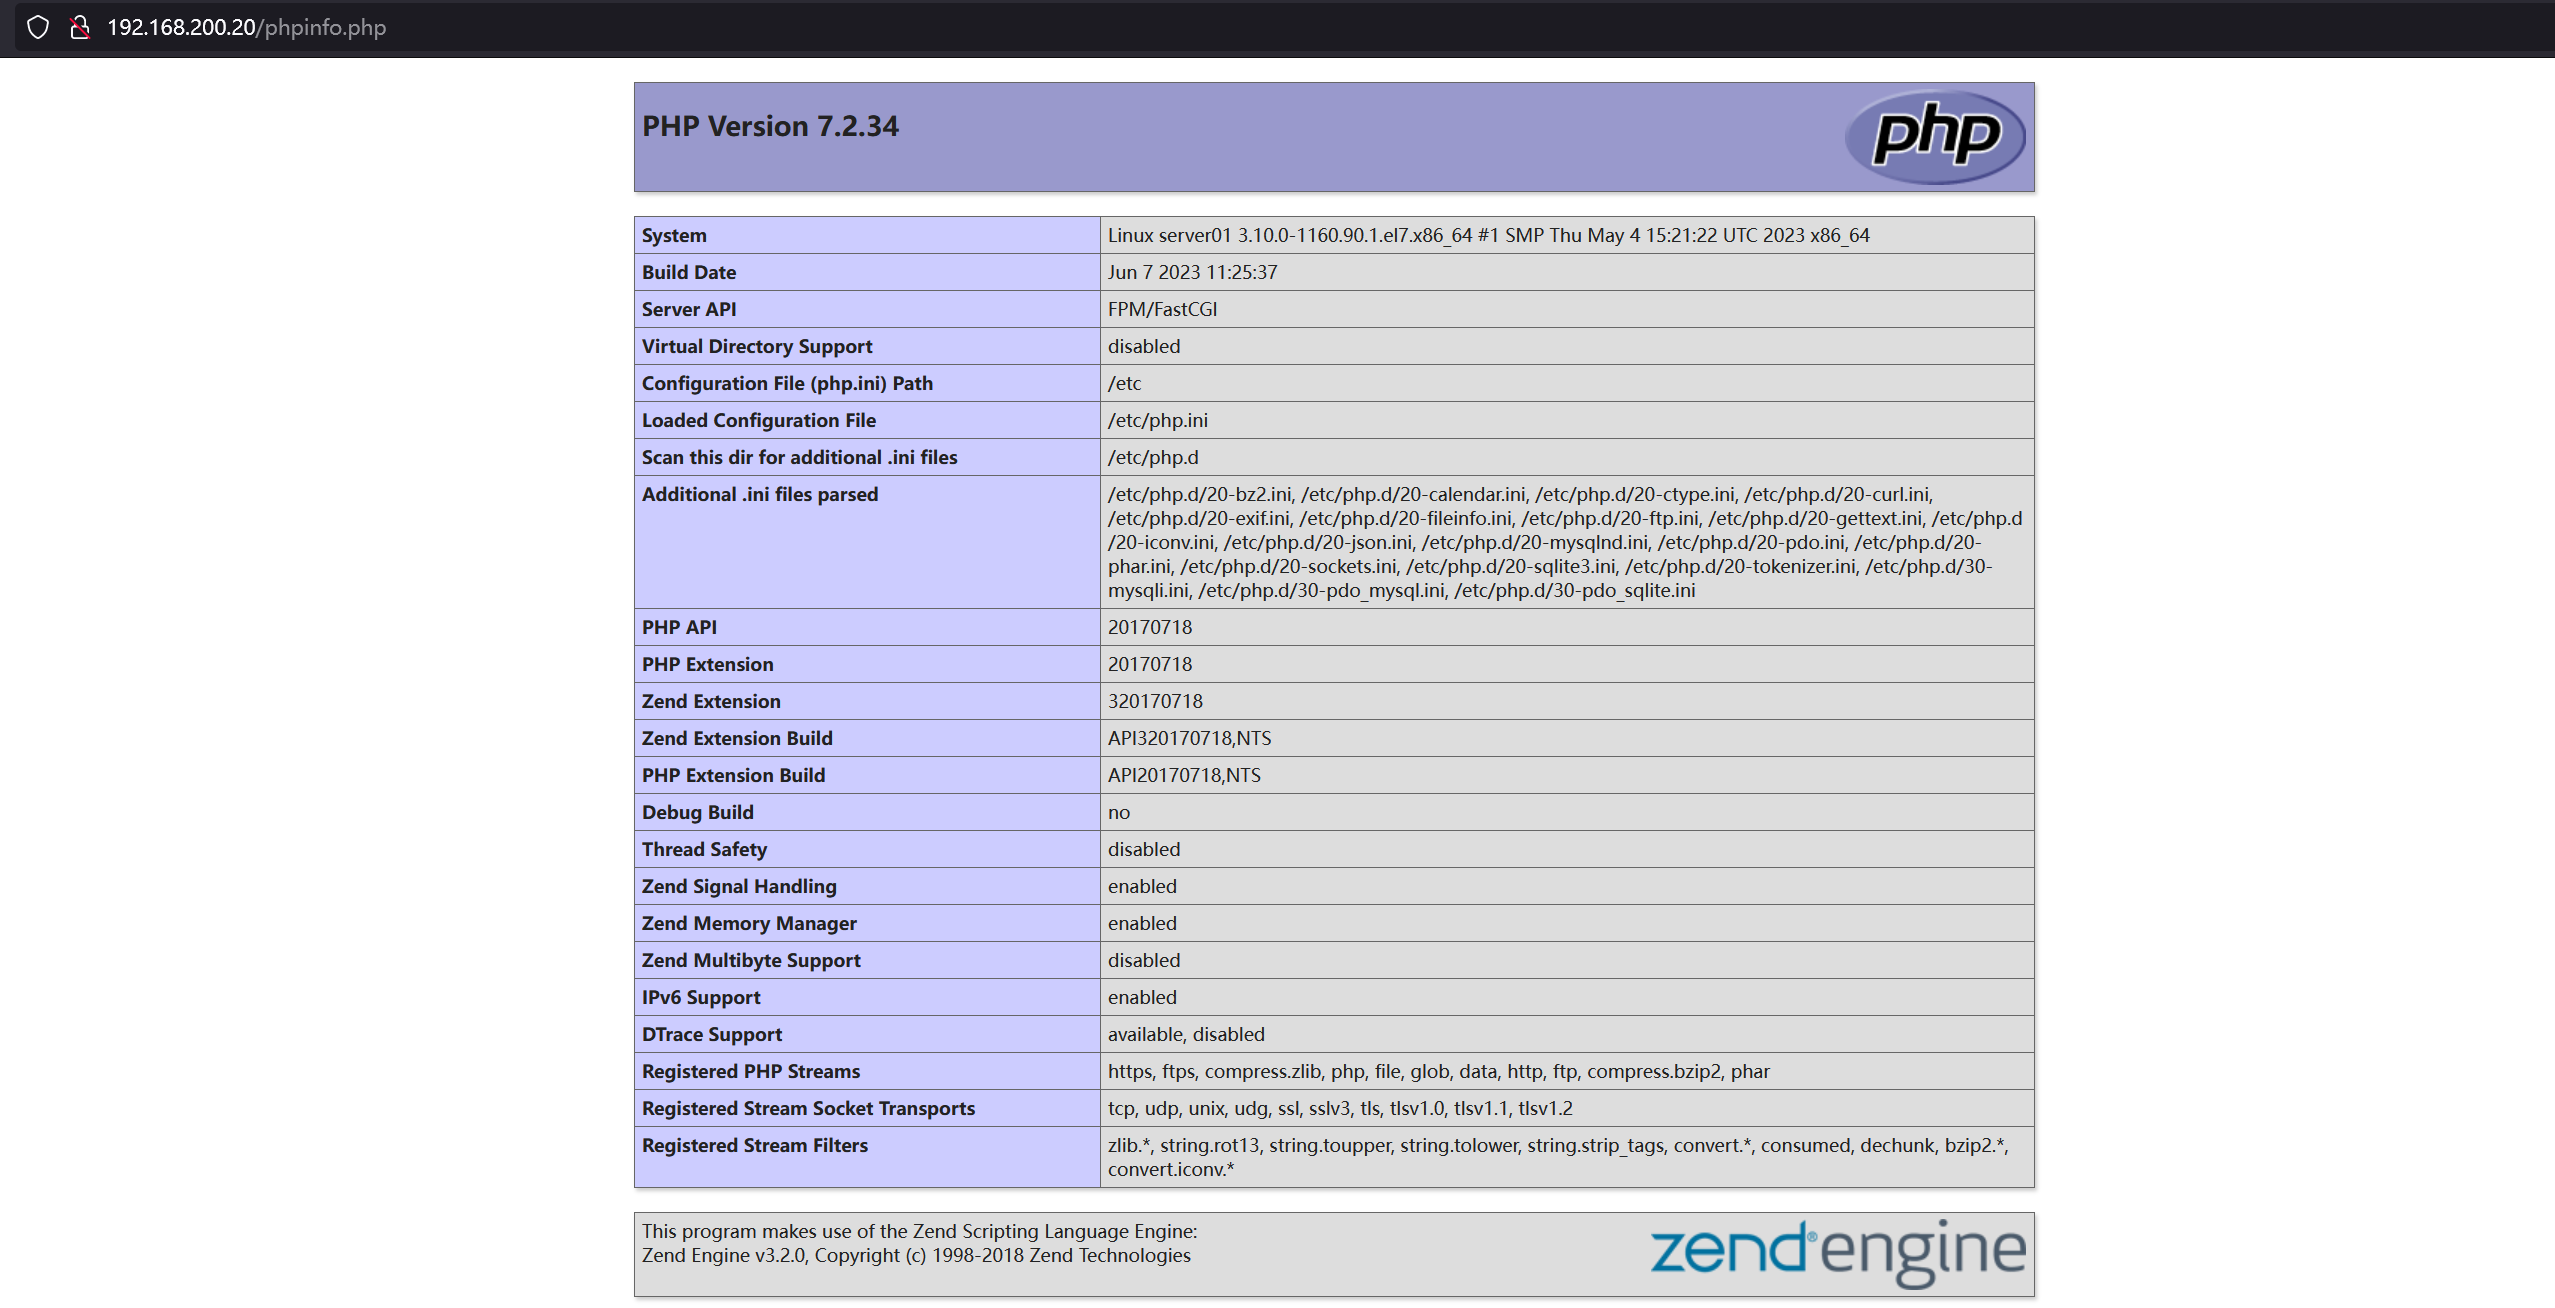
在/usr/share/nginx/html目录下面新建phpinfo.php文件,之后在在浏览器中访问http://192.168.200.20/phpinfo.php
[root@server01 ~]# cat /usr/share/nginx/html/phpinfo.php
<?php
phpinfo();
?>
******************************我也想难过的时候到海边走走,可是我的城市没有海。******************************

 浙公网安备 33010602011771号