FreeSWITCH使用soundtouch进行变声
FreeSWITCH里面有个mod_soundtouch模块,支持通话实时变声,今天整理下CentOS 7环境下如何使用soundtouch进行实时变声,并提供相关效果演示及资源下载。
我将从以下几个方面进行展开:
- soundtouch介绍
- 基于文件的变声
- mod_soundtouch模块分析
- mod_soundtouch编译及实时变声
- mod_soundtouch的影响及压测思路
一、soundtouch介绍
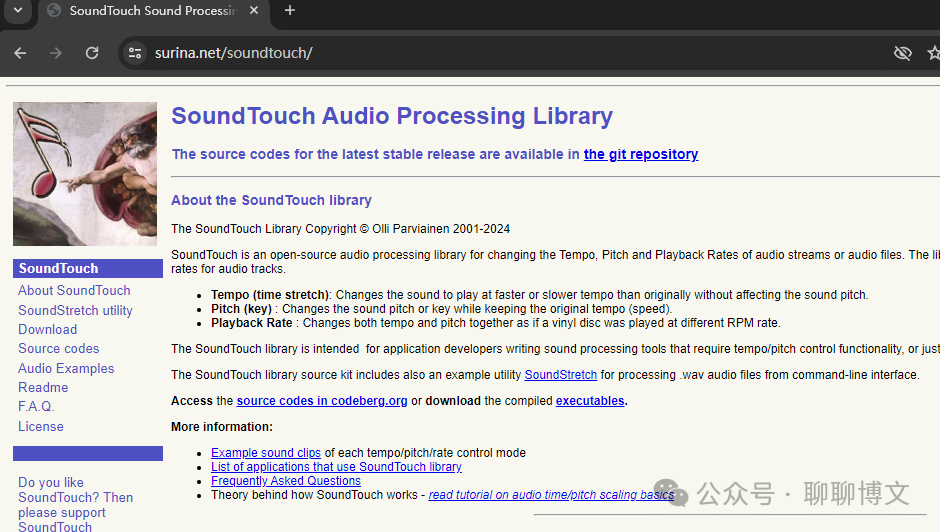
soundtouch是一个开源的跨平台音频处理库,可以修改音频文件或音频流的音调、播放速率等。
官网: https://www.surina.net/soundtouch/
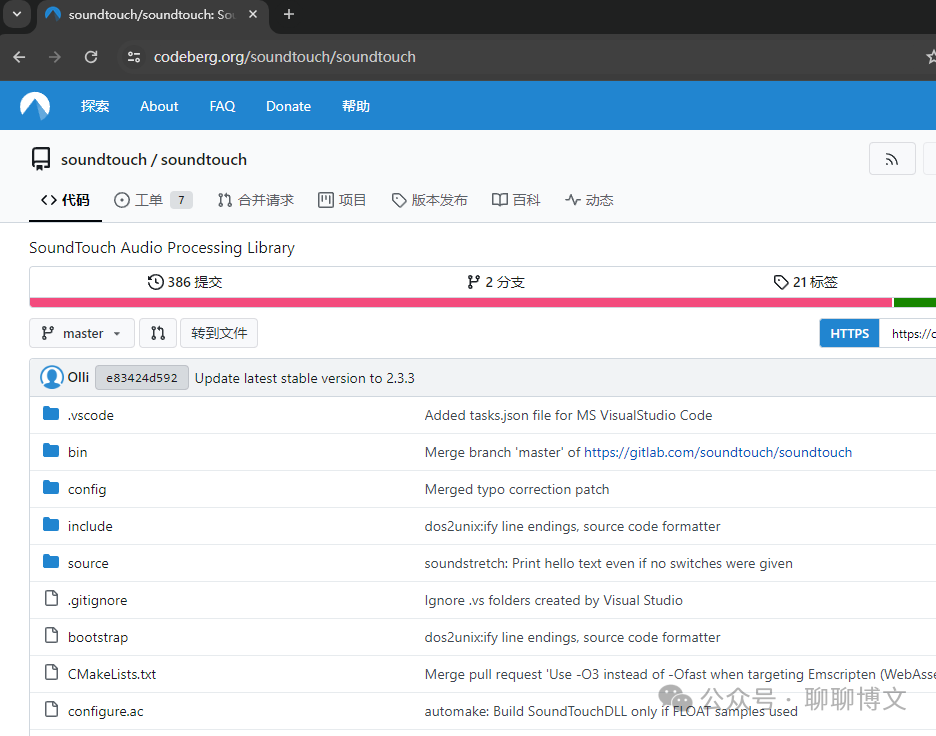
soundtouch 源码及预编译二进制文件:https://codeberg.org/soundtouch/soundtouch
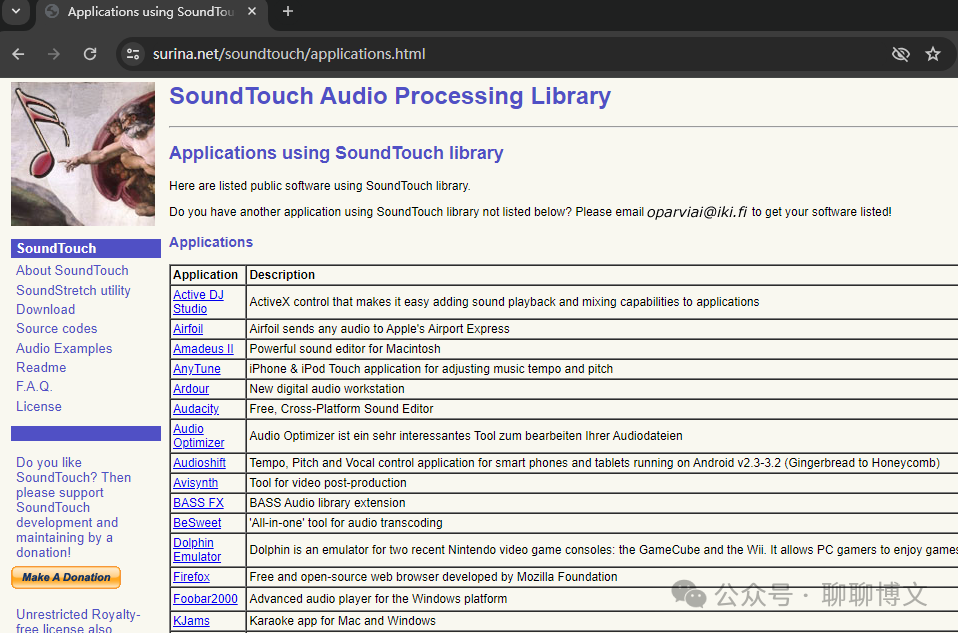
使用soundtouch库的软件列表:
https://www.surina.net/soundtouch/applications.html
二、基于文件的变声
变声的原理是修改音频的音调或播放速率,这里演示下如何使用基于soundtouch库的软件和python实现。
为了方便起见,这里使用windows进行演示。
操作系统: windows10_x64
文件: original.wav
1、使用Audacity实现变声
Audacity版本: 3.1.3
使用soundtouch库的软件列表里面有Audacity软件,这里演示下如何使用Audacity进行文件变声。
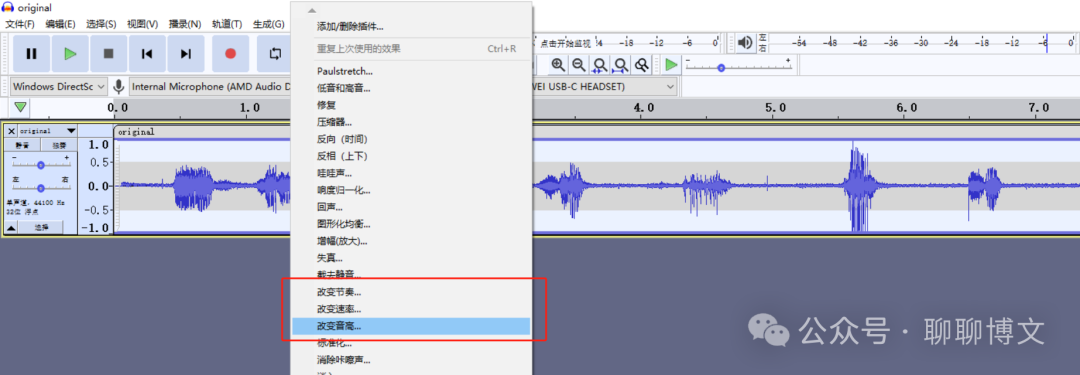
选中音频片段后,根据需要在效果菜单中选中改变节奏、改变速率、改变音高等。界面操作,这里就不过多描述了。
Audacity的使用可参考这篇文章:
https://www.cnblogs.com/MikeZhang/p/audacity2022022.html
2、使用soundstretch进行变声
soundtouch官网提供的有soundstretch预编译二进制,下载地址:
https://www.surina.net/soundtouch/download.html
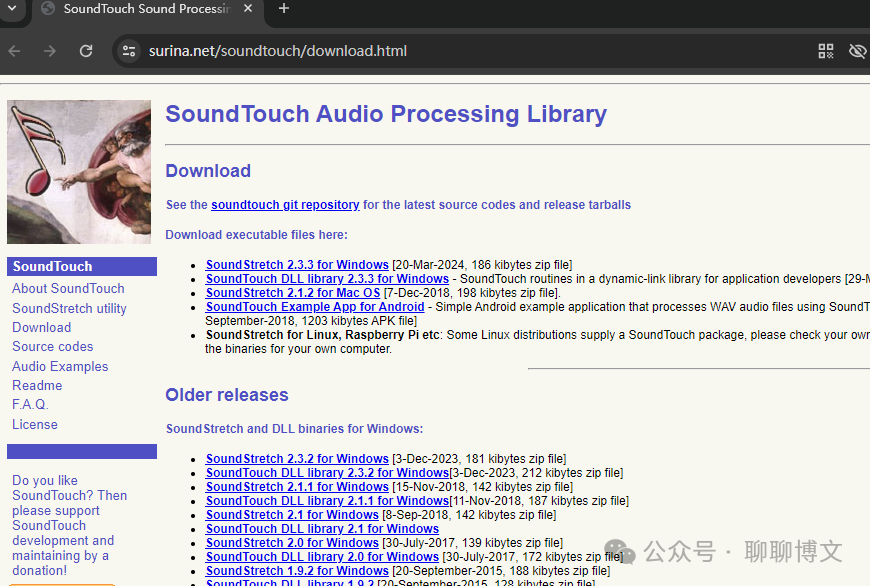
使用示例如下:
soundstretch original.wav output_file.wav -tempo=+15 -pitch=-3
运行效果如下:
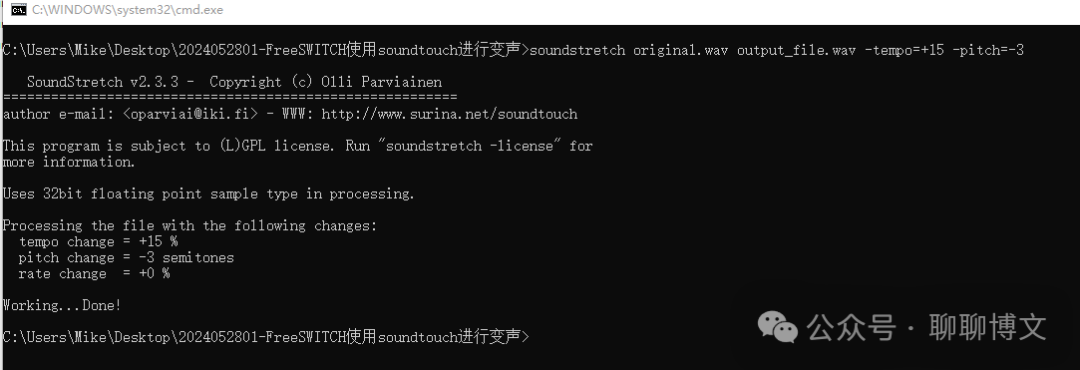
运行效果视频可从如下渠道获取:
关注微信公众号(聊聊博文,文末可扫码)后回复 2024052801 获取。
更多使用示例:
1)变速不变调
soundstretch original.wav out30.wav -tempo=+30  # 加速,时常变短
soundstretch original.wav out30.wav -tempo=-30  # 减速,时常变长
2) 变调不变速
soundstretch original.wav pitch30.wav -pitch=+5  # 音调调高,可以将男声变成女声
soundstretch  pitch30.wav normal.wav -pitch=-5 # 音调调低,可以将女声变成男声
3)变速且变调
soundstretch original.wav rate25.wav -rate=+25
3、python使用librosa进行变声
librosa官方网址: https://librosa.org/
文档地址:https://librosa.org/doc/latest/index.html
python版本: 3.9.2
librosa版本: 0.10.2.post1

变声相关函数说明: https://librosa.org/doc/latest/generated/librosa.effects.time_stretch.html
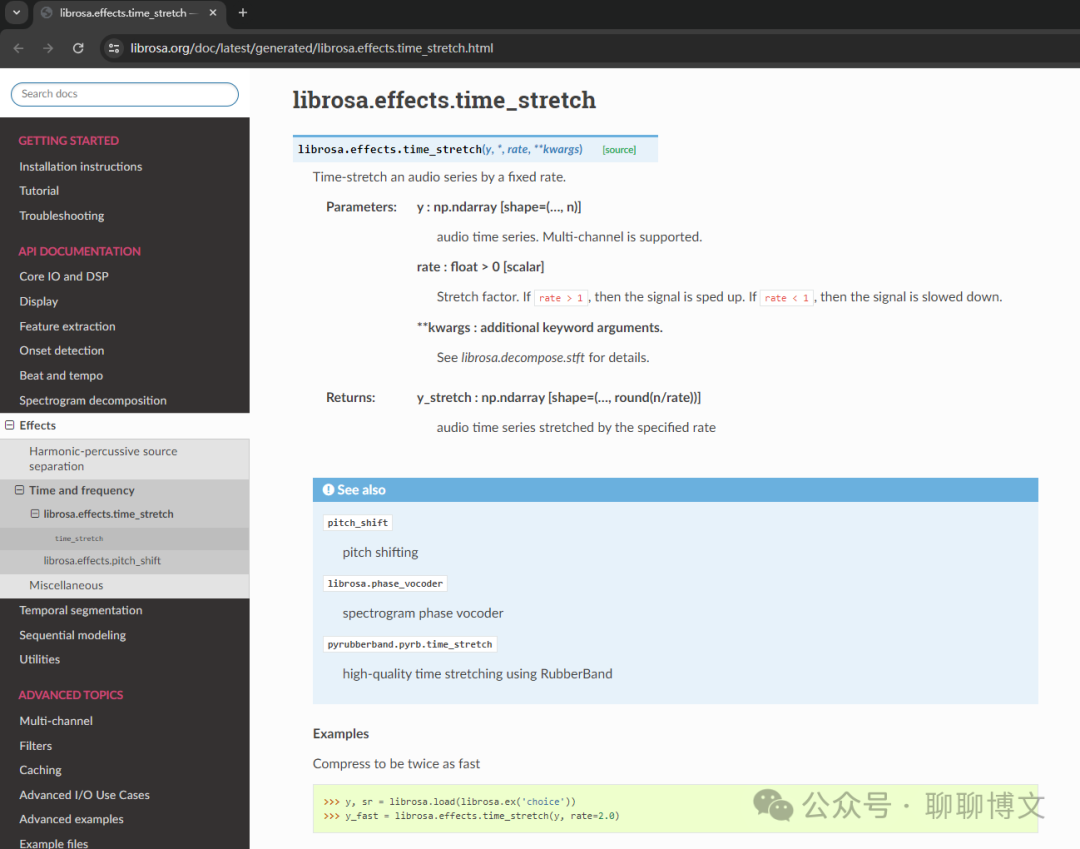
示例代码如下(soundTest1.py):
# --*-- coding:utf-8 --*--

import librosa,soundfile

y,sr = librosa.load("original.wav")

# 改变速度,音频文件时长减半
y_fast = librosa.effects.time_stretch(y, rate=2.0)
soundfile.write("original_f2.wav",y_fast,sr)

# 仅改变音调,音频文件时长不变
y2 = librosa.effects.pitch_shift(y,sr=sr,n_steps=4)
#y2 = librosa.effects.pitch_shift(y,sr=sr,n_steps=-4)
soundfile.write("original_p2.wav",y2,sr)

# 改变速度和音调,音频文件时长减半
soundfile.write("original_x2.wav",y,sr*2)
运行效果如下:
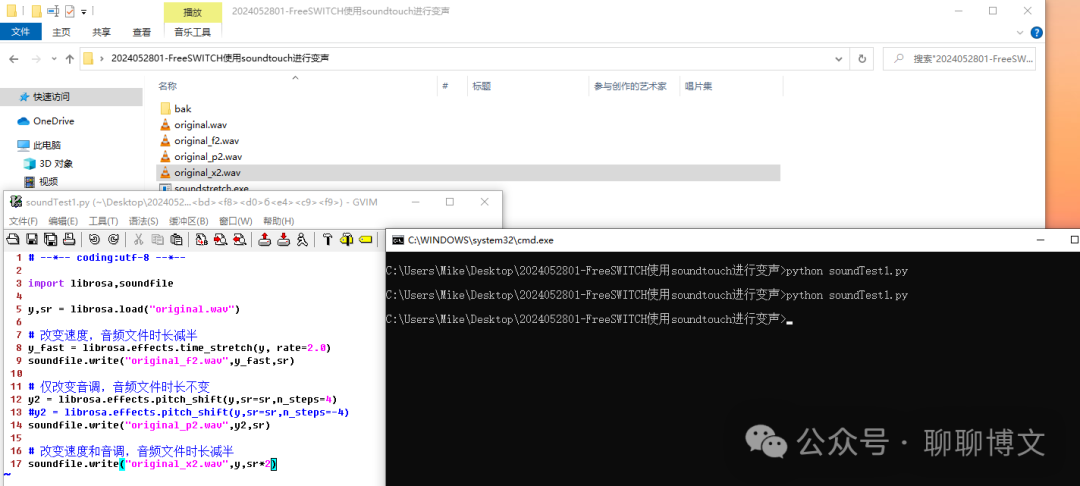
运行效果视频可从如下渠道获取:
关注微信公众号(聊聊博文,文末可扫码)后回复 2024052802 获取。
三、基于实时流的变声
这里介绍下FreeSWITCH使用编译及使用soundtouch进行变声的过程。
1、mod_soundtouch模块分析
源码路径: src/mod/applications/mod_soundtouch
模块加载函数: mod_soundtouch_load
主要引入 soundtouch 的app和api,分别对应如下函数:
soundtouch_start_function
soundtouch_api_function
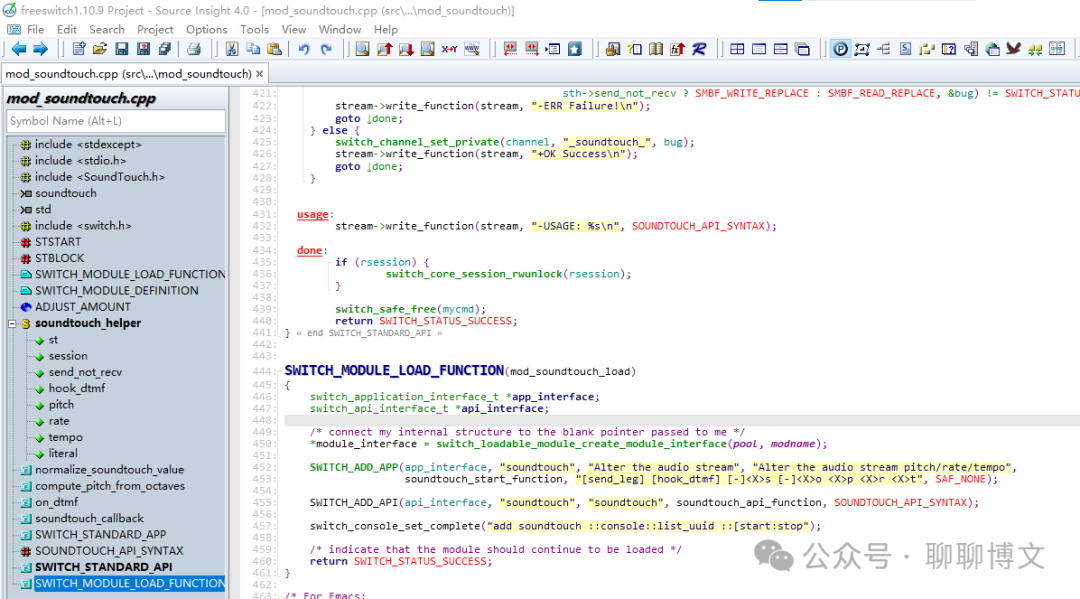
函数调用关系:
soundtouch_start_function
       => soundtouch_callback
soundtouch_api_function
       => soundtouch_callback
通过如下函数获取frame数据:
switch_core_media_bug_get_read_replace_frame
switch_core_media_bug_get_write_replace_frame
然后进行变声处理。

2、编译及加载
1) 编译及安装soundtouch库
这里使用soundtouch库版本是 2.3.1 ,最新版本2.3.3在CentOS 7下编译有问题,soundtouch库源码下载地址:
https://codeberg.org/soundtouch/soundtouch/tags
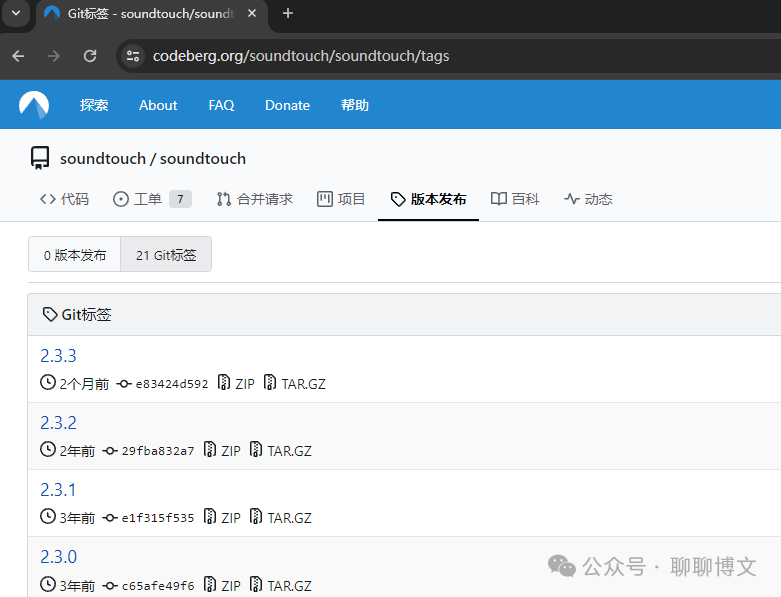
如何编译及注意事项,可从如下渠道获取:
关注微信公众号(聊聊博文,文末可扫码)后回复 20240528 获取。
2)编译mod_soundtouch模块
源码里面的 modules.conf 文件启用soundtouch:
applications/mod_soundtouch
然后执行编译操作,大致流程如下:
./rebootstrap.sh
CFLAGS="-O3 -fPIC" ./configure
make -j
make install
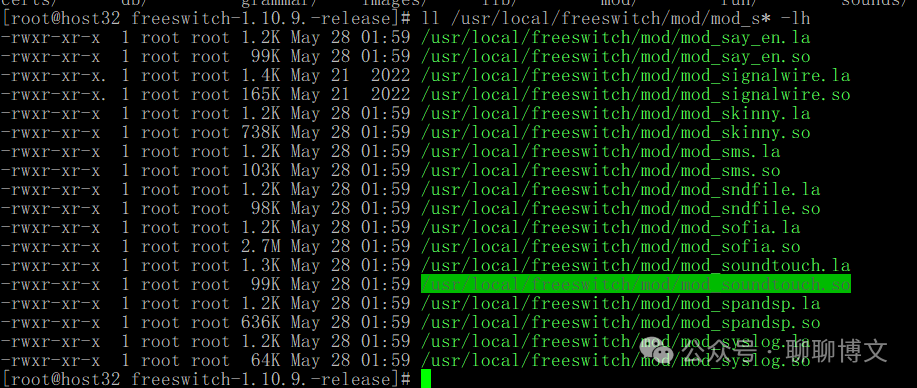
CenOS 7环境下编译及安装FreeSWITCH可参考这篇文章:
https://www.cnblogs.com/MikeZhang/p/centos7InstallFs20221007.html
3)启用 mod_soundtouch 模块
文件: /usr/local/freeswitch/conf/autoload_configs/modules.conf.xml
内容:
<load module="mod_soundtouch"/>
3、使用soundtouch命令
1)soundtouch命令格式
soundtouch <uuid> [start|stop] [send_leg] [hook_dtmf] [-]<X>s [-]<X>o <X>p <X>r <X>t
soundtouch 参数说明:
- uuid
- start|stop
- send_leg
- hook_dtmf
更多参数说明及示例,可从如下渠道获取:
关注微信公众号(聊聊博文,文末可扫码)后回复 20240528 获取。
4、变声效果
这里以变调不变速来进行演示。
测试命令:
originate user/1001 &endless_playback(/usr/local/freeswitch/sounds/original.wav)

soundtouch e066a874-fa8c-490d-aa53-fb082048f466 start send_leg 4s
soundtouch e066a874-fa8c-490d-aa53-fb082048f466 stop
soundtouch e066a874-fa8c-490d-aa53-fb082048f466 start send_leg -4s
运行效果视频,可从如下渠道获取:
关注微信公众号(聊聊博文,文末可扫码)后回复 2024052803 获取。
四、mod_soundtouch的影响及压测思路
python3.9.12版本的ESL编译及使用,可参考这篇文章:
https://www.cnblogs.com/MikeZhang/p/py39esl-20230424.html
1、mod_soundtouch的影响
由于变声操作会改变音频流的音调或速率,是耗cpu操作,在FreeSWITCH中使用,可能会有如下影响:
1)使用变声功能,cpu使用率会提高(粗测预计提高20%以上);
2)变声后对ASR效果会有影响,主要是准确率、角色分离等;
3)可能会影响音频的清晰度;
2、A打B模式压测思路
A打B模式
1)A呼叫B;
2)B接听后,播放音频流;
3)A侧发送舒适噪音;
这里的A是FS服务器。
- sipp模拟UAS承接呼叫
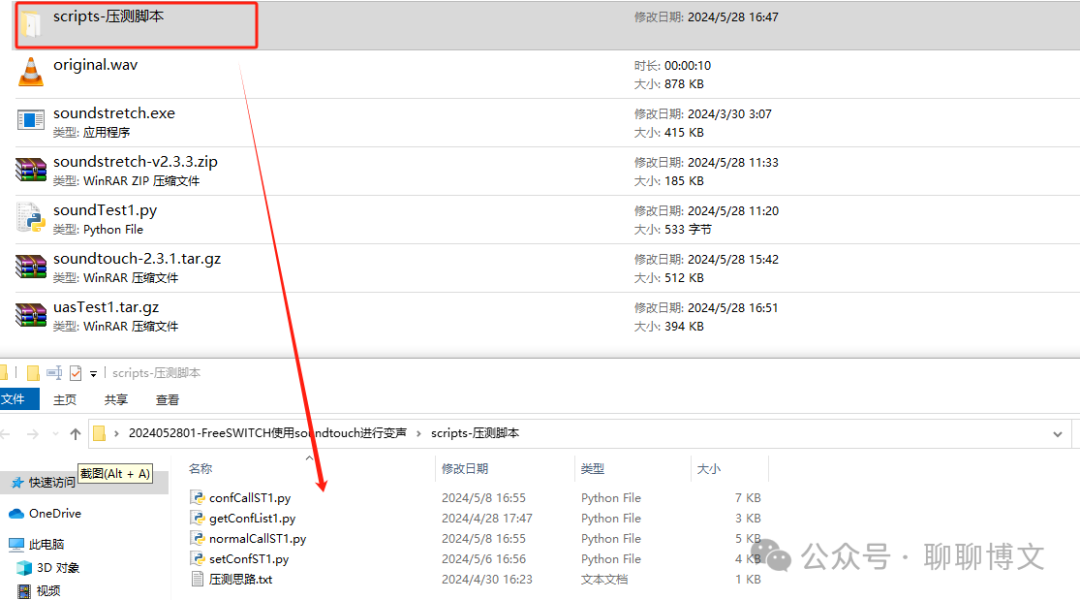
接通后需要发送音频流给对端(文件uasTest1.tar.gz)。
更长时间pcap文件需自己制作,可参考这篇文章:
https://www.cnblogs.com/MikeZhang/p/sippPcapTest.html
- FS作为UAC发起呼叫
呼叫命令如下:
originate {tag=test}sofia/external/123456@192.168.137.101:55080 &playback(silence_stream://10000,1400)
- 扫描呼叫列表,对B侧执行变声操作
show calls
soundtouch 39b661f8-46d1-45ba-b049-eda103737515 start 4s
python脚本示例(normalCallST1.py)及会议室压测相关内容可从如下渠道获取:
关注微信公众号(聊聊博文,文末可扫码)后回复 20240528 获取。
五、资源下载
本文涉及文件和示例代码从如下途径获取:
关注微信公众号(聊聊博文,文末可扫码)后回复 20240528 获取。


【推荐】编程新体验,更懂你的AI,立即体验豆包MarsCode编程助手
【推荐】凌霞软件回馈社区,博客园 & 1Panel & Halo 联合会员上线
【推荐】抖音旗下AI助手豆包,你的智能百科全书,全免费不限次数
【推荐】博客园社区专享云产品让利特惠,阿里云新客6.5折上折
【推荐】轻量又高性能的 SSH 工具 IShell:AI 加持,快人一步
· 【.NET】调用本地 Deepseek 模型
· CSnakes vs Python.NET:高效嵌入与灵活互通的跨语言方案对比
· Plotly.NET 一个为 .NET 打造的强大开源交互式图表库
· DeepSeek “源神”启动!「GitHub 热点速览」
· 上周热点回顾(2.17-2.23)
2023-05-28 FreeSWITCH添加自定义endpoint