【编程环境准备】在mac上配置sublime text运行python3最佳教程
sublime text 运行python代码脚本前必须先配置解释器路径和默认编码格式
下载MacOS系统Python解释器
https://www.python.org/ftp/python/3.7.9/python-3.7.9-macosx10.9.pkg
配置环境变量
进入用户家目录cd ~
打开文件vi .bash_profile(如果没有该文件则 touch .bash_profile新建一个)
注意:使用文本编辑器打开文件open -t .bash_profile
# Setting PATH for Python 3.8
PATH="/Library/Frameworks/Python.framework/Versions/3.8/bin:${PATH}"
export PATH
alias python="/Library/Frameworks/Python.framework/Versions/3.8/bin/python3"
立即生效source ~/.bash_profile
设置pip镜像源
cd ~
mkdir .pip
touch pip.conf
用系统自带的vim编辑器打开pip.conf文件,例如使用的是豆瓣的源所以添加:
[global]
index-url = https://pypi.douban.com/simple/
:wq退出保存。至此pip源修改成功,以后使用pip安装模块时都会从这个源去下载安装。
也可以通过-i 参数临时指向某个源。
-i https://pypi.douban.com/simple/
检测Python3是否已经安装
打开"终端",输入type -a python3 如果显示如下的话,代表当前已经成功安装。
ApplySqaredeMBP:Python Launcher.app root$ python3
Python 3.8.10 (v3.8.10:3d8993a744, May  3 2021, 08:55:58)
[Clang 6.0 (clang-600.0.57)] on darwin
Type "help", "copyright", "credits" or "license" for more information.
在sublime text中增加新的编译system
打开sublime text,依次点击上方标题栏
Tools->Build System->New Build System
工具->编译系统->新建编译系统
打开后编辑器显示如下

将里面的代码替换如下:
{
"cmd": ["/Users/lixiangmin/.pyenv/shims/python3", "-u", "$file"],
"env": { "PYTHONIOENCODING": "utf8" },
}
如果希望后期修改该配置文件,请到下图位置:

其中的路径是Python的解释器文件路径,需要通过终端获得。
在终端中输入 type -a python3
python3 is /Library/Frameworks/Python.framework/Versions/3.8/bin/python3
python3 is /Users/lixiangmin/.pyenv/shims/python3
python3 is /usr/local/bin/python3
win10系统配置sublime和上面有些不一样:
\Sublime Text\Data\Packages\User\Python38.sublime-build
{
"cmd": ["D:/Python38/python.exe","-u","$file"],
"file_regex": "^[ ]*File \"(...*?)\", line ([0-9]*)",
"selector": "source.python",
"encoding": "cp936"
}
win10系统中需改为cp936,就是指系统里第936号编码格式,即GB2312的编码。
注意!
保存此文件时,系统会默认保存路径,我们需要将此文件命名为Python38.sublime-build即可,注意后缀一定要正确!
视图——>语法——>Python
工具——>编译系统——>Python38
如以上步骤完成后,我们已经可以选择Python3系统编译环境了。
新建一个 test.py 测试文件
输入 print ("hello world!")
按下command+B 运行,运行成功即代表当前配置成功!
如果控制台不显示请按下图显示控制台。

代码补全插件
1)安装依赖库CodeIntel
Before installing SublimeCodeIntel, you must ensure that CodeIntel is installed on your system. To install CodeIntel, do the following:
Install CodeIntel by typing the following in a terminal:
pip3 install --upgrade --pre CodeIntel -i https://pypi.douban.com/simple/
上面高亮显示的“Packages directory”目录,打开方式为上图的Browse Packages...
mkdir ~/.codeintel
touch config.log
vim config.log
{
    "JavaScript": {
        "javascriptExtraPaths": []
    },
    "Python": {
        "python": '/Users/lixiangmin/.pyenv/shims/python3',
        "pythonExtraPaths": ['/Users/lixiangmin/.pyenv/versions/3.6.6/lib/python3.6/site-packages']
    },
    "Python36": {
        "python": '/Users/lixiangmin/.pyenv/shims/python3',
        "pythonExtraPaths": ['/Users/lixiangmin/.pyenv/versions/3.6.6/lib/python3.6/site-packages']
    }
}
pythonExtraPaths是指的当前正在使用的虚拟环境pyenv下载的依赖库所在的site-packages目录
其他必备插件
ConvertToUTF8
安装方法同上,Package Control
SideBarEnhancements
安装方法同上,Package Control
配置过滤不显示的文件和目录

{
    "folder_exclude_patterns": [
        "__pycache__",
        "CVS",
        ".svn",
        ".hg",
        ".git"
    ],
    "file_exclude_patterns": [
        ".DS_Store",
        "*.suo",
        "*.sublime-workspace",
        "*.so",
        "*.sdf",
        "*.pyo",
        "*.pyc",
        "*.psd",
        "*.pdb",
        "*.obj",
        "*.o",
        "*.ncb",
        "*.lib",
        "*.idb",
        "*.exe",
        "*.dylib",
        "*.dll",
        "*.db",
        "*.class",
        "*.a"
    ]
}
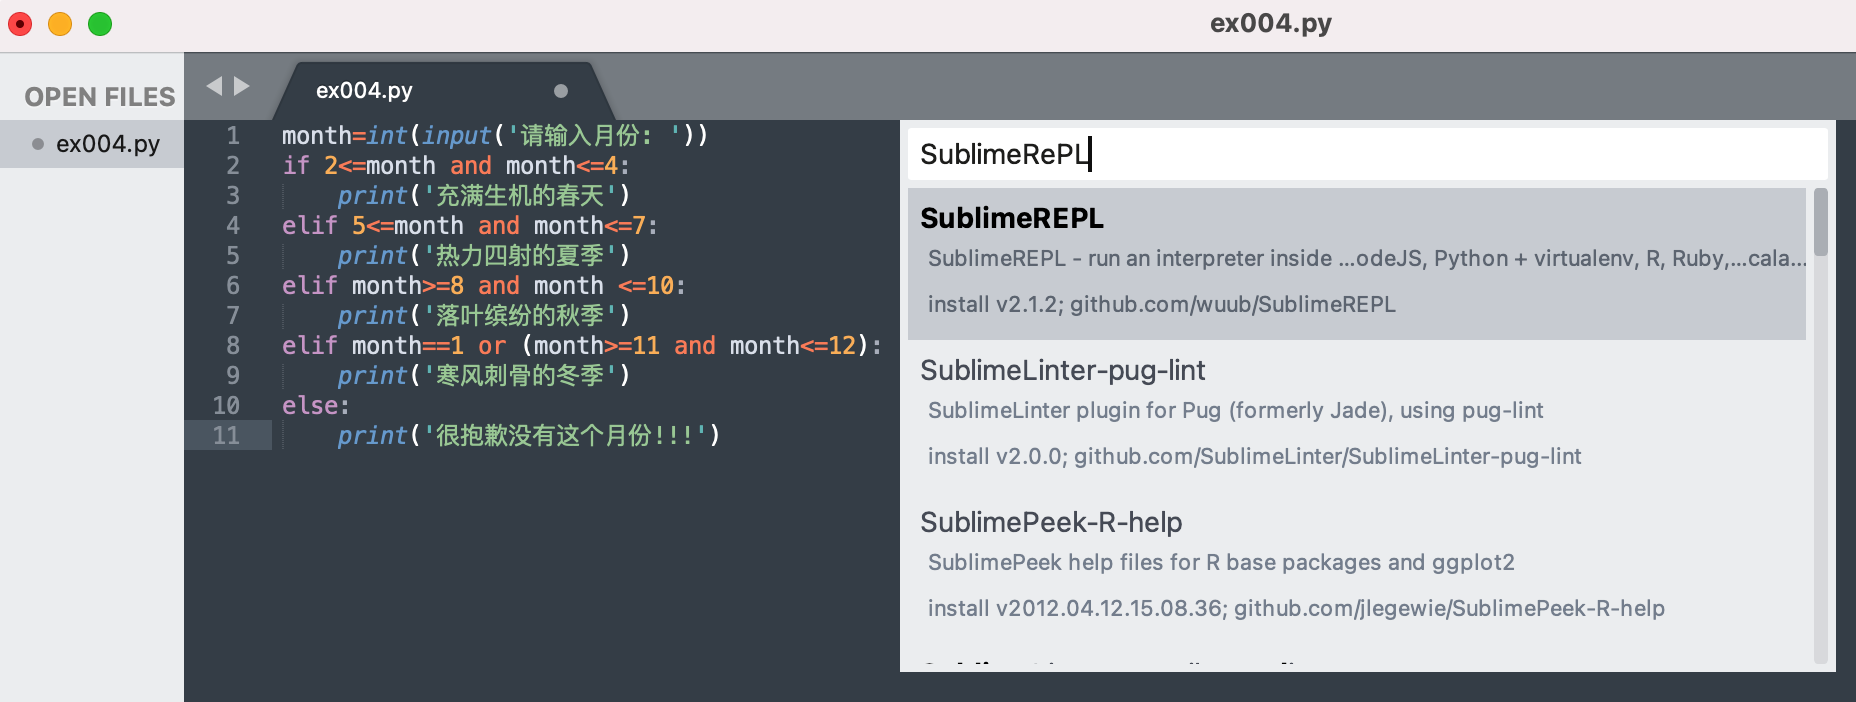
SublimeREPL
input()函数交互必备插件
安装插件

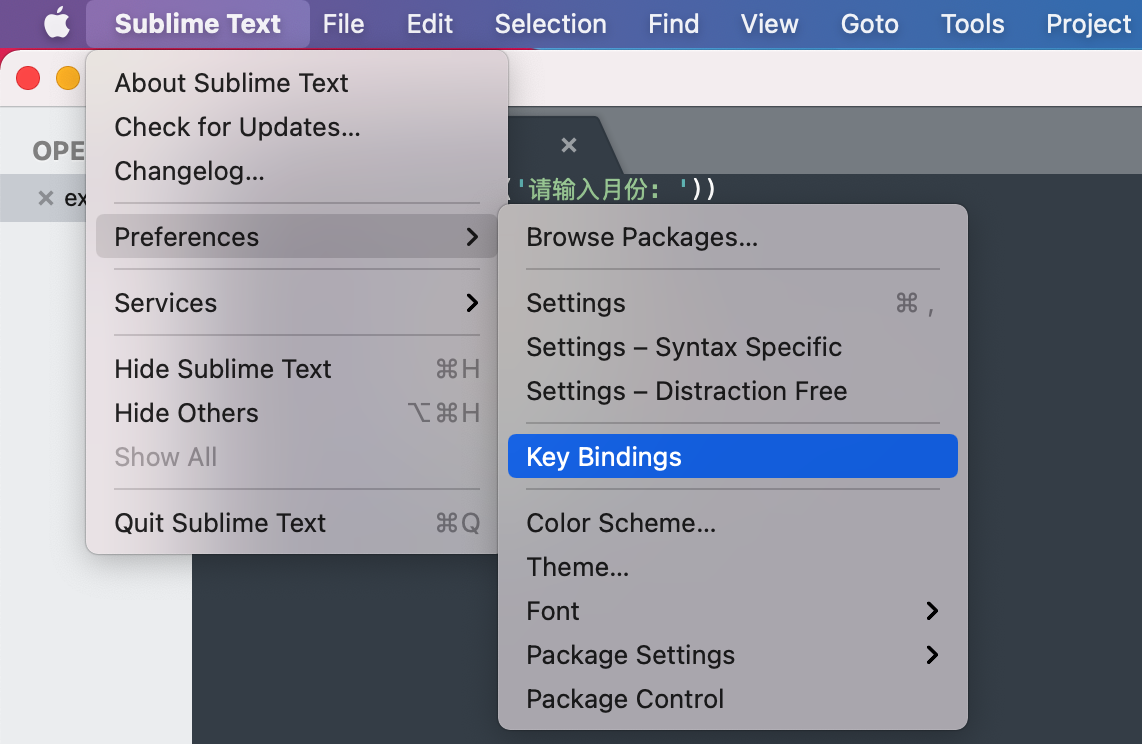
点击Sublime Text 3菜单栏Preferences->Key Bindings。

在新弹出的窗口中,在Default(Windows/MacOS).sublime-keymap--User中输入如下的代码,保存后退出。
    { "keys": ["f5"], "caption": "SublimeREPL:Python",
                      "command": "run_existing_window_command",
                      "args":
                      {
                           "id": "repl_python_run",
                           "file": "config/Python/Main.sublime-menu"
                      }
    },
设定显示空格
设置总是显示 Tab ,以避免Tab和Space混用导致缩进语法错误。
在Preferences->Settings-User中添加以下代码:
只适用于sublime text4
"draw_white_space": ["all_tabs","selection"],
可适用于sublime text3
{
    "color_scheme": "Packages/Color Scheme - Default/Mariana.tmTheme",
    "draw_white_space": "all",
    "ignored_packages":
    [
        "Vintage"
    ],
    "theme": "Default.sublime-theme"
}
快捷键
列选择:option+command+按住鼠标左键
执行脚本:command+B


