Halcon阈值算子 -- 局部阈值之var_threshold
Halcon阈值算子 – 局部阈值之var_threshold
与local_threshold类似,var_threshold也是基于局部均值和方差。只不过计算公式不一样。
算子的函数签名如下:
var_threshold(Image : Region : MaskWidth, MaskHeight, StdDevScale, AbsThreshold, LightDark : )
下面介绍它的阈值计算公式:
令g(x,y)为点(x,y)处的灰度值,m(x,y) 为均值,d(x,y) 为方差(实际是标准差),则点(x,y)处的阈值v(x,y)定义为:
当LightDark = ‘light’:时,满足下述条件的点被选中到输出区域
当LightDark = ‘dark’:时,满足下述条件的点被选中到输出区域
当LightDark = ‘equal’:时,满足下述条件的点被选中到输出区域
当LightDark = ‘not_equal’:时,满足下述条件的点被选中到输出区域
我们来和local_threshold算子的计算公式做个对比:
都是基于均值和方差
都可以设置均值运算窗口大小。local_threshold是通过设置mask_size,var_threshold是通过设置MaskWidth, MaskHeight
都有一个方差的比例因子。local_threshold的就是参数k,var_threshold的就是参数StdDevScale
local_threshold中的方差通过参数R做了归一化。var_threshold未做这样的处理
var_threshold有一个特别之处:参数AbsThreshold设置了最小灰度差。如果图像的某一区域背景光照很均匀,那么方差就很小。此时,根据上面计算阈值v(x,y)的公式,AbsThreshold就开始起作用。
以下实例来源于官方帮助文档。
list_image_files ('label', 'default', [], ImageFiles)
ImageFiles1 := regexp_select(ImageFiles,'label_...png$')
*
* Open a window to display the results.
read_image (Image, ImageFiles1[0])
get_image_size (Image, Width, Height)
dev_open_window_fit_size (0, 0, Width, Height, -1, -1, WindowHandle)
set_display_font (WindowHandle, 16, 'mono', 'true', 'false')
*
* Loop over all images.
for Index := 0 to |ImageFiles1| - 1 by 1
read_image (Image, ImageFiles1[Index])
* Threshold the image.
var_threshold (Image, Region, 15, 15, 1.01, 40, 'dark')
* Select regions of particular height and size.
connection (Region, ConnectedRegions)
select_shape (ConnectedRegions, SelectedRegions, ['height','area'], 'and', [20,100], [100,400])
* Display the results
dev_display (Image)
dev_display (SelectedRegions)
disp_continue_message (WindowHandle, 'black', 'true')
stop ()
endfor
disp_end_of_program_message (WindowHandle, 'black', 'true')
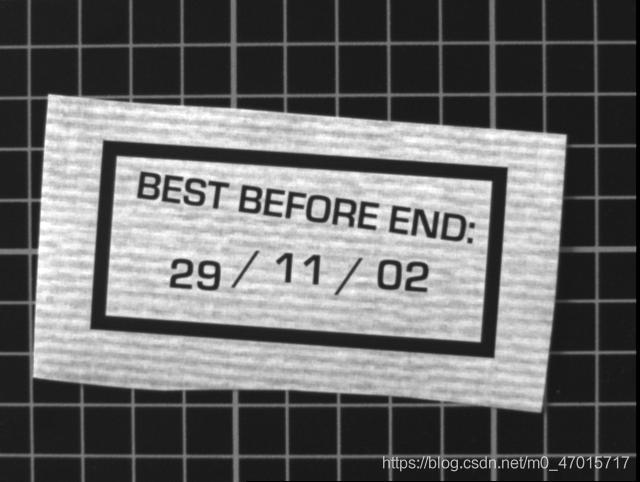
待分割图像如下
分割后结果如下

————————————————
版权声明:本文为CSDN博主「C henry」的原创文章,遵循CC 4.0 BY-SA版权协议,转载请附上原文出处链接及本声明。
原文链接:https://blog.csdn.net/m0_47015717/article/details/109269950
