
SSH整合
1、Struts2与Spring整合
- 首先创建web项目,导入相应jar包
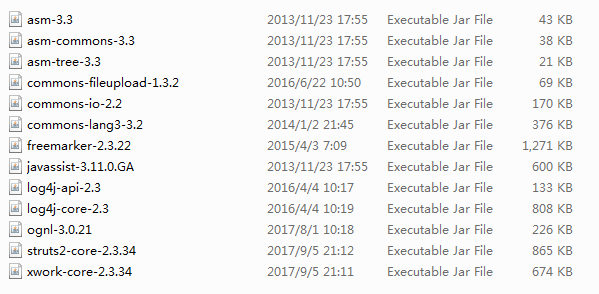
1. 导入Struts2相关jar包
- 下载 struts2-版本 压缩包解压到任意文件夹,在解压完成的文件夹中 找到 apps 文件夹 ,通过文件打开第一个示例项目,找到 WEB-INF 下的 lib 文件夹,拷贝里面的所有 jar 包,可能需要解压出来才能复制到 web项目中的 lib 文件夹中。
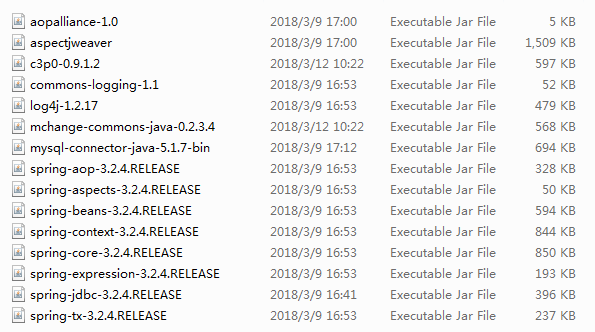
2. 导入Spring相关jar包
- 下载 spring-framework-版本.RELEASE 压缩包,解压到任意文件夹,在解压后的文件夹中找到 lib 文件夹,找到Spring基本 jar 包并复制到web项目中的 lib 文件夹下,如果没有则对应下载。
3. 导入整合Spring与Struts2的jar包
- 下载 struts2-spring-plugin-版本 jar包 与 spring-web-版本.RELEASE jar包 导入web项目中的 lib 文件夹下。

- 创建Action类与相应的配置文件(struts.xml与web.xml)
1. 创建Action类
- 在web项目src下创建一个class(Action类),包名与类名随意(cn.struts.Action - UserAction),并继承 ActionSupport类,实现里面的execute方法,通过Url访问Action,默认找这个方法,也可通过配置文件<action method=" "/>里面的method来更改。

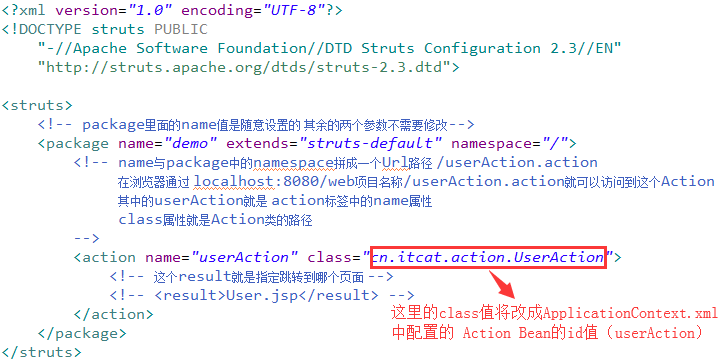
2. 创建struts.xml配置文件
- 首先引入约束,打开第一个示例项目,找到WEB-INF下的classes下的struts.xml文件,通过软件打开这个文件,复制里面的约束放入web项目中的struts.xml文件中。
<!DOCTYPE struts PUBLIC
"-//Apache Software Foundation//DTD Struts Configuration 2.3//EN"
"http://struts.apache.org/dtds/struts-2.3.dtd">
- 在struts.xml里配置Action。
3. 创建web.xml配置文件
- 在web项目的WEB-INF下创建web.xml来配置过滤器,首先引入约束,打开第一个示例项目,找到WEB-INF下的web.xml文件,复制里面的约束信息放入web项目中的web.xml中。
<web-app id="WebApp_9" version="2.4" xmlns="http://java.sun.com/xml/ns/j2ee"
xmlns:xsi="http://www.w3.org/2001/XMLSchema-instance"
xsi:schemaLocation="http://java.sun.com/xml/ns/j2eehttp://java.sun.com/xml/ns/j2ee/web-app_2_4.xsd">
- 配置过滤器,在示例项目中的web.xml找到过滤器配置的信息复制进<web-app></web-app>标签内。

- 创建Spring核心配置文件(ApplicationContext.xml)
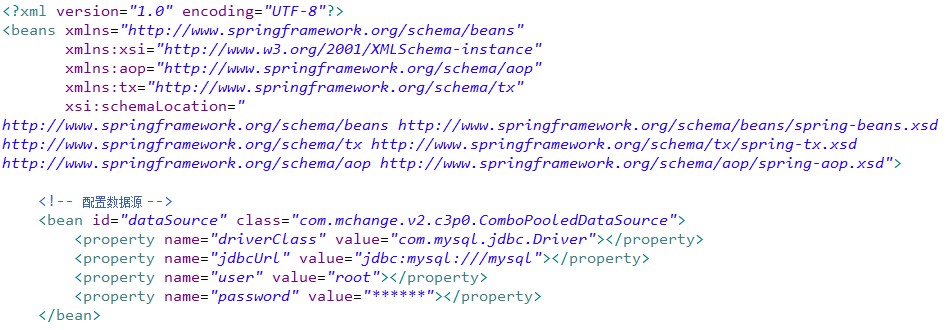
1. 创建ApplicationContext.xml配置文件
- 在web项目 src 下创建 ApplicationContext.xml 配置文件并引入约束,约束在 spring-framework-版本.RELEASE 解压包里面的 docs / spring-framework-reference / html 文件夹下的 xsd-config 网页文件,打开网页文件找到 约束信息。
              <beans xmlns="http://www.springframework.org/schema/beans"
                     xmlns:xsi="http://www.w3.org/2001/XMLSchema-instance"
                     xmlns:aop="http://www.springframework.org/schema/aop"
                     xmlns:tx="http://www.springframework.org/schema/tx"
                     xsi:schemaLocation="
                http://www.springframework.org/schema/beans http://www.springframework.org/schema/beans/spring-beans.xsd
                http://www.springframework.org/schema/tx http://www.springframework.org/schema/tx/spring-tx.xsd
                http://www.springframework.org/schema/aop http://www.springframework.org/schema/aop/spring-aop.xsd">
2. 配置数据源
3. 配置Action Bean

4. 在web.xml中配置 监听器 并引入 ApplicationContext.xml文件
- 配置监听器

- 引入ApplicationContext.xml文件

- 测试是否能访问到Action
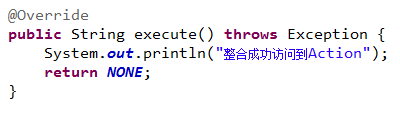
1. 在Action类中的 execut 方法中输出 字符串。
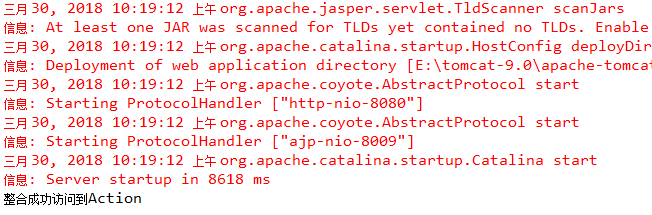
2. 启动项目在网页访问 localhost:8080/web项目名称/userAction.action 测试
2. 整合Spring与Hibernate
- 导入 jar 包
1. 导入Hibernate相关 jar 包
- 下载Hibername-release-版本.Final压缩包解压到任意文件夹,找到文件夹内的lib文件夹下的 required和jpa文件夹(把这里面的jar包复制粘贴到web项目lib目录下)

2. 导入整合Spring 与 Hibernate的 jar 包
- 下载 spring-orm-版本.RELEASE jar包,放入web项目 lib 目录下

- 创建实体类(User)
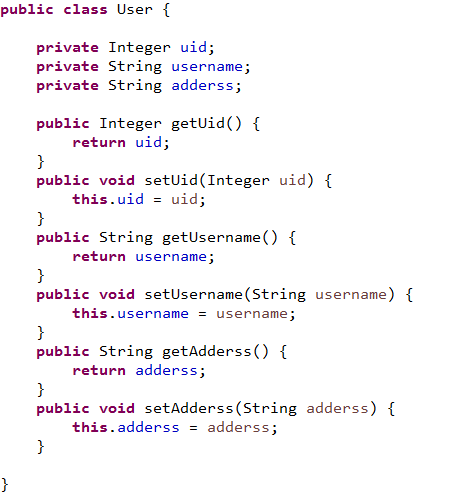
1. 创建User实体类
在项目中创建一个 class(User),包名与类名随意(cn.ssh.entity - User),在User类中声明 uid、 username、password变量并生成get/set方法。
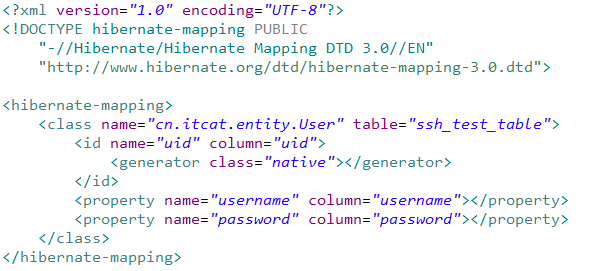
2. 创建User对象的映射文件(user.hbm.xml)
在 cn.ssh.entity 包下创建 User.hbm.xml 映射文件,引入约束并配置 class 映射文件。
- 创建Hibernate核心配置文件(hibernate.cfg.xml)
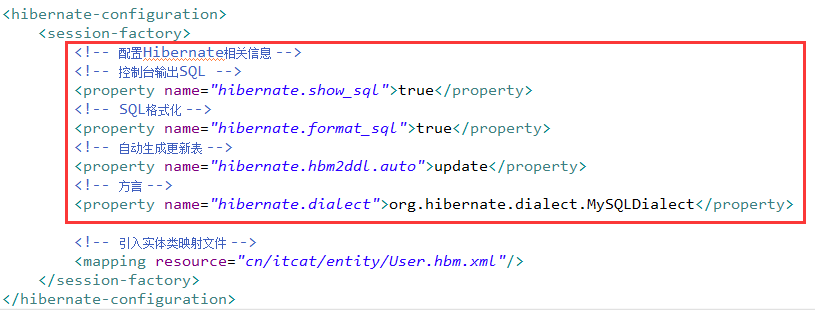
1. 配置Hibernate相关信息
- 在 src 下创建 hibernate.cfg.xml 并引入约束

- 配置Hibernate相关信息
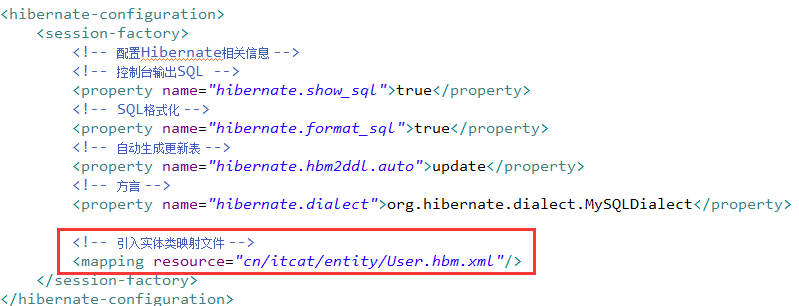
2. 引入对象映射文件
- 通过Spring配置SessionFactory对象
在ApplicationContext.xml 文件中配置 SessionFactory并注入数据源与Hibernate核心配置文件

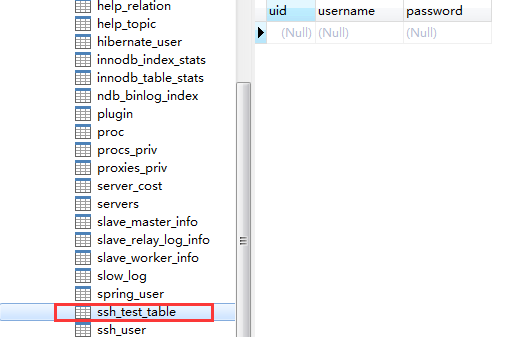
- 测试Spring与Hibernate是否整合成功
- 启动项目就会执行ApplicationContext.xml文件,SessionFactory就会被创建,创建的过程中会自动生成表,查看表是否已经成功创建
3. 测试整个SSH环境搭建效果
- 创建 service类与dao类
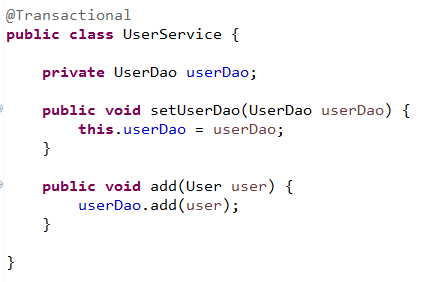
1. 在 src 下创建 userService类
注:注入哪个类,就在被注入类的类里面 添加注入类的成员变量,并生成set方法(例:如下 UserService中注入userDao)

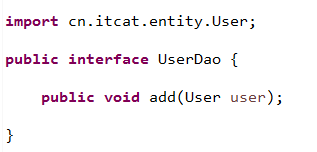
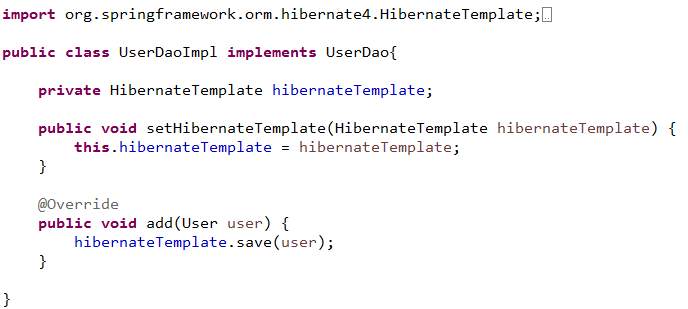
2. 在 src 下创建userDao接口(userDao)和实现类(userDaoImpl)
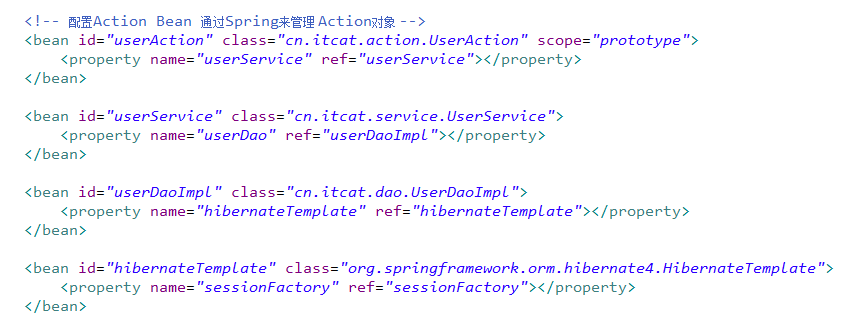
- 在ApplicationContext.xml配置文件中配置 service、dao等类的bean
- 配置并注入相应的bean(userAction注入userService,userService注入userDao,userDao注入HibernateTemplate,HibernateTemplate注入sessionFactory)
- 在ApplicationContext.xml配置文件中配置事务并开启事务注解

- 在UserService类上添加注解 @transactional

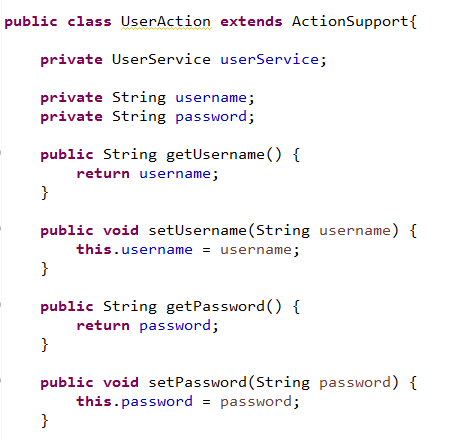
- 在UserAction类中添加User的属性,并生成get/set方法
- 在WEB-INF下创建Test.jsp
1. form表单中有个 action属性,就是把数据提交到哪里,用post方式提交,

2. UserAction中的add方法接收到值,把值set到User实体类中去

3. add()方法中 调用 userService.add(user)方法吧user传到 userService层
4. userService层调用userDao层的 add(user)方法传到UserDao层
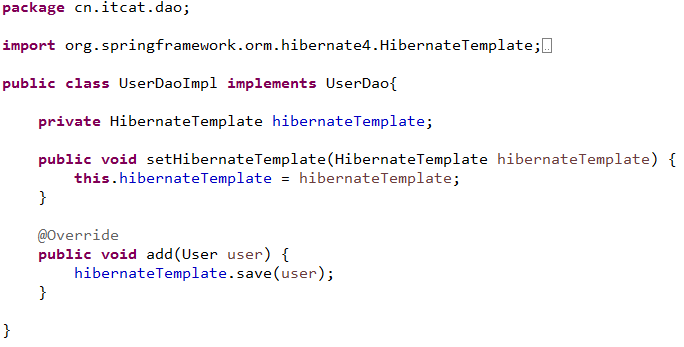
5. 通过Dao层的 hibernateTemplate的save方法,保存数据对象到数据库。
- 通过Test.jsp获取数据之后,往数据库添加一条数据
- 从网也发出请求,找到对应的Action,Action调用userService的 add(User user)方法,UserService调用UserDao的add(User user)方法,Dao通过 HibernateTemplate.save(user)保存数据到数据库。
1. 在地址栏输入路径

2. 来到Test.jsp页面,输入用户名和密码点击添加用户
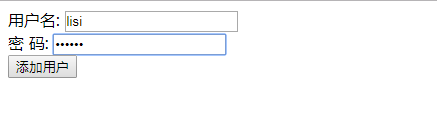
3. 在数据库中查看数据是否添加成功


