Gerrit的用法及与gitlab的区别
来到一个新的团队,开发的代码被同事覆盖了。找同事核实,同事却说根本没有看到我的代码。经过一番沟通了解,原来他们的代码没有直接在gitlab上操作,而是先提交到gerrit,然后在提交到git。但是代码拉取的时候,不会直接从gitlab上拉取。所以,我提交到gitlab上的代码,同事们都没有拉取到。
新团队使用的代码审核工具是gerrit,因为之前一直使用的是gitlab,审题提交也都是使用的gitlab。但是新团队的小伙伴说他们提交,拉取都到gerrit上,我问:那不用集团的gitlab么?同事说最终代码还是保存在gitlab上,gerrit的作用就是用来审核的,当时有一个疑问,就是一个代码审核工具嘛,为什么不直接用gitlab呢,而要多一个工具审核呢?得到的答复是gitlab不好用。因为不了解gerrit,也不好多说,但是心里有个大大的问号。
我的疑惑是,gitlab的代码审核功能为何不好用?为何一定要嵌入一个新的工具gerrit呢?而这个工具的主体代码还是在gitlab上,只是起到了审核的作用。所以,我要弄清两个问题,这篇文章要解决两个问题
1.Gerrit的用法,优缺点
2.和Gitlab在权限管理上的区别
一、Gerrit的用法
参考文档:http://39.106.94.54:50000/002-常用基础服务/05-gerrit服务部署/
1、Gerrit介绍
Gerrit是建立在git版本控制系统之上的,基于web的代码审核工具。Gerrit是免费的,开源的,有一个可视化界面可供用户操作。主要解决的问题是代码审核。他在传统的源码工具管理协作流程中强制性引入代码审核机制,通过人工代码审核和自动化代码验证的方式,不符合要求的代码屏蔽在代码库之外,确保核心代码多人校验、多人互备和自动化构建核验。
2、Gerrit的使用
1)依赖组件
- 安装git:版本管理工具
- 安装gerrit:不用说了,我们的今天的主角
- 安装nginx:启动gerrit使用
- 安装java:初始化gerrit使用
- 安装mysql数据库:用来保存gerrit中的用户以及用户提交的记录
- 安装gitlab:用来和gerrit做集成
- 集成jenkins:代码提交到gerrit时,自动提交到gitlab
2)Gerrit安装部署
第一步:安装git
yum -y install git
第三步:安装和配置数据库
这一步省略了数据库安装步骤,使用现有数据库就可以。
创建gerritdb数据库
create database gerritdb CHARACTER SET utf8 COLLATE utf8_general_ci;
给用户授权,我这里是root用户, 所以,不用在授权了
grant all on gerritdb.* to 'gerrituser'@'localhost'identified by 'gerritpass';
第二步:安装gerrit
下载地址:https://www.gerritcodereview.com/
将其拷贝到/root目录下
在root下创建一个项目gerrit
并且解压项目
java -jar gerrit-3.5.0.1.war init -d /root/gerrit/
以下为安装大致内容
切换到root用户下,然后执行安装命令, 安装过程中除数据库选用mysql(并配置对应gerrit的数据库和密码)、开启方向代理并配置端口外,其他均选默认即可
修改配置文件
[gerrit]
	basePath = git
	canonicalWebUrl = http://10.211.55.200:8080/
	serverId = d69a4326-ef00-45f2-bb84-8c91dd9af221
[database]
 	type = mysql
 	hostname = 10.14.181.145
 	database = gerritdb
 	username = root
  password = 123456
[container]
	javaOptions = "-Dflogger.backend_factory=com.google.common.flogger.backend.log4j.Log4jBackendFactory#getInstance"
	javaOptions = "-Dflogger.logging_context=com.google.gerrit.server.logging.LoggingContext#getInstance"
	user = root
	javaHome = /usr/lib/jvm/java-11-openjdk-11.0.14.1.1-1.el7_9.x86_64
[index]
	type = lucene
[auth]
	type = HTTP
[receive]
	enableSignedPush = false
[sendemail]
	smtpServer = localhost
[sshd]
	listenAddress = *:29418
[httpd]
	listenUrl = http://*:8080/
[cache]
	directory = cache
重启服务
/root/gerrit/bin/gerrit.sh restart
这时在服务器验证是否启动成功
curl -GET http://localhost:8080
又返回,提示HTTP server did not provide the username,接下来配置nginx
第四步:安装nginx
nginx下载地址:http://nginx.org/en/download.html
安装nginx的依赖
yum -y install gcc zlib zlib-devel pcre-devel openssl openssl-devel
解压nginx文件
tar -zxvf nginx-1.18.0.tar.gz
进入解压后目录执行编译
./configure --with-http_ssl_module
编译参数有很多,这边我只增加了SSL模块,小伙伴可以根据自身情况调整
--prefix=PATH:指定 nginx 的安装目录
--conf-path=PATH:指定 nginx.conf 配置文件路径
--user=NAME:nginx 工作进程的用户
--with-pcre:开启 PCRE 正则表达式的支持
--with-http_ssl_module:启动 SSL 的支持
--with-http_stub_status_module:用于监控 Nginx 的状态
--with-http-realip_module:允许改变客户端请求头中客户端 IP 地址
--with-file-aio:启用 File AIO
--add-module=PATH:添加第三方外部模块
执行完上述命令后,在解压目录下,多出一个Makefile文件

执行make命令
make
执行make install 命令
make install
因编译时未指定安装目录,执行make install 命令后看到反馈日志信息,实际安装目录为/usr/local/nginx
进入实际安装目录,看看,并在其sbin目录下执行启动nginx
cd /usr/local/nginx/
./nginx

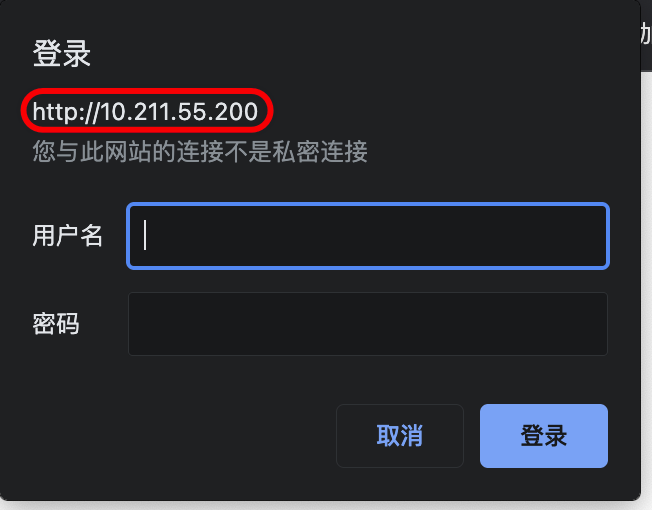
配置nginx作为代理认证,设置nginx的80端口直接跳转到gerrit的登录
    server {
        listen       80;
        server_name  localhost;

        location / {
            #root   html;
            #index  index.html index.htm;
            auth_basic              "Gerrit Code Review";
            auth_basic_user_file    /passwords;
            proxy_pass              http://127.0.0.1:8080;
            proxy_set_header        X-Forwarded-For $remote_addr;
            proxy_set_header        Host $host;
        }
    }
auth_basic 是否开启使用“HTTP基本认证”(HTTP Basic Authentication)协议的用户名密码验证, 默认不开启
语法: auth_basic string | off;
默认值: auth_basic off;
上下文: http,server,location,limit_exceptauth_basic 值为off表示不开启HTTP基本认证。
auth_basic指定了字符串,那么字符串会在弹窗中显示
auth_basic_user_file 指定保存用户名密码的文件
语法: auth_basic_user_file file;
默认值: —
上下文: http,server,location,limit_except
接下来,创建保存用户名密码的文件
touch /passwords
htpasswd -m /passwords admin

密码设置为 123456
可以查看文件内容

重启nginx
访问nginx服务器,端口是80
http://10.211.55.200/

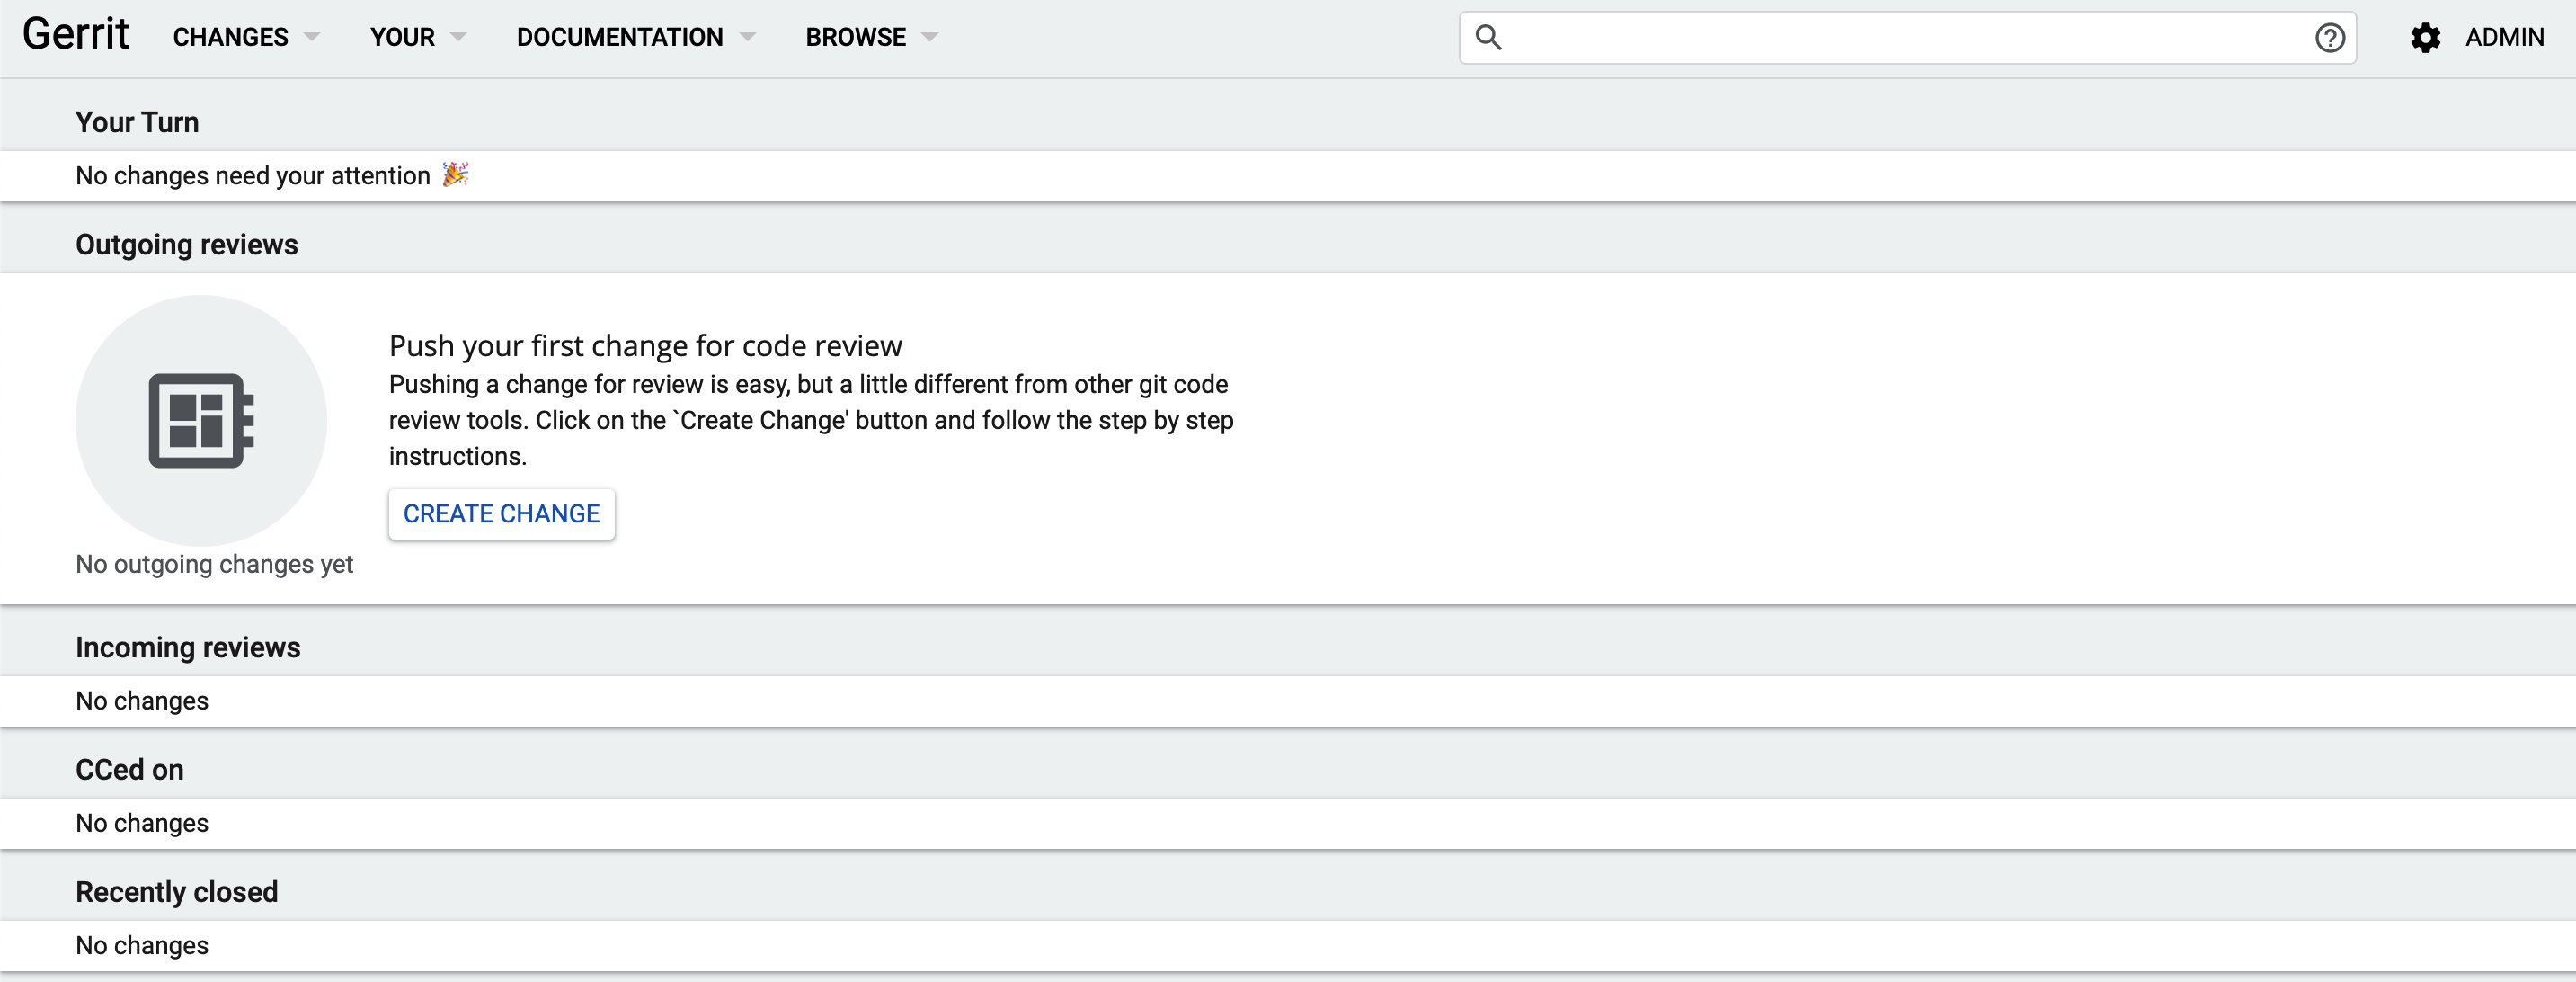
登录成功后,会直接跳转到http://10.211.55.200:8080,如下界面。

我这个是新版本的,创建项目在BROWER下的Repository-->CREATE NEW

上面创建了一个管理员账号
接下来创建普通用户账号
touch /gerrit.password
htpasswd -m /gerrit.password test
密码为 123456
普通用户登录看不到创建项目的按钮。其他功能都是差不多的
二、对比Gerrit和gitlab
Gerrit其实就是多了一个审核功能,个人觉得没有必要非要使用gerrit,尤其是小团队。gitlab的审核功能足够了。gitlab+gerrit 更是架空了gitlab,还多费一遍事。


