iOS逆向之iOSOpenDev
上篇谈到使用TheOS进行越狱开发,但是流程相对而言较复杂,本篇我们谈一下iOSOpenDev进行越狱开发。通过使用iOSOpenDev,我们可以使用Xcode进行开发、编译、生成并运行到设备上。
1.安装iOSOpenDev
- 打开网址:http://iosopendev.com/download/,选择“iOSOpenDev 1.6-2 Installer”,下载完成之后,直接安装pkg文件。在安装过程中,有可能出现失败,按照 这篇文章 介绍的方法,进行处理。
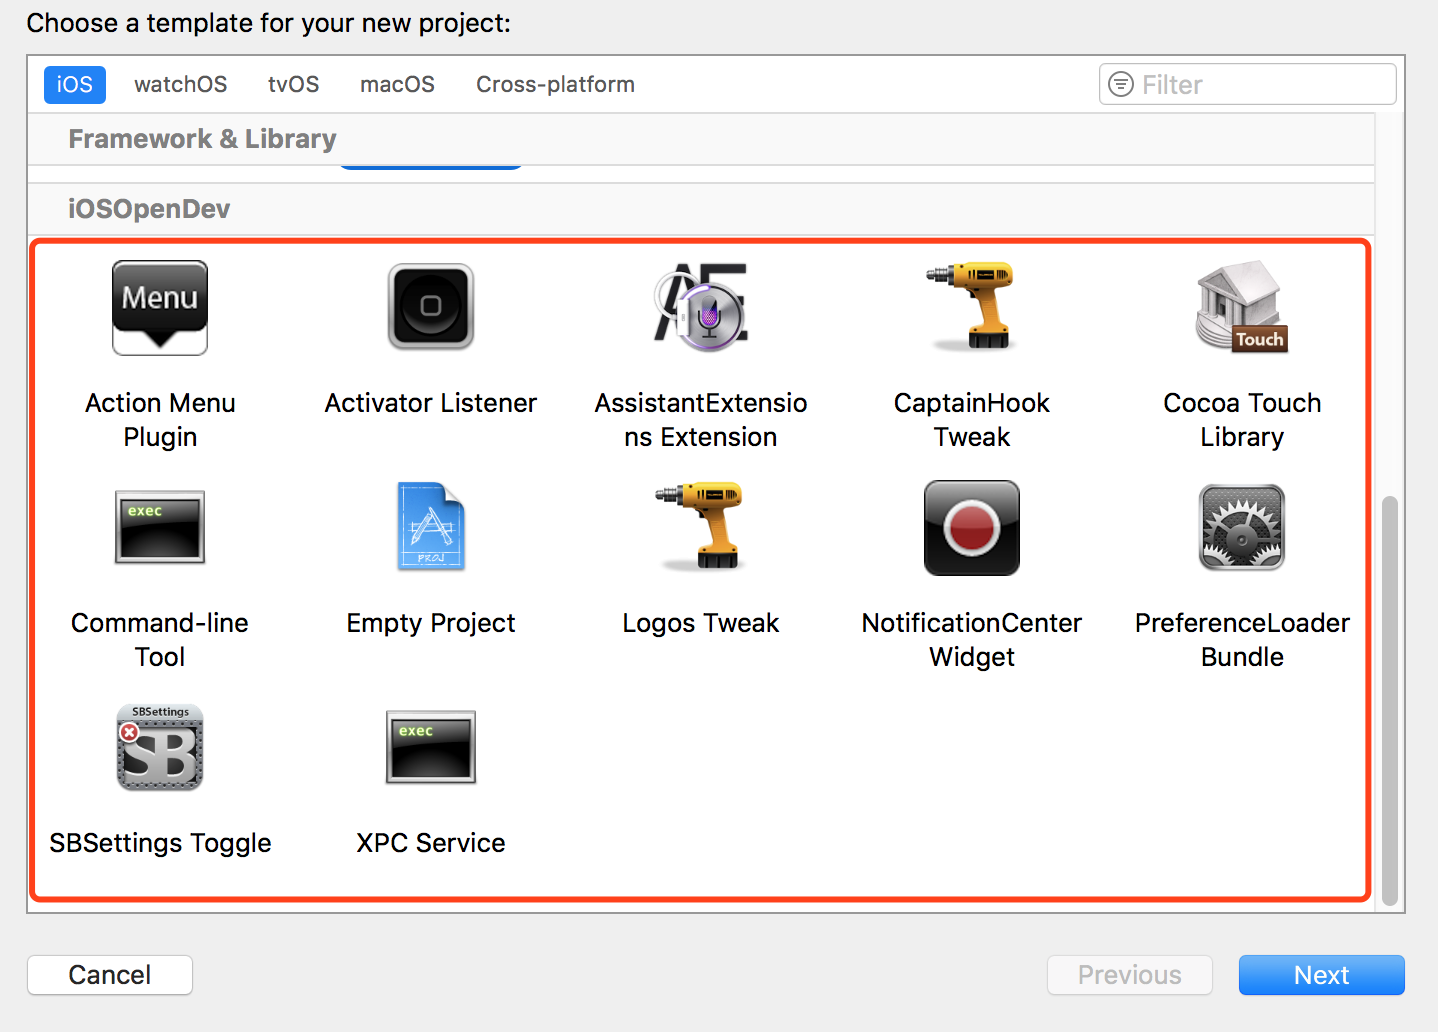
- 安装成功后,打开XCode,新建工程,我们可以看到iOSOpenDev已经集成在XCode中了,并附带了很多模板:

2.使用iOSOpenDev
第一步:新建工程,这里选择“Logos Tweak”,新建完成之后,工程结构如下图所示:

可以看到有一个.xm文件,我们打开看一下内容:
// Logos by Dustin Howett
// See http://iphonedevwiki.net/index.php/Logos

#error iOSOpenDev post-project creation from template requirements (remove these lines after completed) -- \
    Link to libsubstrate.dylib: \
    (1) go to TARGETS > Build Phases > Link Binary With Libraries and add /opt/iOSOpenDev/lib/libsubstrate.dylib \
    (2) remove these lines from *.xm files (not *.mm files as they're automatically generated from *.xm files)

%hook ClassName

+ (id)sharedInstance
{
    %log;

    return %orig;
}

- (void)messageWithNoReturnAndOneArgument:(id)originalArgument
{
    %log;

    %orig(originalArgument);

    // or, for exmaple, you could use a custom value instead of the original argument: %orig(customValue);
}

- (id)messageWithReturnAndNoArguments
{
    %log;

    id originalReturnOfMessage = %orig;

    // for example, you could modify the original return value before returning it: [SomeOtherClass doSomethingToThisObject:originalReturnOfMessage];

    return originalReturnOfMessage;
}

%end
.xm文件提示需要链接 libsubstrate.dylib,另外看一下很多%开头的语句。%是Legos中的指示符,和TheOS中一样。
这里先把.xm文件的内容清空,然后ibsubstrate.dylib链接进来,另外也把UIKit(因为我们需要一个提示框显示信息)链接进来:

和TheOS一样,这里我们也只是显示一个Alert框,代码也一样:
#import <UIKit/UIKit.h>

%hook SpringBoard

-(void)applicationDidFinishLaunching:(id)application {
    %orig;

    UIAlertView *alert = [[UIAlertView alloc] initWithTitle:@"Hello, Gof!" message:@"LeeGof is very handsome" delegate:self cancelButtonTitle:@"OK" otherButtonTitles:nil];
    [alert show];
}

%end
再看一下.mm文件,已经自动根据.xm文件生成了如下代码:
#line 1 "/Users/GofLee/Desktop/逆向工程/code/TweakDemo/TweakDemo/TweakDemo.xm"
#import <UIKit/UIKit.h>


#include <substrate.h>
#if defined(__clang__)
#if __has_feature(objc_arc)
#define _LOGOS_SELF_TYPE_NORMAL __unsafe_unretained
#define _LOGOS_SELF_TYPE_INIT __attribute__((ns_consumed))
#define _LOGOS_SELF_CONST const
#define _LOGOS_RETURN_RETAINED __attribute__((ns_returns_retained))
#else
#define _LOGOS_SELF_TYPE_NORMAL
#define _LOGOS_SELF_TYPE_INIT
#define _LOGOS_SELF_CONST
#define _LOGOS_RETURN_RETAINED
#endif
#else
#define _LOGOS_SELF_TYPE_NORMAL
#define _LOGOS_SELF_TYPE_INIT
#define _LOGOS_SELF_CONST
#define _LOGOS_RETURN_RETAINED
#endif

@class SpringBoard;
static void (*_logos_orig$_ungrouped$SpringBoard$applicationDidFinishLaunching$)(_LOGOS_SELF_TYPE_NORMAL SpringBoard* _LOGOS_SELF_CONST, SEL, id); static void _logos_method$_ungrouped$SpringBoard$applicationDidFinishLaunching$(_LOGOS_SELF_TYPE_NORMAL SpringBoard* _LOGOS_SELF_CONST, SEL, id);

#line 3 "/Users/GofLee/Desktop/逆向工程/code/TweakDemo/TweakDemo/TweakDemo.xm"


static void _logos_method$_ungrouped$SpringBoard$applicationDidFinishLaunching$(_LOGOS_SELF_TYPE_NORMAL SpringBoard* _LOGOS_SELF_CONST self, SEL _cmd, id application) {
    _logos_orig$_ungrouped$SpringBoard$applicationDidFinishLaunching$(self, _cmd, application);

    UIAlertView *alert = [[UIAlertView alloc] initWithTitle:@"Hello, Gof!" message:@"LeeGof is very handsome" delegate:self cancelButtonTitle:@"OK" otherButtonTitles:nil];
    [alert show];
}


static __attribute__((constructor)) void _logosLocalInit() {
{Class _logos_class$_ungrouped$SpringBoard = objc_getClass("SpringBoard"); if (_logos_class$_ungrouped$SpringBoard) {MSHookMessageEx(_logos_class$_ungrouped$SpringBoard, @selector(applicationDidFinishLaunching:), (IMP)&_logos_method$_ungrouped$SpringBoard$applicationDidFinishLaunching$, (IMP*)&_logos_orig$_ungrouped$SpringBoard$applicationDidFinishLaunching$);} else {HBLogError(@"logos: nil class %s", "SpringBoard");}} }
#line 13 "/Users/GofLee/Desktop/逆向工程/code/TweakDemo/TweakDemo/TweakDemo.xm"
接着我们看一下Target中的“User-Defined”:

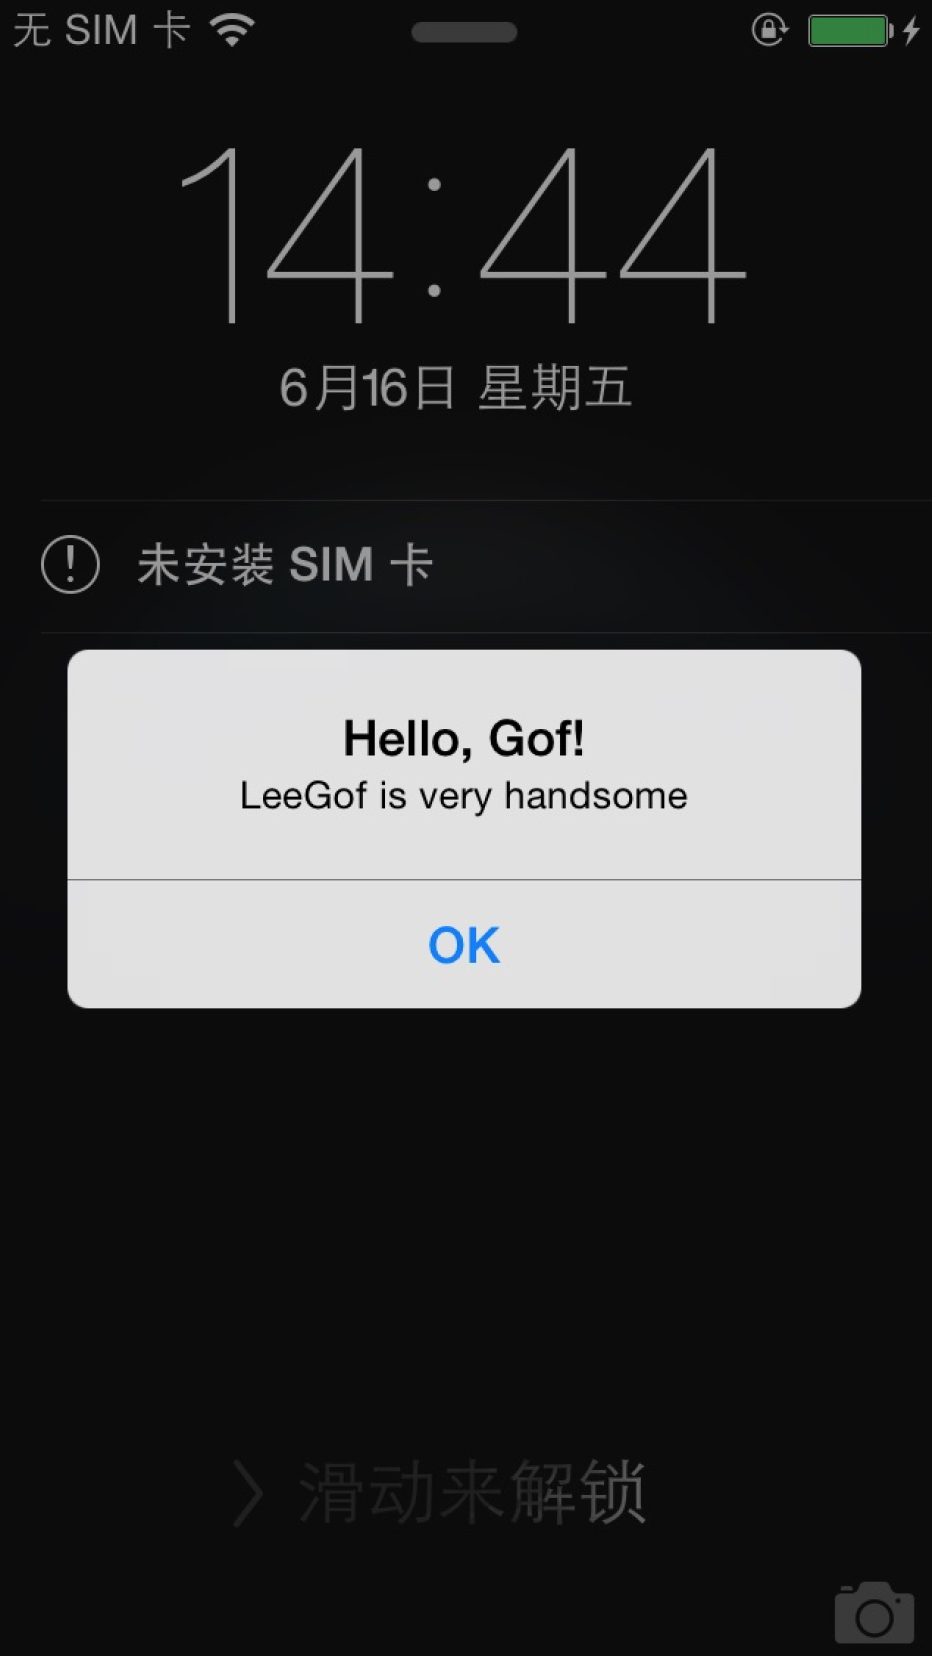
在这里,配置“iOSOpenDevDevice”字段为联调的设备IP。直接连接真机运行(选择Build For -- Profiling),可以看到代码已经生效。如下图所示:

3.常见错误
错误一:Failed to create directory /var/root/iOSOpenDevPackages on device 10.1.xx.xx,如下图所示:

【解决方案】:在终端输入如下指令:
iosod sshkey -h 10.1.xx.xx
重新再试即可。
错误二:运行的时候,有可能出现这样的错误:Use of undeclared identifier 'HBLogError',如下图所示:

【解决方案】:在.xm文件中加入如下宏定义:
#define HBLogError NSLog
无善无恶心之体,
有善有恶意之动,
知善知恶是良知,
为善去恶是格物。


