Ubuntu部署FastApi项目
环境介绍
系统: Ubuntu 22.04
Pyhton版本:3.8.10
Fastapi版本:0.95.0
Gunicorn版本:20.1.0
准备工作
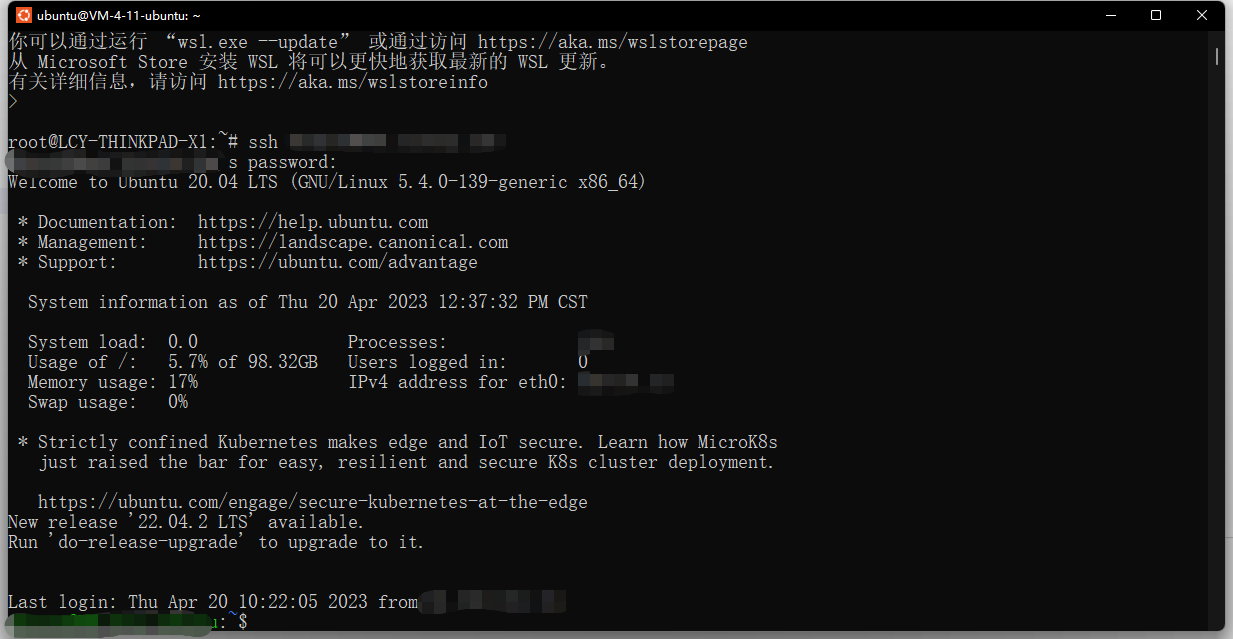
1. ssh 连接工具(本例使用基于Windows的Linux子系统中的ssh工具)
2. 配置nginx代理服务器
3. 配置Gunicorn WSGI HTTP服务器
一、SSH连接Ubuntu服务器
ssh username@host
username 是Ubuntu的登录密码
host 是Ubuntu的公网IP地址

二、nginx安装和配置
nginx安装
apt install nginx
具体实施步骤:
- apt install nginx
- 进入目录/etc/nginx 找到 nginx.conf 文件
- 修改nginx.conf文件,添加以下配置
        server {
                listen 80;
                server_name domain_name;# 这里的domain_name是域名地址。
                location / {
                        proxy_pass http://127.0.0.1:8000; # 注意这里的端口跟配置脚本的端口一致。
                        proxy_set_header Host $host;
                        proxy_set_header X-Forwarded-For $proxy_add_x_forwarded_for;
                }
        }
三、Gunicorn的安装和配置
安装
pip install Gunicorn
创建文件 gunicorn_conf.py (可以使用Vim)
sudo vim gunicon_conf.py
按 “i” 键进入编辑模式,将下面的代码Copy到编辑器
    from multiprocessing import cpu_count

    # 是否守护
    daemon = True

    # 绑定
    bind = '0.0.0.0:8000'

    # pid 文件地址
    pidfile = 'gunicorn.pid'

    # 项目地址
    chdir = '.'

    # Worker Options
    workers = cpu_count() + 1
    worker_class="uvicorn.workers.UvicornWorker"
    threads = 2

    # Logging Options
    loglevel="debug"
    accesslog = 'access_log.log'
    errorlog =  'error_log.log'
按 “ESC” 输入 “:wq!”保存。
将该文件Copy到项目目录(本例中项目目录在~/testapi/tracker)
cp gunicorn_conf.py ~/testapi/tracker
启动gunicorn
gunicorn main:app -c gunicorn_conf.py
最后的结果应该是可以看到 接口文档了

写在最后
-
一般本地服务器需要换源之后才能快速安装,本例使用的是线上服务器,已经换过源了,若是自己的服务器,建议先换apt源再换pip源。
-
nginx配置没提交完整配置文件,新版本的nginx需要注释掉第一行
user www-data;
- 如果需要停止服务,可以直接使用
        # 结束进程
        killall gunicorn
再使用
gunicorn main:app -c gunicorn_conf.py
开启服务。
- Linux基本操作 和 数据库的部署不在本例的范围内


 浙公网安备 33010602011771号