SpringBoot整合Redis
先建立工程
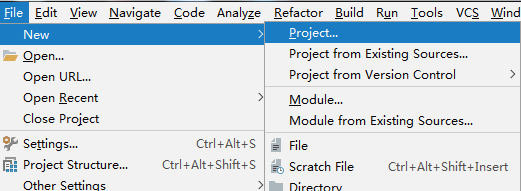
..

..
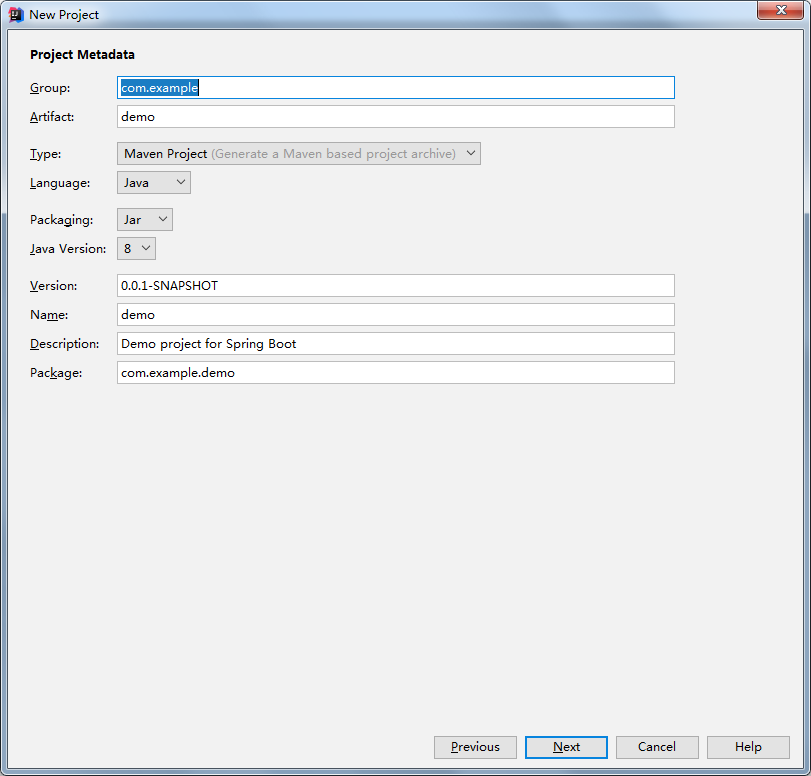
..选择redis
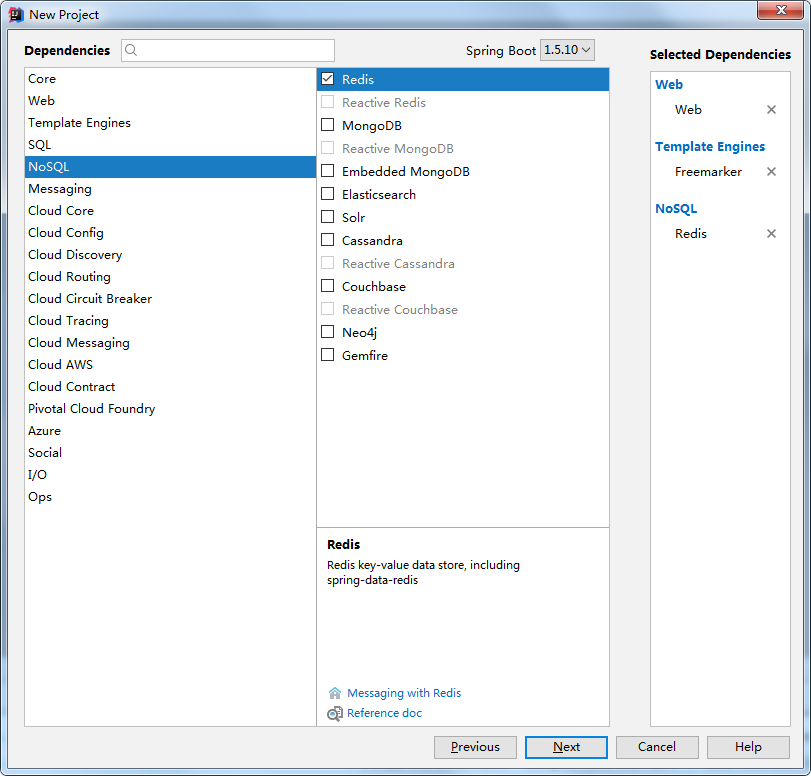
..
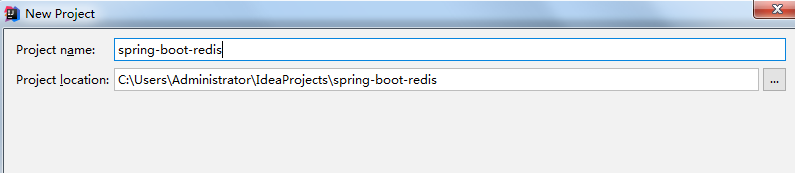
点击Finish
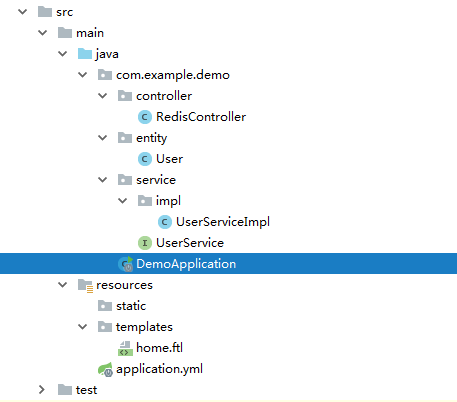
先看一下最终目录
下面建立文件
pom文件不用改
..
新建一个entity包,在包下建立User类
package com.example.demo.entity;

import java.io.Serializable;

public class User implements Serializable {

    private String id;
    private String name;
    private double salary;

    public User() {
    }

    public User(String id, String name, double salary) {
        this.id = id;
        this.name = name;
        this.salary = salary;
    }

    public String getId() {
        return id;
    }

    public void setId(String id) {
        this.id = id;
    }

    public String getName() {
        return name;
    }

    public void setName(String name) {
        this.name = name;
    }

    public double getSalary() {
        return salary;
    }

    public void setSalary(double salary) {
        this.salary = salary;
    }

    @Override
    public String toString() {
        return "User{" +
                "id=" + id +
                ", name='" + name + '\'' +
                ", salary=" + salary +
                '}';
    }
}
新建一个service包,包下建立UserService类
package com.example.demo.service;

import com.example.demo.entity.User;
import org.springframework.stereotype.Service;

import java.util.List;

@Service
public interface UserService {

    int addUser(User user);

    List<User> getUsers();

    int addString(String key, String value);

    String getString(String key);
}
在service包下建立impl包,包下建立UserServiceImpl类
package com.example.demo.service.impl;

import com.example.demo.entity.User;
import com.example.demo.service.UserService;
import org.springframework.beans.factory.annotation.Autowired;
import org.springframework.data.redis.core.RedisTemplate;
import org.springframework.data.redis.core.StringRedisTemplate;
import org.springframework.stereotype.Service;

import java.util.ArrayList;
import java.util.List;

@Service
public class UserServiceImpl implements UserService {

    @Autowired
    private RedisTemplate<String, User> redisTemplate;

    @Autowired
    private StringRedisTemplate stringRedisTemplate;

    @Override
    public int addUser(User user) {
        redisTemplate.boundHashOps("users").put(user.getId(), user);
        return 1;
    }

    @Override
    public List<User> getUsers() {
        List<User> users = new ArrayList<>();
        List<Object> list = redisTemplate.boundHashOps("users").values();
        list.forEach(u -> {
            System.out.println(u);
            users.add((User) u);
        });
        return users;
    }

    @Override
    public int addString(String key, String value) {
        stringRedisTemplate.boundValueOps(key).set(value);
        return 1;
    }

    @Override
    public String getString(String key) {
        return stringRedisTemplate.boundValueOps(key).get();
    }
}
这里使用了两种redis模板。
新建一个controller包,包下建立RedisController类
package com.example.demo.controller;

import com.example.demo.entity.User;
import com.example.demo.service.UserService;
import org.springframework.beans.factory.annotation.Autowired;
import org.springframework.web.bind.annotation.RequestMapping;
import org.springframework.web.bind.annotation.RestController;
import org.springframework.web.servlet.ModelAndView;

import java.util.List;

@RestController
public class RedisController {

    @Autowired
    private UserService userService;

    @RequestMapping("/addUser")
    public String a(){
//        userService.addUser(new User("1","Tom", 1000.2));
//        userService.addUser(new User("2","Tony", 3000.5));
//        userService.addUser(new User("3","Mary", 6224.6));
        userService.addUser(new User("4","小明", 2000.2));
        userService.addUser(new User("5","小红", 3800.5));
        userService.addUser(new User("6","小刚", 9224.6));

        return "1";
    }

    @RequestMapping("/users")
    public List<User> b(){
        return userService.getUsers();
    }

    @RequestMapping("/addString")
    public String c(){
        userService.addString("s","string-字符串");
        return "1";
    }

    @RequestMapping("/string")
    public String d(){
        return userService.getString("s");
    }

    @RequestMapping(value="/view",produces = {"text/html"})
    public ModelAndView e(){
        ModelAndView mv = new ModelAndView("home");
        mv.addObject("userList",userService.getUsers());
        return mv;
    }

}
修改application.yml文件
spring:
  redis:
    host: localhost
    port: 6379
    pool:
      max-active: 8
      max-idle: 8
      min-idle: 0
      max-wait: -1
  freemarker:
    suffix: .ftl
    charset: UTF-8
    content-type: text/html
    template-loader-path: classpath:/templates/
新建home.ftl文件
<!DOCTYPE html>
<html lang="en">
<head>
    <meta charset="UTF-8">
    <title>$Title$</title>
</head>
<body>
    <table>
        <thead>
        <tr>
            <th>ID</th>
            <th>Name</th>
            <th>Salary</th>
        </tr>
        </thead>
        <tbody>
        <#list userList as u>
            <tr>
                <td>${u.id}</td>
                <td>${u.name}</td>
                <td>${u.salary}</td>
            </tr>
        </#list>
        </tbody>
    </table>
</body>
</html>
最后,修改启动类,加入RedisTemplate配置【注意,你不配置的话,会提示找不到】
package com.example.demo;

import com.example.demo.entity.User;
import org.springframework.boot.SpringApplication;
import org.springframework.boot.autoconfigure.SpringBootApplication;
import org.springframework.context.annotation.Bean;
import org.springframework.data.redis.connection.RedisConnectionFactory;
import org.springframework.data.redis.core.RedisTemplate;
import org.springframework.data.redis.serializer.Jackson2JsonRedisSerializer;
import org.springframework.data.redis.serializer.JdkSerializationRedisSerializer;
import org.springframework.data.redis.serializer.StringRedisSerializer;

@SpringBootApplication
public class DemoApplication {

    public static void main(String[] args) {
        SpringApplication.run(DemoApplication.class, args);
    }

    @Bean
    public RedisTemplate<String, User> redisTemplate(RedisConnectionFactory redisConnectionFactory){
        RedisTemplate<String, User> redisTemplate = new RedisTemplate<>();
        redisTemplate.setConnectionFactory(redisConnectionFactory);

        redisTemplate.setKeySerializer(new StringRedisSerializer());
        redisTemplate.setHashKeySerializer(new StringRedisSerializer());
        //redisTemplate.setHashValueSerializer(new JdkSerializationRedisSerializer());                // 会有\xac\xed乱码
        redisTemplate.setHashValueSerializer(new Jackson2JsonRedisSerializer<User>(User.class));    // 序列化成JSON字符串,无乱码。如果不确定类型,也可以Object.class
        return redisTemplate;
    }

}
测试
先用 JdkSerializationRedisSerializer 。
运行启动类,在浏览器输入http://localhost:8080/addUser,先去检查redis是否有数据。
可以看到乱码的出现。但是并不影响读取(反序列化),输入http://localhost:8080/users

有人不喜欢这些乱码,那么去修改配置,打开 Jackson2JsonRedisSerializer的注释
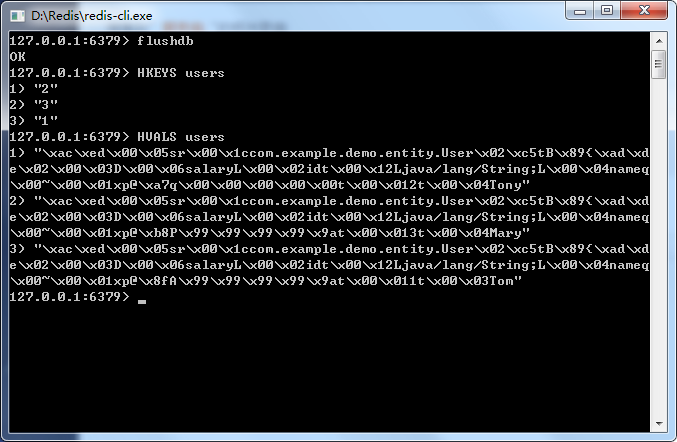
重新访问http://localhost:8080/addUser,查看数据库

这下是标准的json字符串
输入 http://localhost:8080/users

如果是中文呢?你可以看到我有6个测试数据,下面三个是中文的。
执行之后:

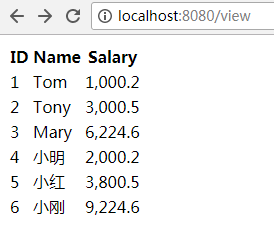
浏览器访问:http://localhost:8080/view
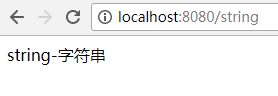
对于 StringRedisTemplate
浏览器输入:http://localhost:8080/addString
再访问:http://localhost:8080/string
小LUA
面对敌人的严刑逼供,我一个字也没说,而是一五一十写了下来。
