

安装参考文档:https://www.cnblogs.com/qlqwjy/p/10551283.html
安装的步骤说明他已经写得很详细了,这边主要记录一下安装过程中的问题
首先,整个Sonar检测需要安装或准备以下环境:
1.数据库(orcal/sqlserver/mysql)
2.准备java环境,java11以上
3.下载解压SonarQube
4.下载解压SonarSanner
其次,安装完了SonarQube后,要运行"sonarqube-8.9.1.44547\bin\windows-x86-64\StartSonar.bat" 开启SonarWeb端服务,修改配置文件,数据库连接信息,重启
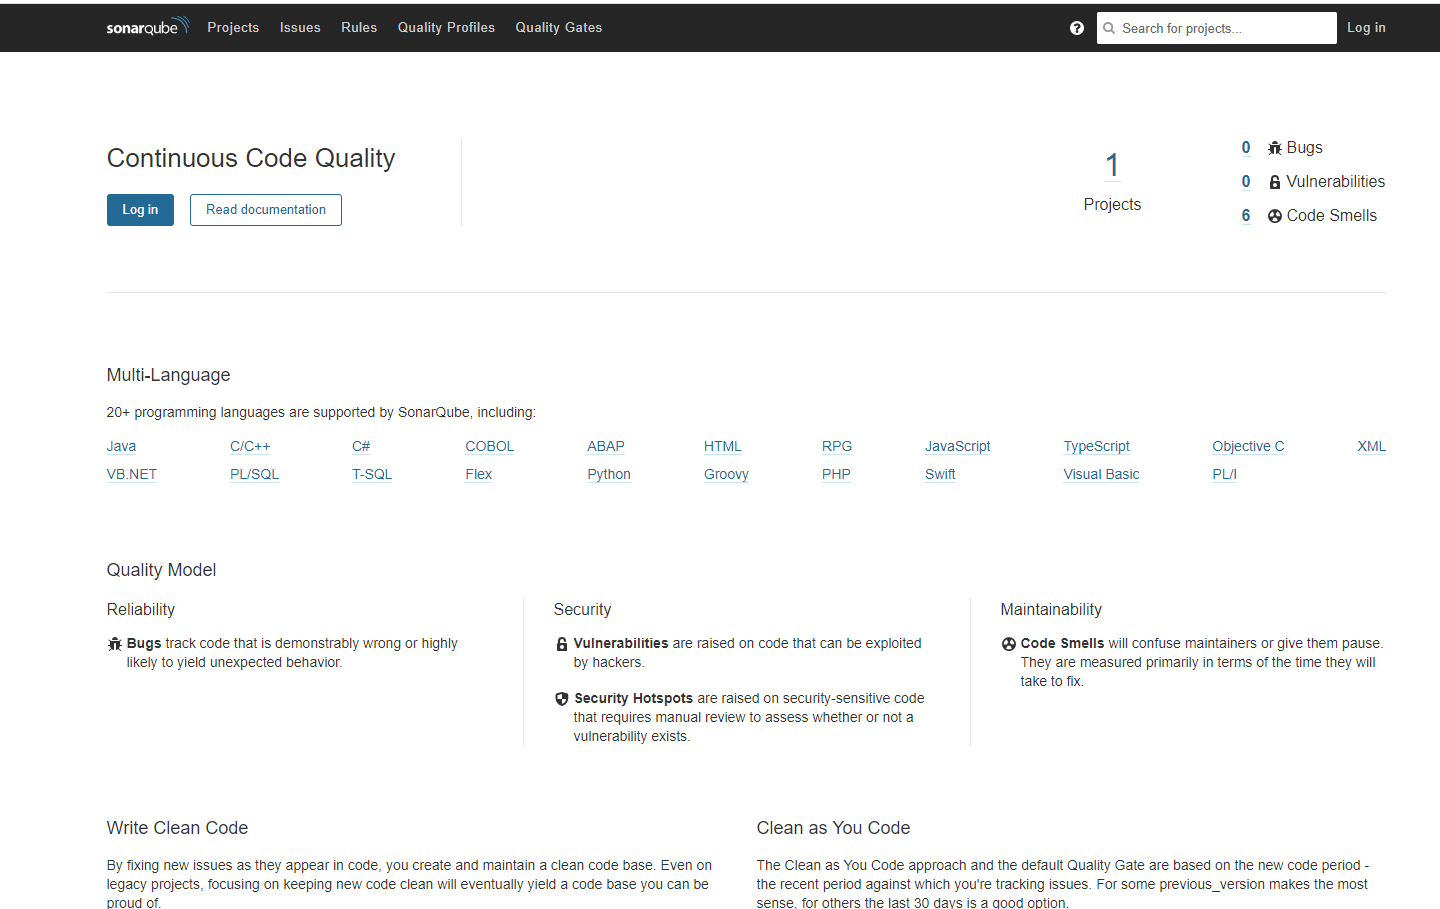
开启后,浏览器访问http://localhost:9000/可见以下页面(默认登录名密码:admin/admin)
然后安装SonarScanner,安装完配置“\conf\sonar-scanner.properties”,配置环境变量Path指向“sonar-scanner-cli-4.6.2.2472-windows\sonar-scanner-4.6.2.2472-windows\bin”
最后,在需要检测的项目根目录下,创建新文件“sonar-project.properties” 文件内容如下:

# must be unique in a given SonarQube instance
sonar.projectKey=my:project
# this is the name displayed in the SonarQube UI
sonar.projectName=springboot-ssm
sonar.projectVersion=1.0
# Path is relative to the sonar-project.properties file. Replace "\" by "/" on Windows.
# Since SonarQube 4.2, this property is optional if sonar.modules is set.
# If not set, SonarQube starts looking for source code from the directory containing
# the sonar-project.properties file.
sonar.sources=C:/testproj
sonar.java.binaries=C:/testproj

# Encoding of the source code. Default is default system encoding
#sonar.sourceEncoding=UTF-8
需要注意的是,sonar.sources和sonar.java.binaries 中的路径需要用"/"而不是"\"
完了后在localhost:9000端口就能看到检测结果
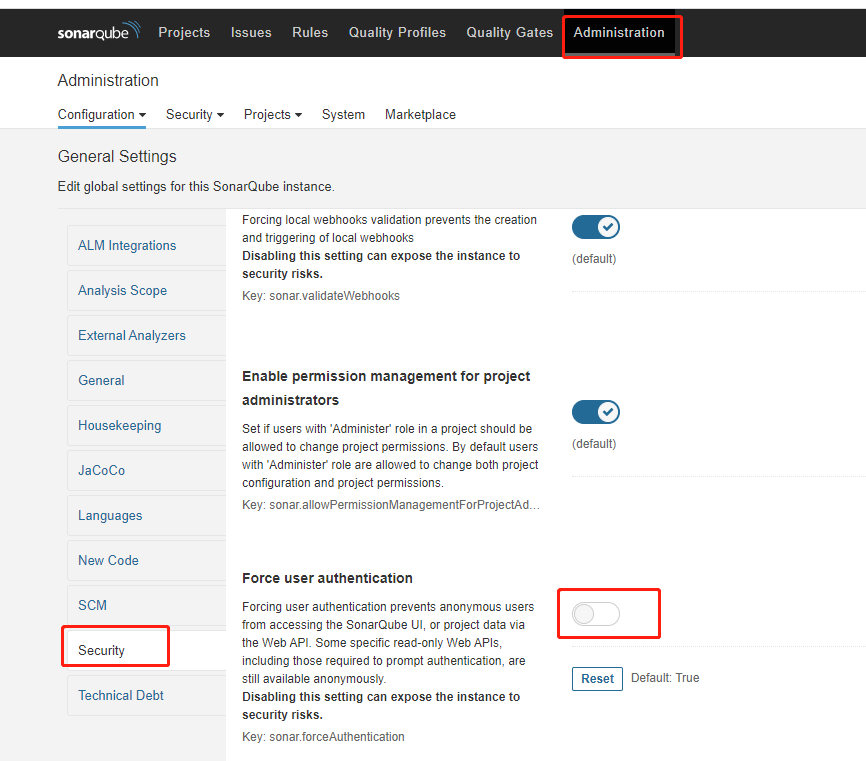
Ps:如果遇到说权限问题什么的报错,需要去localhost:9000关闭强制使用用户身份验证选项:

【推荐】编程新体验,更懂你的AI,立即体验豆包MarsCode编程助手
【推荐】凌霞软件回馈社区,博客园 & 1Panel & Halo 联合会员上线
【推荐】抖音旗下AI助手豆包,你的智能百科全书,全免费不限次数
【推荐】博客园社区专享云产品让利特惠,阿里云新客6.5折上折
【推荐】轻量又高性能的 SSH 工具 IShell:AI 加持,快人一步