使用Vue+Vant 搭建 移动端程序
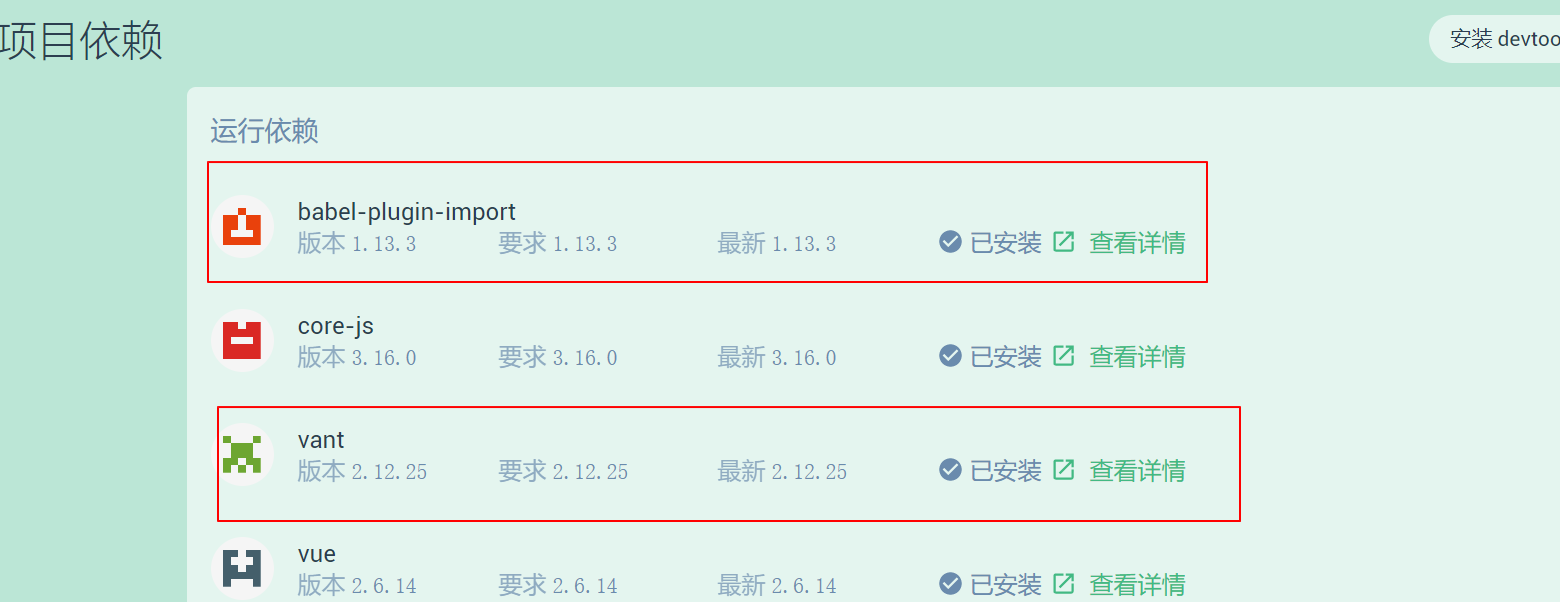
1、首先利用Vue Ui界面创建程序;添加引用
2、在babel.config.js 添加
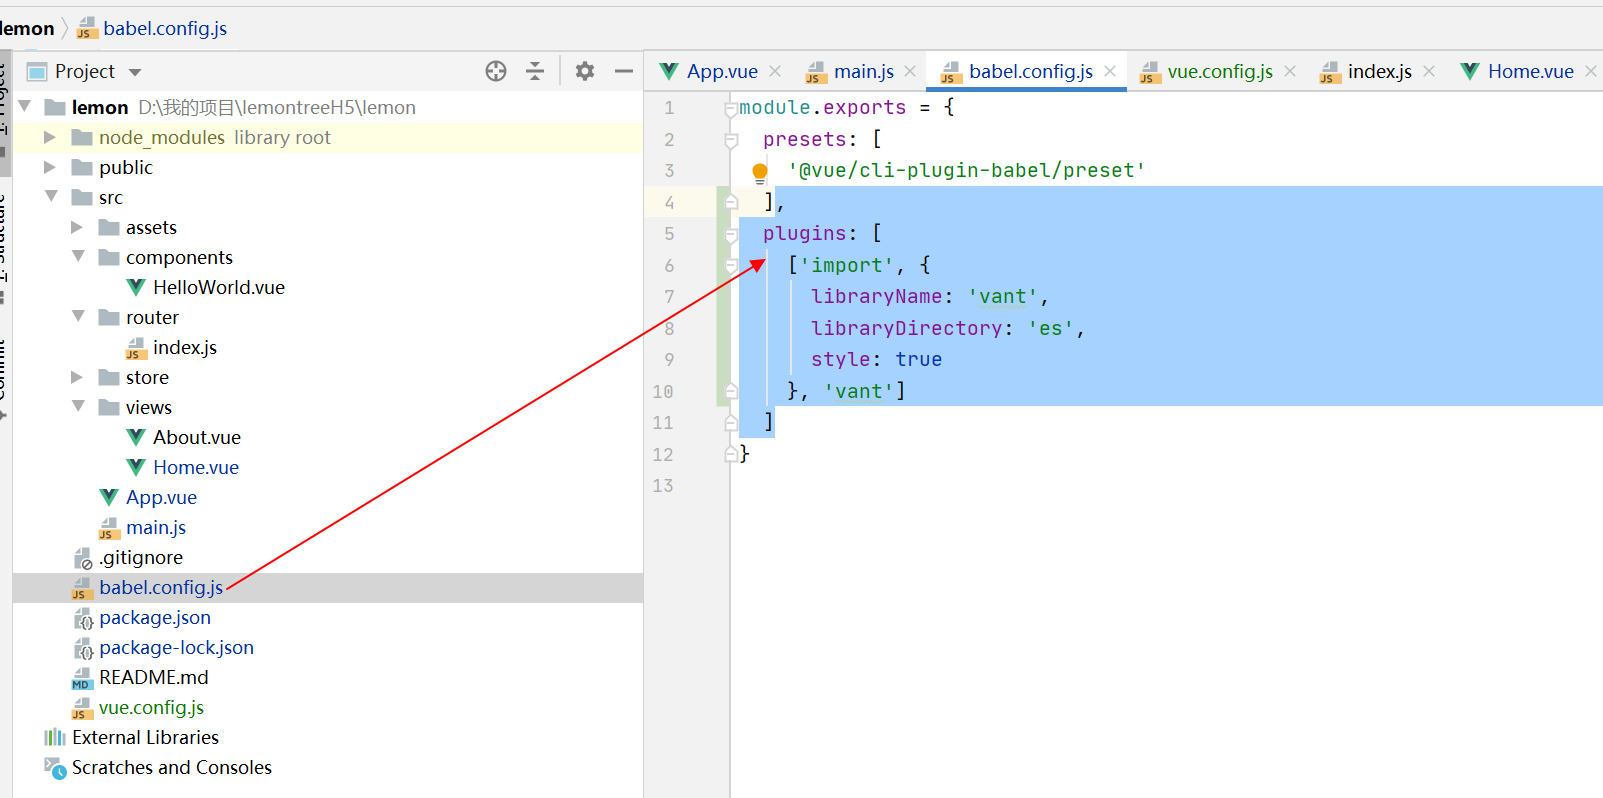
完成内容如下:
module.exports = {
  presets: [
    '@vue/cli-plugin-babel/preset'
  ],
  plugins: [
    ['import', {
      libraryName: 'vant',
      libraryDirectory: 'es',
      style: true
    }, 'vant']
  ]
}

33、根目录创建vue.config.js
const pxtoviewport = require('postcss-px-to-viewport');


postcss: {
    plugins: [
        pxtoviewport({
            unitToConvert: "px", // 要转化的单位
            viewportWidth: 750, // UI设计稿的宽度
            unitPrecision: 6, // 转换后的精度,即小数点位数
            propList: ["*"], // 指定转换的css属性的单位,*代表全部css属性的单位都进行转换
            viewportUnit: "vw", // 指定需要转换成的视窗单位,默认vw
            fontViewportUnit: "vw", // 指定字体需要转换成的视窗单位,默认vw
            selectorBlackList: ["wrap"], // 指定不转换为视窗单位的类名,
            minPixelValue: 1, // 默认值1,小于或等于1px则不进行转换
            mediaQuery: true, // 是否在媒体查询的css代码中也进行转换,默认false
            replace: true, // 是否转换后直接更换属性值
            exclude: [/node_modules/], // 设置忽略文件,用正则做目录名匹配
            landscape: false // 是否处理横屏情况
        })
    ]

}
5、vant的引用,在Main.js中
import Vue from 'vue'
import App from './App.vue'
import router from './router'
import store from './store'
import {Button} from "vant";
import {Toast} from "vant";
import {Notify} from "vant";
import { Tabbar, TabbarItem } from 'vant';

Vue.config.productionTip = false
Vue.use(Button);
Vue.use(Toast);
Vue.use(Notify);
Vue.use(Tabbar);
Vue.use(TabbarItem);

new Vue({
  router,
  store,
  render: h => h(App)
}).$mount('#app')
6、使用时候
this.$notify({ type: 'success', message: '通知内容' });
注意红色是必须添加的不然会提示 未定义

 浙公网安备 33010602011771号