thymeleaf+spring的简单搭建
前言
由于在开发My Blog项目时使用了大量的技术整合,针对于部分框架的使用和整合的流程没有做详细的介绍和记录,导致有些朋友用起来有些吃力,因此打算在接下来的时间里做一些基础整合的介绍,当然,可能也不会特别的基础,但是源码会开放给大家,方便大家学习,此次的源码地址为springboot-thymeleaf,多谢大家支持。
简介
Thymeleaf是一个跟Velocity、FreeMarker类似的模板引擎,它可以完全替代JSP,相较与其他的模板引擎,它有如下三个极吸引人的特点:
- Thymeleaf在有网络和无网络的环境下皆可运行,即它可以让美工在浏览器查看页面的静态效果,也可以让程序员在服务器查看带数据的动态页面效果。这是由于它支持 html 原型,然后在 html 标签里增加额外的属性来达到模板+数据的展示方式。浏览器解释 html 时会忽略未定义的标签属性,所以thymeleaf的模板可以静态地运行;当有数据返回到页面时,Thymeleaf 标签会动态地替换掉静态内容,使页面动态显示。
- Thymeleaf开箱即用的特性。它提供标准和spring标准两种方言,可以直接套用模板实现JSTL、OGNL表达式效果,避免每天套模板、改jstl、改标签的困扰。同时开发人员也可以扩展和创建自定义的方言。
- Thymeleaf提供spring标准方言和一个与SpringMVC完美集成的可选模块,可以快速的实现表单绑定、属性编辑器、国际化等功能。
整合过程
编辑pom文件,引入Thymeleaf
<?xml version="1.0" encoding="UTF-8"?>
<project xmlns="http://maven.apache.org/POM/4.0.0" xmlns:xsi="http://www.w3.org/2001/XMLSchema-instance" xsi:schemaLocation="http://maven.apache.org/POM/4.0.0 http://maven.apache.org/xsd/maven-4.0.0.xsd">
<modelVersion>4.0.0</modelVersion>
<artifactId>com.my.blog</artifactId>
<name>springboot-thymeleaf</name>
<description>springboot-thymeleaf</description>
<parent>
<groupId>org.springframework.boot</groupId>
<artifactId>spring-boot-starter-parent</artifactId>
<version>1.5.1.RELEASE</version>
</parent>
<properties>
<java.version>1.7</java.version>
</properties>
<dependencies>
<dependency>
<groupId>org.springframework.boot</groupId>
<artifactId>spring-boot-starter-thymeleaf</artifactId>
</dependency>
</dependencies>
<build>
<plugins>
<plugin>
<groupId>org.springframework.boot</groupId>
<artifactId>spring-boot-maven-plugin</artifactId>
</plugin>
</plugins>
</build>
</project>
Thymeleaf配置
# thymeleaf
spring.thymeleaf.prefix=classpath:/templates/
spring.thymeleaf.check-template-location=true
spring.thymeleaf.suffix=.html
spring.thymeleaf.encoding=UTF-8
spring.thymeleaf.content-type=text/html
spring.thymeleaf.mode=HTML5
spring.thymeleaf.cache=false
新建模板文件
在resources文件夹下新增templates目录,用于存放模板文件,新增hello.html。
<!DOCTYPE html>
<html lang="en" xmlns:th="http://www.thymeleaf.org">
<head>
<meta charset="UTF-8"/>
<title>springboot-thymeleaf demo</title>
</head>
<body>
<p th:text="'hello, ' + ${name} + '!'" />
</body>
</html>
编辑业务代码及启动类
HelloController :
/**
* author:13
* date:2017-09-14
*/
@Controller
public class HelloController {
@RequestMapping("/hello")
public String hello(HttpServletRequest request, @RequestParam(value = "name", required = false, defaultValue = "springboot-thymeleaf") String name) {
request.setAttribute("name", name);
return "hello";
}
}
WebApplication :
/**
* author:13
* date:2017-09-14
*/
@SpringBootApplication
public class WebApplication extends SpringBootServletInitializer {
@Override
protected SpringApplicationBuilder configure(SpringApplicationBuilder application) {
return application.sources(WebApplication.class);
}
public static void main(String[] args) throws Exception {
SpringApplication.run(WebApplication.class, args);
}
验证
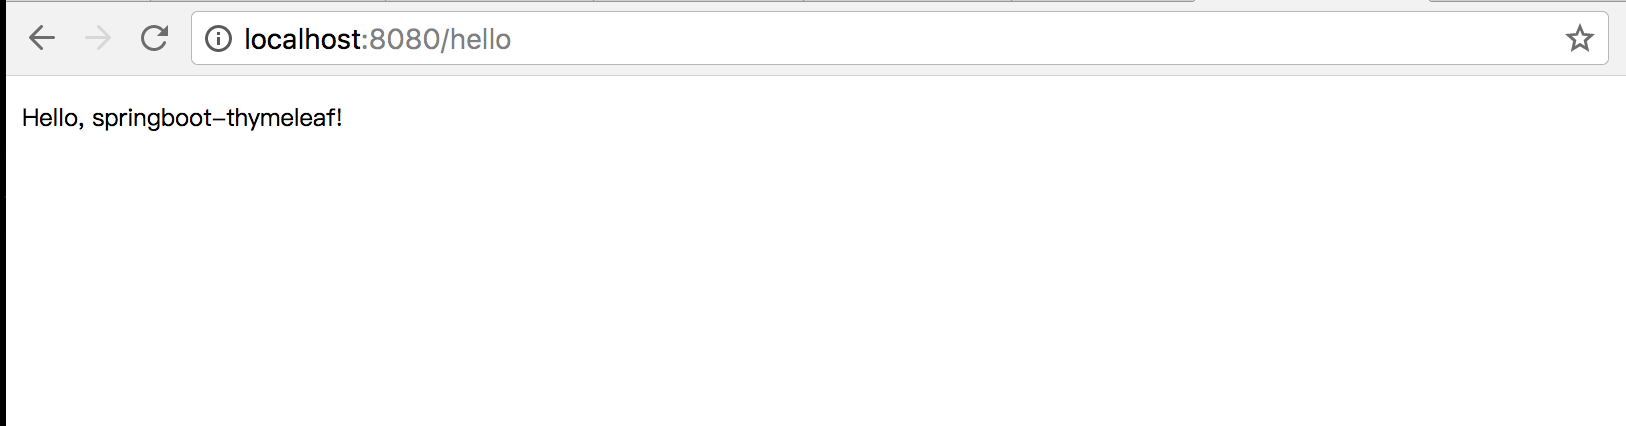
项目启动后,在浏览器端输入以下urlhttp://localhost:8080/hello:

 浙公网安备 33010602011771号