Pyspider的基本使用
Pyspider的基本使用
本文通过用pyspider爬取2021年最新番剧,来展示pyspider的使用
安装
首先,安装pyspider,采用pip清华源进行安装
pip install -i https://pypi.tuna.tsinghua.edu.cn/simple pyspider
如果提示pycurl安装失败,需要手动到pip官网下载对应版本的pycurl放在python的Lib/site-packages下,并在该目录下pip安装。
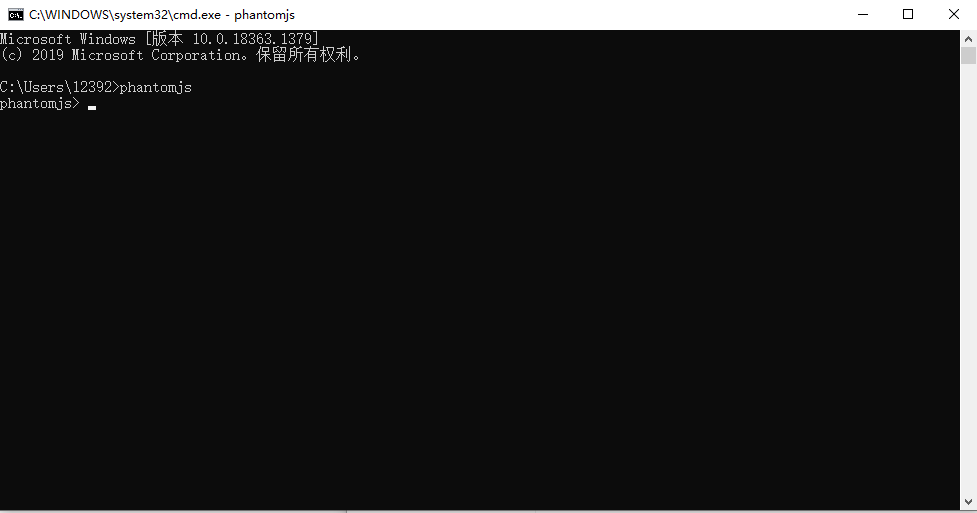
其次,由于一些网站采用到ajax异步加载的技术,对于一个网页不能一下加载出全部资源,所以需要下载phantomjs来辅助加载页面。需要到phantomjs官网下载对应自己电脑的版本,以windows为例,下载zip文件后解压缩,将bin目录下的phantomjs.exe文件复制到python的Scripts目录下,打开cmd,出入phantomjs,如果出现以下图片则说明安装成功
起步
打开cmd,输入pyspider,如果python提示语法错误,则是由于pyspider源码中采用的async关键字在python3.7及以上版本中成为语法关键字,用pycharm打开Lib/site-packages下的pyspider源码包,对以下文件中
- run.py
- fetcher\tornado_fetcher.py
- webui\app.py
在ide中按下ctrl+r,执行替换操作,将所有的小写async替换成shark。注意:不能替换大写的单词
再次打开cmd,输入pyspider,即可启动服务,打开浏览器,输入127.0.0.1:5000即可看到pyspider的初始页面。
点击create,随便取一个项目名称,先不输入网址,按下create,即可创建一个空白项目,如下图:
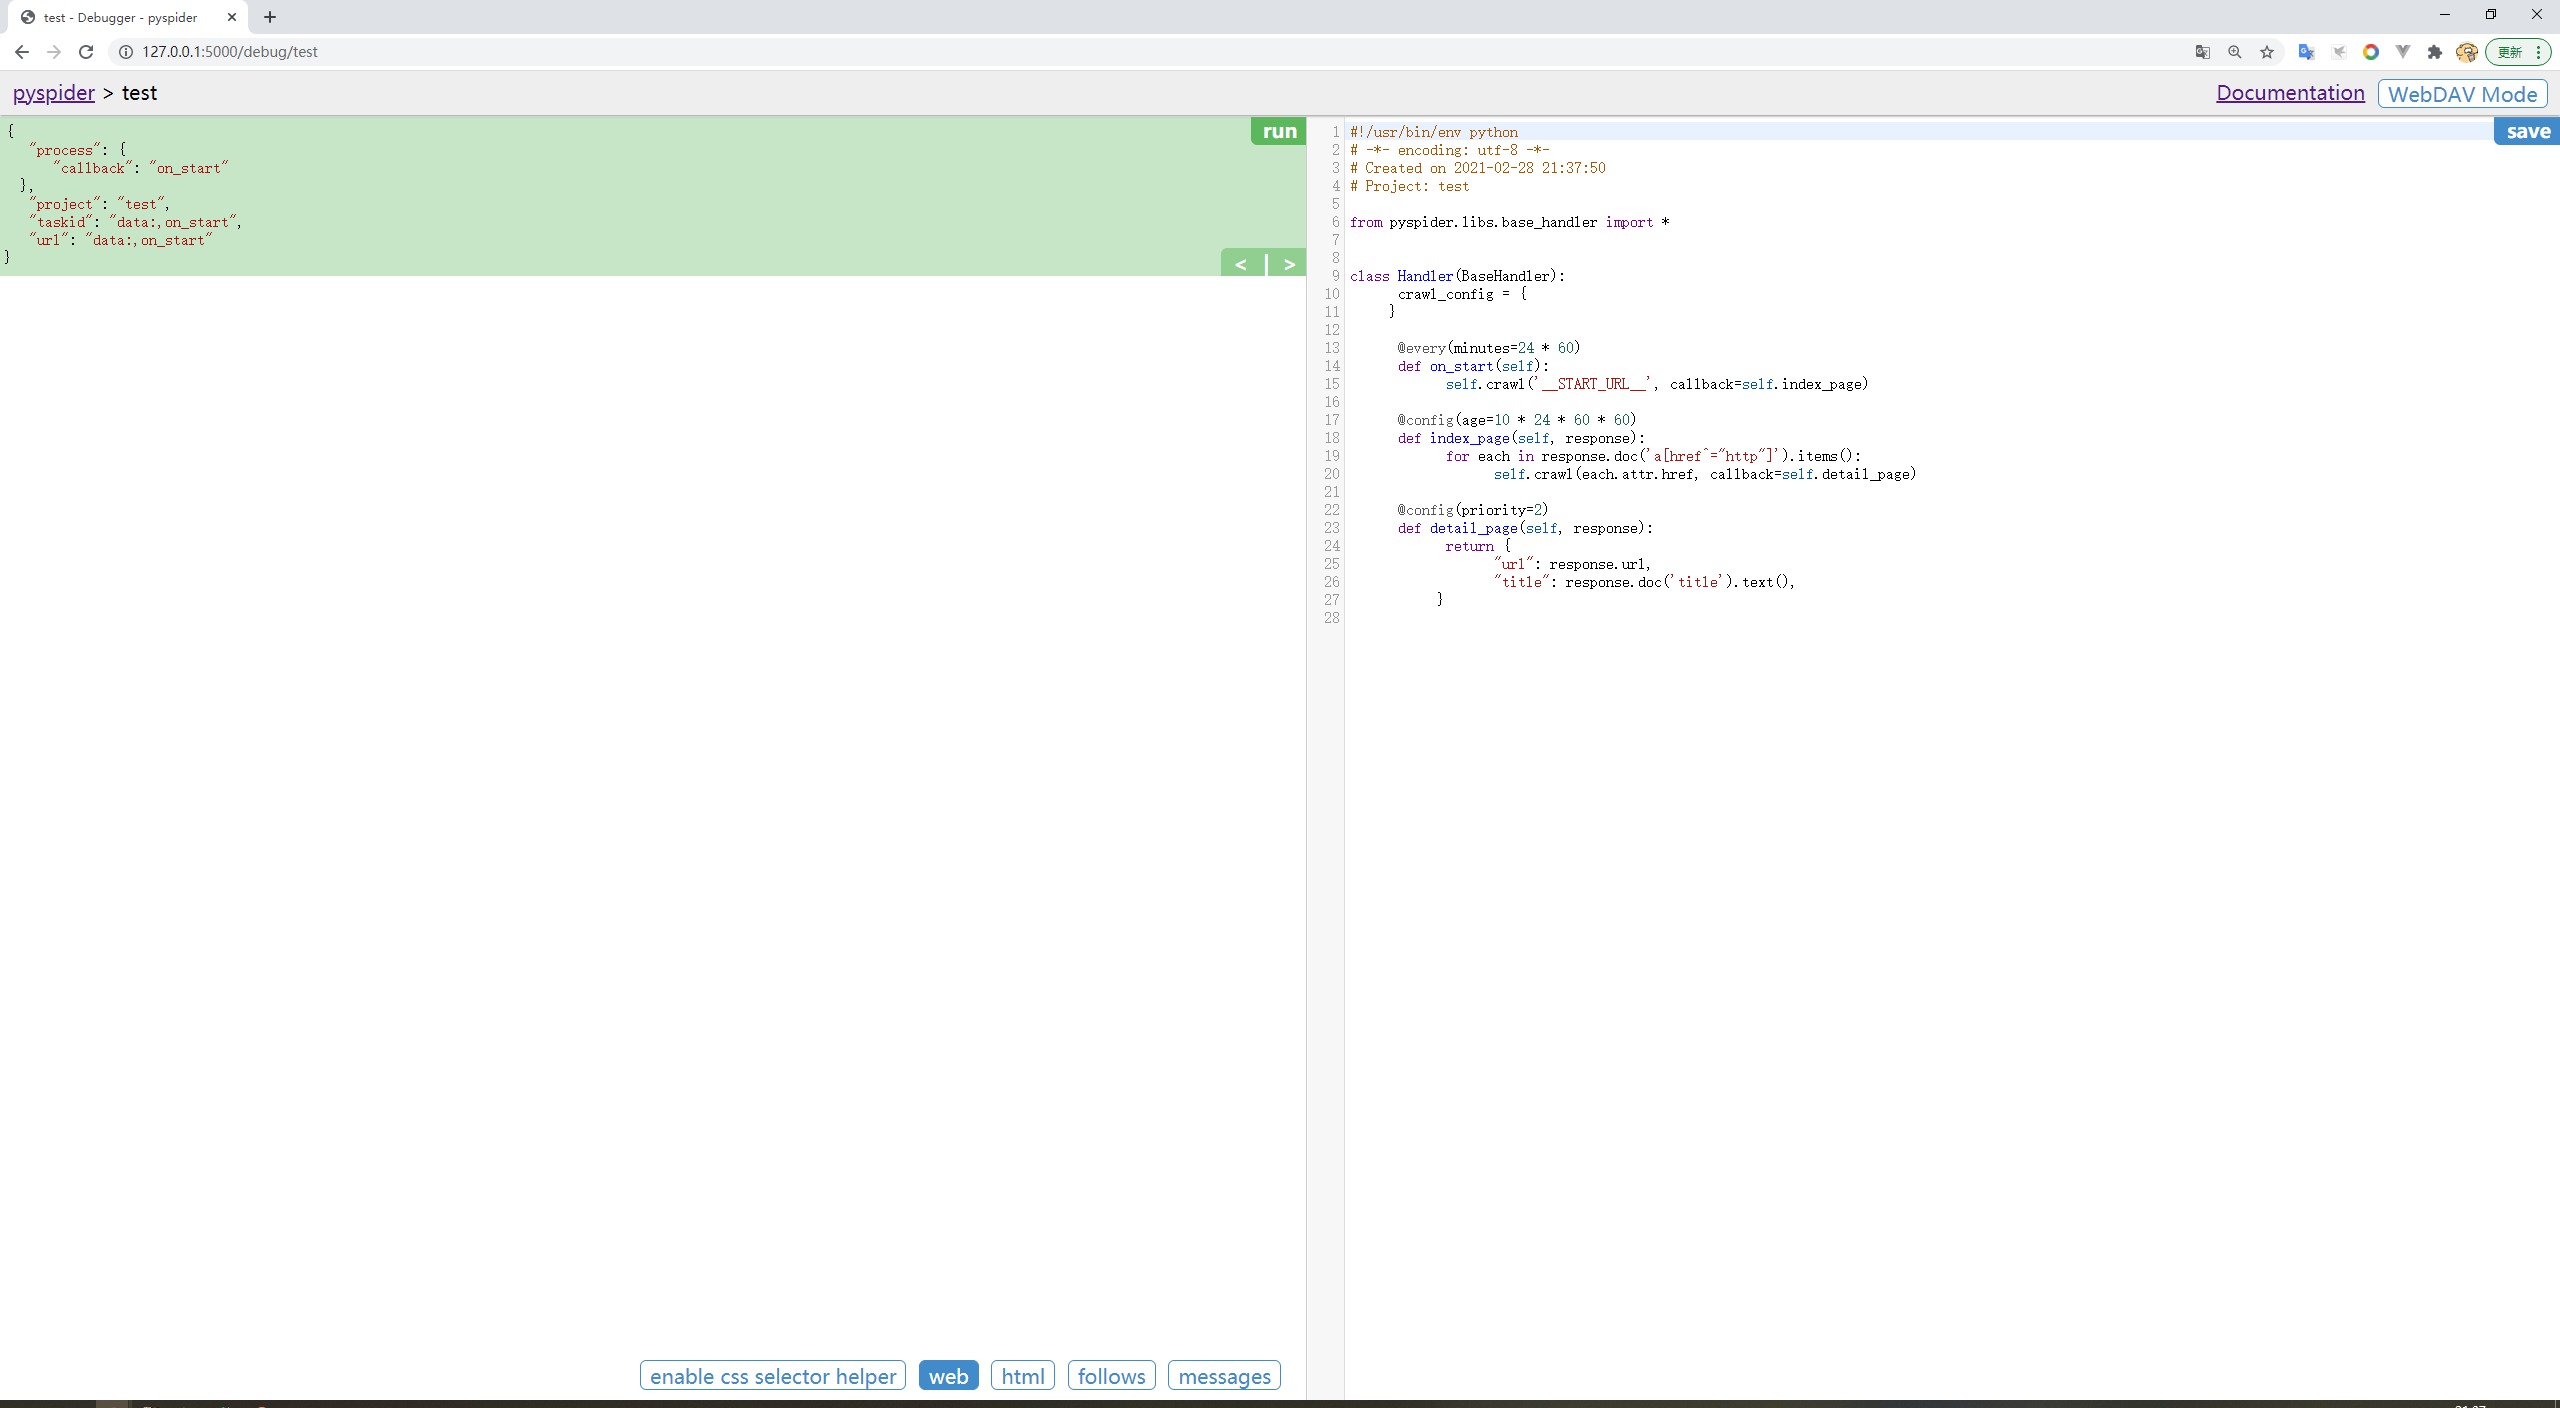
首先,需要在on_start函数的返回中添加如下代码
fetch_type="js", validate_cert=False
目的是采用phontomjs加载页面以及忽略htpp证书
爬取
这里,我找到某番剧网站的2021年最新番剧

分析urlhttp://www.nicotv.club/video/type3/--2021----addtime-2.html
可以看出末尾的addtime-2代表当前页码,所以修改on_start函数如下:
@every(minutes=24 * 60)
def on_start(self):
    for i in range(1, 4):
    url = 'http://www.nicotv.me/video/type3/--2021----addtime-' + str(i) + '.html'
    self.crawl(url, callback=self.index_page, fetch_type="js")
左侧点击run,在右下角的follow处可以看到有我们需要爬取三个页面url,点击第一个url右侧的播放键,相当于调用index_page函数,这里需要pyquery的前置知识,可以通过博客自行进行学习,点击页面右下角的web,并点击enable css selecctor helper,选取要爬取的详情页链接,选取到过滤出目标链接的标签或者css属性,这里我选择如图

替换代码中的response.doc代码,总代码如下
@config(age=10 * 24 * 60 * 60)
def index_page(self, response):
    for each in response.doc('h2 > a').items():
        self.crawl(each.attr.href, callback=self.detail_page)
点击左侧run,运行index_page函数,获取到该页面的30个番剧的url
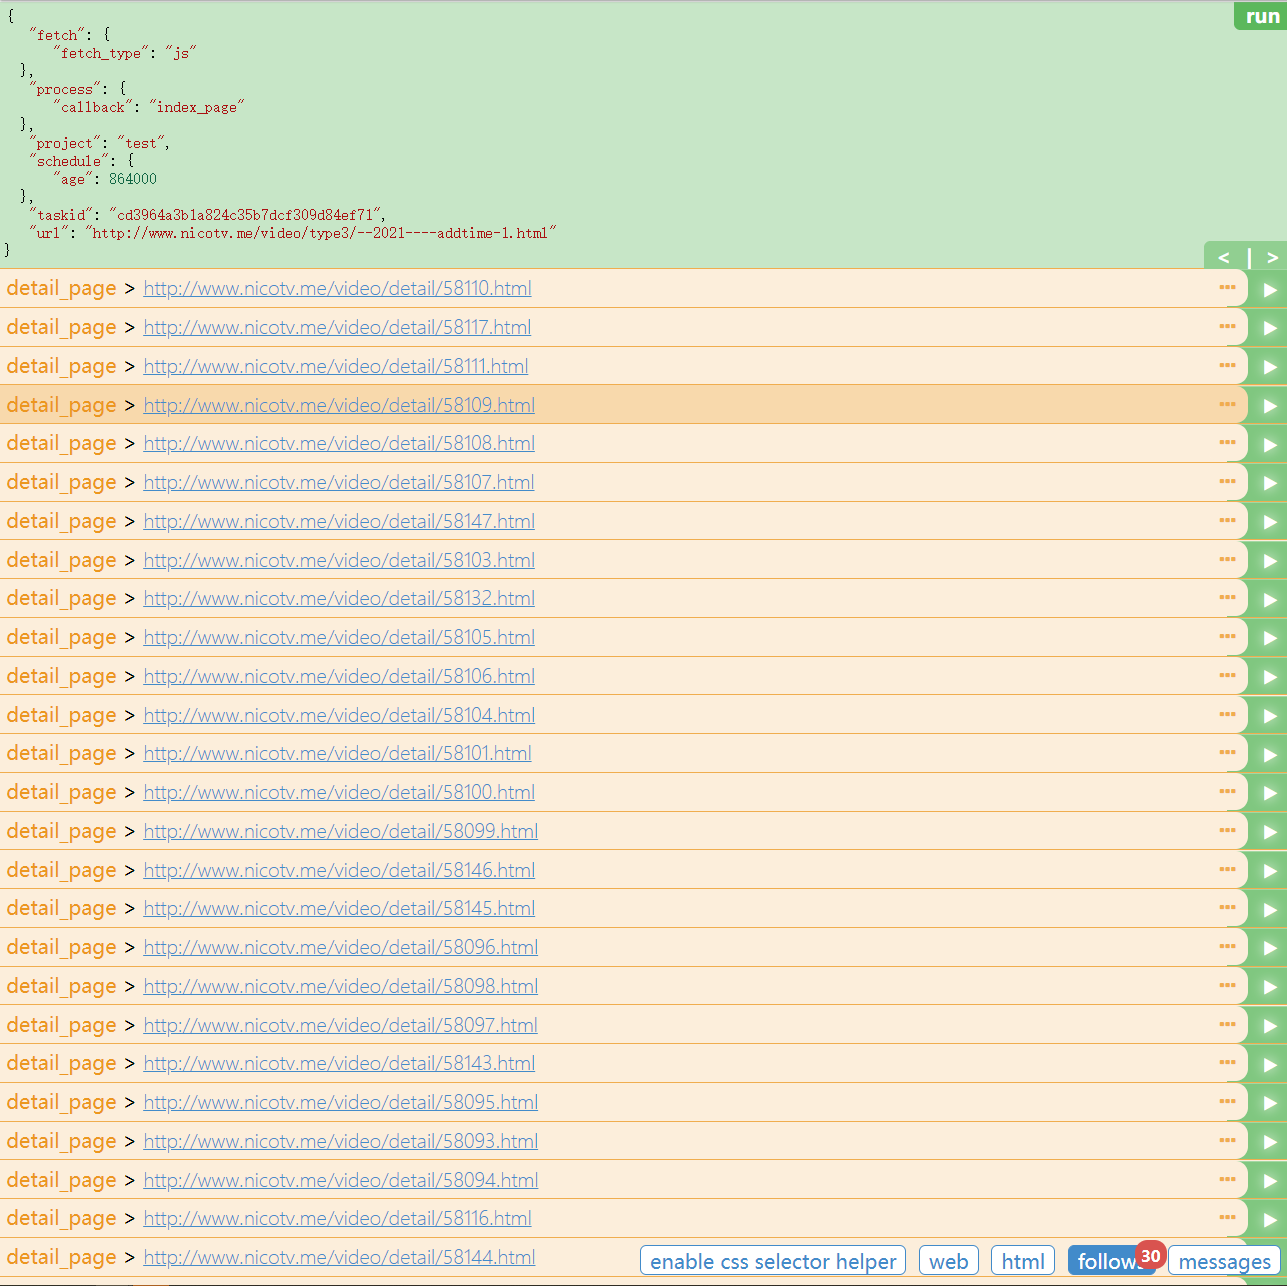
再次点击右侧的播放键按钮,会调用detail_page函数,对详情页进行解析。
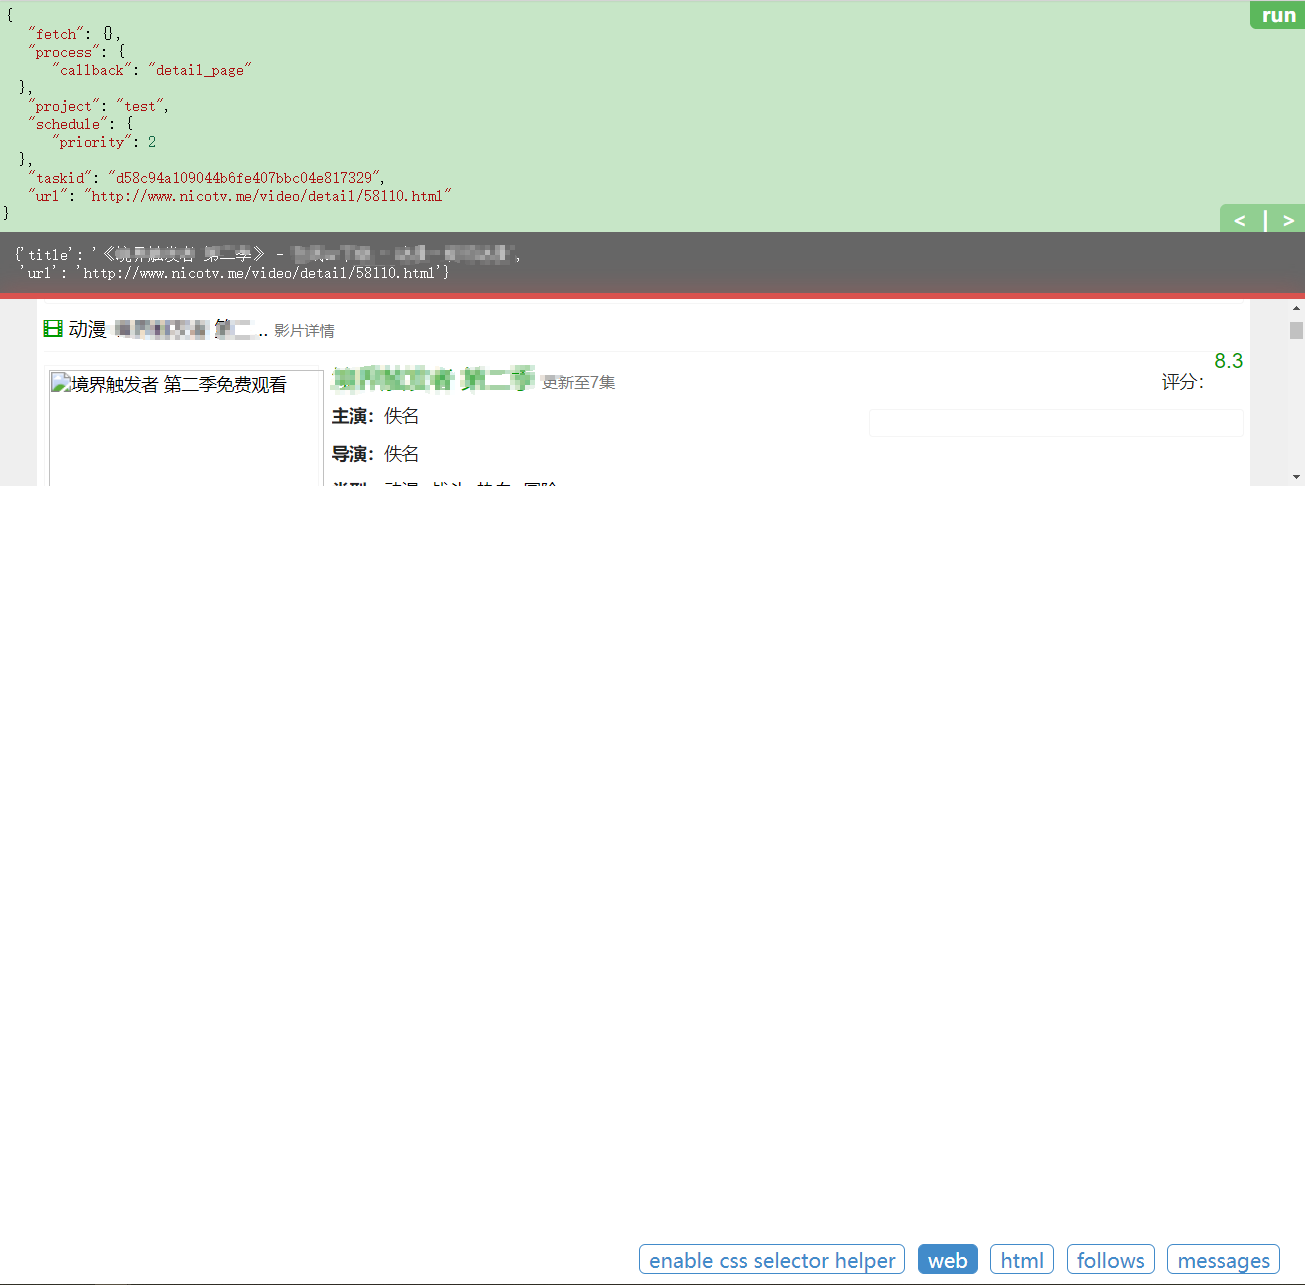
继续利用标签或css选择器,使用pyquery进行内容的提取,这里直接给出代码:
@config(priority=2)
def detail_page(self, response):
    r = response.doc('dd.ff-text-right').items()
    detail = response.doc('.text-justify').text()
    itemlist = [temp.text() for temp in r]
    data = {
        "url": response.url,
        "pic": response.doc('.media-left img.media-object').attr("data-original"),
        "name": response.doc('.media-body .ff-text').text(),
        "starring": itemlist[0],
        "director": itemlist[1],
        "type": itemlist[2],
        "area": itemlist[3],
        "year": itemlist[4],
        "detail": detail
    }
    return data
再次点击运行,看到输出结果
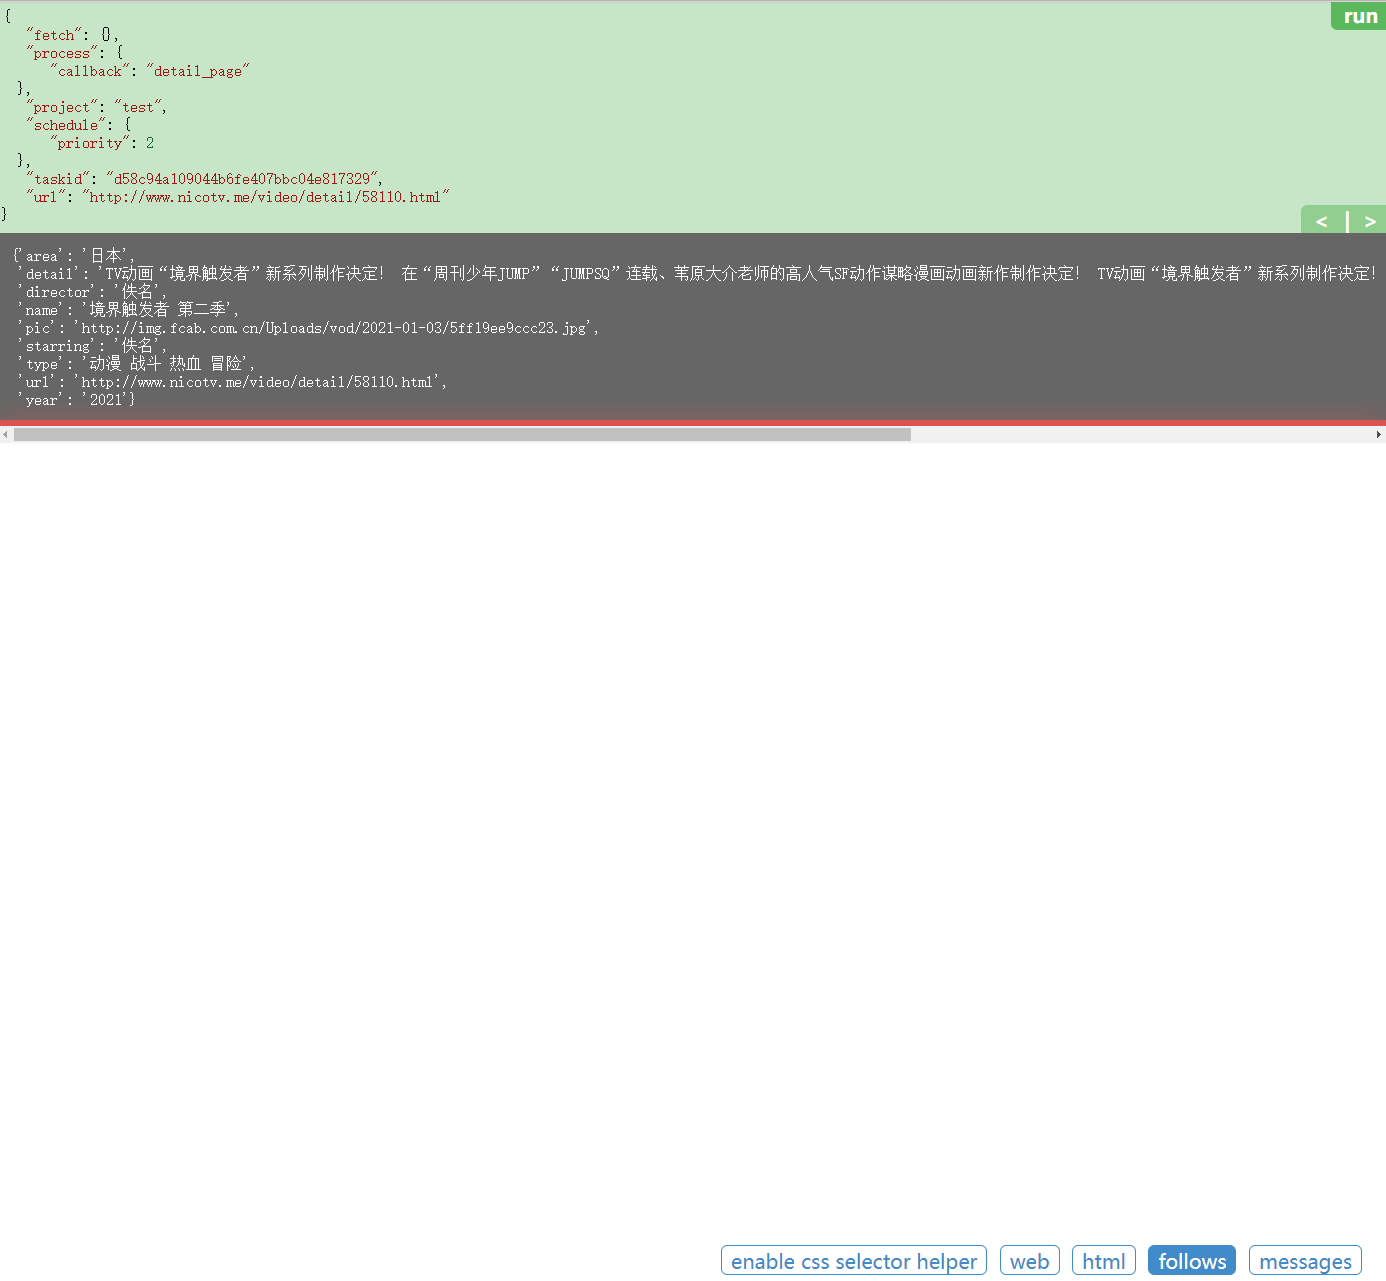
接下来考虑数据存储,由于返回的数据为字典类型,考虑方便性,选择采用mongodb数据库进行数据存储,引入连接数据库代码:
from pymongo import MongoClient
conn = MongoClient('localhost') # 连接数据库
db = conn.test1 # 选择数据库
collection = db.c1 # 得到存储集合,相当于MySQL中的表
修改detail_page代码:
@config(priority=2)
def detail_page(self, response):
    r = response.doc('dd.ff-text-right').items()
    detail = response.doc('.text-justify').text()
    itemlist = [temp.text() for temp in r]
    #print(itemlist)
    data = {
        "url": response.url,
        "pic": response.doc('.media-left img.media-object').attr("data-original"),
        "name": response.doc('.media-body .ff-text').text(),
        "starring": itemlist[0],
        "director": itemlist[1],
        "type": itemlist[2],
        "area": itemlist[3],
        "year": itemlist[4],
        "detail": detail
    }
    result = collection.insert_one(data)
    print(result)
    return data
再次点击运行,查看数据库
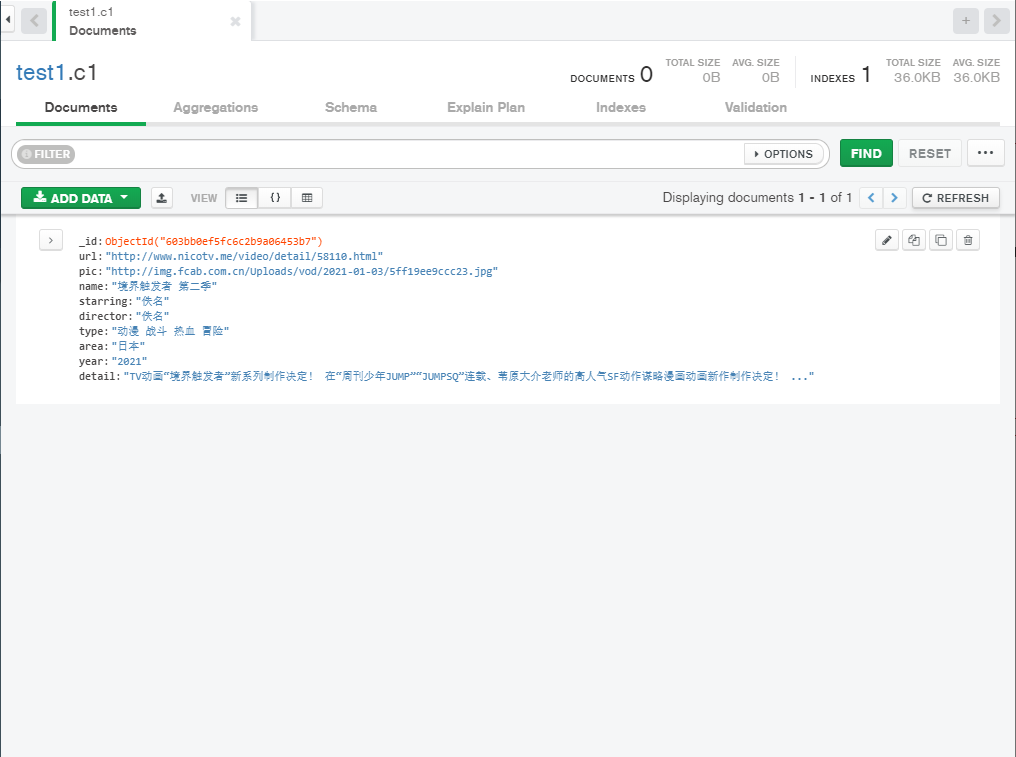
存储成功,接着保存代码,退出到pyspider的初始页面,修改项目的status为running,点击右侧run,运行爬虫代码,可以点击active tasks查看爬虫运行状态

等待运行结束后,查看数据库
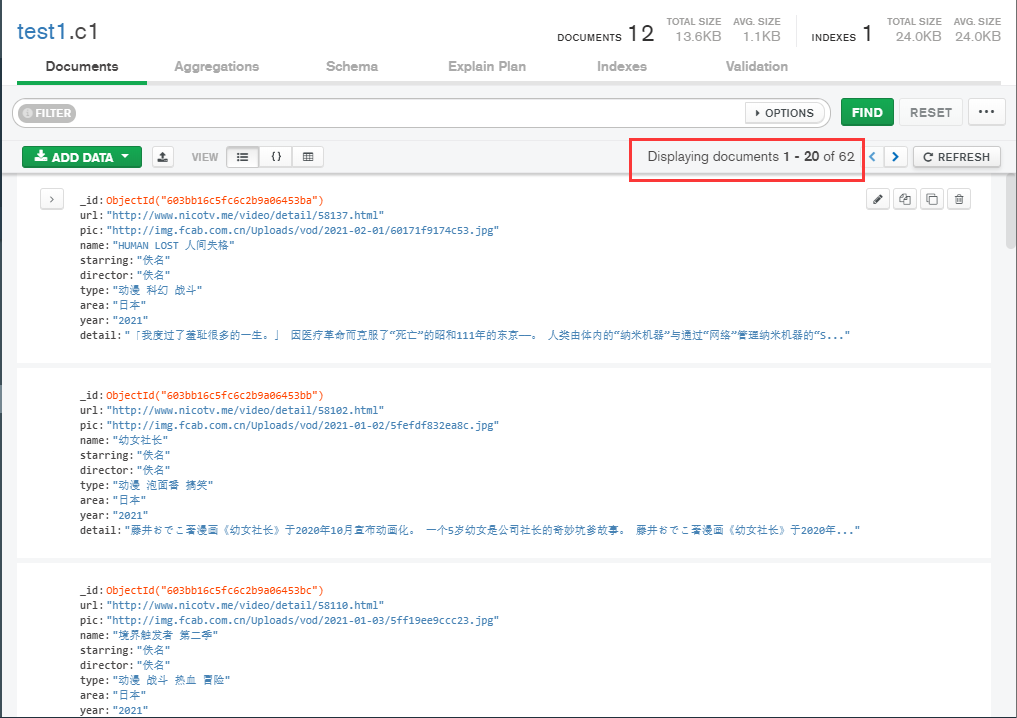
获取到全部的62条数据,至此爬取番剧信息结束。也展示了pyspider的基本用法。


