
【轻量应用服务器】k3s部署redis
1.在轻应用服务器中安装好K3s
2.登录k3s及token
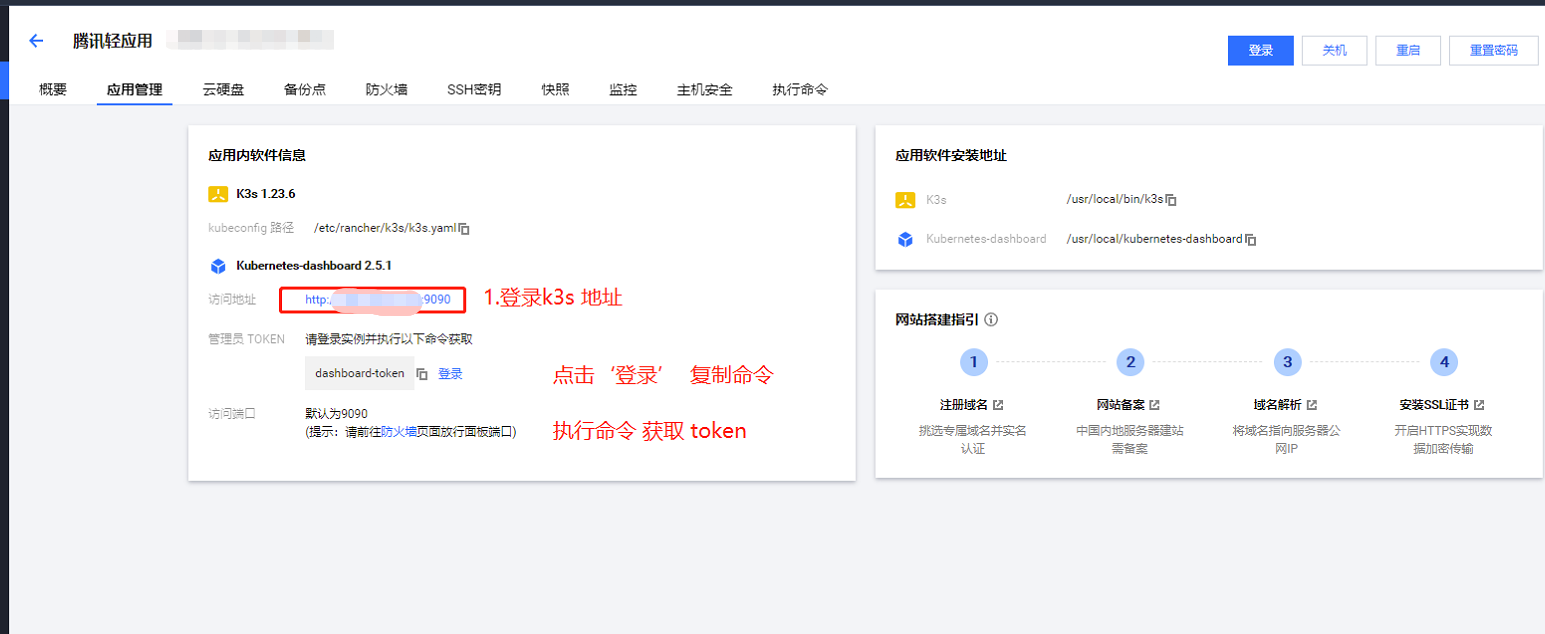
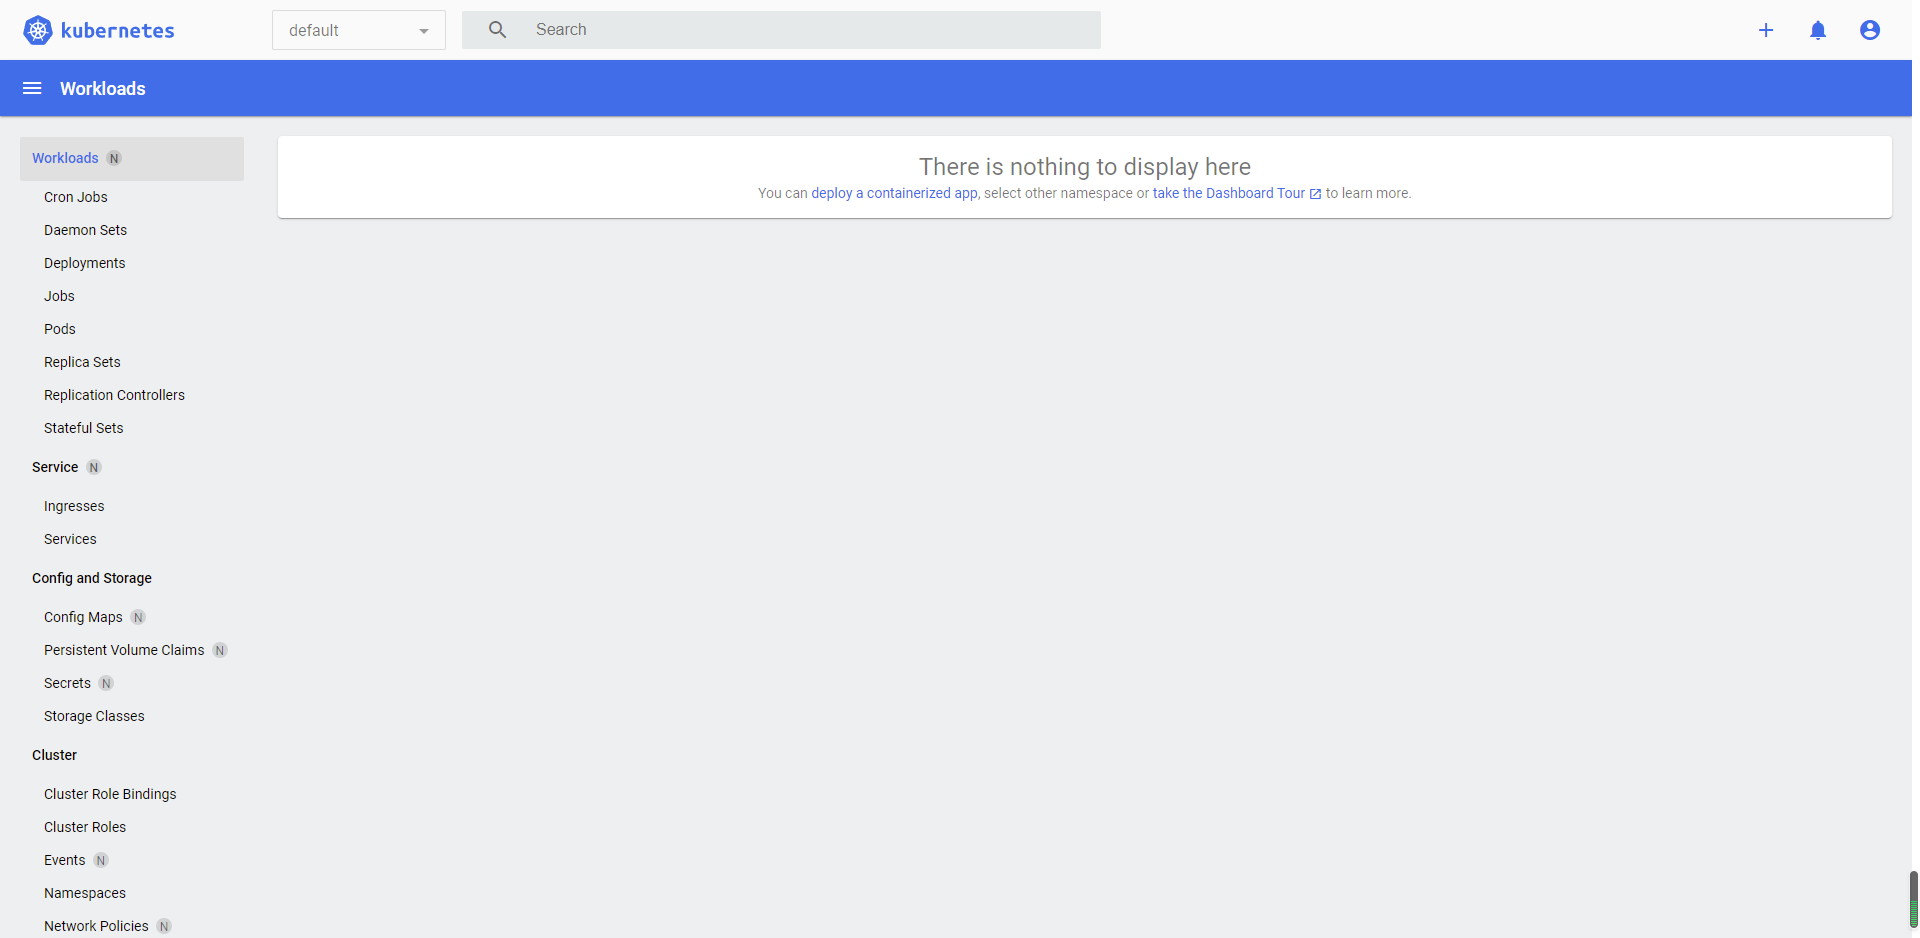
3.登录上k3s,如下图
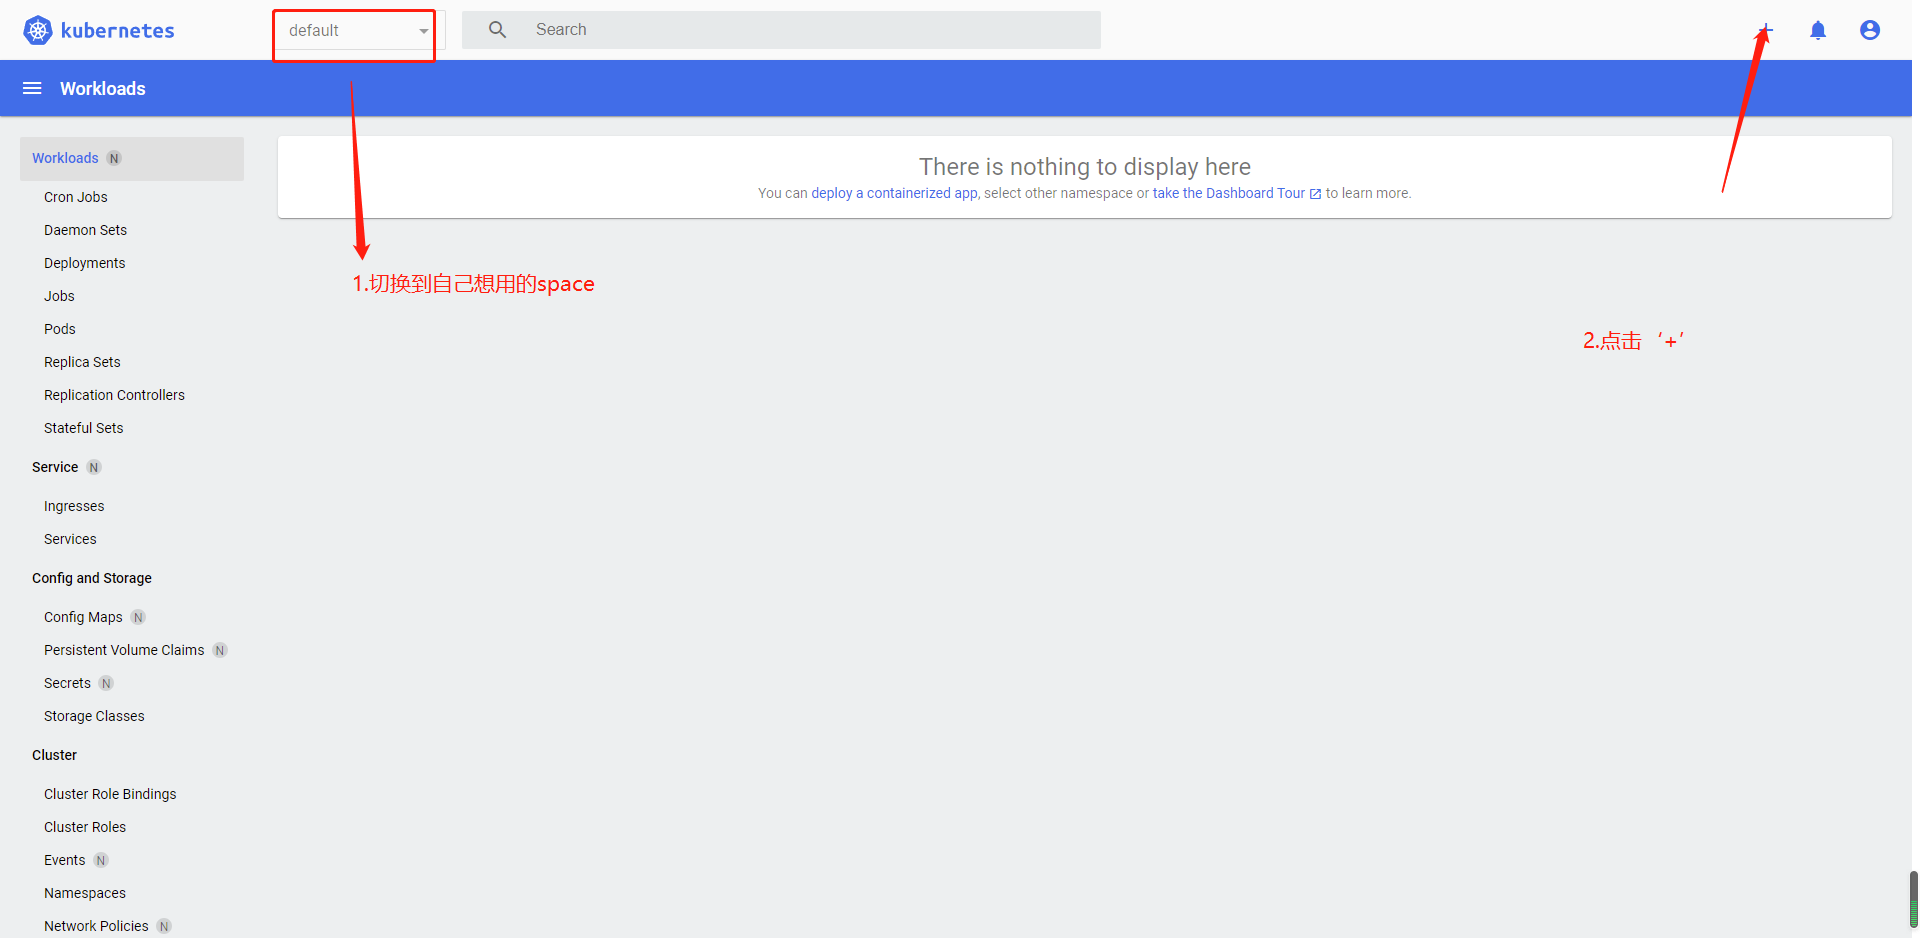
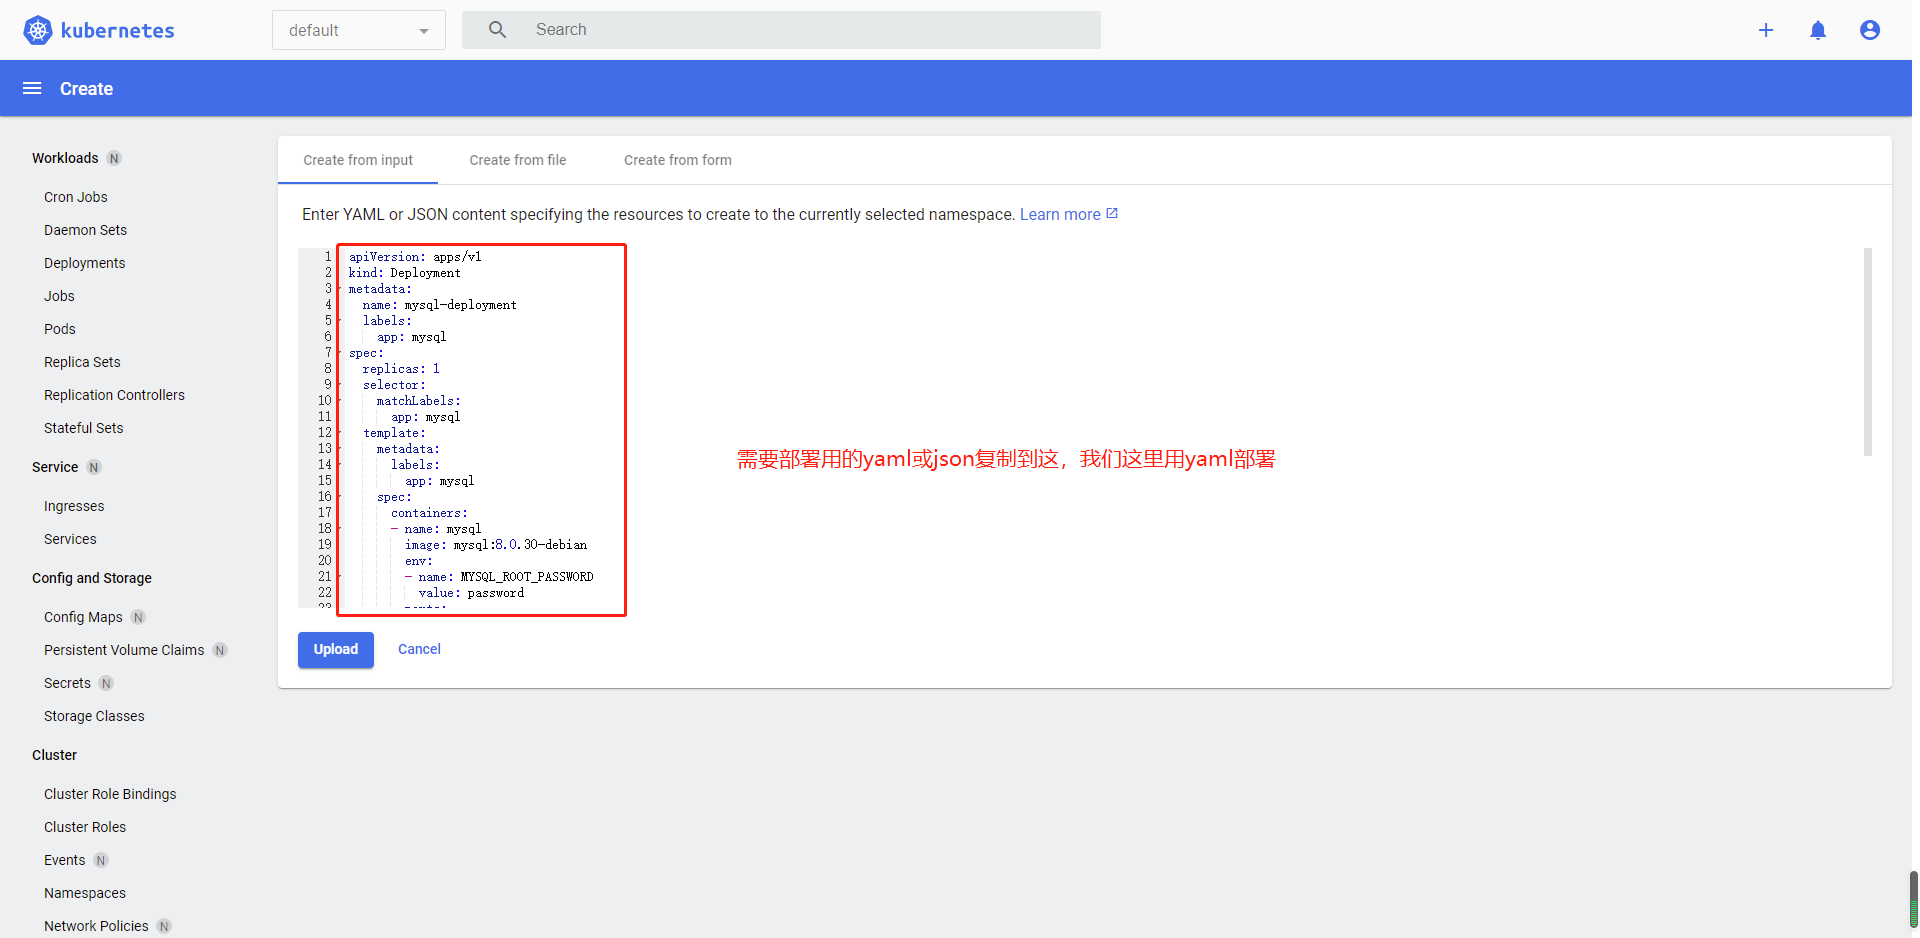
4.按照图下图操作,打开部署界面
5.部署redis,部署用的yaml如下
apiVersion: apps/v1
kind: Deployment
metadata:
  name: redis-deployment
  labels:
    app: redis
spec:
  replicas: 1
  selector:
    matchLabels:
      app: redis
  template:
    metadata:
      labels:
        app: redis
    spec:
      containers:
      - name: redis
        image: redis:bullseye
        command:
        - redis-server
        - "/redis/redis.conf/redis.conf"
        ports:
        - containerPort: 6379
        volumeMounts:
        - name: redis-data
          mountPath: /data
        - name: redis-config
          mountPath: /redis/redis.conf
      volumes:
        - name: redis-data
          hostPath:
            path: /root/data/redis
            type: Directory
        - name: redis-config
          hostPath:
            path: /root/data/redis-config
            type: Directory
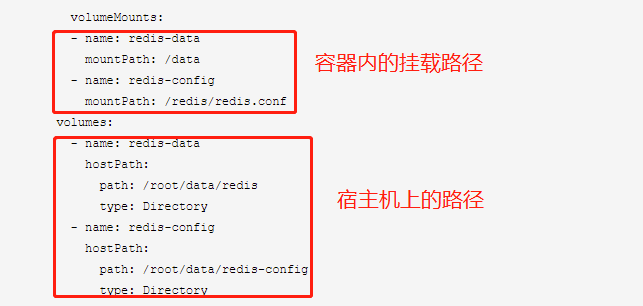
注意:1.其中redis-config挂载,是为了自定义redis启动配置。
redis-data是redis的数据文件,挂载出来可以持久化,避免数据文件丢失。
2.路径说明如下图
3.myql的dockerhub镜像地址
image: redis:bullseye
编辑完成后,点击‘Upload’即可部署成功。
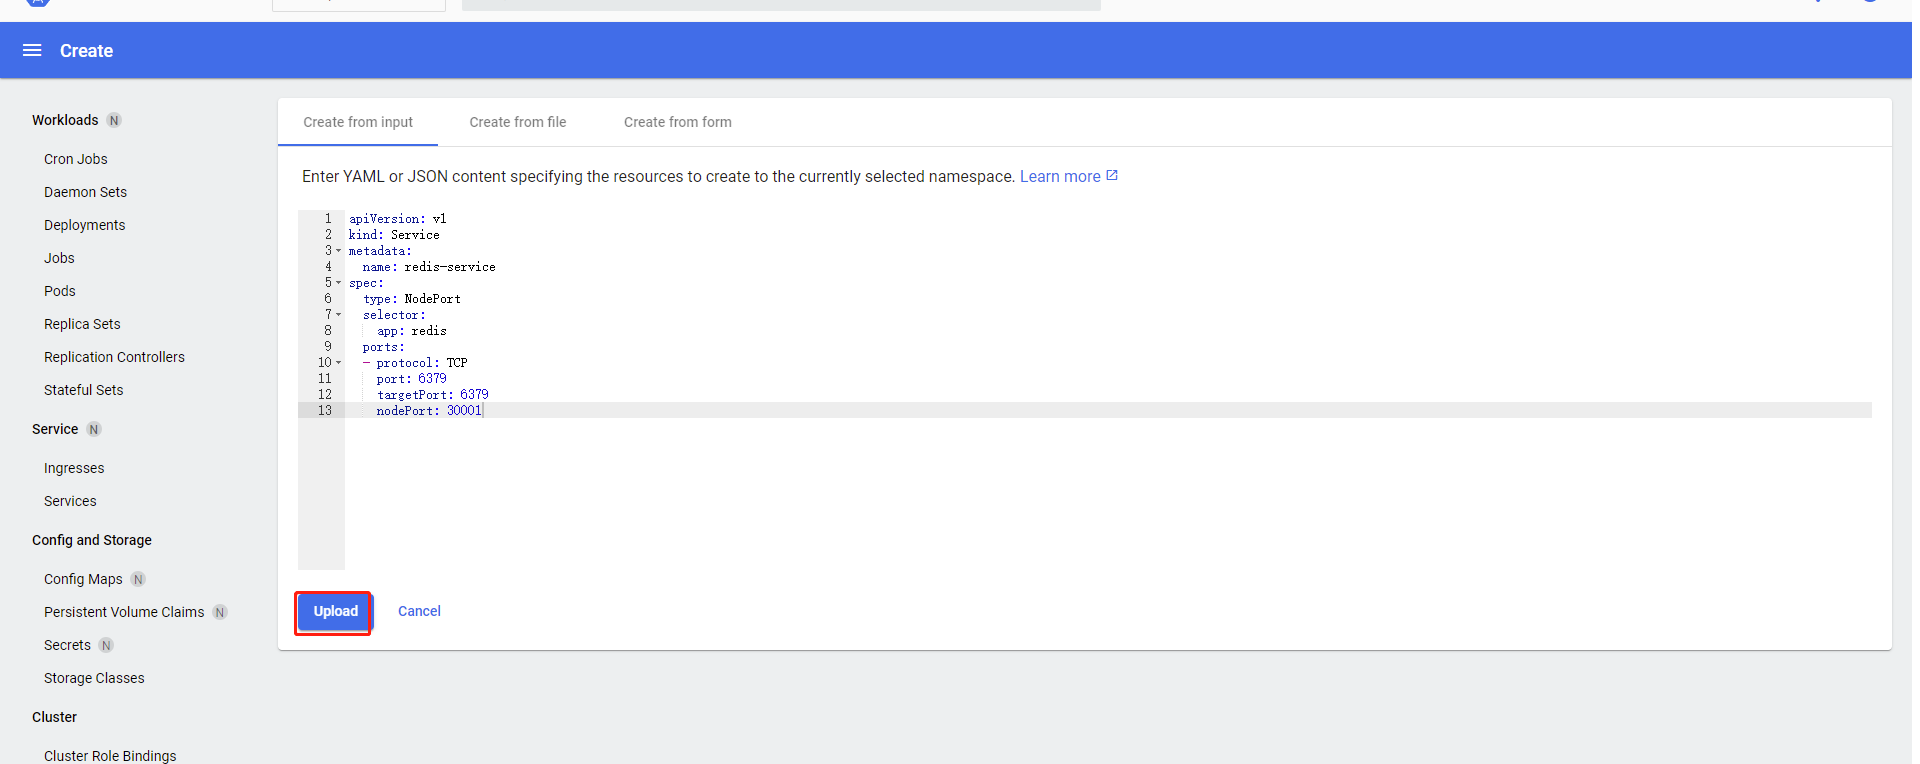
此时,无法通过外网和服务间无法调用,需要部署service来实现,部署yaml如下
apiVersion: v1
kind: Service
metadata:
  name: redis-service
spec:
  type: NodePort
  selector:
    app: redis
  ports:
  - protocol: TCP
    port: 6379
    targetPort: 6379
    nodePort: 30001
注意:通过NodePort方式,将服务开启在了30000端口。

编辑完成后,点击‘Upload’即可部署service成功。
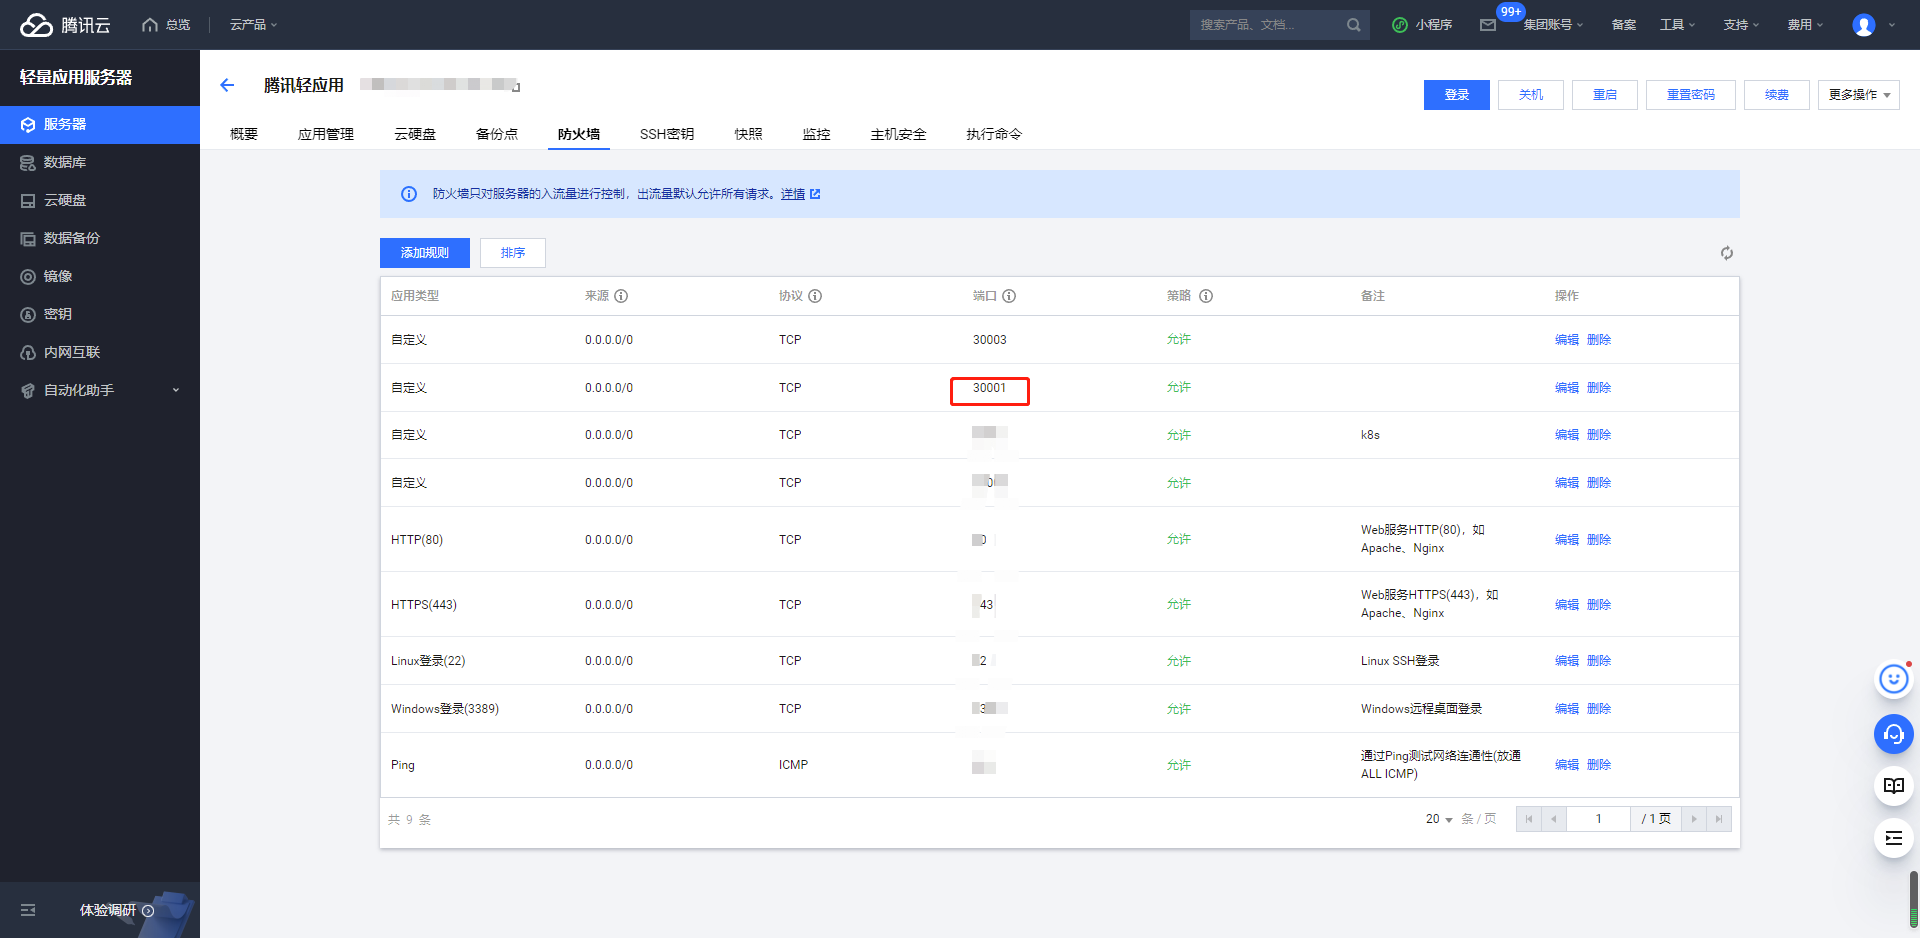
此时,在该应用的防火墙里添加【3001】端口,即可外网正常访问redis了
勇者无惧,强者无敌。

 浙公网安备 33010602011771号