Liunx下使用Nginx负载均衡
我是centos8得主机
安装命令:
yum install nginx如果为Ubuntu主机
sudo apt-get install nginx安装完成后,启用并启动Nginx服务:
sudo systemctl enable nginx

sudo systemctl start nginx
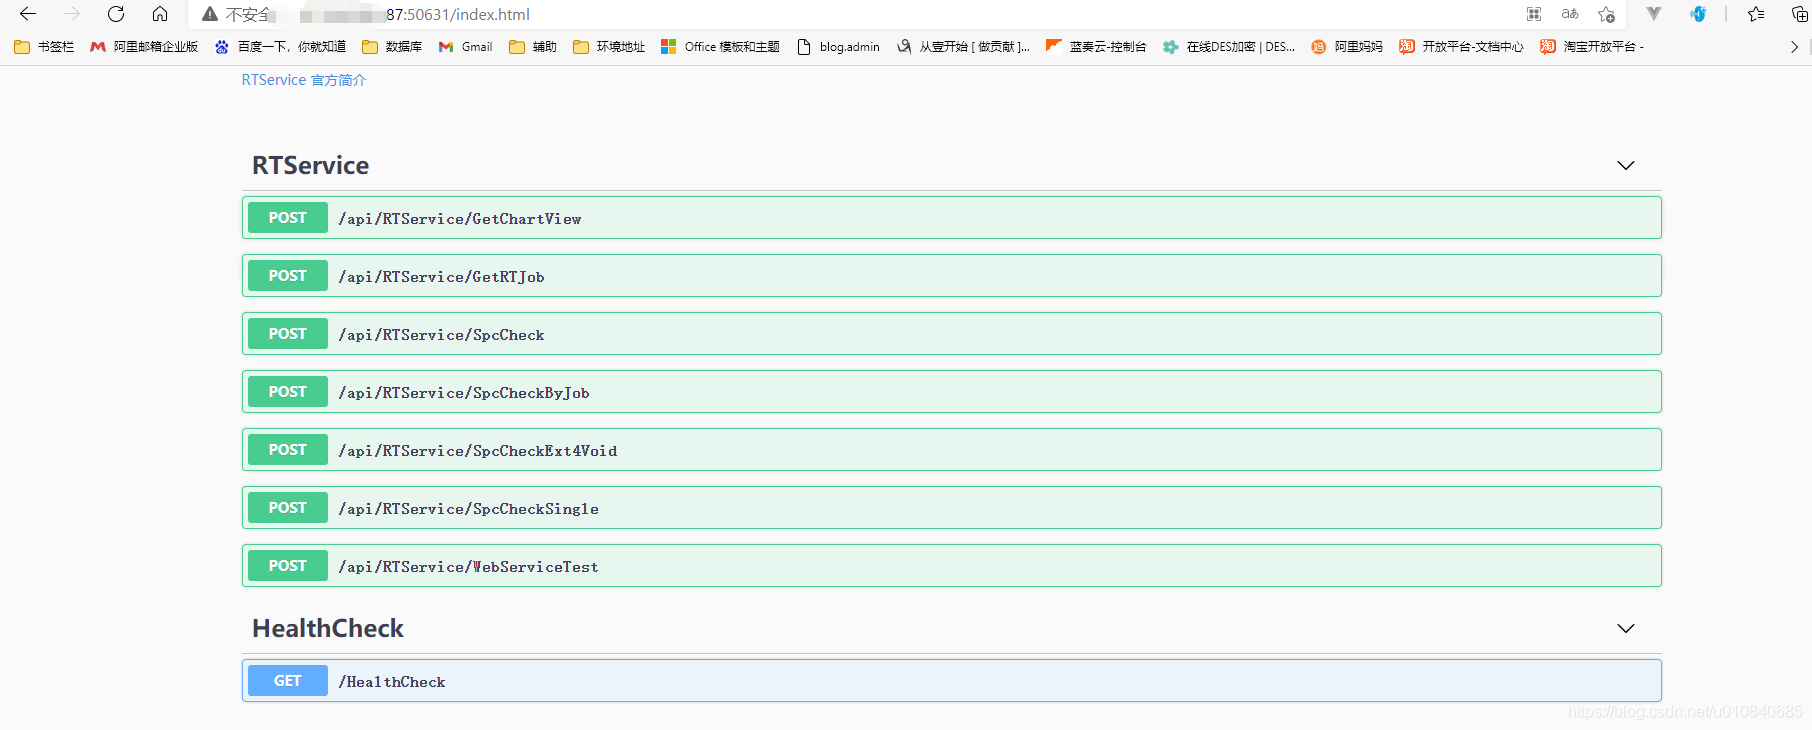
然后我们有2个服务:
一个地址为: http://xxxxxx1:50631/index.html

一个为:     http://xxxxxx2:50631/index.html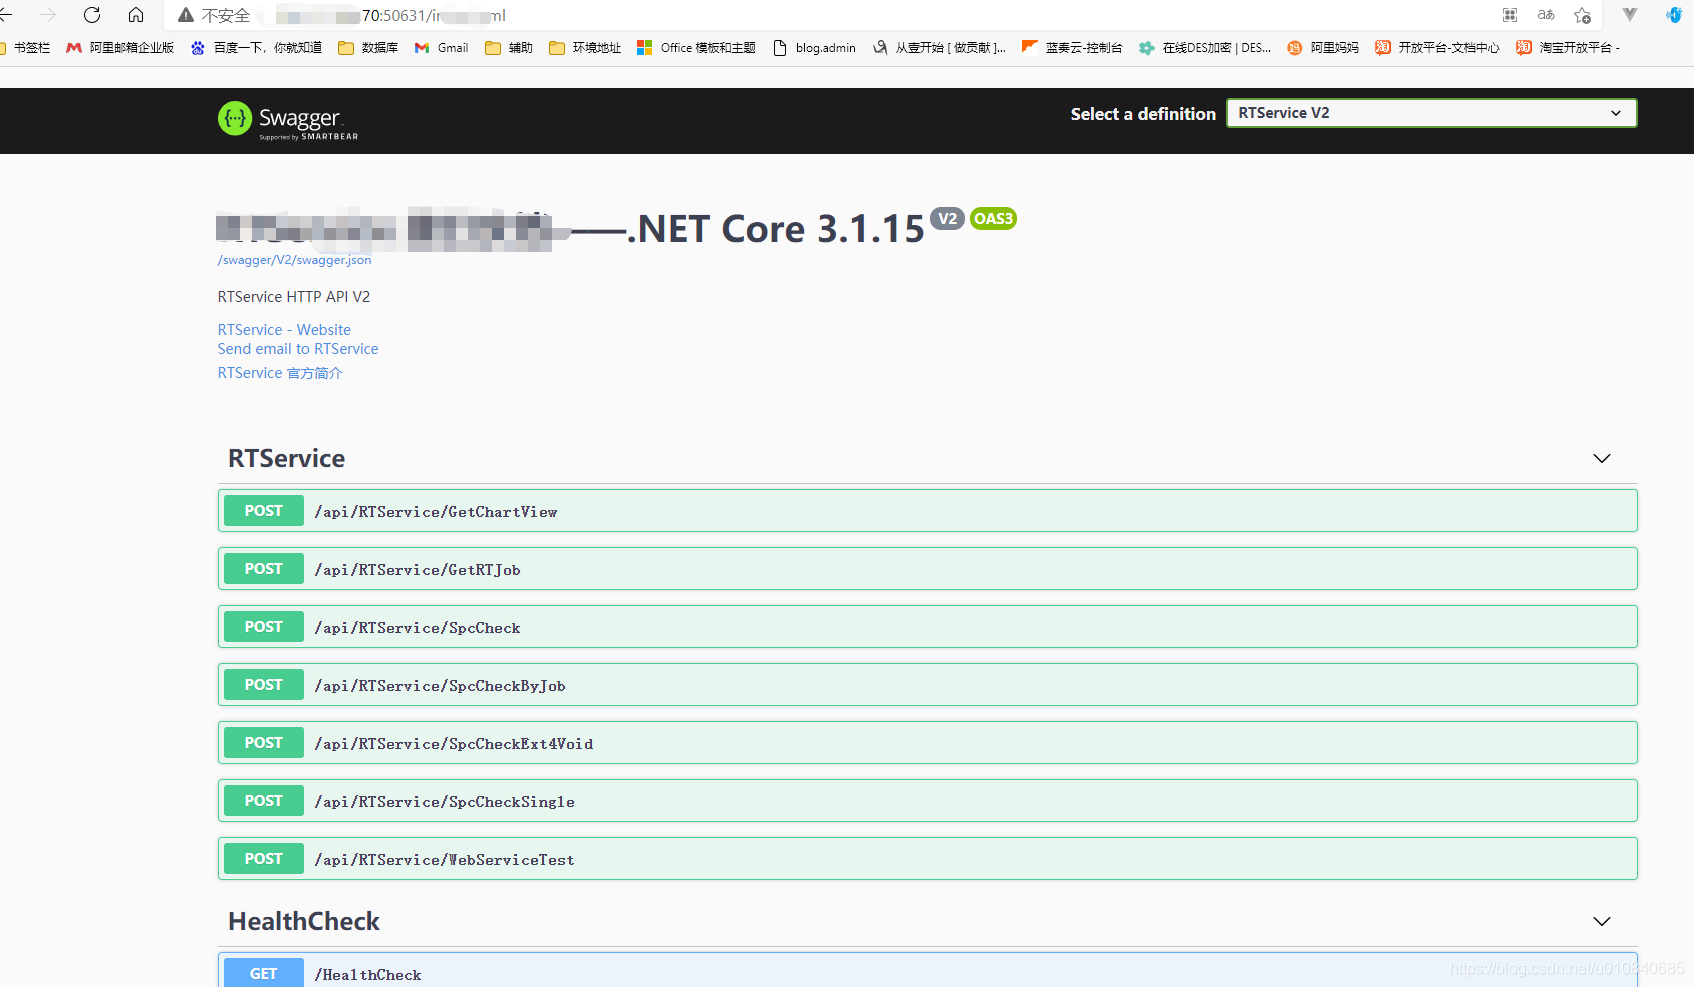
接下来修改 nginx.conf 配置代理:
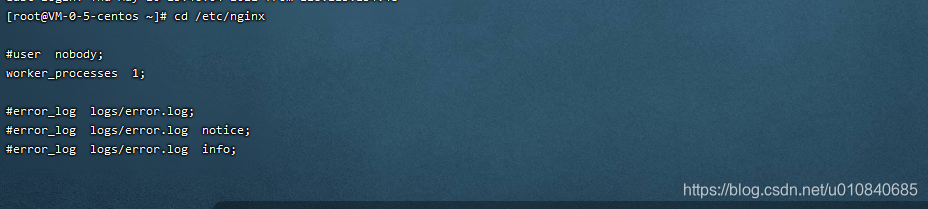
然后我们再回来配置Nginx,进入 /etc/nginx,然后 vi 修改nginx.conf ,保存
再liunx 使用 vi编辑命令如果要修改需要按键盘 i键
如果要退出保存需要按esc 然后输入 :wq 注意这里前面有个冒号
修改以下内容得东西
全部内容如下:
#user nobody;
worker_processes 1;
#error_log logs/error.log;
#error_log logs/error.log notice;
#error_log logs/error.log info;
#pid logs/nginx.pid;
events {
worker_connections 1024;
}
http {
include mime.types;
default_type application/octet-stream;
#log_format main '$remote_addr - $remote_user [$time_local] "$request" '
# '$status $body_bytes_sent "$http_referer" '
# '"$http_user_agent" "$http_x_forwarded_for"';
#access_log logs/access.log main;
sendfile on;
#tcp_nopush on;
#keepalive_timeout 0;
keepalive_timeout 65;
#gzip on;
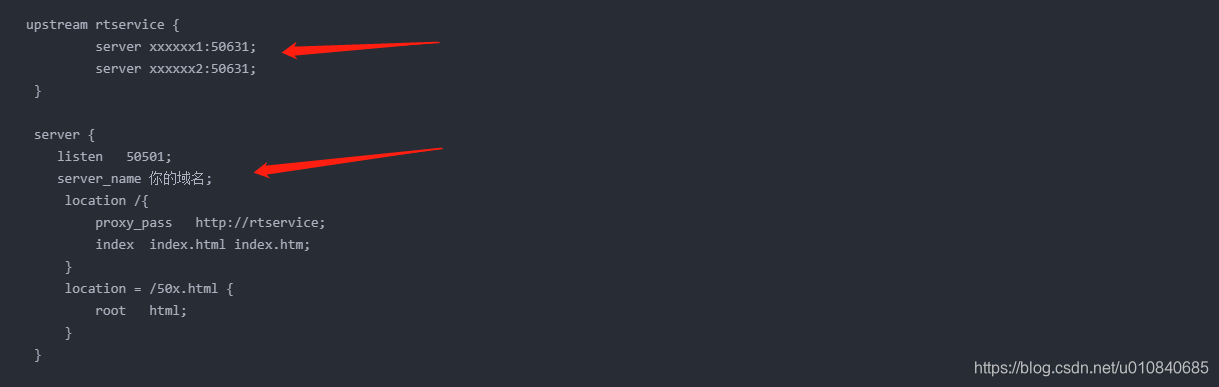
upstream rtservice {
server xxxxxx1:50631;
server xxxxxx2:50631;
}
server {
listen 50501;
server_name 你的域名;
location /{
proxy_pass http://rtservice;
index index.html index.htm;
}
location = /50x.html {
root html;
}
}
# another virtual host using mix of IP-, name-, and port-based configuration
#
#server {
# listen 8000;
# listen somename:8080;
# server_name somename alias another.alias;
# location / {
# root html;
# index index.html index.htm;
# }
#}
# HTTPS server
#
#server {
# listen 443 ssl;
# server_name localhost;
# ssl_certificate cert.pem;
# ssl_certificate_key cert.key;
# ssl_session_cache shared:SSL:1m;
# ssl_session_timeout 5m;
# ssl_ciphers HIGH:!aNULL:!MD5;
# ssl_prefer_server_ciphers on;
# location / {
# root html;
# index index.html index.htm;
# }
#}
}
保存以后使用命令重启nginx
nginx -s reload
如果重启报错
启动nginx: [error] open() “/var/run/nginx/nginx.pid“ failed (2: No such file or directory)那么就执行
nginx
nginx -s reload
完成后我们访问域名+端口
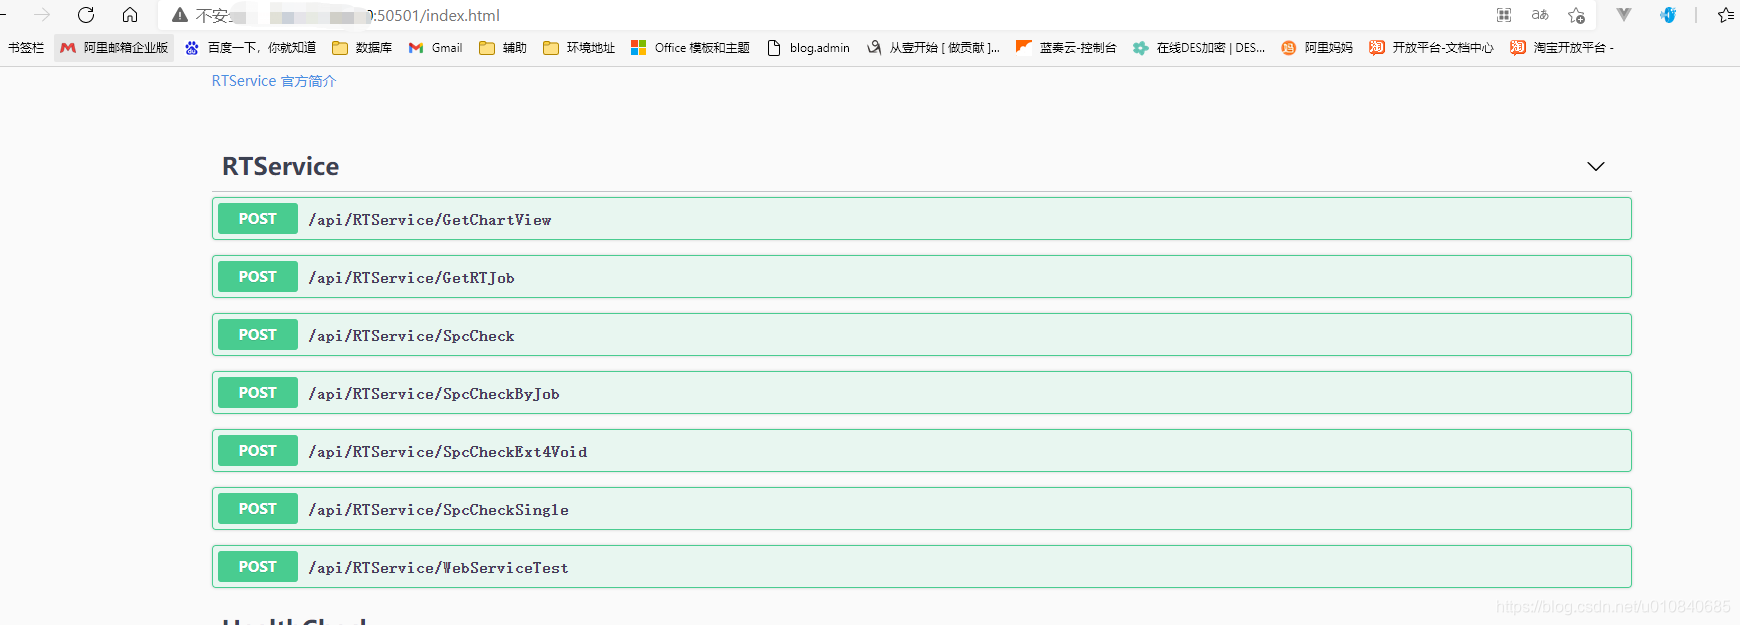
nginx已经成功运行了

 浙公网安备 33010602011771号