SDN4
1. 解压安装OpenDayLight控制器(本次实验统一使用Beryllium版本)
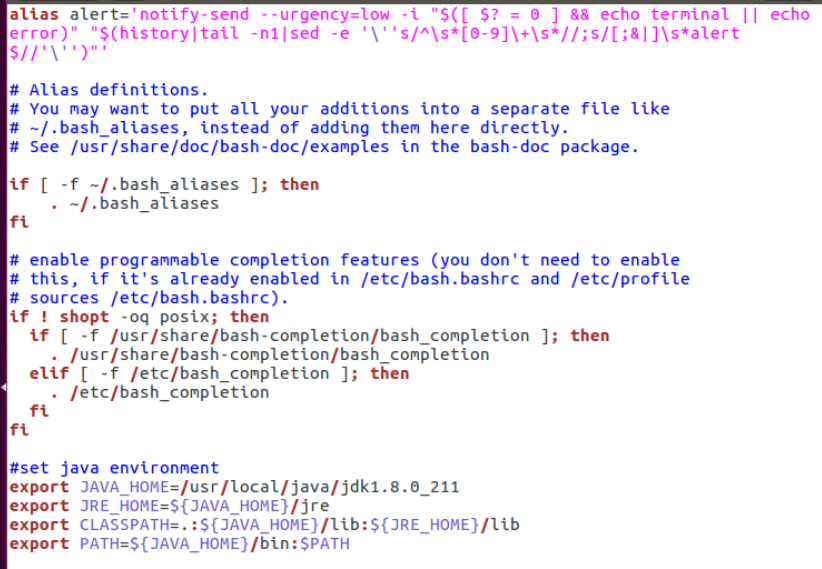
1.配置java环境
sudo gedit ~/.bashrc
2.解压安装OpenDayLight控制器
2. 启动并安装插件
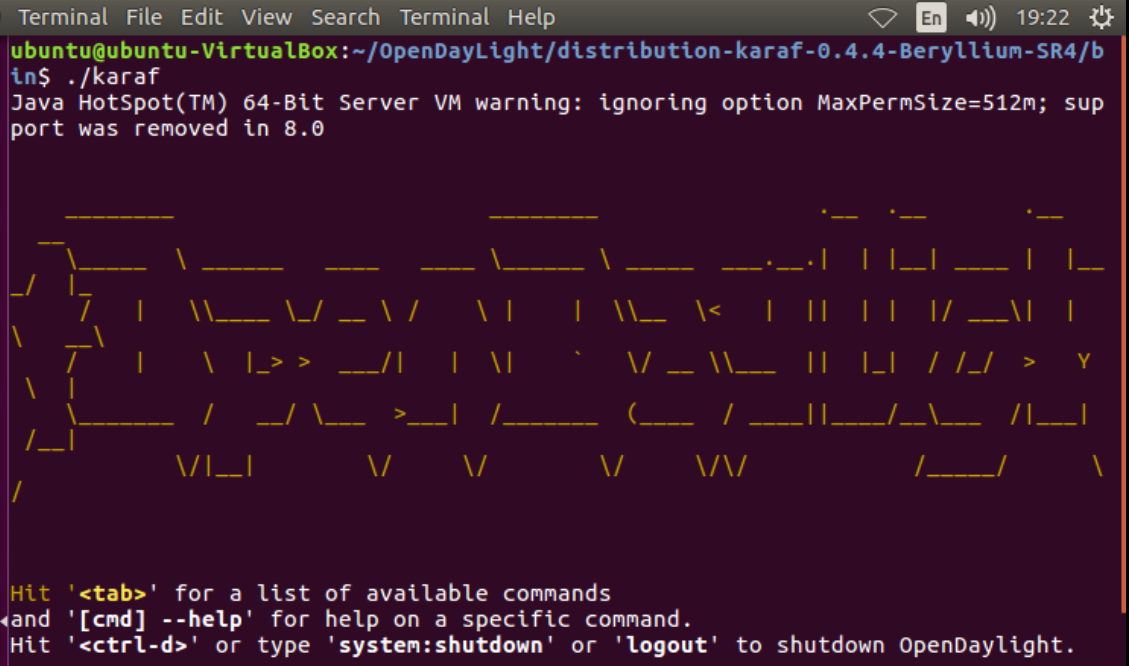
1.启动
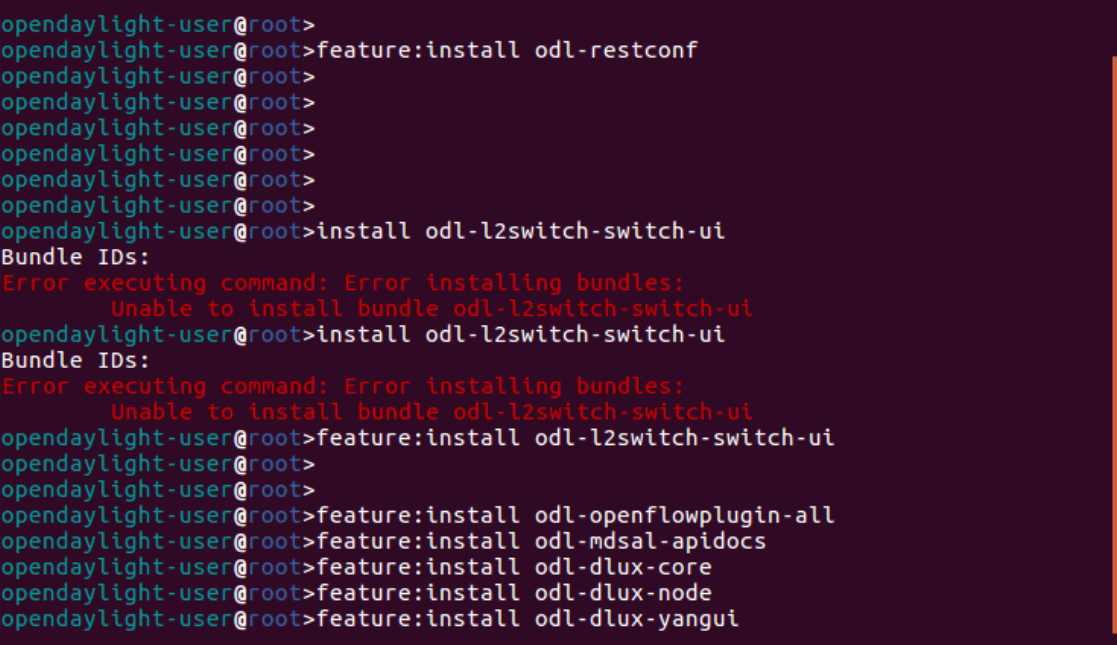
2.安装插件
opendaylight-user@root>feature:install odl-restconf
opendaylight-user@root>feature:install odl-l2switch-switch-ui
opendaylight-user@root>feature:install odl-openflowplugin-all
opendaylight-user@root>feature:install odl-mdsal-apidocs
opendaylight-user@root>feature:install odl-dlux-core
opendaylight-user@root>feature:install odl-dlux-node
opendaylight-user@root>feature:install odl-dlux-yangui
3. 用Python脚本搭建如下拓扑,连接OpenDayLight控制器
1.拓扑结构如下

2.编写拓扑的Python脚本
from mininet.topo import Topo

class Mytopo(Topo):
    def __init__(self):
        Topo.__init__(self)
        sw=self.addSwitch('s1')

		h1 = self.addHost('h1')
		h2 = self.addHost('h2')
		h3 = self.addHost('h3')

		self.addLink(h1,sw,1,1)
		self.addLink(h2,sw,1,2)
		self.addLink(h3,sw,1,3)

topos = {'mytopo': (lambda:Mytopo())}
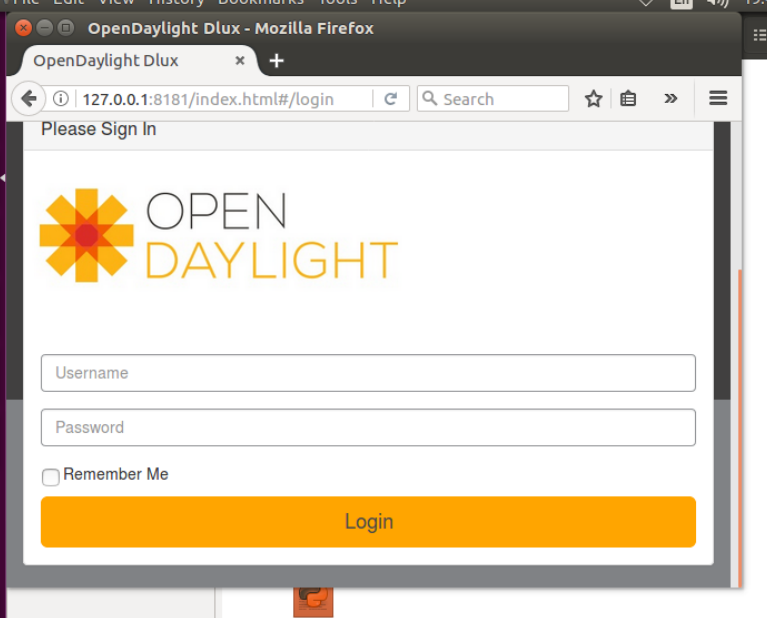
3.打开ODL图形化界面
打开浏览器访问http://127.0.0.1:8181/index.html进入ODL图形化界面(以下是启动完成界面)
4.运行
sudo mn --custom sdn4.py --topo mytopo --controller=remote,ip=127.0.0.1,port=6633 --switch ovsk,protocols=OpenFlow13
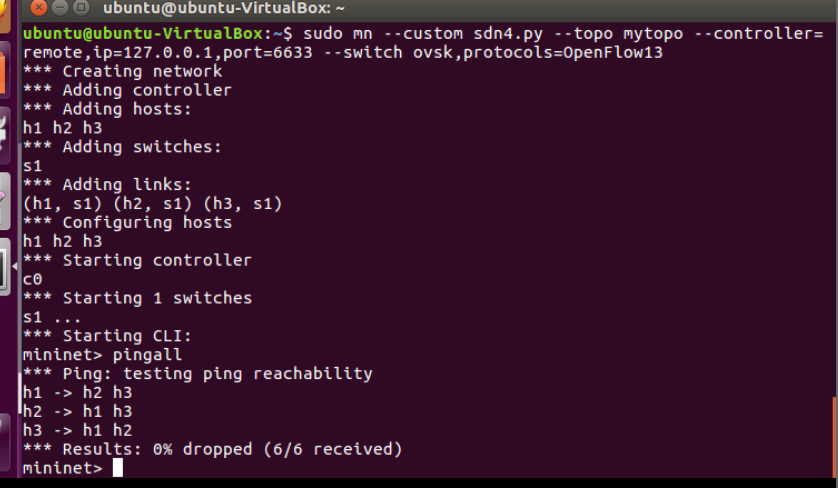
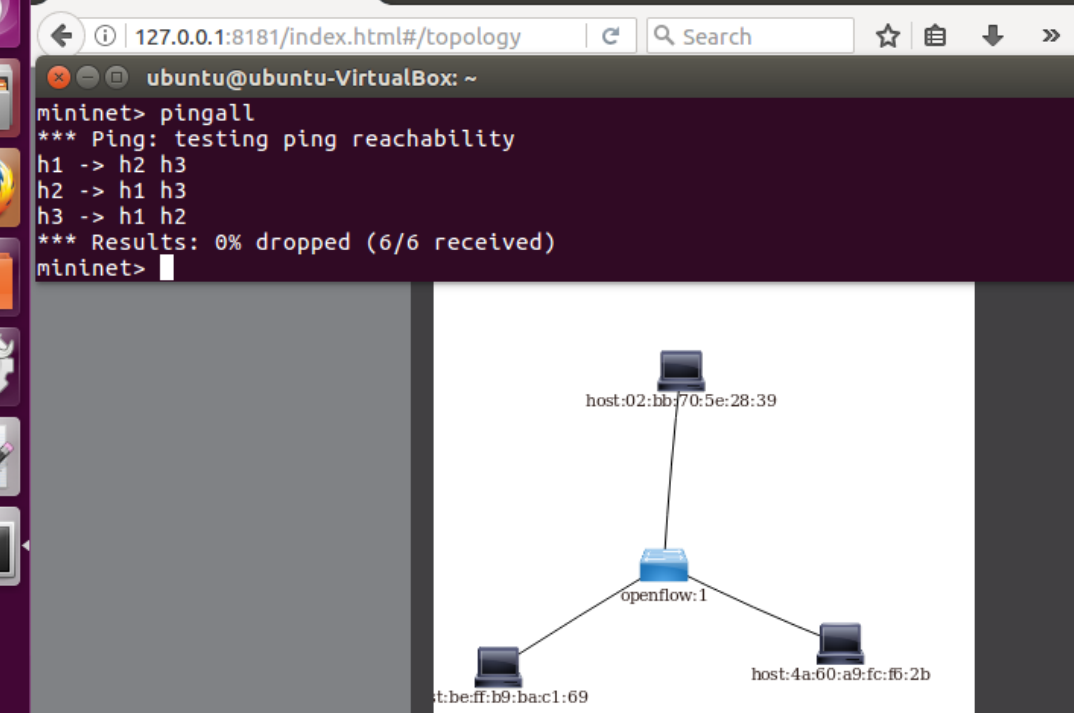
5.pingall检测连通性,同时在控制器端查看拓扑图
4. 在控制器提供的WEB UI中下发流表使h2 20s内ping不通h3,20s后恢复
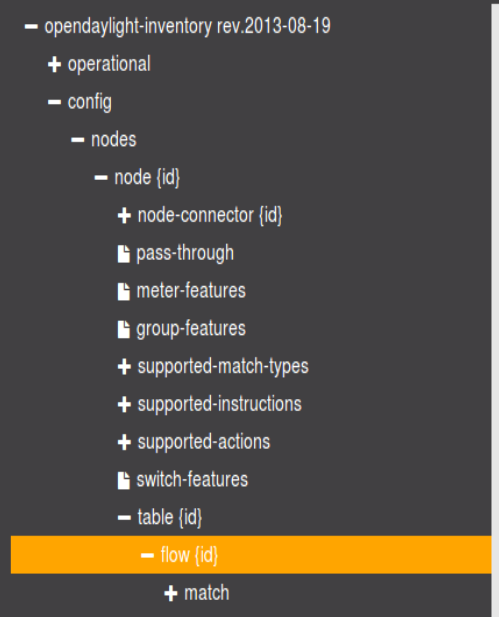
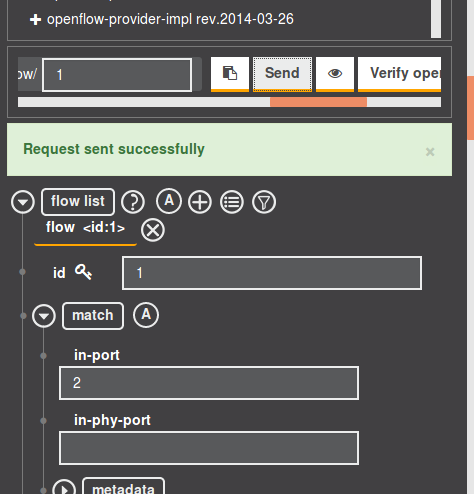
1.依次打开:Yang UI>Opendaylight-inventory>config>nodes>table>flow
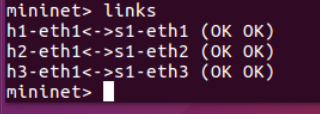
2.首先使用links查询链路连接情况
3.ODL内部设置:
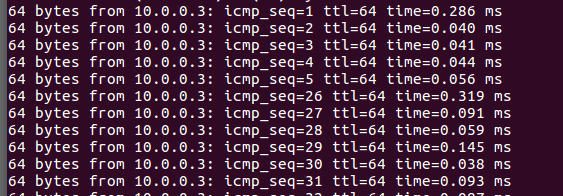
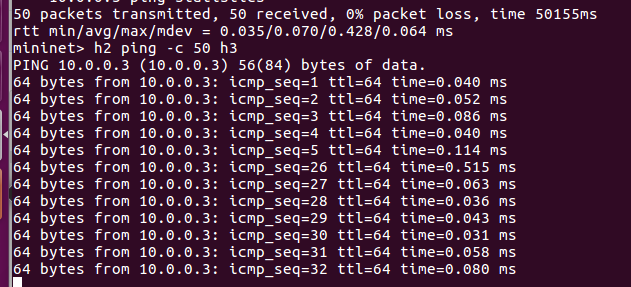
4.验证h2 ping h3中断20s又恢复
5.具体报文
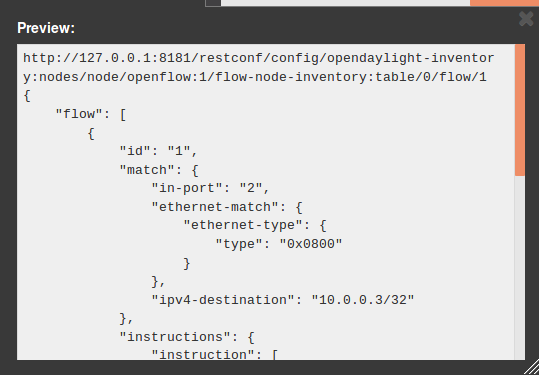
http://127.0.0.1:8181/restconf/config/opendaylight-inventory:nodes/node/openflow:1/flow-node-inventory:table/0/flow/1
{
"flow": [
{
"id": "1",
"match": {
"in-port": "2",
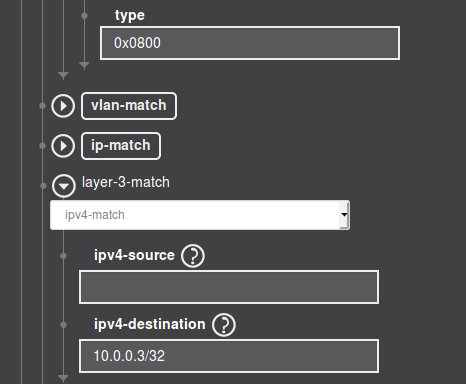
"ethernet-match": {
"ethernet-type": {
"type": "0x0800"
}
},
"ipv4-destination": "10.0.0.3/32"
},
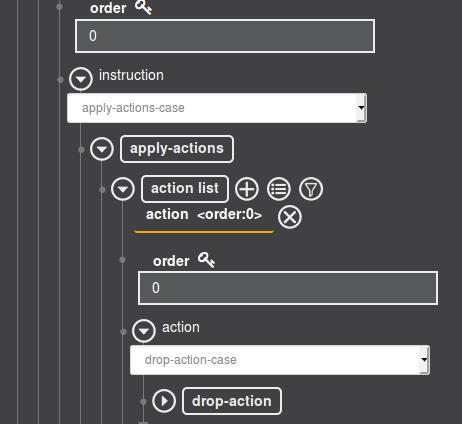
"instructions": {
"instruction": [
{
"order": "0",
"apply-actions": {
"action": [
{
"order": "0",
"drop-action": {}
}
]
}
}
]
},
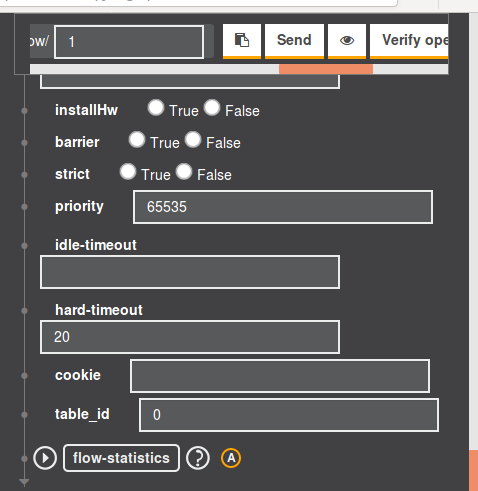
"priority": "65535",
"hard-timeout": "20",
"table_id": "0"
}
]
}
5. 借助Postman通过OpenDayLight的北向接口下发流表,再利用OpenDayLight北向接口查看已下发的流表。
1.安装Postman
使用命令如下,即可安装成功
sudo tar -xzf Postman-linux-x64-7.11.0.tar.gz
./Postman/Postman
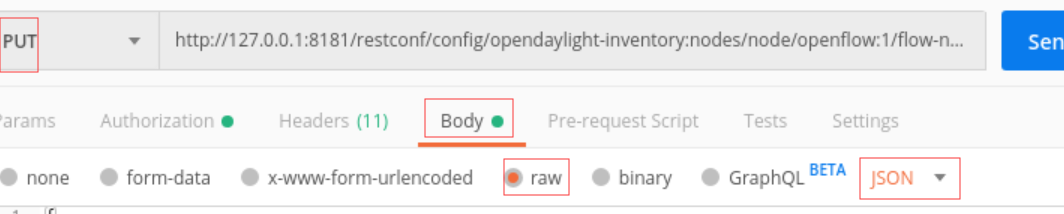
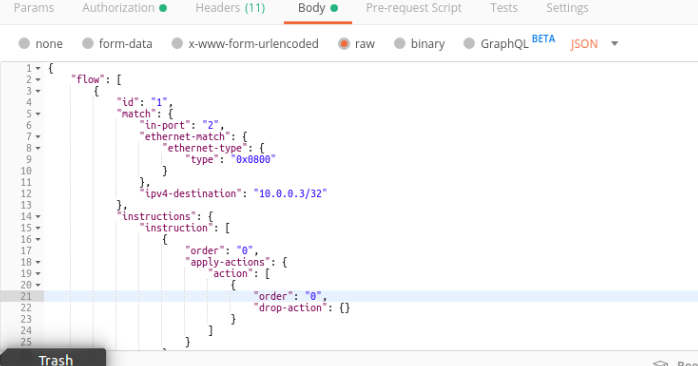
2.使用postman下发流表
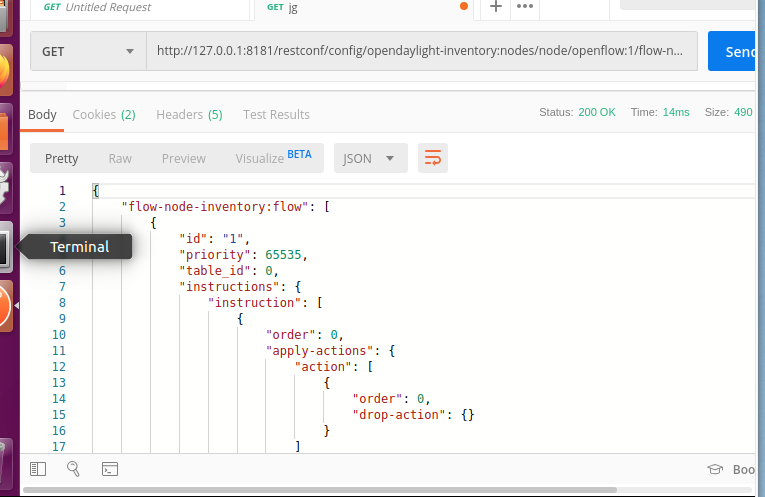
3.使用get来调用接口查看流表

 浙公网安备 33010602011771号