Linux Server enable Google Authenticator for Logon
使用 Google Authenticator
Google Authenticator 是一个开源的基于 TOTP(Time-based One-Time Password) 的 MFA 方案。
步骤 1:安装 Google Authenticator
在 Linux 服务器(如 CentOS、Ubuntu)上安装:
sudo apt update && sudo apt install libpam-google-authenticator  # Ubuntu/Debian
sudo yum install epel-release && sudo yum install google-authenticator  # CentOS
步骤 2:配置 Google Authenticator
运行以下命令:
google-authenticator
然后按照提示:
- 选择 "Yes" 生成密钥
- 记录 二维码 并在 Google Authenticator App(手机端)中扫描
- 记录 密钥,以防以后恢复
- 选择 "Yes" 更新
~/.google_authenticator
步骤 3:修改 SSH 认证配置
编辑 SSH 配置:
sudo nano /etc/ssh/sshd_config
找到 ChallengeResponseAuthentication no,改为:
ChallengeResponseAuthentication yes
保存后退出。
步骤 4:配置 PAM 认证
编辑 PAM 配置文件:
sudo nano /etc/pam.d/sshd
在文件顶部添加:
auth required pam_google_authenticator.so
保存后退出。
步骤 5:重启 SSH 服务
sudo systemctl restart sshd
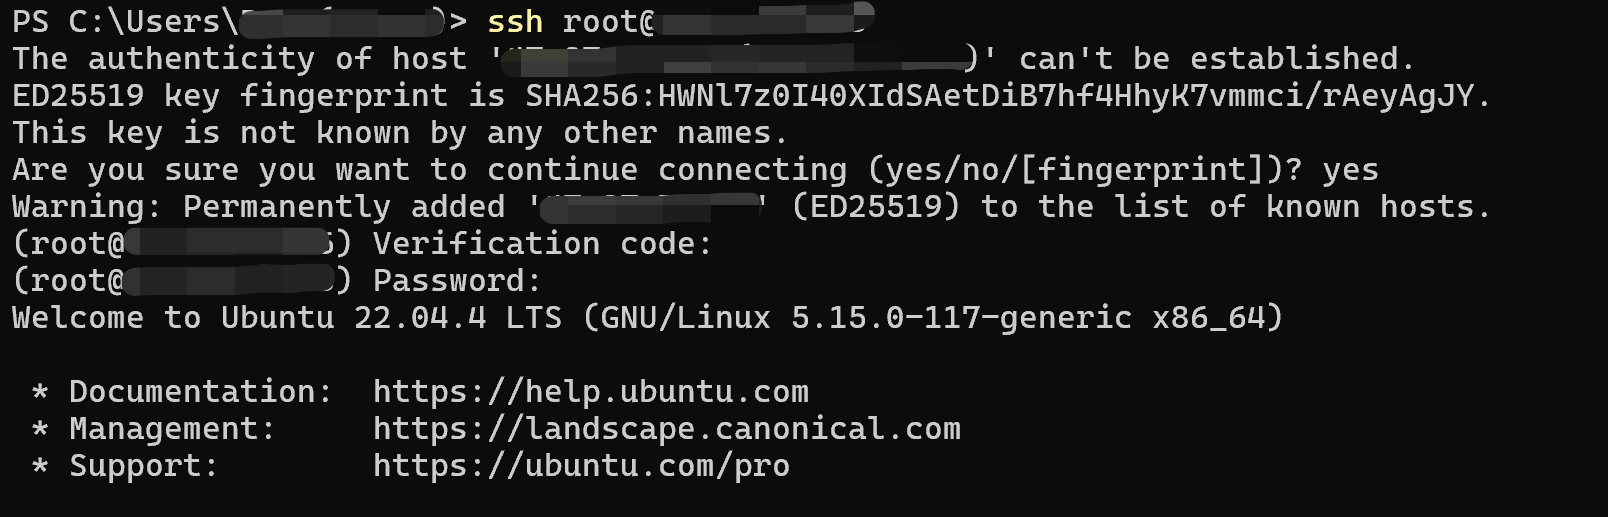
现在,每次登录 SSH 都需要输入 Google Authenticator 生成的 6 位验证码。
本文来自博客园,作者:Jas0n0ss,转载请注明原文链接:https://www.cnblogs.com/Jas0n0ss/p/18720803

 浙公网安备 33010602011771号