
SpringBoot数据访问之整合mybatis注解版
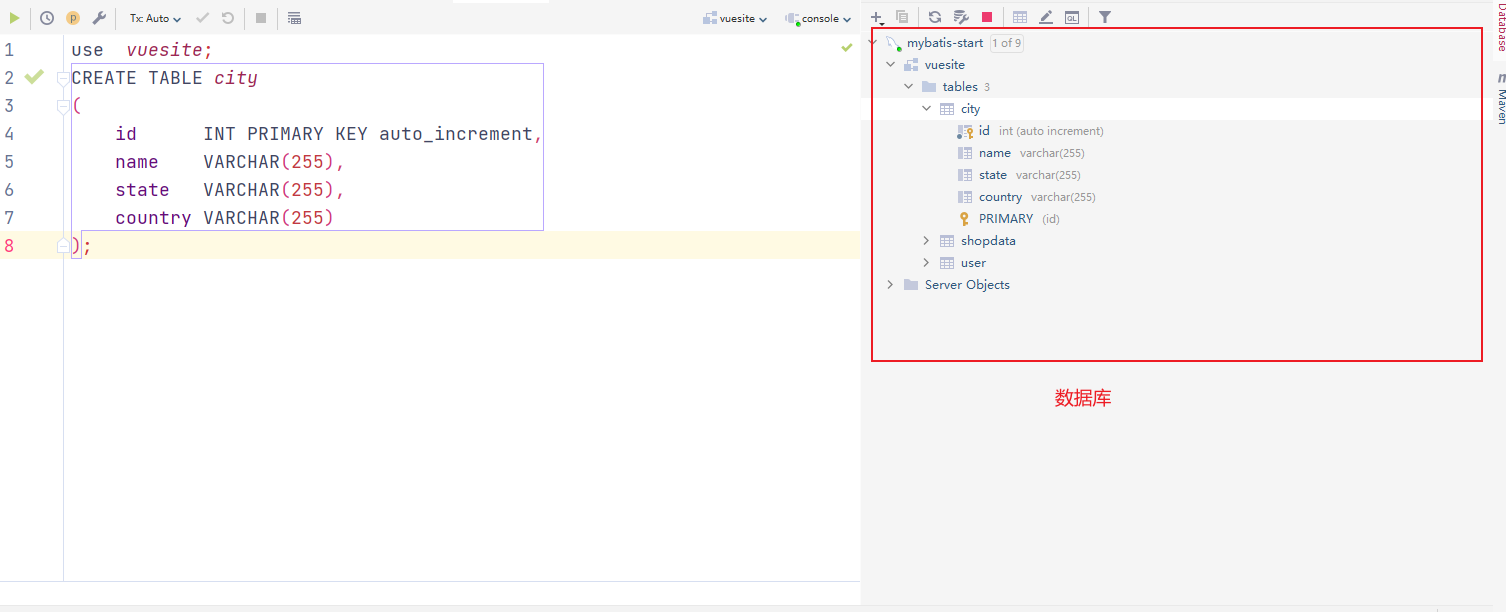
创建数据库:
use  vuesite;
CREATE TABLE city
(
    id      INT PRIMARY KEY auto_increment,
    name    VARCHAR(255),
    state   VARCHAR(255),
    country VARCHAR(255)
);
创建实体类:
package com.xbhog.pojo;

import lombok.Data;

@Data
public class City {
    private Long id;
    private String name;
    private String state;
    private String country;
}
创建Mapper:
创建CityMapper并采用注解的方式实现sql映射的问题:
package com.xbhog.Mapper;

import com.xbhog.pojo.City;
import org.apache.ibatis.annotations.Mapper;
import org.apache.ibatis.annotations.Select;

@Mapper
public interface CityMapper {
    @Select("select * from user where id = #{id}")
    public City getCityId(Long id);
}
创建Service:
package com.xbhog.service;

import com.xbhog.Mapper.CityMapper;
import com.xbhog.pojo.City;
import org.springframework.beans.factory.annotation.Autowired;
import org.springframework.stereotype.Service;

@Service
public class CityService {
    @Autowired
    CityMapper cityMapper;

    public City getCityId(Long id){
        return cityMapper.getCityId(id);
    }
}
使用Service注解声明,并将该类加入到容器中,方便后面调用,在service层调用Mapper层的方法。
创建Controller:
import com.xbhog.pojo.City;
import com.xbhog.service.CityService;
import org.springframework.beans.factory.annotation.Autowired;
import org.springframework.stereotype.Controller;
import org.springframework.web.bind.annotation.GetMapping;
import org.springframework.web.bind.annotation.RequestParam;
import org.springframework.web.bind.annotation.ResponseBody;

import javax.annotation.Resource;

@Controller
public class Mycontro {
    @Autowired
    CityService cityService;


    @ResponseBody
    @GetMapping("/city")
    public City getCity(@RequestParam("id") Long id){
        return cityService.getCityId(id);
    }
}
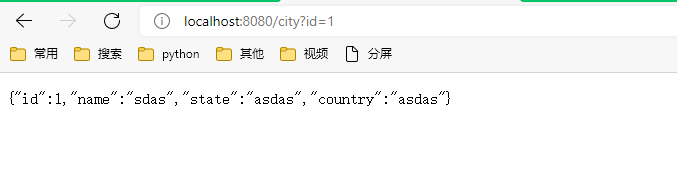
增加数据库信息:

测试:
mybatis混合版:
我们在CItyMapper中添加一个方法:
package com.xbhog.Mapper;

import com.xbhog.pojo.City;
import org.apache.ibatis.annotations.Mapper;
import org.apache.ibatis.annotations.Select;

import java.util.List;

@Mapper
public interface CityMapper {
    @Select("select * from city where id = #{id}")
    public City getCityId(Long id);

    public void addCity(City city);
}
这个方法我们采用配置文件来绑定。
创建CityMapper.xml文件:
<?xml version="1.0" encoding="UTF-8" ?>
<!DOCTYPE mapper
        PUBLIC "-//mybatis.org//DTD Mapper 3.0//EN"
        "http://mybatis.org/dtd/mybatis-3-mapper.dtd">
<mapper namespace="com.xbhog.Mapper.CityMapper">

    <insert id="addCity" parameterType="com.xbhog.pojo.City">
        insert into city(`name`,`state`,`country`) values (#{name},#{state},#{country});
    </insert>
</mapper>
其中命名空间与CityMapper要对应,进行插入操作。
在Service层增加方法:
package com.xbhog.service;

import com.xbhog.Mapper.CityMapper;
import com.xbhog.pojo.City;
import org.springframework.beans.factory.annotation.Autowired;
import org.springframework.stereotype.Service;

@Service
public class CityService {
    @Autowired
    CityMapper cityMapper;

    public void addCity(City city){
        cityMapper.addCity(city);
    }
}
https://www.cnblogs.com/xbhog/p/15201414.html
故乡明

 浙公网安备 33010602011771号