Seafile网盘安装记录
系统:Ubuntu22.04.1
注:为安装后的回忆记录,非安装时纪录,可能会有差错
1 安装docker
sudo apt-get update | sudo apt-get install docker-compose -y2 设置docker-compose.yml
services:
  db:
    image: mariadb:10.11
    container_name: seafile-mysql
    environment:
      - MYSQL_ROOT_PASSWORD=db_dev  # Requested, set the root's password of MySQL service.
      - MYSQL_LOG_CONSOLE=true
    volumes:
      - /data/seafile-mysql/db:/var/lib/mysql  # Requested, specifies the path to MySQL data persistent store.
    networks:
      - seafile-net

  memcached:
    image: memcached:1.6
    container_name: seafile-memcached
    entrypoint: memcached -m 256
    networks:
      - seafile-net

  seafile:
    image: seafileltd/seafile-mc:latest
    container_name: seafile
    ports:
      - "8843:80"  # 主机81端口映射至容器80端口http
      - "4433:443"  # 主机4433端口映射至容器443端口https
      - "8088:8080"  # 主机8088端口映射至容器8080端口webdav
    volumes:
      - /data/seafile-data:/shared   # Requested, specifies the path to Seafile data persistent store.
    environment:
      - DB_HOST=db
      - DB_ROOT_PASSWD=db_dev  # Requested, the value shuold be root's password of MySQL service.
      - TIME_ZONE=Asia/Shanghai # Optional, default is UTC. Should be uncomment and set to your local time zone.
      - SEAFILE_ADMIN_EMAIL= # Specifies Seafile admin user, default is 'me@example.com'.
      - SEAFILE_ADMIN_PASSWORD=     # Specifies Seafile admin password, default is 'asecret'.
#      - SEAFILE_SERVER_LETSENCRYPT=true   # Whether use letsencrypt to generate cert.
      - SEAFILE_SERVER_HOSTNAME=127.0.0.1:8843 # Specifies your host name.
    depends_on:
      - db
      - memcached
    networks:
      - seafile-net

networks:
  seafile-net:
3 安装
sudo docker-compose up -d4 配置Onlyoffice
4.1 安装 Onlyoffice
run -i -t -d -p 8844:80 -p 8443:443 --name onlyoffice --restart=always -e JWT_ENABLED=false onlyoffice/documentserver4.2 修改Onlyoffice的default.json
路径:/etc/onlyoffice/documentserver/default.json
主要修改两处
将"allowPrivateIPAddress"和"allowMetaIPAddress"的false->true
			"request-filtering-agent" : {
				"allowPrivateIPAddress": true,
				"allowMetaIPAddress": true
将"rejectUnauthorized"的true->false
				"gzip": true,
				"rejectUnauthorized": false
修改方法
#将文件从docker复制出来
docker cp 3859d2aba2b3:/etc/onlyoffice/documentserver/default.json  /data/default.json
#修改后再复制回去
docker cp /data/default.json  3859d2aba2b3:/etc/onlyoffice/documentserver/default.json

#重启容器
docker restart onlyoffice
4.2 配置Seafile服务
添加以下配置信息到seahub_settings.py
# Enable Only Office
ENABLE_ONLYOFFICE = True
VERIFY_ONLYOFFICE_CERTIFICATE = False
ONLYOFFICE_APIJS_URL = 'http{s}://{ OnlyOffice 的域名或者IP}/web-apps/apps/api/documents/api.js'
ONLYOFFICE_FILE_EXTENSION = ('pdf','doc', 'docx', 'ppt', 'pptx', 'xls', 'xlsx', 'odt', 'fodt', 'odp', 'fodp', 'ods', 'fods')
ONLYOFFICE_EDIT_FILE_EXTENSION = ('doc', 'docx', 'ppt', 'pptx', 'xls', 'xlsx')
重启seafile即可
docker restart seafile5 IP变动后需要修改的地方
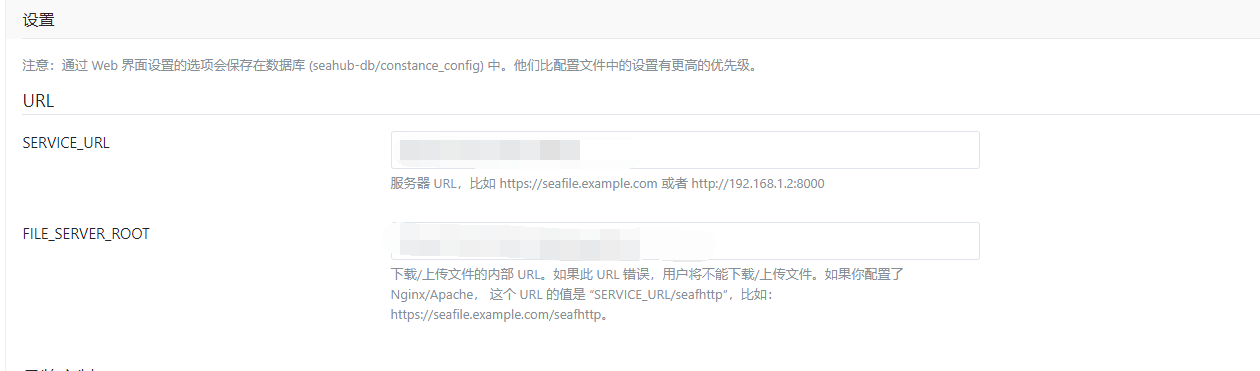
5.1 /seafile-data/seafile/conf/seahub_settings.py
修改FILE_SERVER_ROOT和ONLYOFFICE_APIJS_URL

5.2 /seafile-data/seafile/conf/ccnet.conf
修改SERVICE_URL

5.3 网页后台-设置

 浙公网安备 33010602011771号