Inventory Pro 装备拾取的实现
以后都按照插件使用,提出问题,回答问题的方式来进行总结和学习
效果图
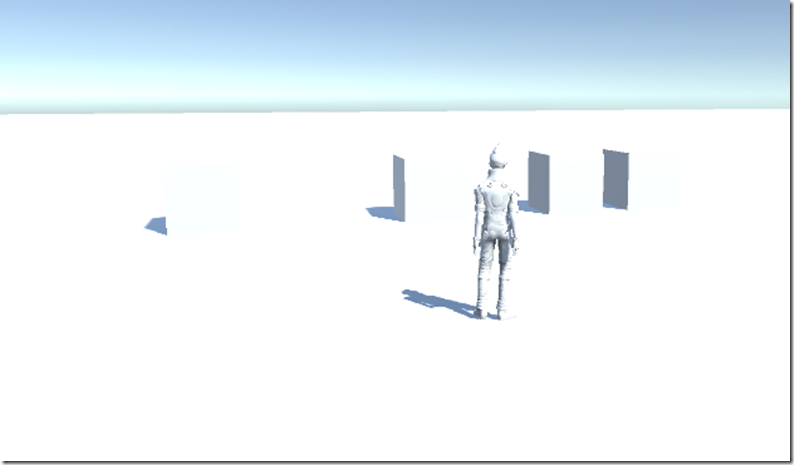
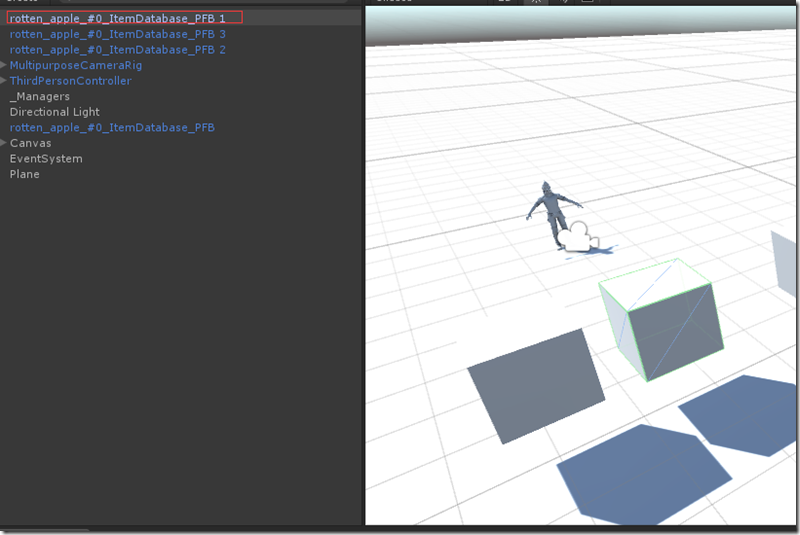
1、运行相关的例子,场景中出现4个矩形,这4个矩形是用来模拟物品掉落的包裹,移动Player靠近物品
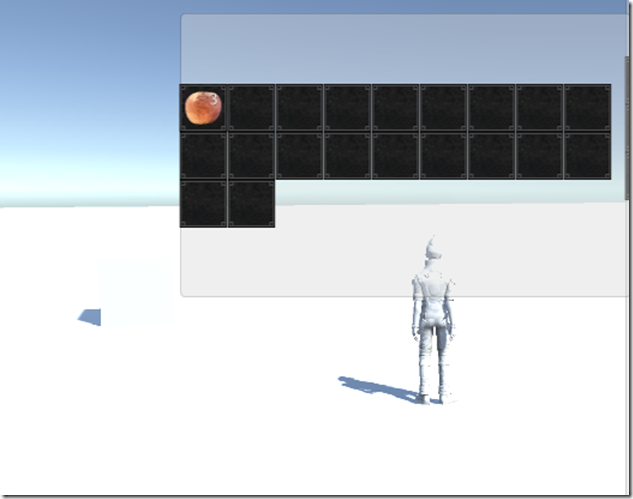
2、使用鼠标点击物品正方体,点击I键打开包裹,这里看到3个掉落包裹正方体已经点没有了,相应的背包里多出三个苹果,至此例子演示完毕
插件使用
使用Inventory Pro进行装备的拾取,有很简单的例子
1、点击菜单Tool,InventorySystem,Main editor 打开自定义Editor
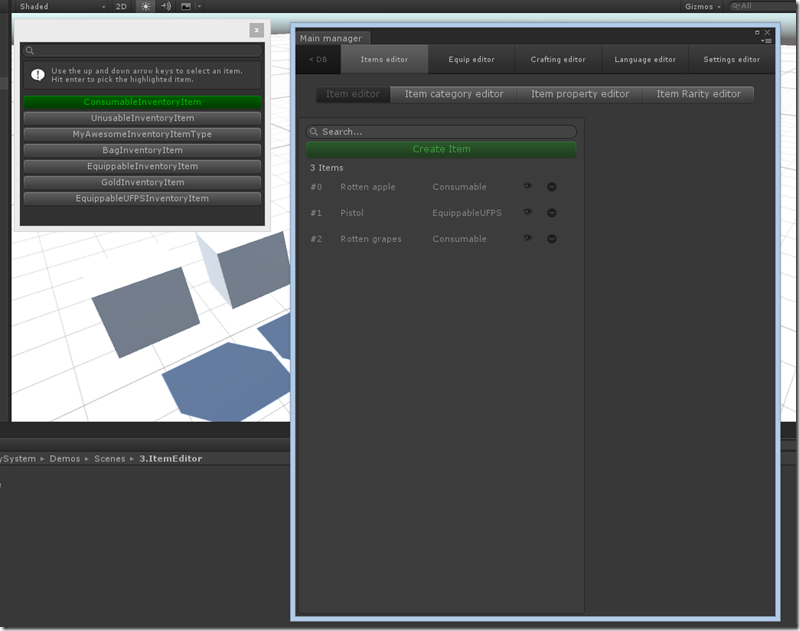
2、在Main manager对话框中点击Items editor选项卡,选中Item editor 点击Create Item 绿色按钮,会弹出左侧的选择子对话框,其中列出了可以创建的Item种类,第一项就是消耗品,当然还有很多别的东西,这里先试验最简单的消耗品
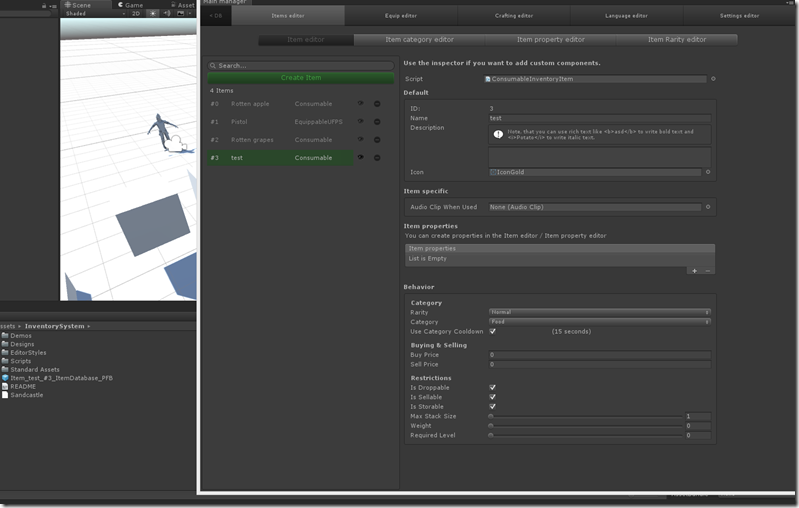
3、点击创建消耗品以后会出来一个Item的详情界面,这里需要添加Item的Name,Icon,Behavier里有类型,冷却时间,价格,是否可以叠放,是否可以丢弃等等属性吧,同时Editor会创建出相应的物品prefab,直接拖拽到场景中即可
问题
1、地上的包裹(Item容器)是如何产生的?
2、地上的包裹是如何对应Item model的,且之间的关系是什么?
3、拾取的过程是怎么样的?
答案
1、地上的包裹(Item容器)是如何产生的?
A1、这里例子里面是通过Unity3d Editor扩展进行添加地上的包裹的且是Cude,其中使用了动态生成预设的技术,这里涉及到很多关于Editor扩展的知识,基本与本章主题无关,Inventory Pro的作者也只是通过例子进行了展示(我想如果是实际游戏可能需要动态生成,比如生长点,怪物掉落什么的),这里列出一个动态生成Prefab的核心代码,也就是类似选择生成消耗品后点击的事件的处理函数,代码如下:
        protected override void CreateNewItem()
        {
            var picker = EditorWindow.GetWindow<InventoryItemTypePicker>(true);
            picker.Show(InventoryEditorUtil.selectedDatabase);

            picker.OnPickObject += (type) =>
            {
                string prefabPath = EditorPrefs.GetString("InventorySystem_ItemPrefabPath") + "/item_" + System.DateTime.Now.ToFileTimeUtc() + "_PFB.prefab";

                var obj = GameObject.CreatePrimitive(PrimitiveType.Cube);
                var prefab = PrefabUtility.CreatePrefab(prefabPath, obj);

                AssetDatabase.SetLabels(prefab, new string[] { "InventoryItemPrefab" });

                var comp = (InventoryItemBase)prefab.AddComponent(type);
                comp.ID = crudList.Count == 0 ? 0 : crudList[crudList.Count - 1].ID + 1;
                Object.DestroyImmediate(obj);

                AddItem(comp, true);
            };
        }
2、地方的包裹是如何对应Item model的,且之间的关系是什么?
我们看到1中的代码创建好刚体,碰撞后的正方体后
var comp = (InventoryItemBase)prefab.AddComponent(type);
通过AddComponent添加了用户选择的Type,通过类型转换(InventoryItemBase)我们知道这个类型是Item类型。
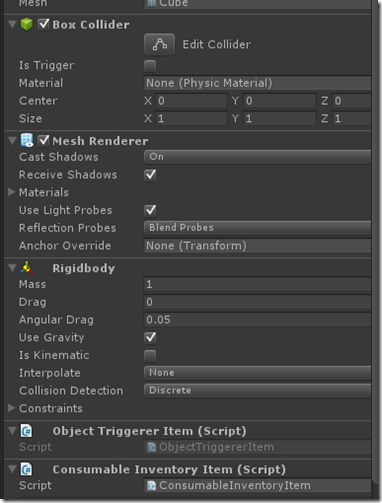
然后我们再通过Unity3d 可视化环境来验证一下
通过选中预设我们看到其绑定的相关插件有碰撞和刚体属性,最后绑定的脚本是Consumable Inventory Item (Script),这样也验证了上面代码加入的Type,也就是在类选择所对应的InventoryItemBase 类型
这里需要注意的是Object Triggerer Item脚本是如何绑定到对象上的,这块是一个小技巧,我找了半天才发现的
/// <summary>
/// The base item of all the inventory items, contains some default behaviour for items, which can (almost) all be overriden.
/// </summary>
[RequireComponent(typeof(ObjectTriggererItem))]
public partial class InventoryItemBase : MonoBehaviour
妈蛋的终于有解决上帝之手的方法了,用RequireComponent这个特性就可以不用手动进行相关插件的绑定了。
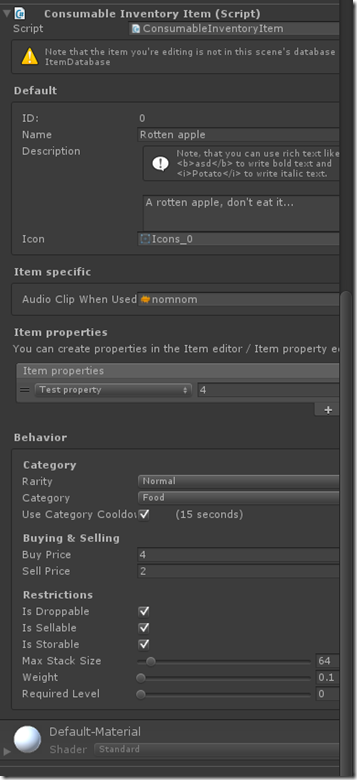
上图是Consumable Inventory Item(script)的public field详情了,是不是似曾相识,就是和Item Editor工具创建Prefab的时候是一样的。
到此第二个问题回答完毕。
3、拾取的过程是怎么样的?
在正式回答前,我先yy下,既然拾取必须是双向,而且应该是触发的(当点击鼠标触发),然后Play接收到触发的调用进行拾取,最后清理空背包(立方体消失),下面去看看代码是否是这么实现的。
触发器这里在2的答案里已经有了,看了下做法出奇的简单,可能这就是框架的力量吧,下面贴出源码
    /// <summary>
    /// Used to trigger item pickup, modify the settings in ShowObjectTriggerer.
    /// </summary>
    [AddComponentMenu("InventorySystem/Triggers/Object triggerer item")]
    [RequireComponent(typeof(InventoryItemBase))]
    [RequireComponent(typeof(Rigidbody))]
    public partial class ObjectTriggererItem : MonoBehaviour
    {

        public InventoryItemBase item { get; protected set; }

        public bool inRange
        {
            get
            {
                return Vector3.Distance(InventorySettingsManager.instance.playerObject.transform.position, transform.position) < InventorySettingsManager.instance.useObjectDistance;
            }
        }


        public void Awake()
        {
            item = GetComponent<InventoryItemBase>();
        }

        public virtual void OnMouseDown()
        {
            if (ShowObjectTriggerer.instance != null && ShowObjectTriggerer.instance.itemTriggerMouseClick && InventoryUIUtility.clickedUIElement == false)
            {
                if (inRange)
                    Use();
                else
                {
                    InventoryManager.instance.lang.itemCannotBePickedUpToFarAway.Show(item.name, item.description);
                }
            }
        }

        protected virtual void Use()
        {
            item.PickupItem();
        }
    }
这里我们很容易看到了OnMouseDown触发的物品拾取逻辑,直接调用绑定的InventoryBaseItem的PickupItem()拾取函数即可,这里再次重温下自动绑定的威力
[RequireComponent(typeof(InventoryItemBase))]
当需要使用的时候记得在Awake()函数中设置相关属性即可
public void Awake()
{
item = GetComponent<InventoryItemBase>();
}
        /// <summary>
        /// Pickups the item and stores it in the Inventory.
        /// </summary>
        /// <returns>Returns 0 if item was stored, -1 if not, -2 for some other unknown reason.</returns>
        public virtual bool PickupItem(bool addToInventory = true)
        {
            if(addToInventory)
                return InventoryManager.AddItem(this);

            return true;
        }
上面是InventoryItemBase中的PickupItem方法,只用调用InventoryMannager类的静态方法AddItem方法即可,就是这么简单
       /// <summary>
        /// Add an item to an inventory.
        /// </summary>
        /// <param name="item">The item to add</param>
        /// <returns></returns>
        public static bool AddItem(InventoryItemBase item, bool repaint = true)
        {
            if (CanAddItem(item) == false)
            {
                instance.lang.collectionFull.Show(item.name, item.description, instance.inventory.collectionName);
                return false;
            }

            //// All items fit in 1 collection
            //if (item.currentStackSize <= item.maxStackSize)
            //    return best.collection.AddItem(item, repaint);

            // Not all items fit in 1 collection, divide them, grab best collection after each iteration
            // Keep going until stack is divided over collections.
            while (item.currentStackSize > 0)
            {
                var bestCollection = instance.GetBestLootCollectionForItem(item, false).collection;
                uint canStoreInCollection = bestCollection.CanAddItemCount(item);

                var copy = GameObject.Instantiate<InventoryItemBase>(item);
                copy.currentStackSize = (uint)Mathf.Min(Mathf.Min(item.currentStackSize, item.maxStackSize), canStoreInCollection);
                bestCollection.AddItem(copy);

                item.currentStackSize -= copy.currentStackSize;
                //item.currentStackSize = (uint)Mathf.Max(item.currentStackSize, 0); // Make sure it's positive
            }

            Destroy(item.gameObject); // Item is divided over collections, no longer need it.

            return true;
        }
InventoryMannager中的AddItem,代码看似简单,却有四个逻辑,是否可以放置,选择最佳容器,叠放逻辑,销毁。
问题3回答完毕走人


