HarmonyOS三方件开发指南(10)——GifImage
目录:
1. GifImage组件功能介绍
1.1. 功能介绍:
GifImage组件是一个可以显示加载动态图片(gif格式)的三方组件。
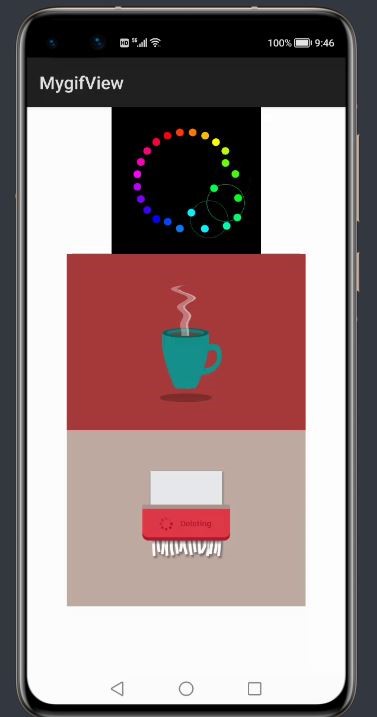
1.2. 模拟器上运行效果:

2. GifImage使用方法
2.1. 新建工程,增加组件Har包依赖
在应用模块中添加HAR,只需要将GifImage.har复制到entry\libs目录下即可(由于build.gradle中已经依赖的libs目录下的*.har,因此不需要在做修改)。
2.2. 设置gif的布局文件
修改主页面的布局文件ability_main.xml,将Image更新为Gif并将图片源设为gif格式
<?xml version="1.0" encoding="utf-8"?>
<DirectionalLayout
    xmlns:ohos="http://schemas.huawei.com/res/ohos"
    ohos:height="match_parent"
    ohos:width="match_parent"
    ohos:orientation="vertical">

    <com.isoftstone.modulea.Gif
        ohos:id="$+id:testimg"
        ohos:height="match_content"
        ohos:width="match_content"
        ohos:image_src="$media:gif6"
        ohos:layout_alignment="horizontal_center"
    />

    <com.isoftstone.modulea.Gif
        ohos:id="$+id:testimg1"
        ohos:image_src="$media:coffe"
        ohos:height="match_content"
        ohos:width="match_content"
        ohos:layout_alignment="horizontal_center"
        />

    <com.isoftstone.modulea.Gif
        ohos:layout_alignment="horizontal_center"
        ohos:height="match_content"
        ohos:image_src="$media:deleting"
        ohos:width="match_content"
        ohos:id="$+id:text"
        />

</DirectionalLayout>
2.3. MainAbilitySlice的UI加载代码
设置Gif gif= findComponentById(ResourceTable.Id_**)即可。
3. GifImage开发实现
3.1. 新建一个Module
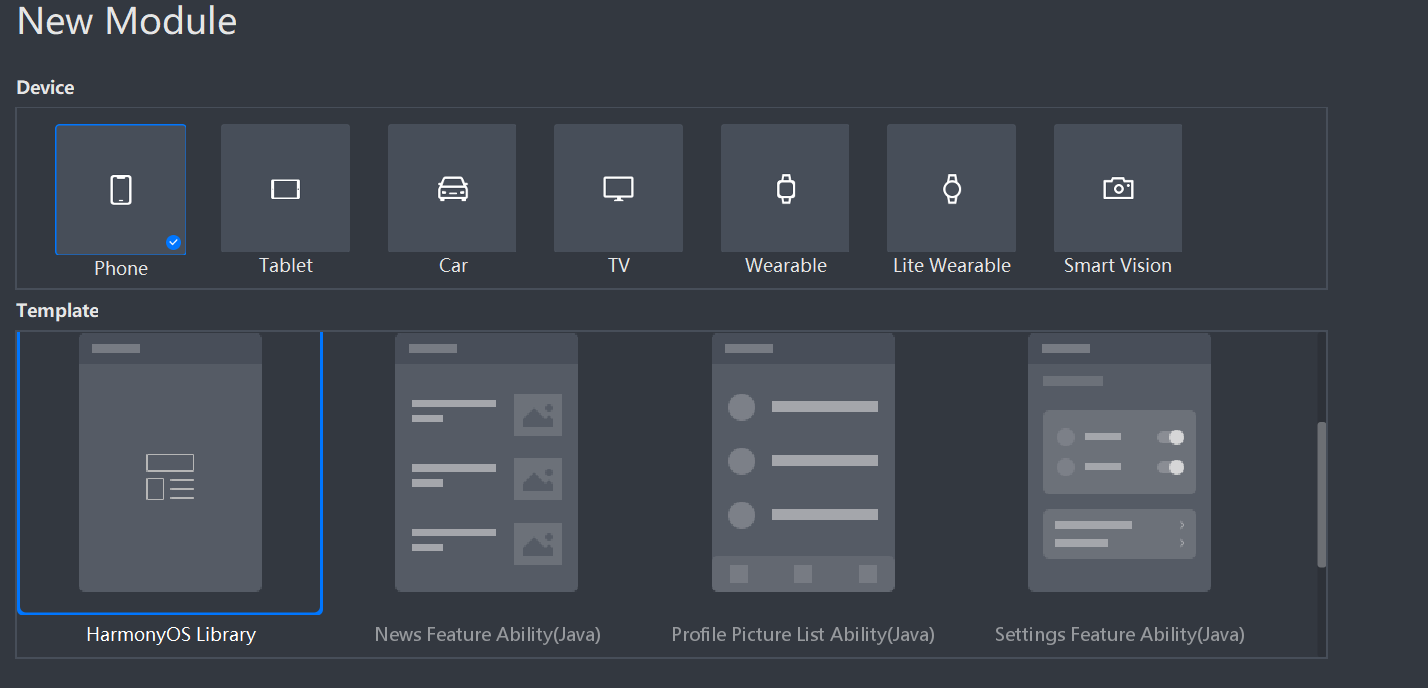
新建一个Module,类型选择HarmonyOS Library,模块名为Gif,如图

3.2. 新建Gif类
新建一个Gif类,继承自Image类,设置 ResourceManager并通过attrSet.getAttr("image_src").get().getStringValue() 获取图片路径,代码如下:
public class Gif extends Image{
public Gif(Context context) throws IOException, NotExistException, WrongTypeException {
    super(context);
    this.context=context;
    ResourceManager resourceManager =context.getResourceManager();
    init(resourceManager);
}
public Gif(Context context, AttrSet attrSet) throws IOException, NotExistException, WrongTypeException {
    super(context, attrSet);
    this.context=context;
    String id  = attrSet.getAttr("image_src").get().getStringValue();
    // $media:16777218
    Pattern pattern = Pattern.compile("[^0-9]");
    Matcher matcher = pattern.matcher(id);
    String all = matcher.replaceAll("");
    ids = Integer.valueOf(all);
    ResourceManager resourceManager = context.getResourceManager();
    init(resourceManager);
}
}
为了实现动画,需要定义一个AnimatorValue,并设置动画侦听回调函数,代码如下:
// 动画

private AnimatorValue animatorValue;
创建ImageSource和 RawFileEntry读取文件并通过while循环获得图片的每一帧:
private void init()  {
  ImageSource.SourceOptions sourceOptions = new ImageSource.SourceOptions();
  ImageSource.DecodingOptions decodingOptions = new ImageSource.DecodingOptions();
  decodingOptions.allowPartialImage=true;
  sourceOptions.formatHint="image/gif";
  RawFileEntry rawFileEntry = resourceManager.getRawFileEntry(resourceManager.getMediaPath(ids));
  imageSource = ImageSource.create(rawFileEntry.openRawFile(),sourceOptions);
  if (imageSource != null) {
      i=0;
      while(imageSource.createPixelmap(i,decodingOptions)!=null) {
          pixelMapList.add(imageSource.createPixelmap(i, decodingOptions));
          i++;
      }
}
通过AnimatorValue启动动画
 animatorValue = new AnimatorValue();
    animatorValue.setCurveType(Animator.CurveType.LINEAR);
    animatorValue.setDelay(100);
    animatorValue.setLoopedCount(Animator.INFINITE);
    animatorValue.setDuration(2000);
    animatorValue.setValueUpdateListener(mAnimatorUpdateListener);
    animatorValue.start();
为实现图片切换效果,在动画监听回调函数内设置setPixelMap,进度为v*pixelMapList.size()
(转换为Int类型)
// 动画侦听函数

private final AnimatorValue.ValueUpdateListener mAnimatorUpdateListener
        = new AnimatorValue.ValueUpdateListener() {
    @Override
    public void onUpdate(AnimatorValue animatorValue, float v) {
      index++;
setPixelMap(pixelMapList.get((int)(v*pixelMapList.size())));
        invalidate();
    }
};
3.3. 编译HAR包
利用Gradle可以将HarmonyOS Library库模块构建为HAR包,构建HAR包的方法如下:
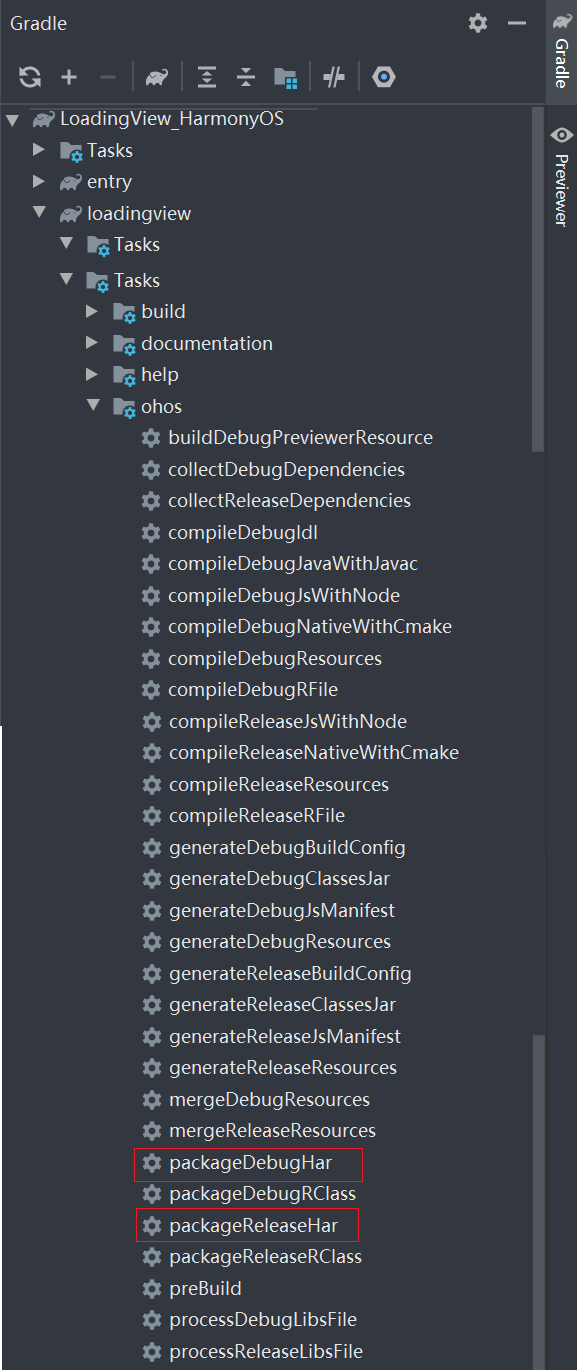
在Gradle构建任务中,双击PackageDebugHar或PackageReleaseHar任务,构建Debug类型或Release类型的HAR。
待构建任务完成后,可以在GifImage> bulid > outputs > har目录中,获取生成的HAR包。

项目源代码地址:https://github.com/isoftstone-dev/gif_HarmonyOS
欢迎交流:HWIS-HOS@isoftstone.com
作者:软通田可辉
想了解更多内容,请访问: 51CTO和华为官方战略合作共建的鸿蒙技术社区https://harmonyos.51cto.com


