11 nginx之四层负载均衡
1、四层和七层区别
七层是基于HTTP协议
四层是基于TCP/IP协议
因为四层负载均衡走的是tcp/ip底层协议,所以四层负载均衡的性能远高于HTTP协议
注:HTTP协议也是基于TCP/IP协议
2、四层的使用场景
1.网站的负载均衡代理(四层+七层来做负载均衡,四层可以保证七层的负载均衡的高可用性);
2.SSH代理端口(负载均衡可以做端口转发)
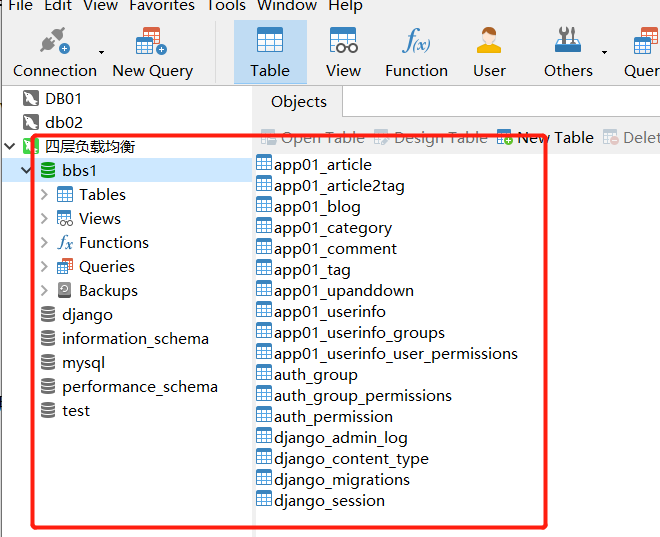
3.MySql服务(数据库读写分离)
1.四层负载均衡仅能转发TCP/IP协议、UDP协议、通常用来转发端口,如:tcp/22、udp/53;
2.四层负载均衡可以用来解决七层负载均衡端口限制问题;(七层负载均衡最大使用65535个端口号)
3.四层负载均衡可以解决七层负载均衡高可用问题;(多台后端七层负载均衡能同时的使用)
4.四层的转发效率比七层的高得多,但仅支持tcp/ip协议,不支持http和https协议;
5.通常大并发场景通常会选择使用在七层负载前面增加四层负载均衡。
4、四层负载均衡的实现
[root@lb02 ~]# nginx -V
--with-stream ===>安装nginx时必须有此模块
注:epel源安装的Nginx无法使用四层负载均衡,因为没有--with-stream模块,可以使用官网源或者编译安装
stream模块不能写在http模块里面,他和http是同级模块,不能写入/etc/nginx/conf.d,应写在全局上面,将/etc/nginx/nginx.conf中的http内容全部删除
格式:
stream{include /etc/nginx/stream.conf/*.conf;} =====》指定一下四层负载的配置文件在哪
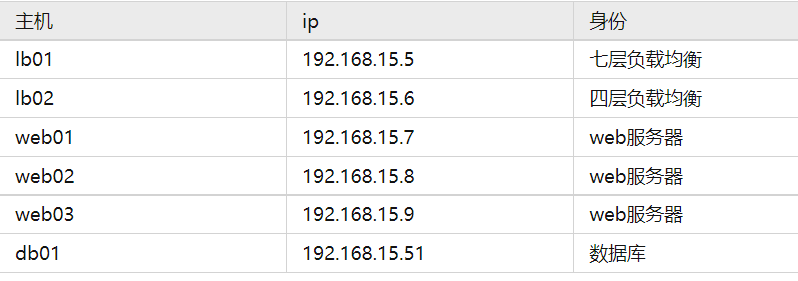
1.服务器准备
2.web服务器配置(先部署3台web服务器)
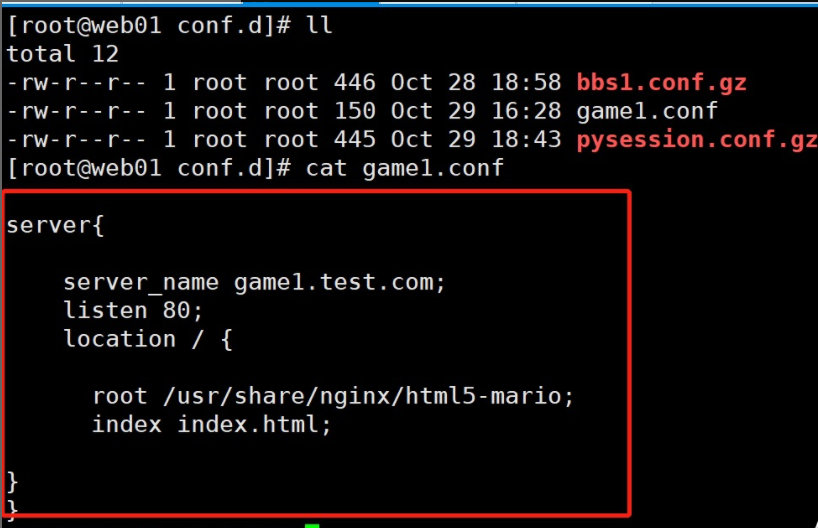
[root@web02 conf.d]# vim /etc/nginx/conf.d/game1.conf
server {
server_name game1.test.com;
listen80;
location / {
root /usr/share/nginx/html5-mario;
index index.html;
}
}
测试并启动nginx
[root@web02 conf.d]# nginx -t
[root@web02 conf.d]# systemctl restart nginx
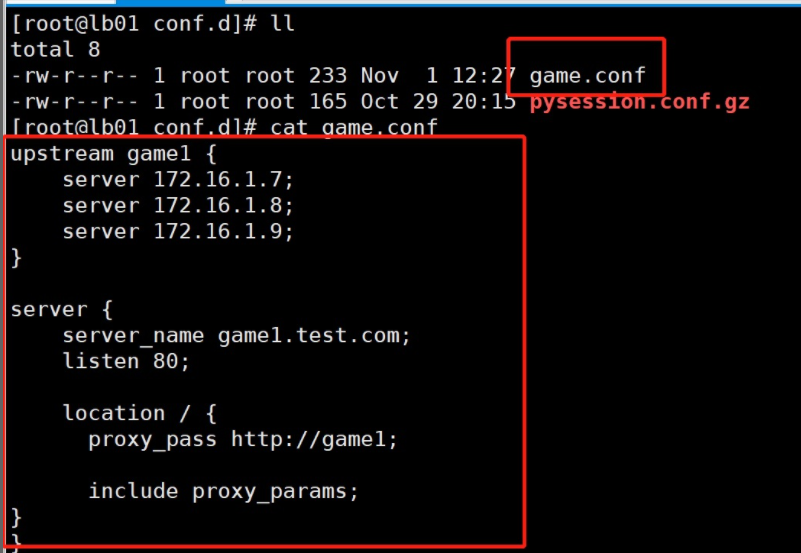
3.七层负载均衡lb01的配置
启动nginx
[root@lb01 conf.d]# nginx -t
[root@lb01 conf.d]# systemctl restart nginx
4.配置四层负载均衡
1)在lb02上172.16.1.6配置四层负载均衡,使其代理七层负载均衡
修改172.16.1.6的/etc/nginx/nginx.conf文件,清除http模块,在全局块配置stream模块
stream {
include /etc/nginx/stream.conf/*.conf;
}
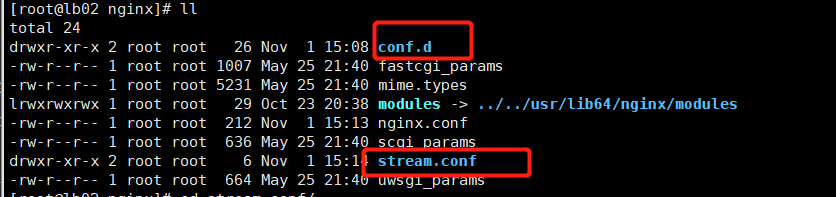
2).创建/etc/nginx/stream.conf文件夹,进入/etc/nginx/stream.conf配置4层负载
[root@lb02 nginx]# mkdir /etc/nginx/stream.conf
[root@lb02 nginx]# cd stream.conf/
[root@lb02 stream.conf]# vim nginx.conf
[root@lb02 stream.conf]# cat /etc/nginx/stream.conf/nginx.conf
upstream nginx {
server 192.168.15.5:80;
}
server {
listen 80;
proxy_pass nginx;}
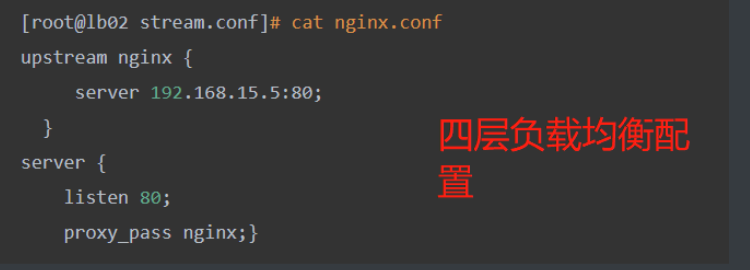
5.此时,四层负载均衡就实现了,用192.168.15.6可以访问了
1.[root@lb02 stream.conf]# cat /etc/nginx/stream.conf/ssh.conf
upstream ssh {
server 172.16.1.5:22;
}
server {
listen 1234;
proxy_pass ssh;
}
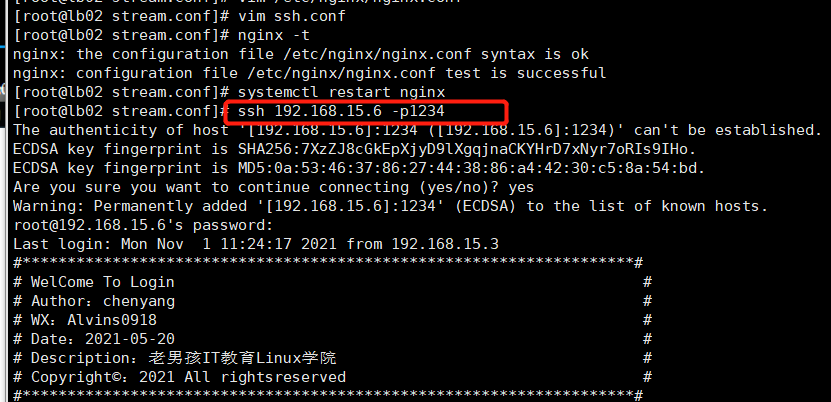
2.测试[root@lb02 stream.conf]# nginx -t
nginx: the configuration file /etc/nginx/nginx.conf syntax is ok
nginx: configuration file /etc/nginx/nginx.conf test is successful
[root@lb02 stream.conf]# systemctl restart nginx并启动nginx
3.连接
[root@lb02 stream.conf]# ssh 192.168.15.6 -p1234
1.[root@lb02 stream.conf]# cd /etc/nginx/stream.conf
[root@lb02 stream.conf]# vim mysql.conf
upstream mysql {
server 172.16.1.51:3306;
}
server {
listen 33060;
proxy_pass mysql;
proxy_pass lbserver;
proxy_connect_timeout 1s;
}
2.测试,启动nginx
3.连接
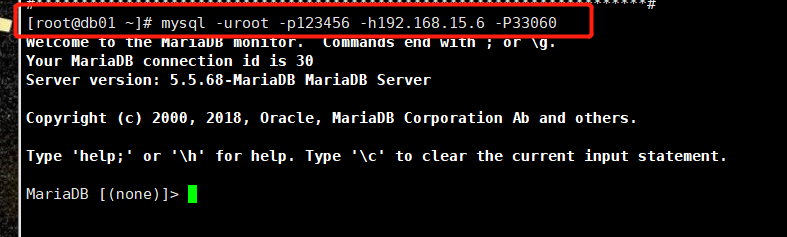
[root@db01 ~]# mysql -uroot -p123456 -h192.168.15.6 -P33060
Welcome to the MariaDB monitor. Commands end with ; or \g.
Your MariaDB connection id is 30
Server version: 5.5.68-MariaDB MariaDB Server
Copyright (c) 2000, 2018, Oracle, MariaDB Corporation Ab and others.
Type 'help;' or '\h' for help. Type '\c' to clear the current input statement.
MariaDB [(none)]>