linux下mysql安装、授权、创建用户、连接navicat、连接entity
1.linux下安装mysql:
sudo apt-get update
sudo apt-get install mysql-server
sudo systemctl start mysql
sudo mysql_secure_installation  #这一步不是必须的,甚至有害的
2.修改地址绑定:
绑定地址访问:
#修改配置文件,也可以用vi、gedit之类
pluma /etc/mysql/mysql.conf.d/mysqld.cnf
#修改bind-address=127.0.0.1为0.0.0.0
bind-address        = 0.0.0.0
mysqlx-bind-address = 0.0.0.0
#然后重启mysql
systemctl restart mysql
3.授权
首先登录mysql客户端:mysql -uroot 初始化没有密码。
mysql -uroot
然后授权:
use mysql;
update user set host='%' where user='root';
flush privileges;
#GRANT ALL PRIVILEGES ON *.* TO 'root'@'%' WITH GRANT OPTION;
grant all privileges on *.* to 'root'@'%';
修改root用户的密码:
ALTER USER 'root'@'%' IDENTIFIED BY '666666';
查看:
select user ,host from user;
+------------------+-----------+
| user | host |
+------------------+-----------+
| root | % |
| mysql.sys | localhost|
+------------------+-----------+
4.创建用户
4.1登录root账号
mysql -uroot -p666666 --uroot中root为登录用户, -p666666中666666为登录密码
4.2创建用户
create user test@'%' identified by '666666';
grant all privileges on *.* to 'test'@'%' with grant option;
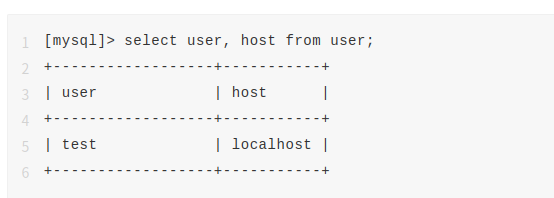
5.查看检索mysqluser
select user ,host from user
5.navicat连接

 浙公网安备 33010602011771号