Unity Shader 水波涟漪效果
正弦函数/正弦波 是最基础的波形
在游戏中通常使用 正弦函数/正弦波 来逼近真实世界中的涟漪效果
涟漪效果
有了波形并不意味着就能产生涟漪的效果
往往还需要在画面中添加折射、反射、扭曲等效果

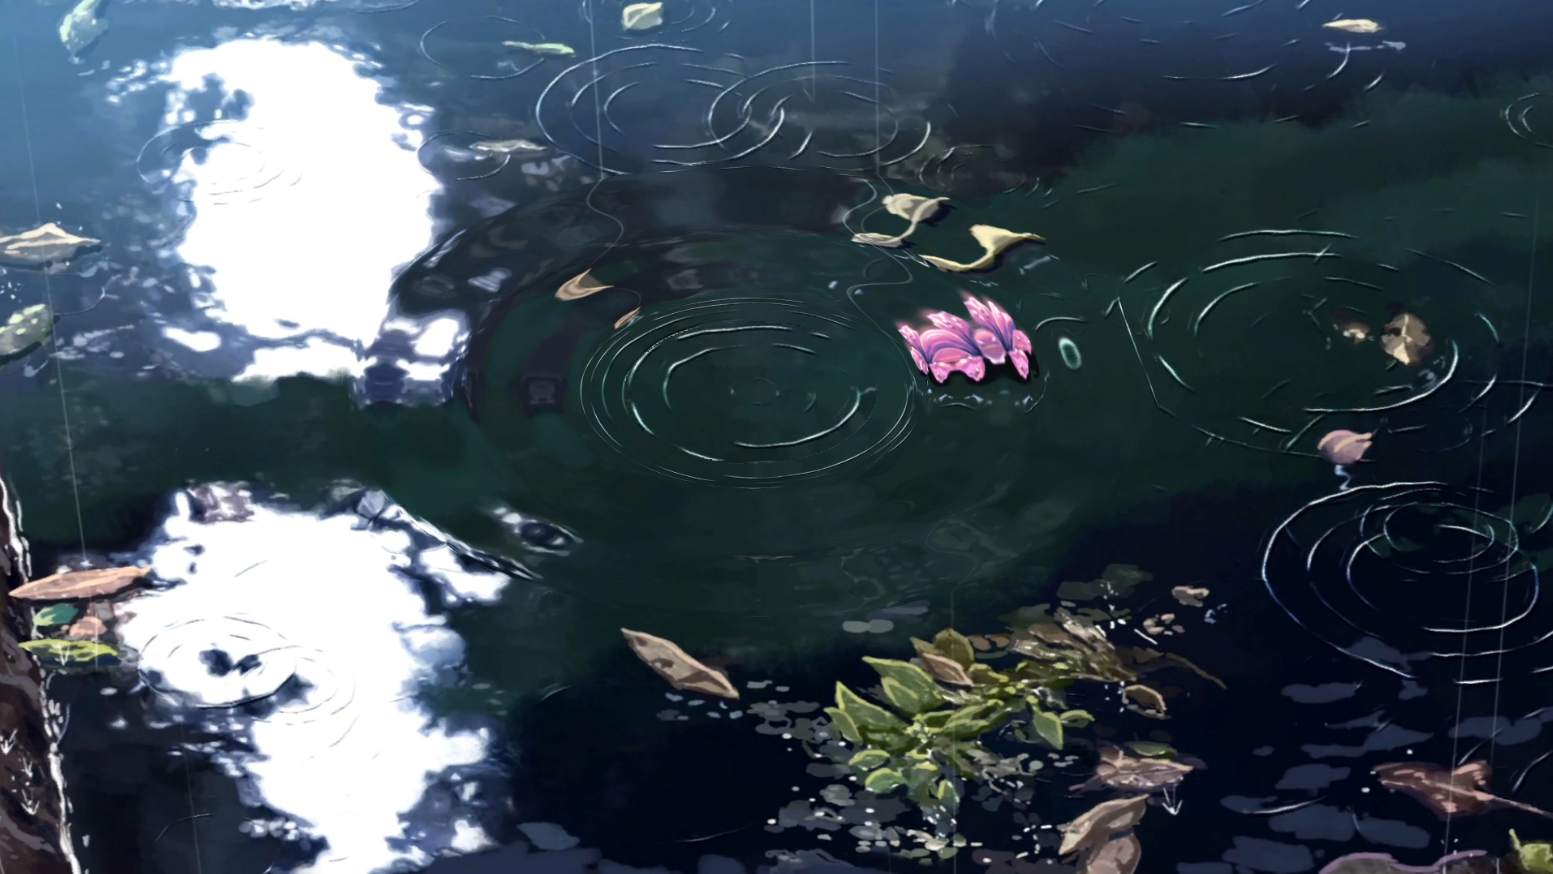
看图中的涟漪效果
之所以人眼看起来像涟漪
是因为在涟漪处的空间发生了轻微的扭曲,而 “空间扭曲”,也就是贴图偏移
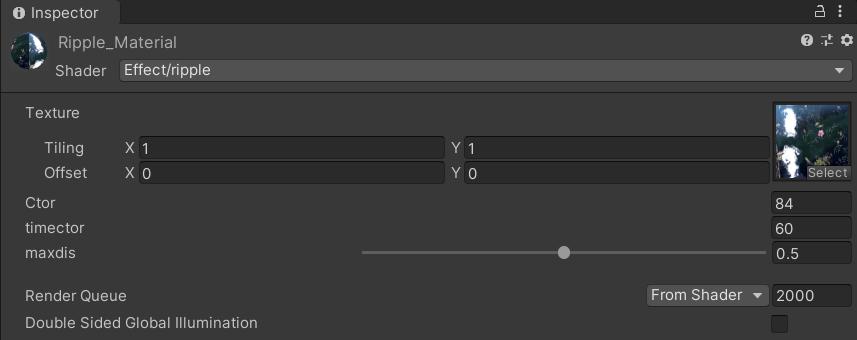
Shader
Shader "Effect/ripple"
{
    Properties
    {
        _MainTex("Texture", 2D) = "white" {}
        _Ctor("Ctor", float) = 84
        _timeCtor("timector",float) = 60
        _max_dis("maxdis",Range(0,1)) = 0.5
    }

    SubShader
    {
        Tags { "RenderType" = "Opaque" }
        LOD 100

        Pass
        {
            CGPROGRAM
            #pragma vertex vert
            #pragma fragment frag
            #pragma multi_compile_fog
            #pragma target 4.0

            #include "UnityCG.cginc"

            struct appdata
            {
                float4 vertex : POSITION;
                float2 uv : TEXCOORD0;
            };

            struct v2f
            {
                float2 uv : TEXCOORD0;
                UNITY_FOG_COORDS(1)
                float4 vertex : SV_POSITION;
            };

            sampler2D _MainTex;
            float4 _MainTex_ST;
            float4 _ArrayParams[10];
            float _Ctor;
            float _timeCtor;
            float _max_dis;

            v2f vert(appdata v)
            {
                v2f o;
                o.vertex = UnityObjectToClipPos(v.vertex);
                o.uv = TRANSFORM_TEX(v.uv, _MainTex);
                UNITY_TRANSFER_FOG(o,o.vertex);
                return o;
            }

            fixed4 frag(v2f i) : SV_Target
            {
                float2 uv = float2(0,0);
                [unroll]
                for (int j = 0; j < 10; j++)
                {
                    float2 dv = float2(_ArrayParams[j].x,_ArrayParams[j].y) - i.uv;
                    float dis = sqrt(dv.x * dv.x + dv.y * dv.y);
                    float sinFactor = sin(dis * _Ctor + _Time.y * _timeCtor);
                    float2 dv1 = normalize(dv);
                    float2 offset = dv1 * sinFactor * max(0,_max_dis - dis) * step(dis,_ArrayParams[j].z) * step(_ArrayParams[j].w,dis);
                    uv += offset;
                }
                uv = i.uv + uv / 10;
                return tex2D(_MainTex, uv);
            }
            ENDCG
        }
    }
}
Shader 代码里面使用了 for,上面打上 [unroll] 标签,编译的时候会把 for 展开成静态代码

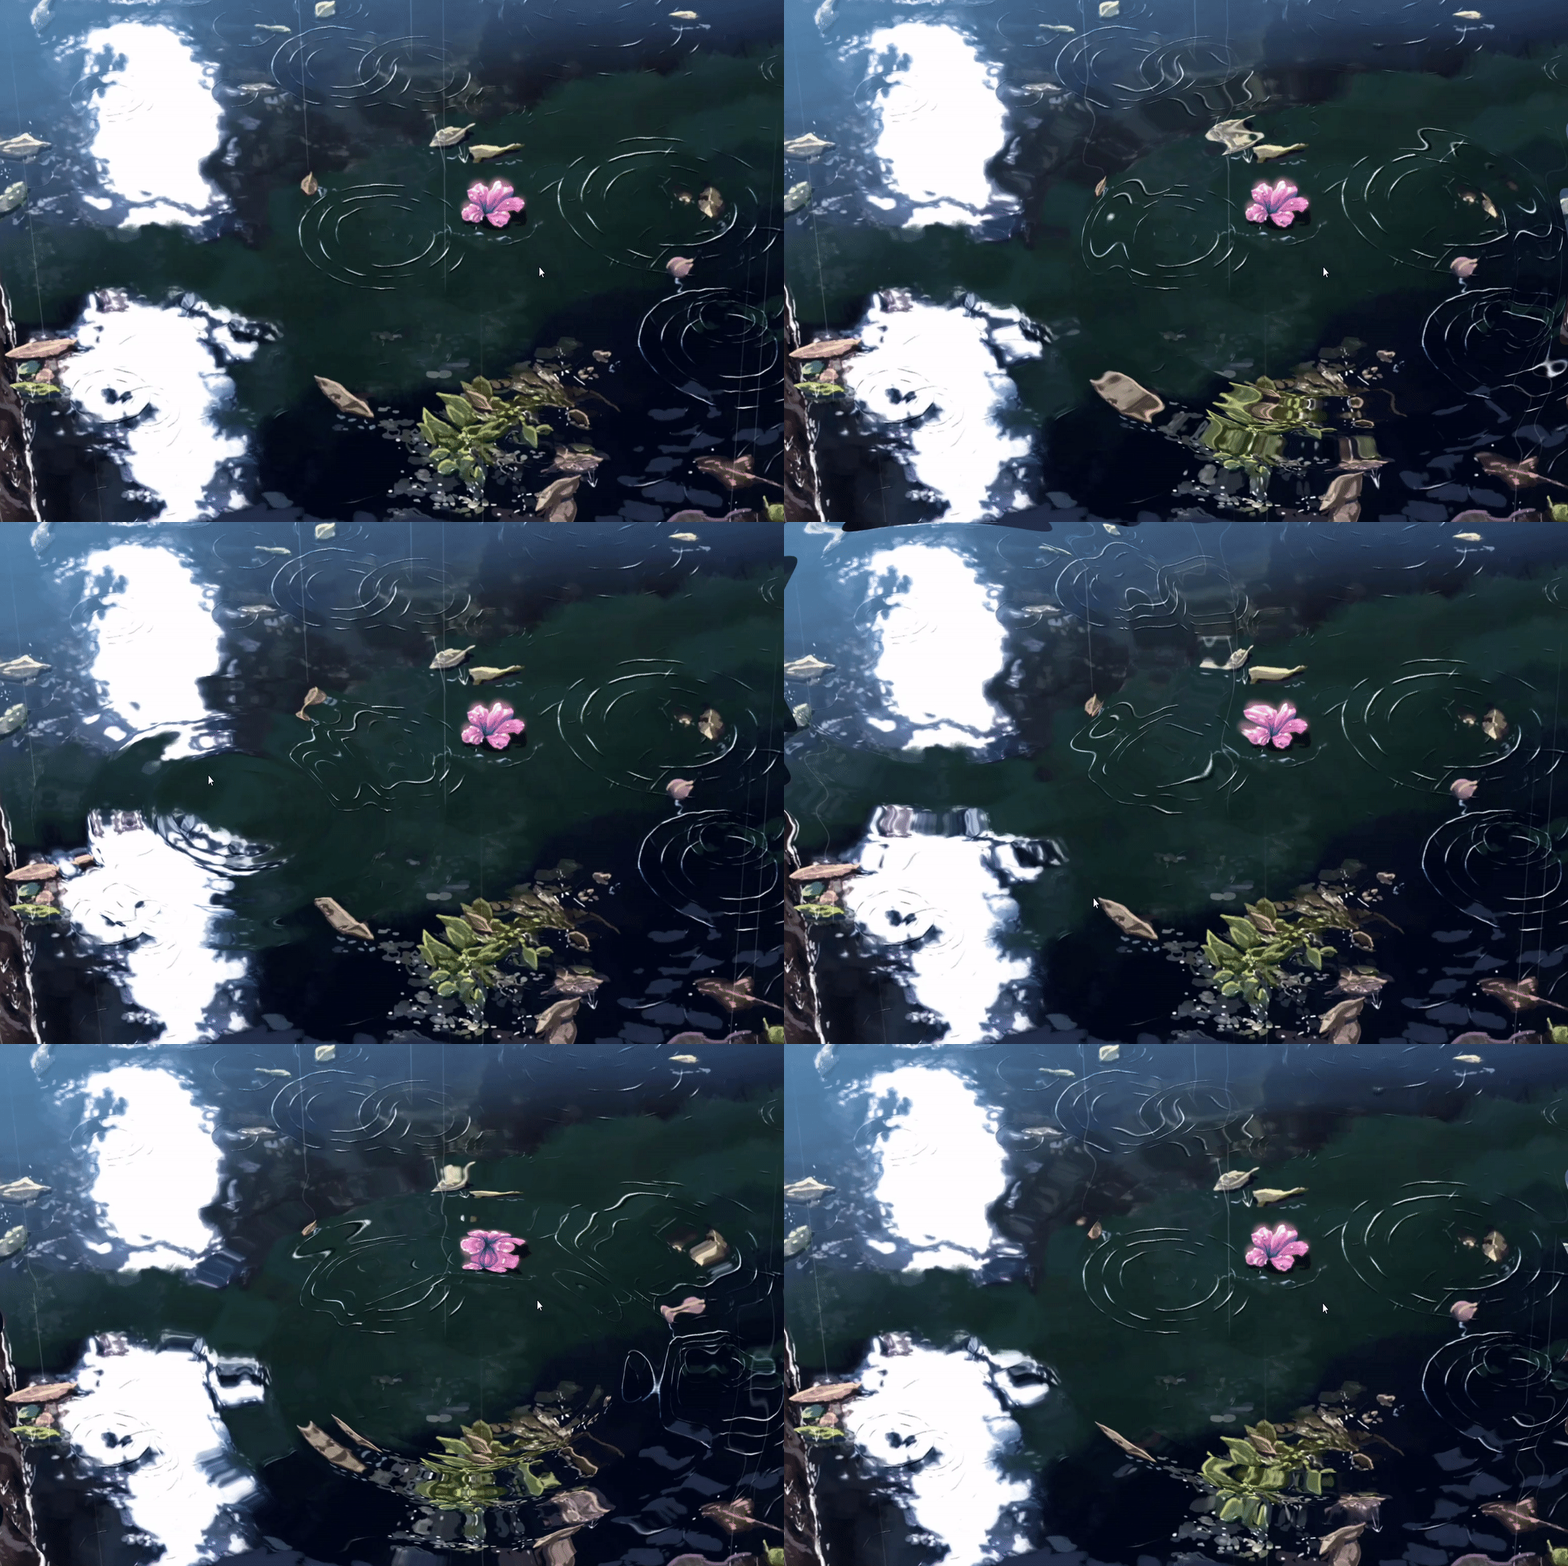
通过在 C# 代码中传入不同水波涟漪的初始点
然后在 Shader 的算法中对每一个uv点做插值来实现多个的涟漪效果
using UnityEngine;

/// <summary>
/// 根据位置信息,在指定位置生成水波
/// </summary>
public class CreatNodes : MonoBehaviour
{
    // 水波参数
    public float _speed = 3;
    public float forward_speed = 0.006f;
    public float back_speed = 0.003f;
    public float width = 0.1f;

    // shader最多的水波数量是10(同时)
    public const int max_click_count = 10;
    public Vector4[] uis = new Vector4[max_click_count];

    // 最大距离
    private float max_dis = 1;
    // 当前材质球
    private Material currentMaterial;

    private Ray ray;
    private RaycastHit hit;
    private bool can_add;
    private Vector3 vector3;

    private void Awake()
    {
        currentMaterial = transform.GetComponent<Renderer>().sharedMaterial;
        currentMaterial.SetVectorArray("_ArrayParams", uis);
    }

    private void FixedUpdate()
    {
        for (int i = 0; i < uis.Length; i++)
        {
            if (uis[i].z > max_dis)
                uis[i].Set(0, 0, 0, 0);
            if (uis[i].x == 0 && uis[i].y == 0)
            {
                if (can_add)
                {
                    // 将物体坐标转换成uv坐标
                    uis[i].x = vector3.x + 0.5f;
                    uis[i].y = vector3.y + 0.5f;
                    // 头与尾巴的宽度
                    uis[i].z = width;
                    // 尾巴的开始点
                    uis[i].w = 0;
                    can_add = false;
                }
            }
            else
            {
                uis[i].z += forward_speed * _speed;
                uis[i].w += back_speed * _speed;
            }

        }
        currentMaterial.SetVectorArray("_ArrayParams", uis);
    }

    private void Update()
    {
        if (Input.GetMouseButtonDown(0))
        {
            // 主相机屏幕点转换为射线
            ray = Camera.main.ScreenPointToRay(Input.mousePosition);
            // 射线碰撞检测
            if (Physics.Raycast(ray, out hit))
            {
                if (hit.transform == transform)
                {
                    vector3 = transform.InverseTransformPoint(hit.point);
                    can_add = true;
                }
            }
        }
    }
}
通过修改 C# 脚本上的参数也能改变生成的涟漪效果

水波涟漪效果

👉 | 以上内容仅为学习参考、学习笔记使用 | 👈


