springboot @value 注解的使用
1,通过@value来注入对应的值,直接在字段上添加@value 获取application.properties文件中的值。


@Configuration
public class DemoConfig {

    @Value("${jdbc.driver}")
    private String driver;

    @Value("${jdbc.url}")
    private String url;

    @Value("${jdbc.username}")
    private String username;

    @Value("${jdbc.password}")
    private String password;

    public DemoConfig() {
        System.out.println(password);
    }

    public String getDriver() {
        return driver;
    }

    public void setDriver(String driver) {
        this.driver = driver;
    }

    public String getUrl() {
        return url;
    }

    public void setUrl(String url) {
        this.url = url;
    }

    public String getUsername() {
        return username;
    }

    public void setUsername(String username) {
        this.username = username;
    }

    public String getPassword() {
        return password;
    }

    public void setPassword(String password) {
        this.password = password;
    }

    @Override
    public String toString() {
        return "DemoConfig [driver=" + driver + ", url=" + url + ", username=" + username + ", password=" + password
                + "]";
    }


}
2,通过配置@ConfigurationProperties(prefix="jdbc") ,通过前缀去找application.properties中的文件,这种情况只要配置文件中的字段名和类中字段名一致即刻,springboot会自动去查找application.properties中的字段属性,去查找对应名字加上前缀的配置。
package com.java.test;

import org.springframework.beans.factory.annotation.Value;
import org.springframework.boot.context.properties.ConfigurationProperties;
import org.springframework.stereotype.Component;

@Component
@ConfigurationProperties(prefix="jdbc")
public class DemoConfig1 {
    private String driver;

    private String url;

    private String username;

    private String password;

    public String getDriver() {
        return driver;
    }

    public void setDriver(String driver) {
        this.driver = driver;
    }

    public String getUrl() {
        return url;
    }

    public void setUrl(String url) {
        this.url = url;
    }

    public String getUsername() {
        return username;
    }

    public void setUsername(String username) {
        this.username = username;
    }

    public String getPassword() {
        return password;
    }

    public void setPassword(String password) {
        this.password = password;
    }

    @Override
    public String toString() {
        return "DemoConfig1 [driver=" + driver + ", url=" + url + ", username=" + username + ", password=" + password
                + "]";
    }


}
3,controller 的调用,这俩通过配置文件获取字段值的数据。
package com.java.test;

import org.apache.log4j.Logger;
import org.springframework.beans.factory.annotation.Autowired;
import org.springframework.beans.factory.annotation.Value;
import org.springframework.stereotype.Controller;
import org.springframework.web.bind.annotation.RequestMapping;

@Controller
public class HomeController {

    @Value("${jdbc.url}")
    private String url ;

    @Autowired
    private DemoConfig1 demoConfig1;

    @Autowired
    private DemoConfig demoConfig;

    private Logger logger = Logger.getLogger(HomeController.class);

    @RequestMapping("/")
    public String index() {

        logger.info("xx"+demoConfig1.getPassword());
        logger.info("xx"+demoConfig.getUrl());

        logger.info("this is index");
        logger.info("ss"+url);
        return "index.html";
    }

}
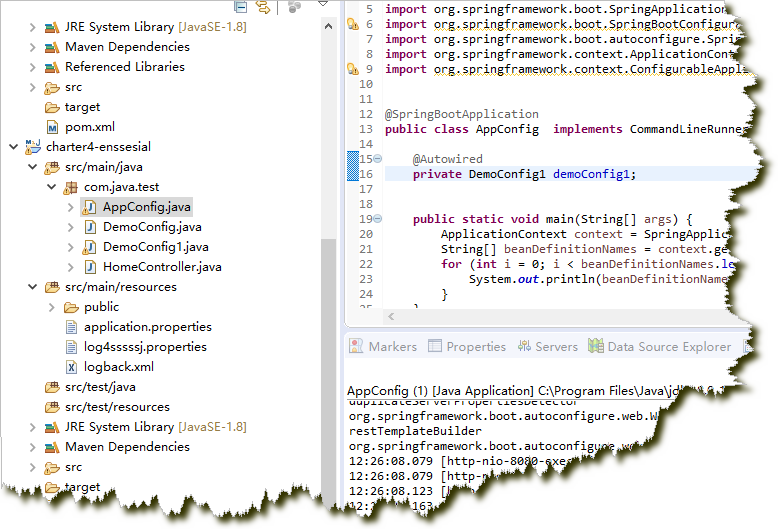
4,整个应用的启动文件
package com.java.test;

import org.springframework.beans.factory.annotation.Autowired;
import org.springframework.boot.CommandLineRunner;
import org.springframework.boot.SpringApplication;
import org.springframework.boot.SpringBootConfiguration;
import org.springframework.boot.autoconfigure.SpringBootApplication;
import org.springframework.context.ApplicationContext;
import org.springframework.context.ConfigurableApplicationContext;


@SpringBootApplication
public class AppConfig  implements CommandLineRunner{

    @Autowired
    private DemoConfig1 demoConfig1;


    public static void main(String[] args) {
        ApplicationContext context = SpringApplication.run(AppConfig.class, args);
        String[] beanDefinitionNames = context.getBeanDefinitionNames();
        for (int i = 0; i < beanDefinitionNames.length; i++) {
            System.out.println(beanDefinitionNames[i]);
        }
    }

    @Override
    public void run(String... args) throws Exception
    {
        System.err.println(demoConfig1);
    }


}
5,配置文件的内容

配置文件内容为:
jdbc.driver=com.mysql.jdbc.Driver
jdbc.url=jdbc:mysql://localhost:3306/springboot
jdbc.username=root
jdbc.password=123456

作者:Hackerman
出处:http://www.cnblogs.com/Hackerman/
出处:http://www.cnblogs.com/Hackerman/
本文版权归作者和博客园共有,欢迎转载。但必须保留此段声明,且在文章页面明显位置给出原文连接,否则保留追究法律责任的权利。

 浙公网安备 33010602011771号