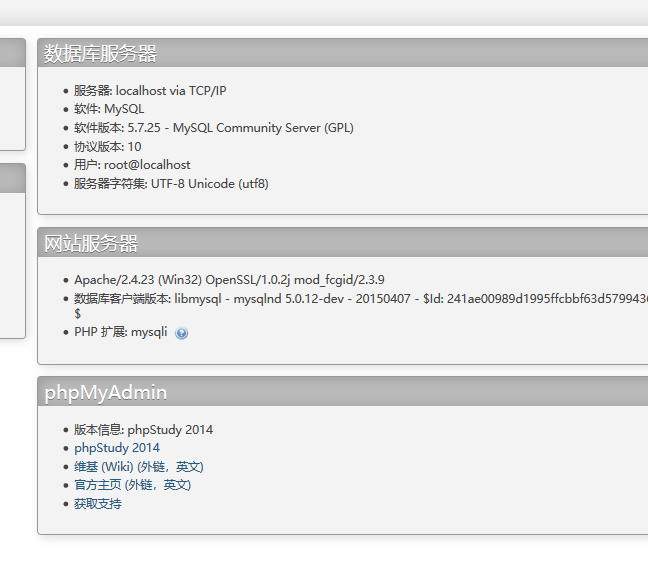
php工具箱升级自带mysql到mysql5.7
下载安装mysql5.7
0X01 打开地址 https://dev.mysql.com/downloads/mysql/ 点击 Looking for the latest GA version? 按钮

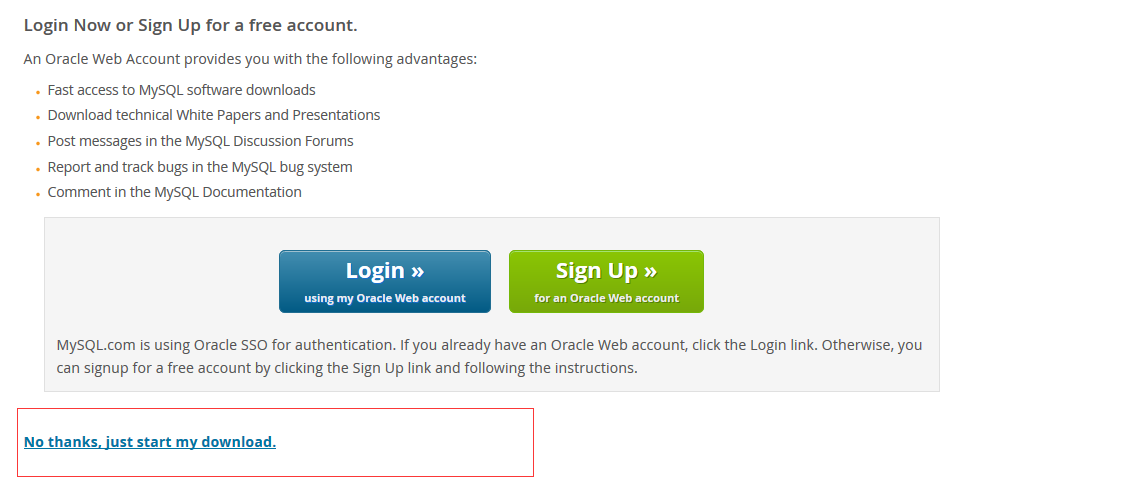
0X02 点击下边的跳过登陆直接下载
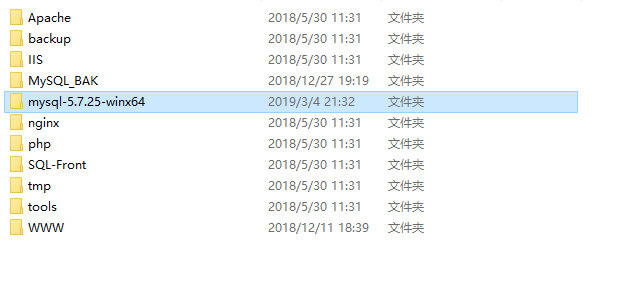
0X03 修改PHP工具箱对应目录下的mysql文件夹名称 (提前停止mysql服务)

0X04 解压下载好的mysql5.7到PHP目录下,并且修改文件夹名称为MySQL。
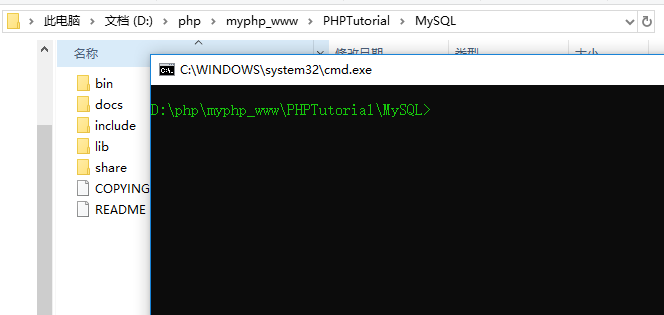
0X05 通过cmd进入Mysql目录
0X06 新建my.ini文件 内容如下 注意替换你得PHP工具箱的目录
# For advice on how to change settings please see
# http://dev.mysql.com/doc/refman/5.7/en/server-configuration-defaults.html
# *** DO NOT EDIT THIS FILE. It's a template which will be copied to the
# *** default location during install, and will be replaced if you
# *** upgrade to a newer version of MySQL.

[mysqld]

# Remove leading # and set to the amount of RAM for the most important data
# cache in MySQL. Start at 70% of total RAM for dedicated server, else 10%.
# innodb_buffer_pool_size = 128M

# Remove leading # to turn on a very important data integrity option: logging
# changes to the binary log between backups.
# log_bin

# These are commonly set, remove the # and set as required.
basedir = "D:/php/myphp_www/PHPTutorial/MySQL/"
datadir = "D:/php/myphp_www/PHPTutorial/MySQL/data/"
port = 3306
# server_id = .....


# Remove leading # to set options mainly useful for reporting servers.
# The server defaults are faster for transactions and fast SELECTs.
# Adjust sizes as needed, experiment to find the optimal values.
# join_buffer_size = 128M
# sort_buffer_size = 2M
# read_rnd_buffer_size = 2M

sql_mode=NO_ENGINE_SUBSTITUTION,STRICT_TRANS_TABLES
default-storage-engine=INNODB
0X07 回到CMD窗口,执行命令。

0X08 提示安装拒绝,这时使用管理员身份运行命令窗口。再从新执行install命令

0X09 此时mysql5.7已经安装成功,使用net start mysql 尝试启动服务(管理员模式下能够正常启动,普通权限无法启动)


0X0A 尝试再php工具箱中启动或停止mysql服务(此时PHP工具箱无法启动mysql服务。)
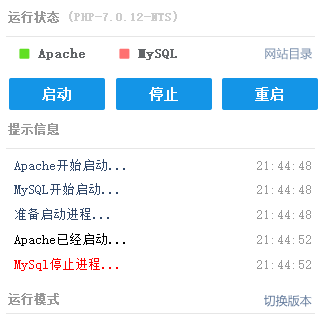
0X0B 在管理员模式下执行

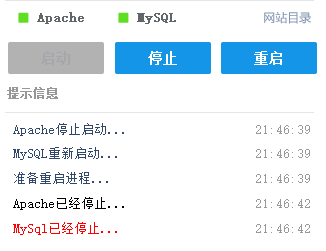
0X0C 回到PHP工具箱 点击重启,此时mysql服务能够正确的被启动。
数据恢复
0X01 回到之前的MySQL_BAK目录下赋值data中的内容到新的MySQL的目录下,同户名文件选择跳过覆盖。

0X02 通过MYSQL管理工具登陆MYSQL
账号密码均为root,此时回1045无法登陆

0X03 由于MYSQL安装过程中密码是水机产生,所以我们需要通过日志来查看密码。
打开MYSQL/data目录下的.err文件 查找并复制密码,使用此密码登陆mysql,并修改设置为自己的密码。


0X04 此时登陆mysql


 浙公网安备 33010602011771号