以太坊智能合约的编写,测试与部署
智能合约的编写,测试与部署
前置配置
- 下载Ganache
npm install -g ganache-cli
启动ganache-cli: gannche-cli
进入geth客户端:
geth --datadir "../../data/chain" --networkid 4224 --rpc --rpcport 8545 --port 30303 --rpccorsdomain="*" -rpcapi eth,web3,personal,net console 2> log.txt --allow-insecure-unlock
挖矿
首先需要先获取一定的以太币用于发布自己的智能合约
// admin.sleepBlocks(1)表示挖到一个矿就停止
miner.start();admin.sleepBlocks(1);miner.stop()
- 检验是否挖到矿
eth.getBalance(myAddress)
通过solc来编译代码
- 在remix测试好智能合约代码(注意编译的版本)
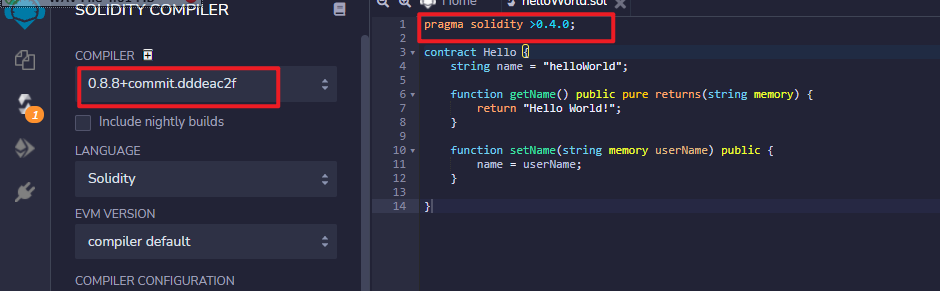
- 编译生成bin文件
solcjs --bin hello.sol
在当前目录下查看bin二进制文件

- 编译生成abi文件
solcjs --abi hello.sol

开始部署智能合约
- 首先解锁账户
personal.unlockAccount(eth.accounts[0]) - 然后部署:
code = "0x加上生成的二进制文件内容"
abi = 生成的abi文件内容(不用加引号)
myContract = eth.contract(abi)
contract = myContract.new({from:"0x0d54e98b02fe69c7a623e950dae4ed466cc87e13",data:code,gas:1000000})
- 部署结果
{
  abi: [{
      inputs: [],
      name: "getName",
      outputs: [{...}],
      stateMutability: "view",
      type: "function"
  }, {
      inputs: [{...}],
      name: "setName",
      outputs: [],
      stateMutability: "nonpayable",
      type: "function"
  }],
  address: undefined,
  transactionHash: "0x0f3bef0835a059eee72fc113e217924d17ec4a46606edb1e4276fbd727b4d4d3"
}
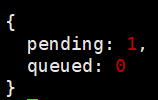
- 查看交易是否确认
txpool.status
挖矿确认交易
miner.start();admin.sleepBlocks(1);miner.stop()
调用智能合约
- 不写到链上的调用:
contract.getName.call() - 写到链上的调用(链上的调用需要挖矿确认)
contract.getName.sendTransaction({from:"address"})
contract.setName.sendTransaction("walegarrett",{from:"0x0d54e98b02fe69c7a623e950dae4ed466cc87e13"})
Either Excellent or Rusty

 浙公网安备 33010602011771号