PHP学习日记 Windows配置PHP+Nginx+自动化脚本
Windows配置PHP+Nginx+自动化脚本
- 安装与配置 PHP
下载PHP:传送门
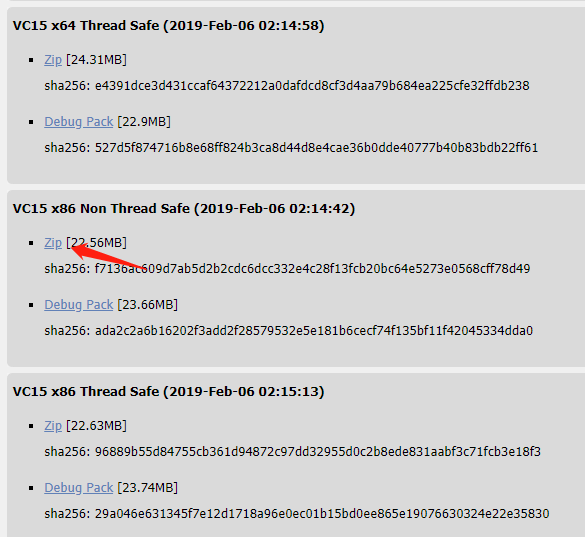
选择合适的版本下载 尽量选Thread Safe
配置PHP:
解压后在文件夹中找到php.ini-development文件复制一份并改名为php.ini
给PHP指定可加载扩展模块的位置。
在php.ini中找到extension_dir项目,取消注释并赋值为”./ext”:


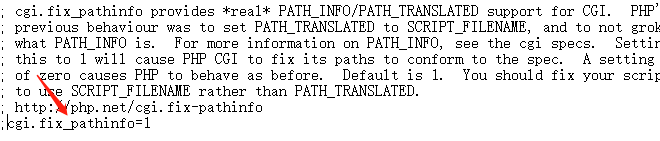
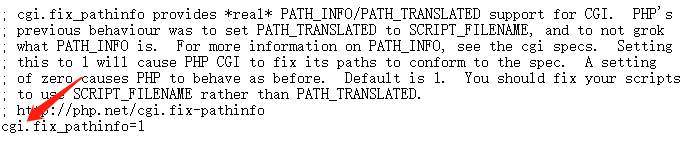
- 然后让PHP和Nginx联动。
在php.ini 中找到cgi.fix_pathinfo项目,取消注释
- Nginx的安装与配置
- Nginx下载:传送门
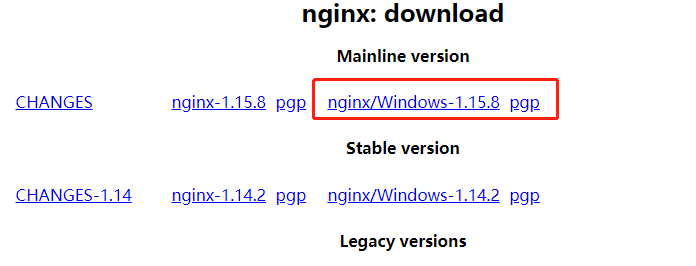
选择一个合适的版本下载(图中红框位置为最新版)。
下载后选择合适的位置安装
点击 nginx.exe**启动**nginx
打开cmd,输入:
    :: tasklist显示进程,/fi筛选器,""中为映像名称等于nginx.exe
    tasklist /fi "imagename eq nginx.exe"
nginx正常启动的情况下:

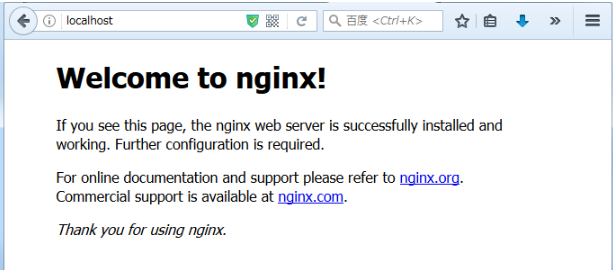
这时在浏览器中输入localhost就能看到nginx的欢迎页面:
接下来配置Nginx
在Nginx的目录下的conf目录下打开nginx.conf.
做以下修改:
#user  nobody;
worker_processes  1;

# 打开log
error_log  logs/error.log;
#error_log  logs/error.log  notice;
#error_log  logs/error.log  info;

#pid        logs/nginx.pid;


events {
    worker_connections  1024;
}


http {
    include       mime.types;
    default_type  application/octet-stream;

    #log_format  main  '$remote_addr - $remote_user [$time_local] "$request" '
    #                  '$status $body_bytes_sent "$http_referer" '
    #                  '"$http_user_agent" "$http_x_forwarded_for"';

    # 打开log
    access_log  logs/access.log;

    sendfile        on;
    #tcp_nopush     on;

    #keepalive_timeout  0;
    keepalive_timeout  65;

    #gzip  on;

    server {
        listen       80;
        server_name  localhost;

        #charset koi8-r;

        # 打开log
        access_log  logs/host.access.log;

        location / {
            # 设置网站的根目录(类似Apache的www目录)
            # 这个路径自己定义就行,下面的是我自己的路径
            root   D:/work/www;
            # 把index.php添加到默认首页,就是输入/时自动打开/index.php
            index  index.html index.htm index.php;
        }

        # 打开404页面(可以不动)
        error_page  404              /404.html;

        # redirect server error pages to the static page /50x.html
        #
        error_page   500 502 503 504  /50x.html;
        location = /50x.html {
            root   html;
        }

        # proxy the PHP scripts to Apache listening on 127.0.0.1:80
        #
        #location ~ \.php$ {
        #    proxy_pass   http://127.0.0.1;
        #}

        # pass the PHP scripts to FastCGI server listening on 127.0.0.1:9000

        # 配置FastCGI,PHP 脚本请求全部转发到 FastCGI处理
        location ~ \.php$ {
            #
            root           D:/work/www;
            # 设置监听端口
            fastcgi_pass   127.0.0.1:9000;
            # 设置nginx的默认首页文件(上面已经设置过了,可以删除)
            fastcgi_index  index.php;
            # 设置脚本文件请求的路径
            fastcgi_param  SCRIPT_FILENAME  $document_root$fastcgi_script_name;
            # 引入fastcgi的配置文件
            include        fastcgi_params;
        }

        # deny access to .htaccess files, if Apache's document root
        # concurs with nginx's one
        #
        location ~ /\.ht {
            deny  all;
        }
    }

}
之后**启动**php-cgi和Nginx
先双击nginx.exe启动Nginx
然后打开cmd输入如下,启动php-cgi
:: 打开cgi -b指定端口 -c指定php.ini的位置
D:/PHP/php-cgi.exe -b 127.0.0.1:9000 -c D:/work/php/php.ini
这时我们可以测试一下启动是否成功。
在网站根目录下新建一个php文件:(例如我的是:phpinfo.php)
<?php

phpinfo();
然后打开浏览器进入网址localhost/phpinfo.php
如果成功会进入如下页面:
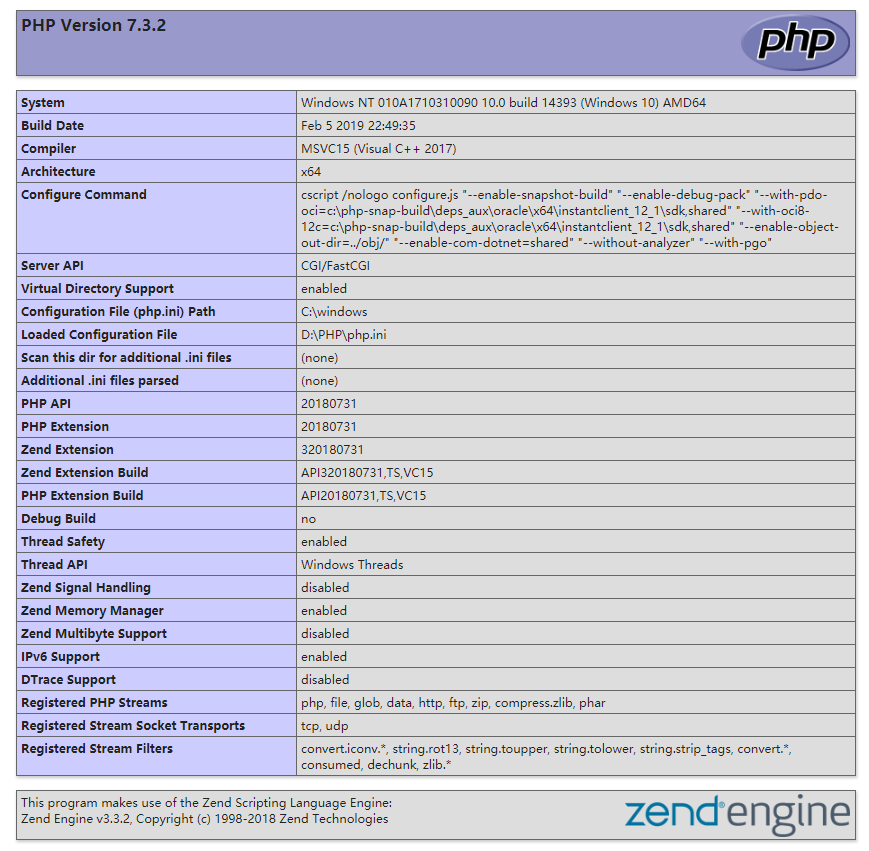
环境就成功搭建完了。
- 配置脚本
- 下载RunHiddenConsole.exe(隐藏cmd窗口)
- 编辑批处理文件
start.bat
@ECHO off
SET php_home=D:/PHP/
SET nginx_home=D:/Nginx/
ECHO Starting PHP FastCGI...


RunHiddenConsole %php_home%php-cgi.exe -b 127.0.0.1:9000 -c %php_home%php.ini

ECHO Starting nginx...

RunHiddenConsole %nginx_home%nginx.exe -p %nginx_home
stop.bat
@ECHO off

ECHO Stopping nginx...
TASKKILL /F /IM nginx.exe

ECHO Stopping PHP FastCGI...

TASKKILL /F /IM php-cgi.exe
EXIT
RunHiddenConsole.exe 后续补充
宝剑锋从磨砺出 梅花香自苦寒来

 浙公网安备 33010602011771号