iOS开发--XMPPFramework--好友列表(五)
上一篇文章,我们讨论了调试和好友模块,这一篇,在引入了好友模块后,我们来说说好友列表的显示。
还记得在上一篇中,我们把自动拉去好友列表给关掉了,所以,我们选择在控制器的-(void)viewDidLoad;中手动拉取好友列表,并且添加代理。
[[XMPPManager sharedInstance].xmppRoster fetchRoster];
[[XMPPManager sharedInstance].xmppRoster addDelegate:self delegateQueue:dispatch_get_main_queue()];
[[XMPPManager sharedInstance].xmppStream addDelegate:self delegateQueue:dispatch_get_main_queue()];
// 好友同步结束
- (void)xmppRosterDidEndPopulating:(XMPPRoster *)sender {
    NSLog(@"好友同步结束,查询数据库");
    dispatch_async(dispatch_get_main_queue(), ^{
        [self queryFriendList];
    });
}

// 查找到好友
- (void)xmppRoster:(XMPPRoster *)sender didReceiveRosterPush:(XMPPIQ *)iq {
    dispatch_after(dispatch_time(DISPATCH_TIME_NOW, (int64_t)(0.5f * NSEC_PER_SEC)), dispatch_get_main_queue(), ^{
        [self queryFriendList];
    });
}

#pragma mark XMPPStreamDelegate
- (void)xmppStream:(XMPPStream *)sender didReceivePresence:(XMPPPresence *)presence {
    //这个if成立的时候说明对方拒绝或者删除了你
    if ([presence.type isEqualToString:@"unsubscribed"]) {
        [[XMPPManager sharedInstance].xmppRoster removeUser:presence.from];
    }
}
手动拉取好友列表之后,会调取上面第一个代理方法,我们在这个方法里面在本地做一次好友查找。等服务器端收到好友列表后,会调用第二个代理方法,病将列表存入本地coredata中,所以,我们再从本地查找一次。
第三个代理方法,是收到presence消息后的调用。我们在里面处理收到好友请求被拒绝或者对方删除(即取消订阅),这边的操作是将好友remove掉。
接下来就是最重要的本地coredata查找功能,-(void)queryFriendList函数。
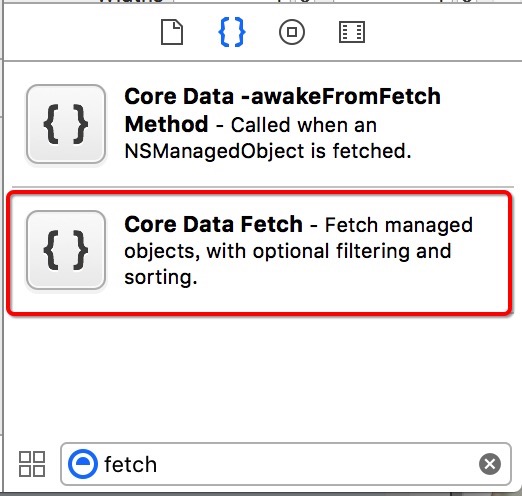
从coredata中查找数据分为三步,创建查找请求,定位实体,设置数据排序或筛选模式。这些代码并不需要我们写,苹果有个代码块可以供我们用。以下就是:

把这段代码拖到我们需要的地方就行。
- (void)queryFriendList {
    NSFetchRequest *fetchRequest = [[NSFetchRequest alloc] init];
    XMPPRosterCoreDataStorage *storage = [XMPPRosterCoreDataStorage sharedInstance];
    NSEntityDescription *entity = [NSEntityDescription entityForName:@"XMPPUserCoreDataStorageObject" inManagedObjectContext:storage.mainThreadManagedObjectContext];
    [fetchRequest setEntity:entity];
    // Specify criteria for filtering which objects to fetch
//    NSPredicate *predicate = [NSPredicate predicateWithFormat:@"subscription = 'both'"];
//    [fetchRequest setPredicate:predicate];
    // Specify how the fetched objects should be sorted
    NSSortDescriptor *sortDescriptor = [[NSSortDescriptor alloc] initWithKey:@"jidStr" ascending:YES];
    [fetchRequest setSortDescriptors:[NSArray arrayWithObjects:sortDescriptor, nil]];

    NSError *error = nil;
    NSArray *fetchedObjects = [storage.mainThreadManagedObjectContext executeFetchRequest:fetchRequest error:&error];
    if (fetchedObjects == nil) {
        //
    }
    self.friendList = fetchedObjects;
    [self.tableView reloadData];
}
拖完之后,修改些类名,排序和筛选方式,再做些个性化操作,就可以了。
这里需要注意的是,我们得到fetchedObjects这些结果之后,可以立刻转为我们需要的Model,用起来方便,数组中的每个对象,都是
XMPPUserCoreDataStorageObject对象,进入头文件中看,更加清楚。
接下来,我们调试一下。
运行程序。
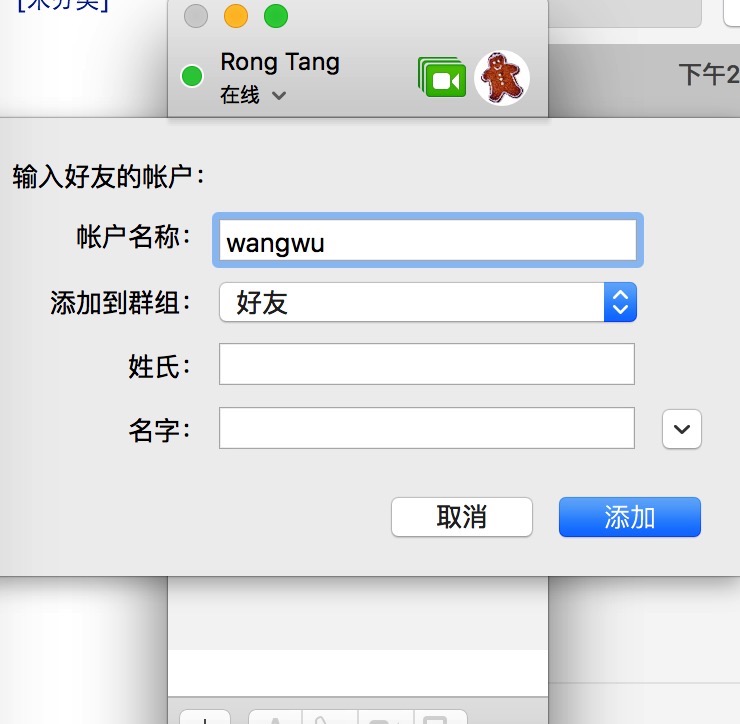
先在“消息”应用中添加好友。

程序代理方法
- (void)xmppStream:(XMPPStream *)sender didReceivePresence:(XMPPPresence *)presence;
收到订阅请求。
<presence xmlns="jabber:client" type="subscribe" to="wangwu@im.zhenghm" from="zhangsan@im.zhenghm"></presence>
来自zhangsan@im.zhenghm的,type为subscribe的订阅请求。
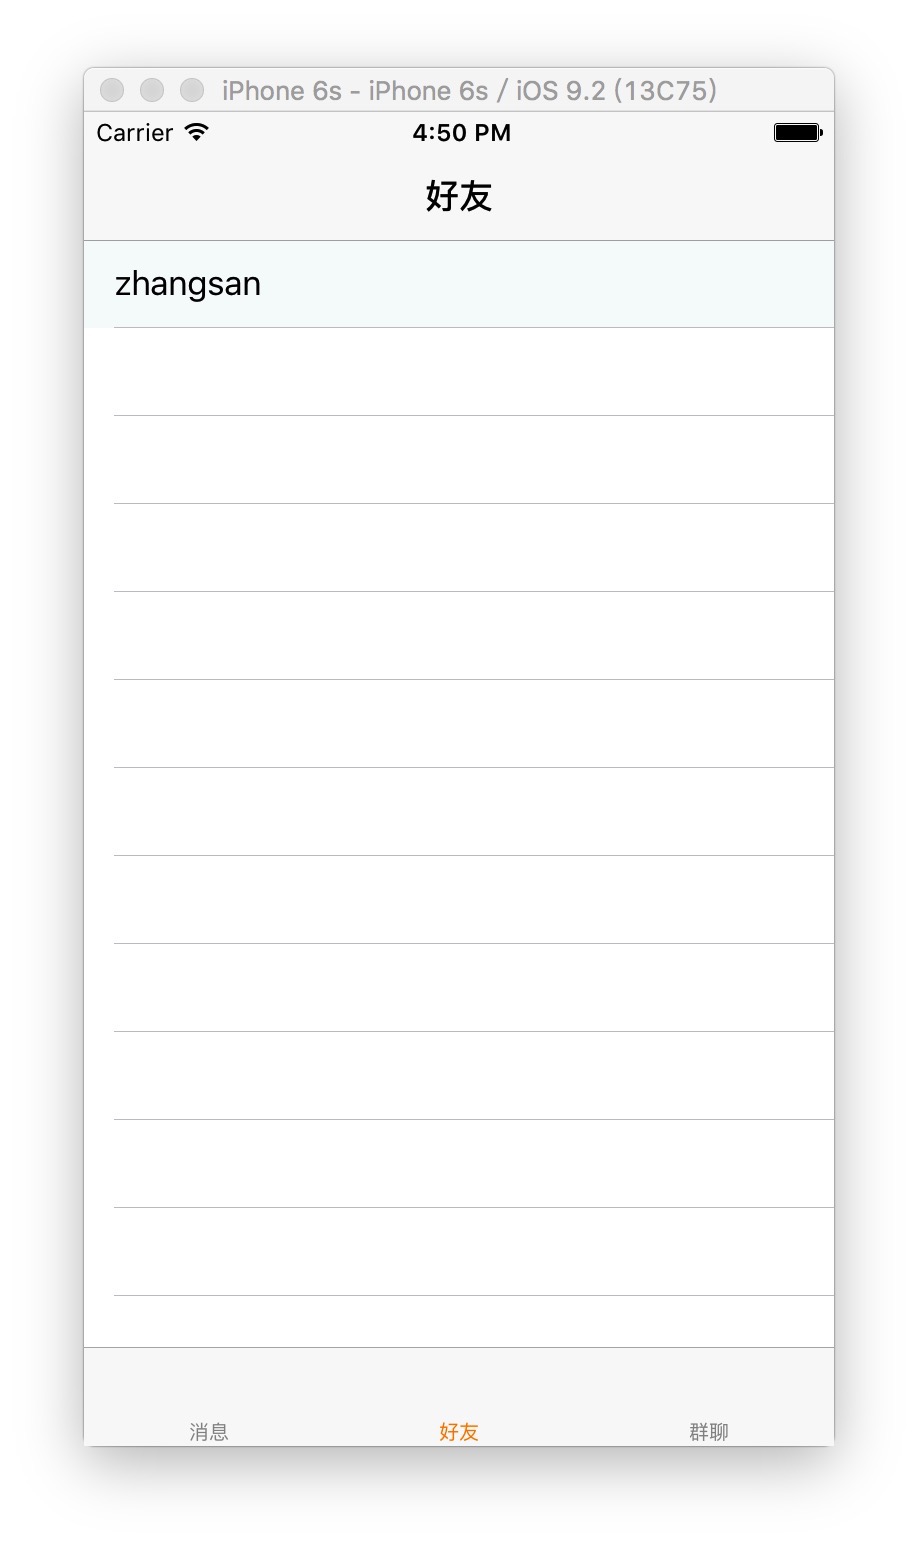
我们在上一篇中讲过,收到后自动同意。我们切换到好友列表界面

成功!zhangsan已经存在我们的好友列表内~
这一篇我们讨论了好友列表,下一篇我们开始聊天的话题,下次见。
XMPP即时通讯交流群140147825,欢迎大家来交流~我们是一起写代码的弟兄~周末愉快~


